
Table of Contents
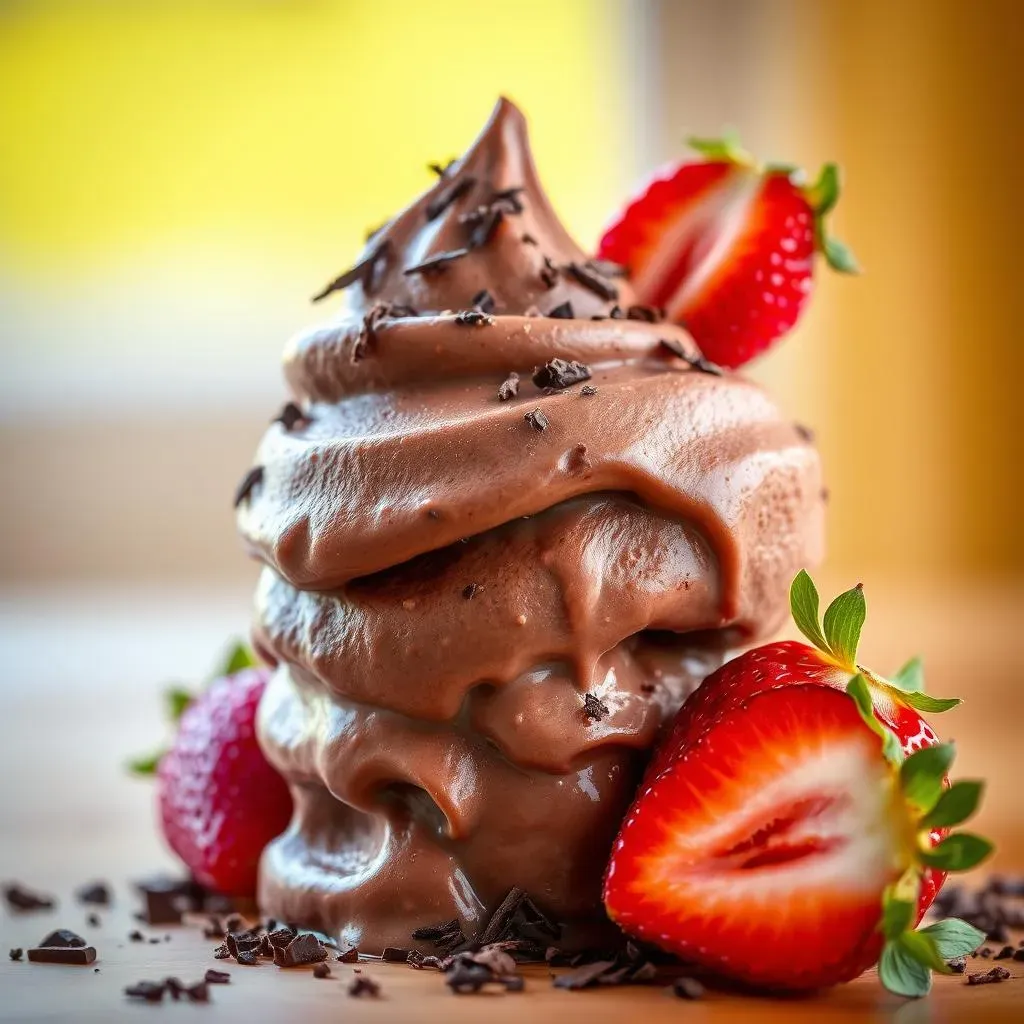
Picture this: It's a hot summer day, you're at a baseball game, and the craving for something cold and chocolatey hits you hard. But you're also trying to be healthy. That's where the idea for the best low fat chocolate ice cream came from. I love ice cream, but I don't love the extra fat and calories. Store-bought "healthy" versions? They often taste like frozen sadness, or just have a weird texture. So, I decided to make my own. This isn't just another recipe; it's my journey to create a truly satisfying, guilt-free chocolate ice cream. In this article, I'll share my secrets. We'll explore the key ingredients that make this recipe work, and I'll walk you through the easy steps to create your own delicious treat. Get ready to discover how to make the best low fat chocolate ice cream, without sacrificing flavor or texture.
My Quest for GuiltFree Chocolate Ice Cream
My Quest for GuiltFree Chocolate Ice Cream
so here's the deal. My love for ice cream is real, like, a deep, passionate, can't-live-without-it kind of love. But, like many of us, I also want to keep things somewhat healthy. The problem? Most low-fat options out there taste like they've been through a sad, flavorless war. They're icy, they're bland, and they just don't hit the spot. I've tried so many, and each time, it was the same disappointment. That's when I decided I needed to take matters into my own hands, embarking on a mission to create the best low fat chocolate ice cream that actually tastes like a decadent treat. I mean, why should we have to choose between our health and a good scoop of chocolate goodness? It was time to find a way to have both! This quest wasn't just about finding a recipe; it was about finding a way to enjoy my favorite dessert without the guilt or the weird aftertaste.
The Magic Ingredients Behind the Best Low Fat Chocolate Ice Cream
The Magic Ingredients Behind the Best Low Fat Chocolate Ice Cream
so let's talk about the real stars of the show—the ingredients. We're not just throwing random stuff together; each component plays a crucial role in creating that creamy, dreamy texture, all while keeping the fat content low. First up, we've got Greek yogurt. This isn't your regular yogurt; it's thick, tangy, and packed with protein. It gives the ice cream a lovely richness without the need for loads of heavy cream. Then, there's 2% milk. Now, this is important, and I learned it the hard way. Don't go for nonfat or 1% milk here; you need that little bit of fat to get the right consistency. It's a game-changer, trust me.
Next, for that intense chocolate flavor, we're using unsweetened cocoa powder. It gives that deep, dark chocolatey taste without adding extra sugar. And speaking of sweet, we’re using liquid stevia. I’ve found that using liquid sweetener works so much better, it mixes easier and doesn't leave a grainy aftertaste. Finally, the secret ingredient that keeps it all together: xanthan gum. This stuff is like magic! It helps create a smooth texture and prevents those annoying ice crystals from forming. It’s a must-have for any homemade ice cream, especially if you want it to be low fat.
Ingredient | Why It's Important |
|---|---|
Greek Yogurt | Provides creaminess and protein |
2% Milk | Adds necessary fat for texture |
Unsweetened Cocoa Powder | Gives intense chocolate flavor |
Liquid Stevia | Sweetens naturally without added sugar |
Xanthan Gum | Prevents ice crystals and adds creaminess |
Making the Best Low Fat Chocolate Ice Cream: StepbyStep
Making the Best Low Fat Chocolate Ice Cream: StepbyStep
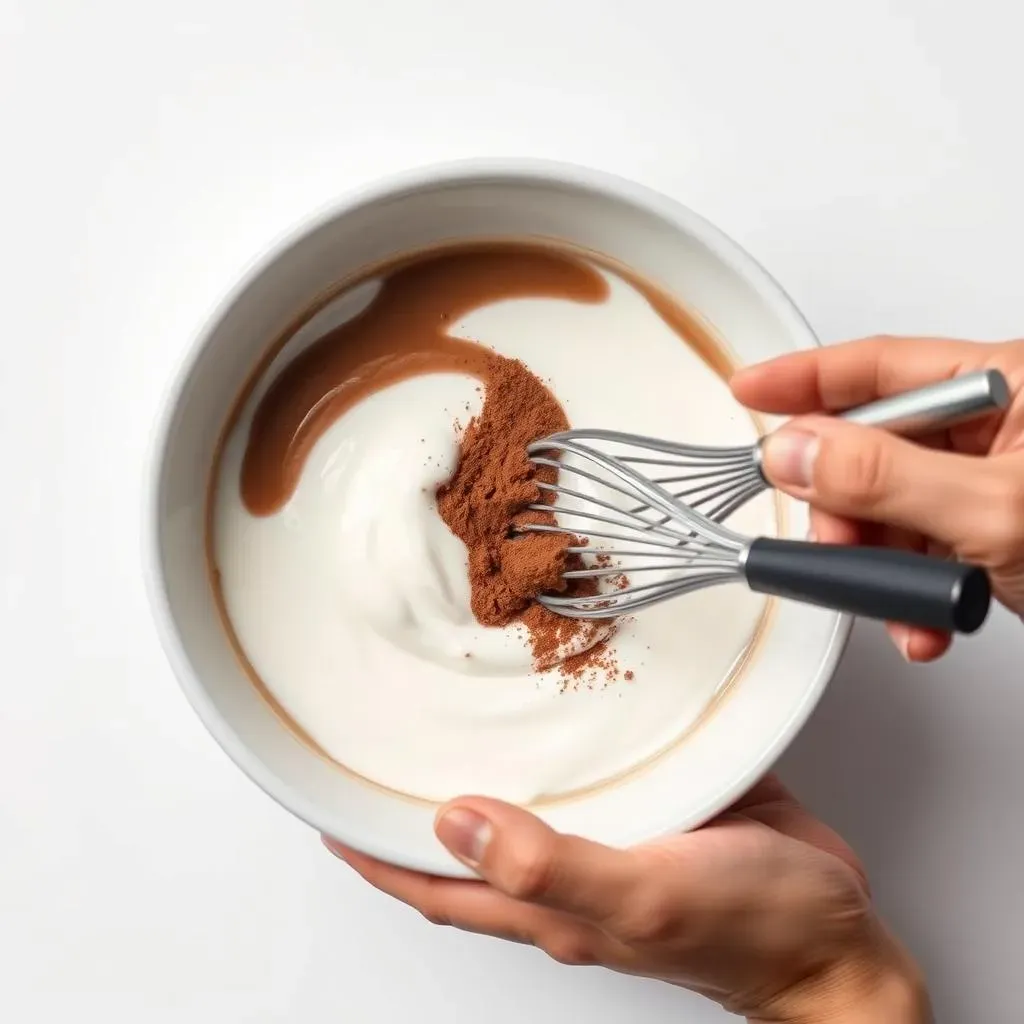
Alright, so you've got your magic ingredients ready, now let's get to the fun part: making the actual ice cream. First, grab a medium-sized bowl and toss in your Greek yogurt, 2% milk, unsweetened cocoa powder, and liquid stevia. Whisk it all together until it’s smooth and well combined. You want to make sure there are no lumps of cocoa powder hanging around. Then, sprinkle in the xanthan gum. Now, this is important, add it slowly while whisking. If you dump it all in at once it's gonna clump up and you will have a bad time. Whisk for another minute or two until you see the mixture start to thicken. It'll look like a thin pudding, which is exactly what you want.
Next, you have two options for freezing. If you have an ice cream maker, pour the mixture in and follow the manufacturer’s instructions. It usually takes about 20-30 minutes to churn. If you don't have an ice cream maker, no big deal. Pour the mixture into a freezer-safe container. Every 30 minutes, take it out and stir it well with a fork. This breaks up the ice crystals and keeps it smooth. Keep doing this for about 2-3 hours, or until the ice cream is firm but still scoopable. Don't skip the stirring step; it's key for that creamy texture. The stirring can be a bit of a pain, but trust me, it's worth it. Patience is key here, folks!
Step | Action |
|---|---|
1 | Whisk together Greek yogurt, 2% milk, cocoa powder, and stevia. |
2 | Slowly add xanthan gum while whisking. |
3 | Churn in an ice cream maker or freeze and stir every 30 mins. |
Enjoying Your Homemade Low Fat Chocolate Ice Cream
Enjoying Your Homemade Low Fat Chocolate Ice Cream
Scooping and Serving
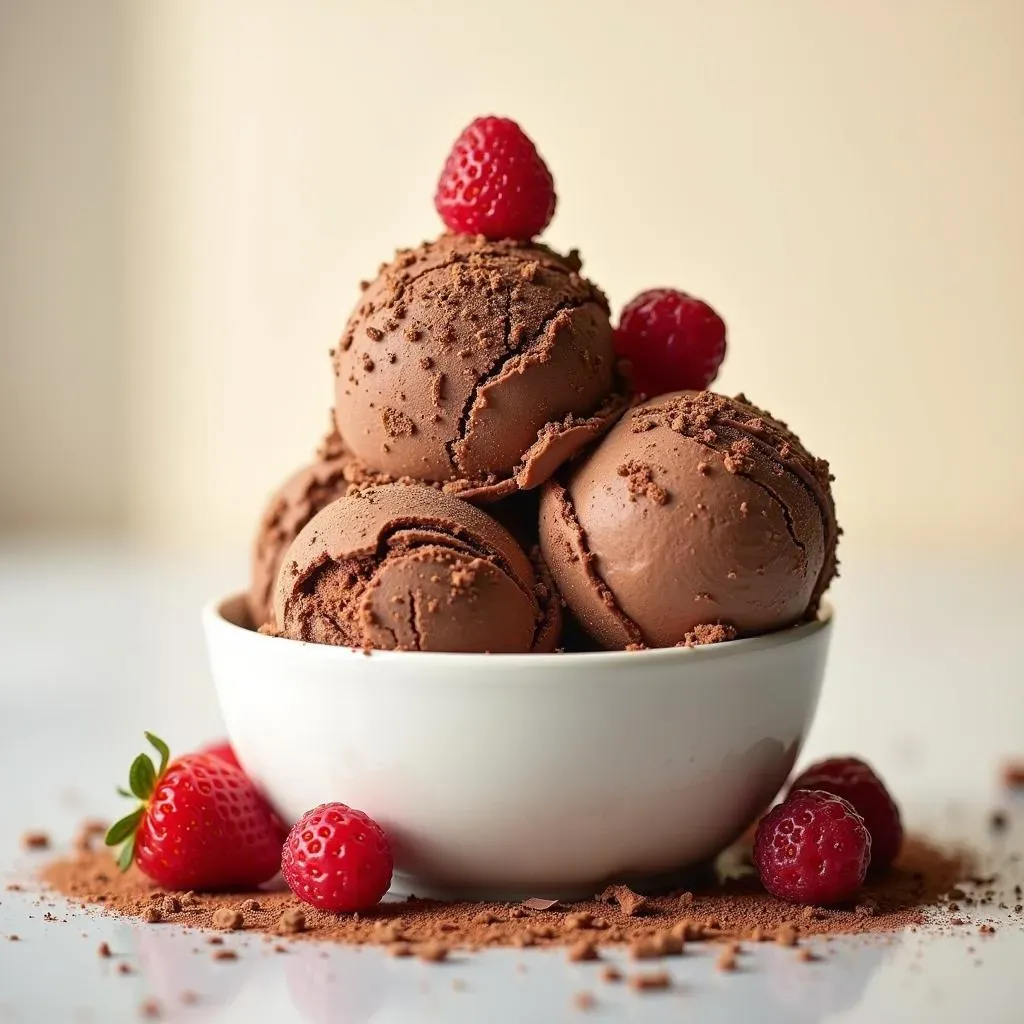
Alright, your ice cream is ready, and it’s time for the best part. If you used an ice cream maker, it’ll likely be soft-serve consistency, perfect for enjoying right away. If you did the freeze-and-stir method, let it sit out for about five minutes to soften slightly before scooping. This makes it easier to serve and gets rid of that super hard texture. I like to use an ice cream scoop that has a little lever to help release the ice cream. It makes for a pretty presentation, and also, it’s just fun. Don't be shy, pile it high in a bowl or cone. It is your hard work you deserve it. You can also get fancy with it, add some toppings, but honestly, this ice cream is so good on its own.
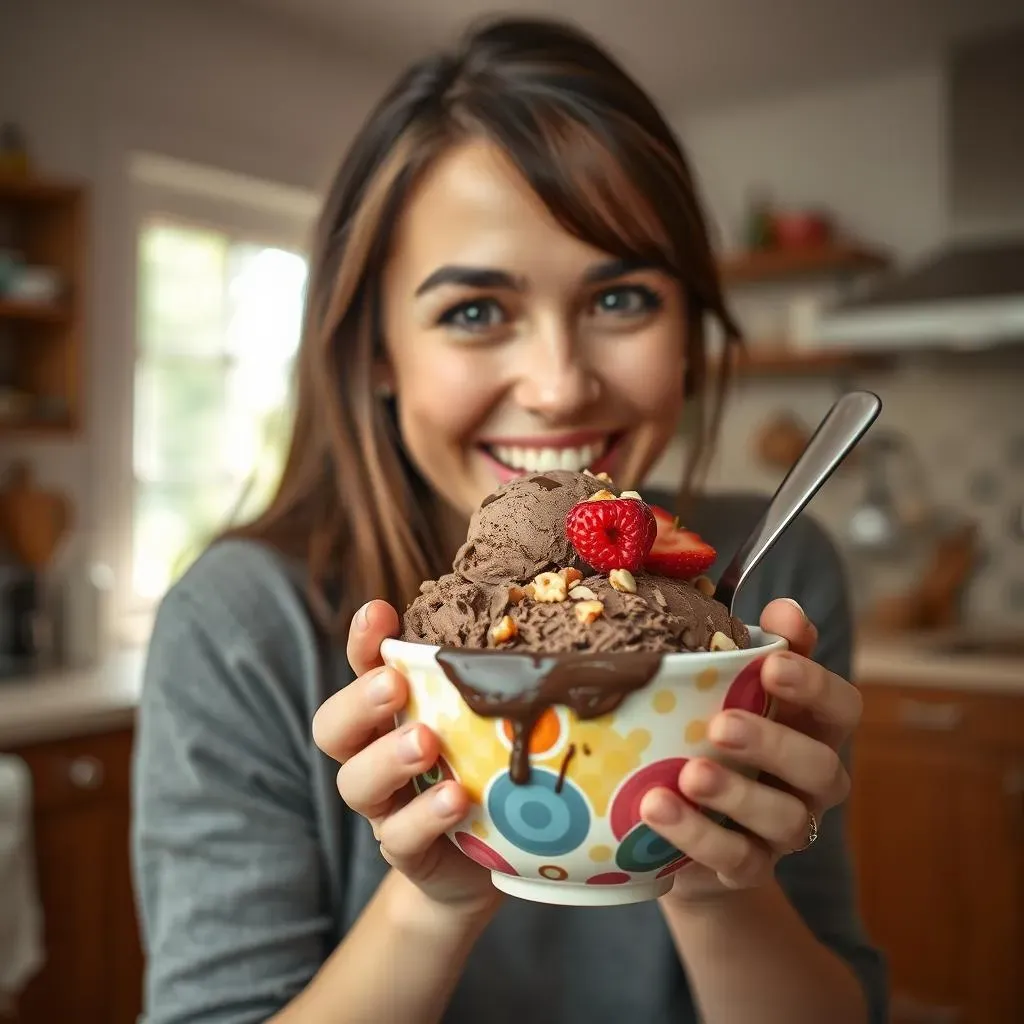
I like to have my ice cream right after a good workout, it’s like a reward for all the hard work I did. It's a great way to cool down, and it's so much better than those sugary, processed snacks. And because it's low-fat, I don't feel guilty about having a second scoop. What I like to do is I usually make a big batch of this and then have it on hand, for those times when I need a little sweet treat.
Storage Tips
If you have any leftovers, and I mean if, because it's so good that it will probably be gone, you can store it in an airtight container in the freezer. I recommend putting a piece of parchment paper directly on the surface of the ice cream before sealing the container. This helps prevent ice crystals from forming. It's a small step, but it makes a big difference in texture. When you're ready to eat it again, let it thaw for about 10-15 minutes on the counter before scooping. This will make it easier to serve and will help it return to that perfect creamy texture.
If you are going to store the ice cream for a long period of time, you should consider using a freezer-safe container that seals tightly. This is going to prevent it from getting freezer burn. I have found that it can last up to a month in the freezer, but honestly, it never lasts that long in my house. It's just too delicious not to eat! And if you are planning to make a double batch, make sure to have a big container ready to store it.
Tip | Why it helps |
|---|---|
Soften slightly before scooping | Easier to serve and better texture |
Parchment paper on surface | Prevents ice crystals |
Airtight, freezer-safe container | Prevents freezer burn |
Thaw for 10-15 mins before serving | Perfect texture |
Variations and Toppings
Now, while this recipe is fantastic on its own, you can always get creative with it. If you want to add a little extra flavor, try adding a teaspoon of vanilla extract or a pinch of sea salt to the mixture before freezing. For toppings, the sky's the limit. I love adding some fresh berries, a sprinkle of chopped nuts, or a drizzle of sugar-free chocolate syrup. You can also try adding a few dark chocolate chips, just don't go overboard if you are trying to keep it healthy. Another fun idea is to add a few drops of peppermint extract for a mint chocolate flavor. Get creative and have fun with it.
Don’t be afraid to experiment with different flavors and toppings. The best part about making your own ice cream is that you can customize it to your liking. If you have a favorite topping, go for it. If you want to try a different flavor, adjust the recipe. It's all about having fun and enjoying your homemade, healthy treat. Remember, the goal is to enjoy your ice cream without any guilt. So, go ahead, grab a spoon, and dig in! You deserve it.
The Sweet Finale: Enjoying Your Guilt-Free Treat
So, there you have it – the best low fat chocolate ice cream, homemade and ready to enjoy. It’s not just a healthier alternative; it's a genuinely delicious dessert. Remember, the key is in using the right ingredients and following the steps. Don't be afraid to experiment with flavors or add-ins to make it your own. Whether you’re chilling out on a hot day or need a sweet fix, this ice cream will satisfy your cravings without derailing your goals. Go ahead, grab a spoon, and enjoy every creamy, chocolatey bite. You made it! And it’s way better than anything you'd find in the freezer aisle.