Table of Contents
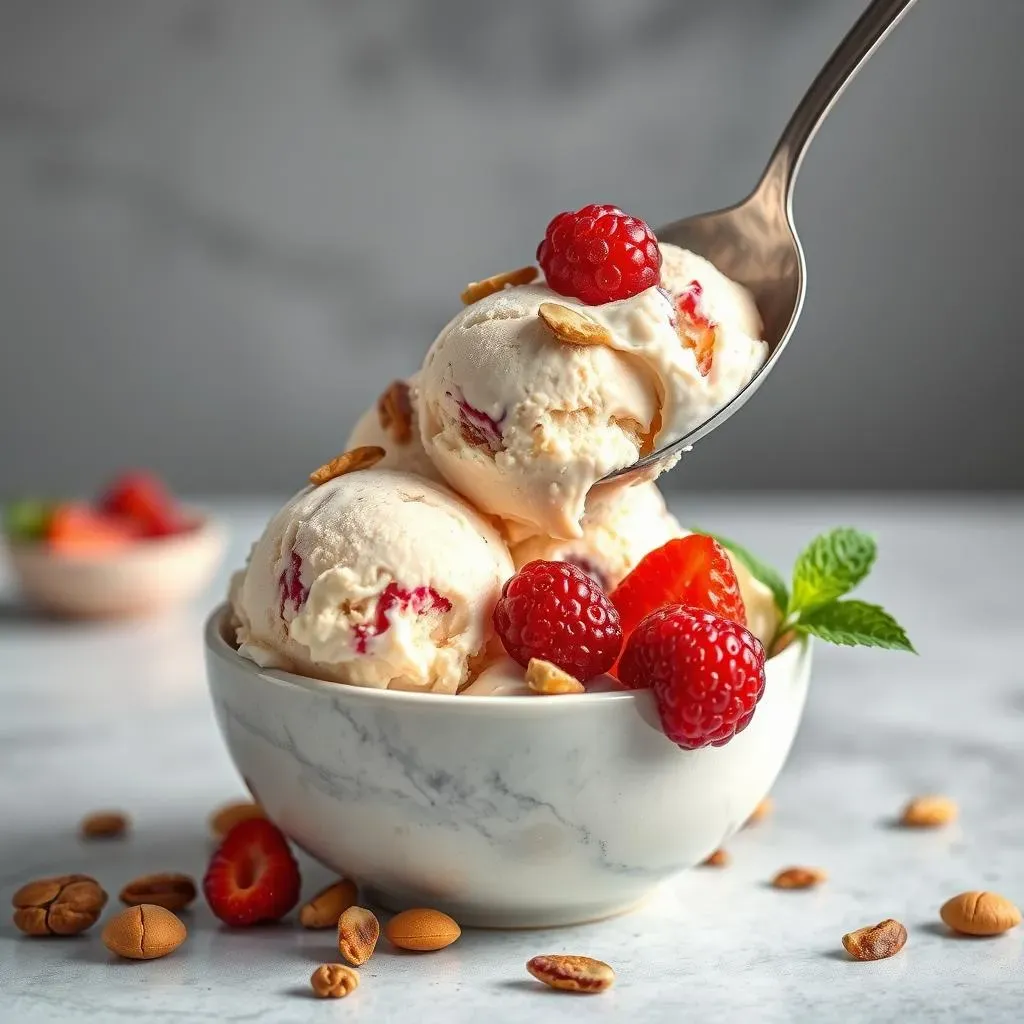
Remember those summer days, the pure joy of licking a melting ice cream cone? I do. But as we get older, sometimes we want that same joy without the extra calories. That's where the quest for the best low fat ice cream recipe begins! This isn't about denying ourselves; it's about making smart choices that let us enjoy our favorite treats. We're going to explore how to create delicious, creamy, and satisfying low-fat ice cream right in your own kitchen. We'll cover why low-fat ice cream is a great option, what ingredients and tools you'll need, and I'll walk you through a step-by-step guide to making it. I'll also share tips for perfecting your technique, along with some fun ideas for flavor variations and serving suggestions. So, get ready to scoop up some guilt-free goodness, because by the end of this, you'll be making the best low fat ice cream you've ever tasted.
Low Fat Ice Cream: Why Bother?
Low Fat Ice Cream: Why Bother?
The Guilt-Free Treat
Let's be real, sometimes you just need ice cream. The problem? Traditional ice cream can be loaded with fat and sugar. I get it; the creamy texture is amazing, but it can leave you feeling sluggish, not to mention the potential impact on your waistline. That's where the magic of low-fat ice cream comes in. It's not about deprivation; it's about making a swap that allows you to enjoy your dessert without feeling like you've totally blown your healthy eating habits. You can still have your dessert and feel good about it. I think that's pretty cool.
So, why bother with low-fat versions? Well, it's about balance. It’s about having the freedom to indulge without the heavy feeling afterwards. It's about enjoying the taste and texture of ice cream without the excess fat that can sometimes make you feel like you need a nap right after. Plus, making it yourself means you control the ingredients, skipping the additives and preservatives that sometimes lurk in store-bought options. Think of it as a delicious way to be kind to your body without sacrificing your sweet tooth.
Health Benefits of Low Fat Ice Cream
Beyond the obvious lower calorie count, low-fat ice cream can actually be a better choice in some ways. When you swap out some of the heavy cream for things like Greek yogurt or skim milk, you're not just cutting fat; you're adding in some protein and other nutrients. Plus, if you're making it at home, you can control the sugar. This is awesome because it lets you avoid the sugar spike that can come with the regular version. This means you might be able to enjoy a scoop or two without the crash that can follow.
Now, I'm not saying low-fat ice cream is a health food, but it can be a more mindful way to enjoy a treat. It allows you to savor the flavor and the experience without the guilt that can sometimes tag along with the traditional stuff. It's about making choices that let you enjoy the things you love while still taking care of yourself. And let's face it, a little bit of ice cream can make life a whole lot sweeter. It’s about enjoying the treat without feeling like you have to run a marathon to make up for it.
Benefit | Traditional Ice Cream | Low-Fat Ice Cream |
|---|---|---|
Fat Content | High | Low |
Calorie Count | Higher | Lower |
Protein | Lower | Higher (Often) |
Sugar | Higher | Controllable |
Crafting the Best Low Fat Ice Cream Recipe: Ingredients and Tools
Crafting the Best Low Fat Ice Cream Recipe: Ingredients and Tools
The Core Ingredients
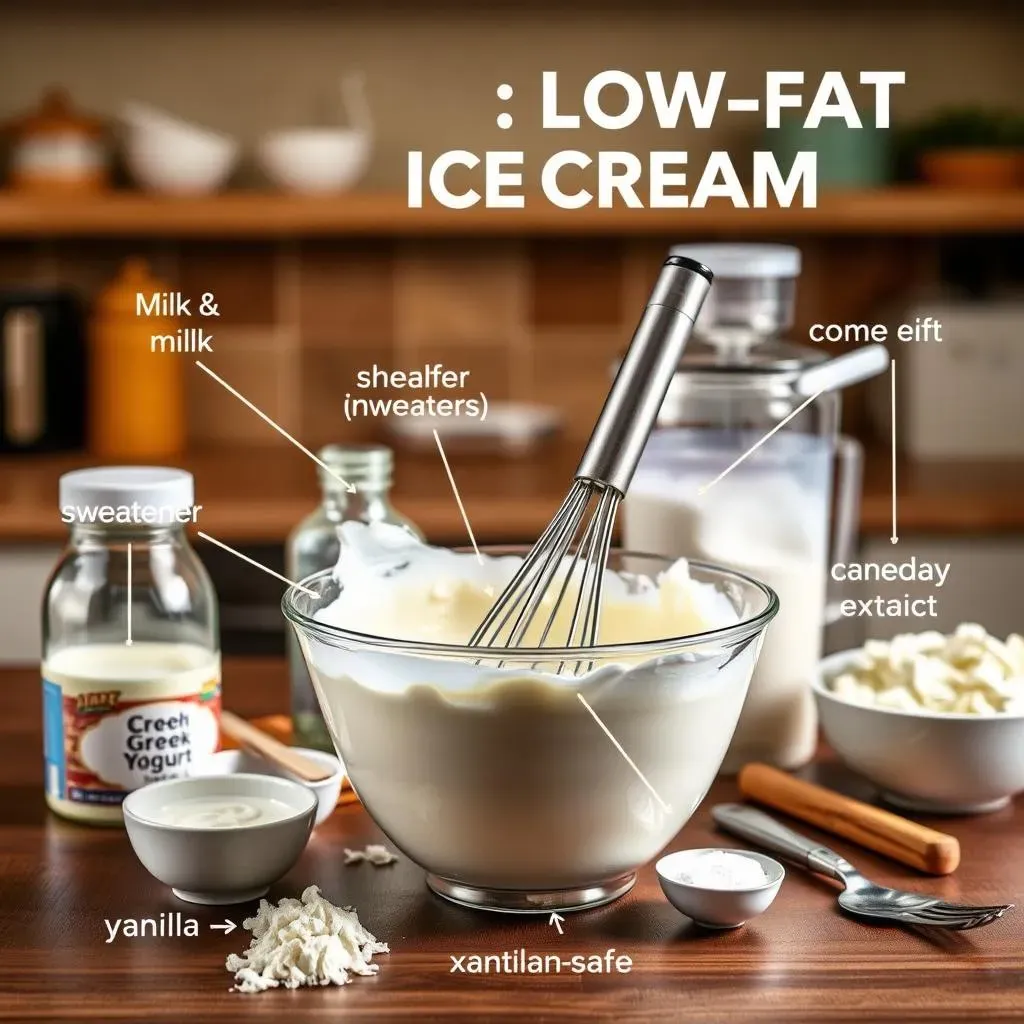
so you're ready to make some low-fat ice cream? Awesome! Let's talk ingredients. The base of our creamy dream starts with a good source of liquid. Instead of heavy cream, we're reaching for things like 2% milk or even skim milk. I find 2% gives you that nice balance of richness without being too heavy. Greek yogurt is also a game changer here. It adds a lovely tang, and more importantly, it gives the ice cream that smooth, thick texture that you'd normally get from fat. We're also going to need a sweetener. Instead of refined sugar, you can use things like liquid stevia or even honey, but keep in mind honey will add a distinct flavor to your ice cream.
For extra smoothness, xanthan gum is our secret weapon. It acts as a stabilizer and prevents ice crystals from forming, so you don't end up with a grainy mess. Trust me on this one, it makes a huge difference. And of course, don't forget the flavor! Vanilla extract is a classic, but you can get creative with other extracts, spices, or even a pinch of salt to enhance the sweetness. The key here is to start with quality ingredients; it makes a difference in the final product. It’s like starting with good paint for a masterpiece.
Essential Tools for the Job
Alright, ingredients are in hand, let's talk tools. The most important piece of equipment is an ice cream maker. It's what churns the mixture and incorporates air, giving us that light, fluffy texture we all love. There are a few types out there, but I’d recommend one with a freezer bowl; they’re easy to use and fairly affordable. If you don't have one, don't worry; I'll give you some tips for making it without one later on, although it might be a bit different. You'll also need a good mixing bowl, a whisk, and measuring cups and spoons. Precise measurements are key in baking and in ice cream making, so don't skip that step. Oh, and a spatula to scrape every last bit of deliciousness out of the bowl. It’s like a treasure hunt in your kitchen.
Having a freezer-safe container is also super useful for storing your ice cream. I’ve found that a loaf pan works great or even a container with a tight lid. You want something that will keep your ice cream protected from freezer burn. And finally, a little patience. Making ice cream isn't a race; it's a process. Let the machine do its work, and you'll be rewarded with a scoop of creamy, dreamy goodness. It's like watching a seed grow into a flower; the wait is worth it.
Ingredient/Tool | Purpose |
|---|---|
2% or Skim Milk | Provides liquid base, reduces fat |
Greek Yogurt | Adds creaminess and protein |
Liquid Stevia/Honey | Natural sweetener |
Xanthan Gum | Stabilizes and prevents ice crystals |
Ice Cream Maker | Churns and aerates the mixture |
Freezer-Safe Container | Stores ice cream without freezer burn |
StepbyStep Guide: Making Your Own Best Low Fat Ice Cream
StepbyStep Guide: Making Your Own Best Low Fat Ice Cream
Getting Started
let's get to the fun part: actually making the ice cream! First, grab your mixing bowl and whisk. Pour in your 2% milk or skim milk, then add the Greek yogurt. Whisk them together until they're smooth and well combined. Don't worry if it looks a little thin at this point; we're just getting started. Next, add in your sweetener, whether that's liquid stevia or honey. Start with a smaller amount, taste it, and adjust as needed. Remember, you can always add more, but you can't take it away. Stir in your vanilla extract and a pinch of salt. It's all about building that flavor base. Now, for the secret weapon, sprinkle in the xanthan gum. Whisk it in really well, making sure there aren't any clumps. This is key for that smooth texture.
Once everything is nicely mixed, it's time to chill. Pour the mixture into a freezer-safe container and pop it into the fridge for at least 2 hours. This step is crucial because it gets everything nice and cold before it goes into the ice cream maker. It's like giving your ice cream a head start. If you are in a hurry you can put it in the freezer for about 45 minutes, just make sure it does not freeze. After chilling, it's time to fire up the ice cream maker. If you have one with a freezer bowl, make sure it's been in the freezer for at least 24 hours, or as per the manufacturer's instructions. Pour the chilled mixture into the ice cream maker, turn it on, and let it do its thing. The churning process is what incorporates air into the ice cream, giving it that light and fluffy texture. It’s like magic, but with science.
Churning and Freezing
The churning time will vary depending on your ice cream maker, but it usually takes about 20-30 minutes. You'll know it's ready when the mixture has thickened up and looks like soft-serve ice cream. It should be thick enough to hold its shape, but not hard like a rock. Once it's churned, it's time to transfer it to your freezer-safe container. Scrape every last bit of deliciousness out of the ice cream maker using a spatula. I mean, you worked hard for it, why let any go to waste? Gently spread it out in the container and place it in the freezer for at least 2-3 hours, or until it's completely frozen. This final freeze is what gives it that scoopable consistency.
Now for the hardest part: waiting! I know it's tough, but trust me, it's worth it. Once it's frozen, scoop it out, and enjoy your homemade, guilt-free ice cream. If you are making this for more people, you might want to double the recipe. Remember, the best things in life are worth waiting for, and this ice cream is definitely one of them. This is the moment you can finally enjoy the fruits of your labor. It’s time to grab a spoon and dig in!
Step | Action |
|---|---|
1 | Whisk milk and yogurt. |
2 | Add sweetener, vanilla, and salt. |
3 | Mix in xanthan gum. |
4 | Chill the mixture for at least 2 hours. |
5 | Churn in ice cream maker for 20-30 minutes. |
6 | Freeze for 2-3 hours. |
Tips for Perfecting Your Low Fat Ice Cream Creations
Tips for Perfecting Your Low Fat Ice Cream Creations
Mastering the Art
so you've got the basics down, but let's be real, sometimes things don't go exactly as planned. That's totally normal! Making the perfect low-fat ice cream is a bit of an art, and there are a few things you can tweak to get it just right. First off, temperature is key. Make sure your ice cream maker bowl is completely frozen before you start. If it's not cold enough, your ice cream won't freeze properly. And remember, chilling the mixture beforehand is not optional; it's essential. It's like preheating your oven before baking a cake, you wouldn't skip that, would you?
Another thing to keep an eye on is the amount of sweetener you're using. Taste as you go, and don't be afraid to adjust it to your preference. Liquid stevia is great because it doesn't add extra bulk, but if you're using honey or other sweeteners, keep in mind that they might affect the consistency. I’ve learned the hard way that too much honey can make your ice cream a bit too soft. And finally, don't over churn your ice cream. Once it’s reached that soft-serve consistency, take it out. Over churning can sometimes lead to a grainy texture. It's all about finding that sweet spot. I mean, it’s like Goldilocks and the three bears, you want it just right.
Troubleshooting Tips
Sometimes, despite your best efforts, your ice cream might not turn out quite right. If it's too icy, it probably means there were too many ice crystals. This can happen if your mixture wasn't cold enough when it went into the ice cream maker or if you didn't use enough xanthan gum. Next time, make sure you chill the mixture for longer and that you measure the xanthan gum carefully. If your ice cream is too soft, it could be due to too much sweetener or not enough churning time. Try cutting back on the sweetener a bit, and let the machine churn for a little longer. And if your ice cream is grainy, it could be due to over churning or not enough stabilizer. Remember, practice makes perfect, and with each batch, you'll get better at tweaking the recipe to your liking. It’s like learning to ride a bike; you might fall a few times, but eventually, you’ll be cruising.
Also, let’s talk about storage. Once your ice cream is frozen, make sure you store it properly in an airtight container to avoid freezer burn. Pressing a piece of parchment paper directly on the surface of the ice cream can also help to prevent ice crystals from forming. And when you're scooping, try not to let the ice cream melt and refreeze too many times because that can also lead to a grainy texture. Finally, remember that homemade ice cream is best enjoyed within a week or two, since it doesn't have the preservatives that store-bought ice cream has. So, what are you waiting for? Go make some ice cream!
Issue | Possible Cause | Solution |
|---|---|---|
Icy Texture | Not cold enough, not enough xanthan gum | Chill longer, increase xanthan gum |
Too Soft | Too much sweetener, not enough churning | Reduce sweetener, churn longer |
Grainy Texture | Over churning, not enough stabilizer | Churn less, ensure adequate xanthan gum |
Freezer Burn | Improper storage | Store in airtight container, use parchment paper |
Low Fat Ice Cream: Flavor Variations and Serving Ideas
Low Fat Ice Cream: Flavor Variations and Serving Ideas
Get Creative with Flavors
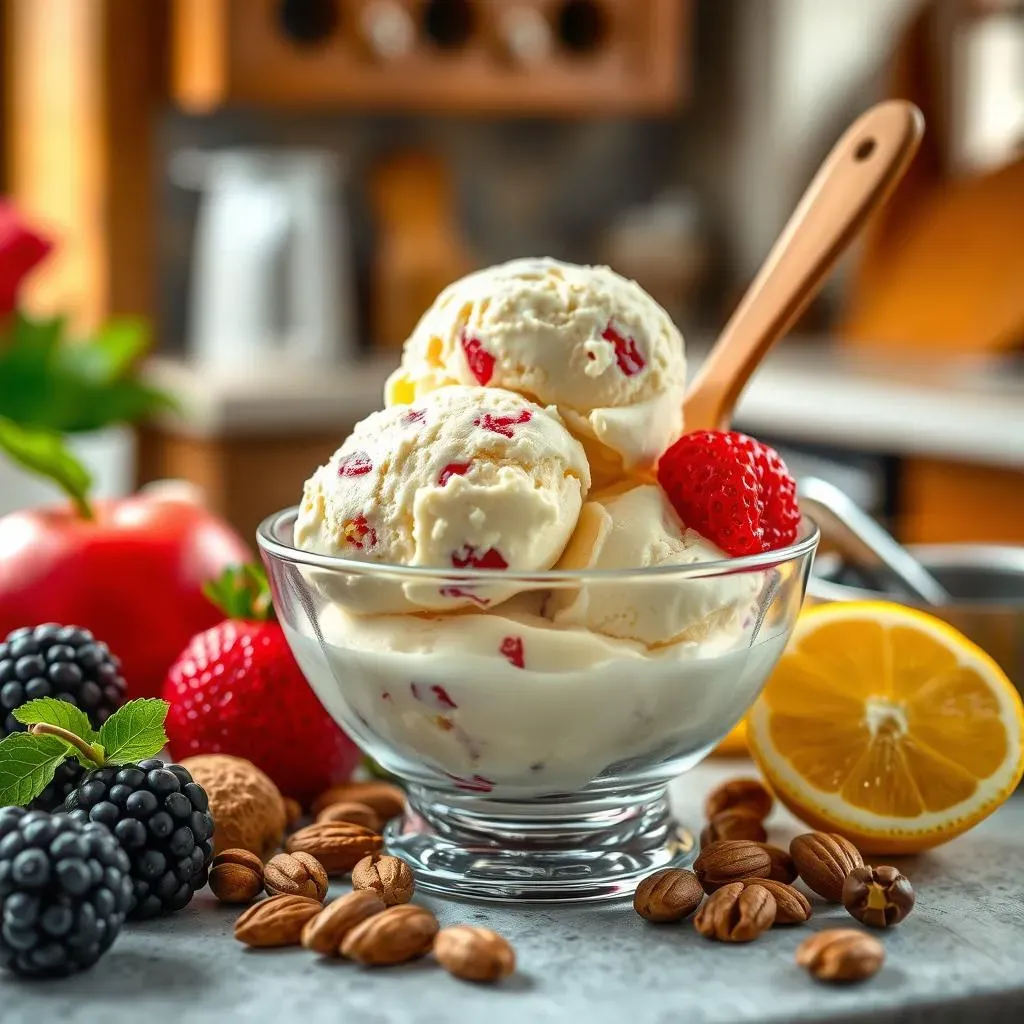
so you've mastered the basic vanilla, but where's the fun in stopping there? The beauty of homemade ice cream is that you can totally customize it to your liking. If you're a chocolate lover, try adding some unsweetened cocoa powder to the base, and for a richer flavor, you can add a few drops of chocolate extract. For something fruity, blend in some fresh or frozen berries. I love the vibrant color and taste of raspberries or blueberries. If you want something a little more exotic, try adding a pinch of cinnamon or cardamom. It's like a flavor adventure in your kitchen. Don't be afraid to experiment and see what delicious combinations you can come up with.
Think about adding some texture with chopped nuts, shredded coconut, or even some mini chocolate chips. Just make sure you add these at the end of the churning process, so they don't get broken down too much. You can also try infusing your milk with flavors. For instance, steep some mint leaves or a vanilla bean in warm milk for about 30 minutes before using it in the recipe. It's a great way to get a more subtle and complex flavor. The possibilities are endless, so go wild and create your own signature low-fat ice cream flavor. Trust me, it's a lot more fun than buying the same old thing at the store.
Serving Up the Goodness
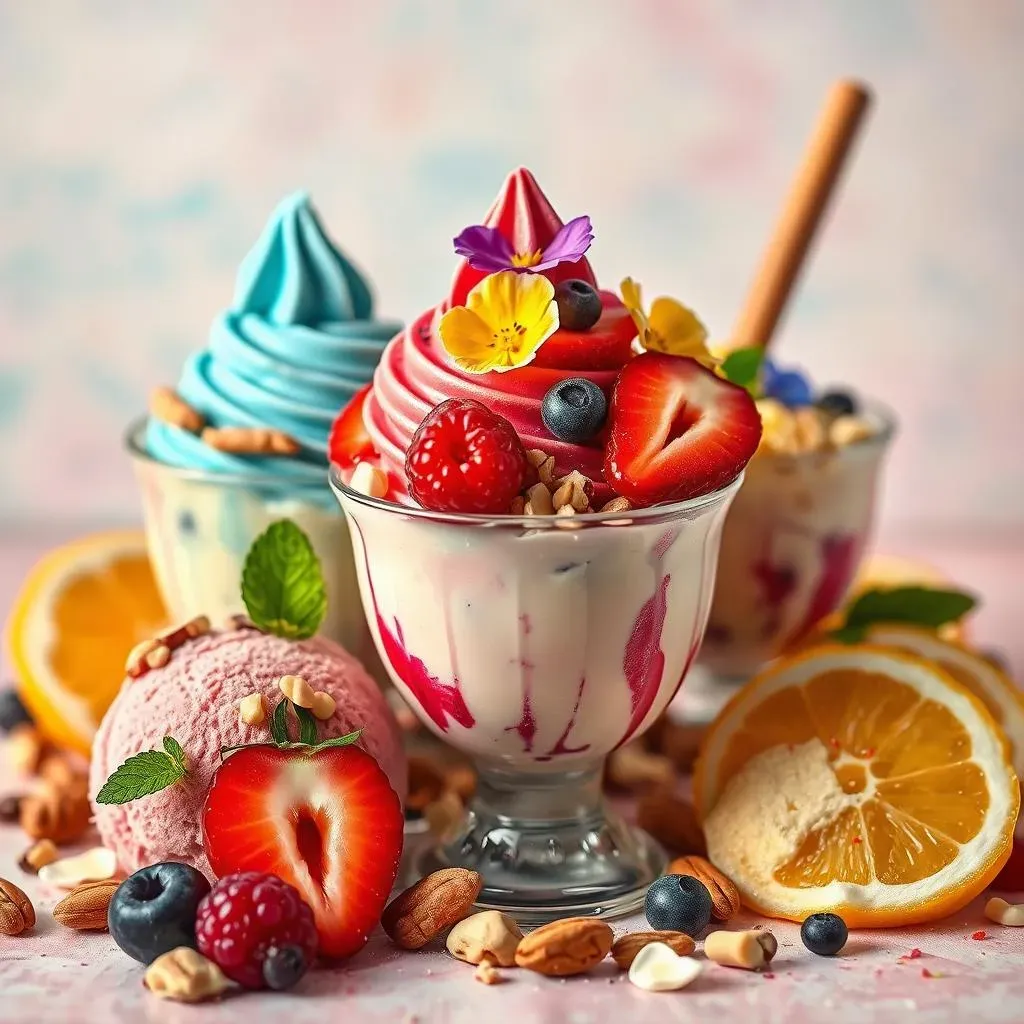
Now that you've got your amazing low-fat ice cream, it's time to think about how to serve it up. Of course, you can always just scoop it into a bowl and enjoy it as is, but there are so many other ways to make it even more special. For a simple yet elegant touch, try serving it in a pretty glass dish with a sprinkle of chopped nuts or a drizzle of honey. If you're feeling fancy, you can make a sundae with some fresh fruit, a dollop of whipped cream (low-fat, of course!), and a sprinkle of chocolate shavings. It’s like a party in a bowl.
Another fun idea is to use your low-fat ice cream to make milkshakes or smoothies. Just blend it with some milk, fruit, and a touch of sweetener for a delicious and refreshing treat. You can also make ice cream sandwiches by using low-fat cookies or even some graham crackers. It's a great way to enjoy your ice cream in a fun and portable way. And if you're feeling really creative, you can use your ice cream to make parfaits, layered with granola, yogurt, and fruit. It's a great way to create a visually stunning and delicious dessert. Remember, presentation is key, so have fun with it and make your ice cream look as good as it tastes. After all, we eat with our eyes first, right?
Flavor Idea | Add-Ins/Variations |
|---|---|
Chocolate | Cocoa powder, chocolate extract, mini chips |
Berry | Fresh or frozen raspberries, blueberries, strawberries |
Spice | Cinnamon, cardamom, nutmeg |
Texture | Chopped nuts, shredded coconut, mini chocolate chips |
Infused | Mint leaves, vanilla bean, citrus zest |
The Sweet Success of Homemade Low Fat Ice Cream
So, there you have it. Creating the best low fat ice cream recipe isn't just about swapping ingredients; it’s about understanding how those changes affect the final product. It's about the balance of flavors, the texture, and that satisfying feeling of enjoying a treat without any of the guilt. Don't be afraid to experiment, to tweak the recipe to match your own preferences, and most importantly, to have fun with it. Now, go forth and make some amazing ice cream! I bet you’ll be surprised just how easy it is to make a healthier version of your favorite dessert. And who knows, maybe you'll even come up with your own signature low-fat flavor.