Table of Contents
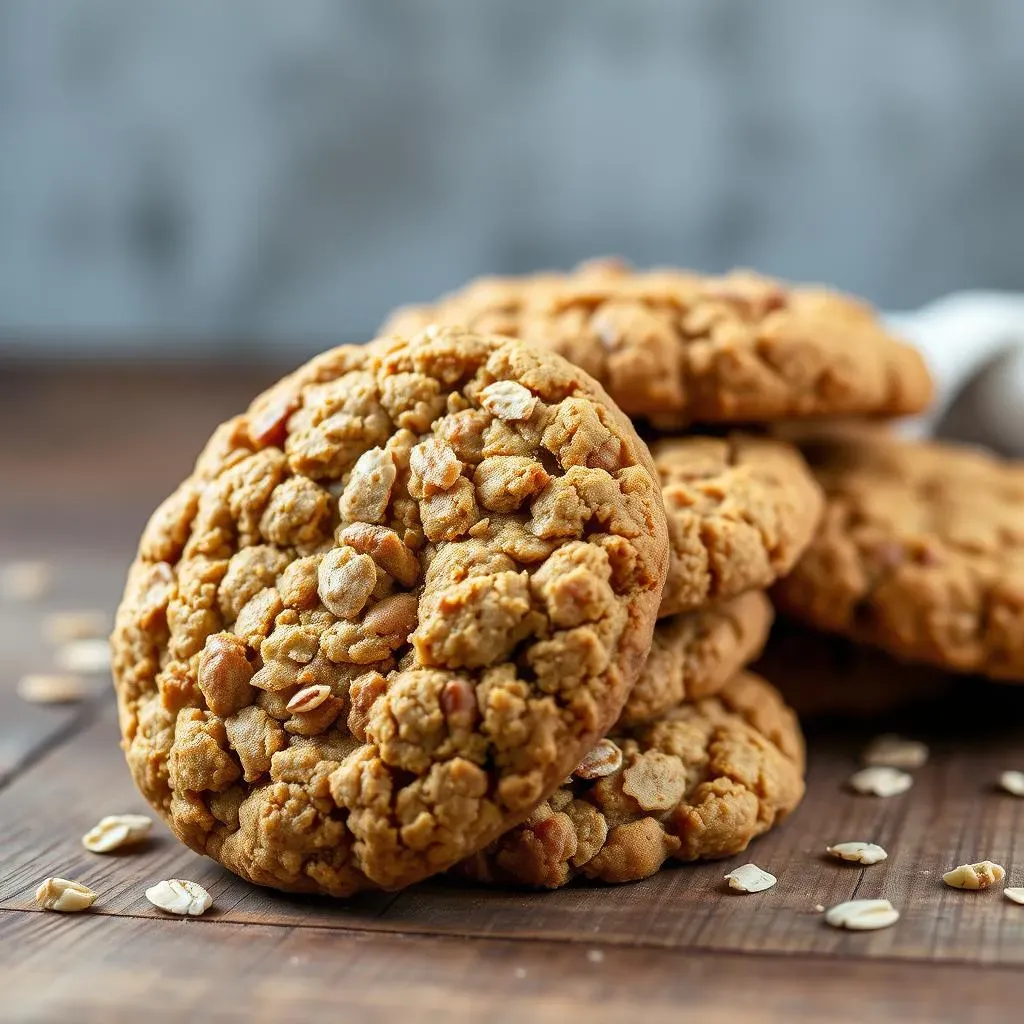
Who says you can't have your cookie and eat it too, without the guilt? I'm a firm believer that healthy eating shouldn't mean sacrificing flavor or fun, especially when it comes to cookies. That's why I've been on a mission to perfect the recipe for the best low-fat oatmeal cookies. You know, the kind that are chewy, satisfying, and don't leave you feeling like you've just consumed a brick of butter. Forget those dry, bland diet cookies; we're talking about real-deal deliciousness, just with a lighter touch. This article will walk you through my tried-and-true methods, from understanding the science of low-fat baking to the crucial ingredients that make all the difference, and finally, the step-by-step process to bake your own batch of guilt-free goodies. I'll also share some pro tips I've learned along the way so you can bake perfect best low fat oatmeal cookies every single time! Get ready to unleash your inner baker and join me on this delicious adventure.
Understanding LowFat Baking for Oatmeal Cookies
Understanding LowFat Baking for Oatmeal Cookies
The Science of Swaps
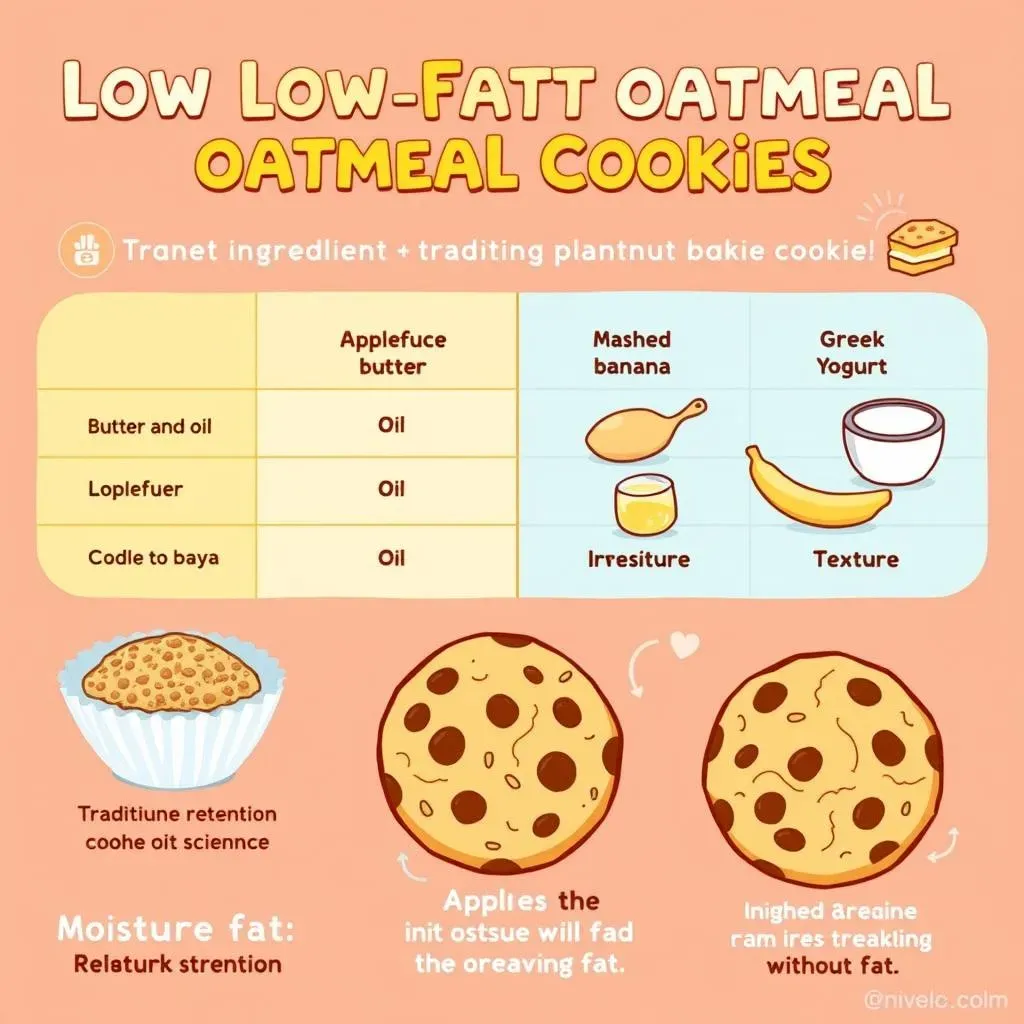
Okay, so let's talk about baking without all the fat. It's not just about taking things out; it's about figuring out what else can bring the party. Traditional cookies often rely on fats like butter and oil for that tender, moist texture. When we cut back, we need to get a bit clever. Think of it like a chemistry experiment, but with flour and sugar instead of beakers and test tubes. We're swapping out some fats for ingredients that add moisture and structure without the extra calories. Applesauce, mashed bananas, and even Greek yogurt can be our secret weapons.
It is really important to understand that fat plays a role in how the cookies spread, and how chewy it becomes. Less fat often means less spreading, so you might get a slightly puffier cookie. But don’t worry; we can work around that with a few tricks. The goal is to create that perfectly soft, chewy texture without relying on a ton of fat. We are aiming for a cookie that is both delicious and good for you.
Ingredient | Why it's used in traditional cookies | Low-fat alternative |
|---|---|---|
Butter/Oil | Moisture, tenderness, flavor | Applesauce, mashed banana, Greek yogurt |
Whole eggs | Binding, richness | Egg whites, flax egg |
The Role of Moisture
One of the biggest challenges in low-fat baking is keeping things moist. Fat helps retain moisture, so when we reduce it, we need to find other ways to prevent our cookies from turning into dry hockey pucks. This is where ingredients like applesauce and mashed bananas come in super handy. They add moisture without the fat, and they also contribute a bit of natural sweetness.
Another key player is the type of sugar we use. Brown sugar, for example, has a higher moisture content than granulated sugar. It can help to keep the cookies soft and chewy. And don't underestimate the power of a little bit of liquid, such as vanilla extract or a splash of milk. These ingredients might seem small, but they can make a big difference in the final texture of your low-fat oatmeal cookies. It is all about balancing the wet and dry ingredients to get that perfect consistency.
Key Ingredients for the Best LowFat Oatmeal Cookies
Key Ingredients for the Best LowFat Oatmeal Cookies
The Power of Oats
Alright, let's get down to the nitty-gritty: the ingredients. We're not just throwing things into a bowl and hoping for the best. Every single item here plays a specific role in making our low-fat oatmeal cookies amazing. First up, the star of the show: oats! You can't have oatmeal cookies without them, right? But not all oats are created equal. For the best texture, I recommend using instant or quick-cooking oats. They're smaller and softer, which helps create a chewier cookie. Rolled oats can work too, but they'll give you a slightly more rustic and heartier texture. It's a personal preference. I tend to lean towards instant oats for that perfect balance of chewiness and tenderness.
Oats not only provide the base for the cookie, but they also add fiber, which is a win-win. They absorb moisture and help create a satisfying mouthfeel, even without all the extra fat. It is important to measure them correctly. Too many oats can make the cookies dry, while too little might make them too soft and spread too much. Accuracy is key for baking success.
Ingredient | Why it matters | Type to use |
|---|---|---|
Oats | Structure, fiber, chewiness | Instant or Quick-Cooking |
Flour | Structure, binding | Whole wheat or all-purpose |
Sweetener | Sweetness, moisture | Honey, maple syrup, brown sugar |
Liquid | Moisture, binding | Applesauce, mashed banana, or egg white |
Flour Power and Sweetness
Next up, let's talk about flour. You can use either all-purpose or whole wheat flour for these cookies. Whole wheat flour adds a bit more fiber and nutrients, but it can also make the cookies a little denser. If you're using whole wheat, you might want to add a touch more liquid to keep things moist. All-purpose flour gives you a lighter, more classic cookie texture. It really depends on what you are looking for. I often go for a mix of half whole wheat and half all-purpose to get the best of both worlds.
Then, there's the sweetness factor. Instead of refined white sugar, I like to use natural sweeteners like honey or maple syrup. These sweeteners not only add sweetness but also contribute to the moisture content of the cookies. Plus, they bring a unique flavor profile that complements the oats perfectly. Brown sugar is another great option because of its molasses content, which adds a depth of flavor and keeps the cookies soft. It’s all about finding the right balance of sweetness and moisture for the perfect low-fat oatmeal cookie.
StepbyStep Guide to Baking Delicious LowFat Oatmeal Cookies
StepbyStep Guide to Baking Delicious LowFat Oatmeal Cookies
Getting Started: Mixing the Dough
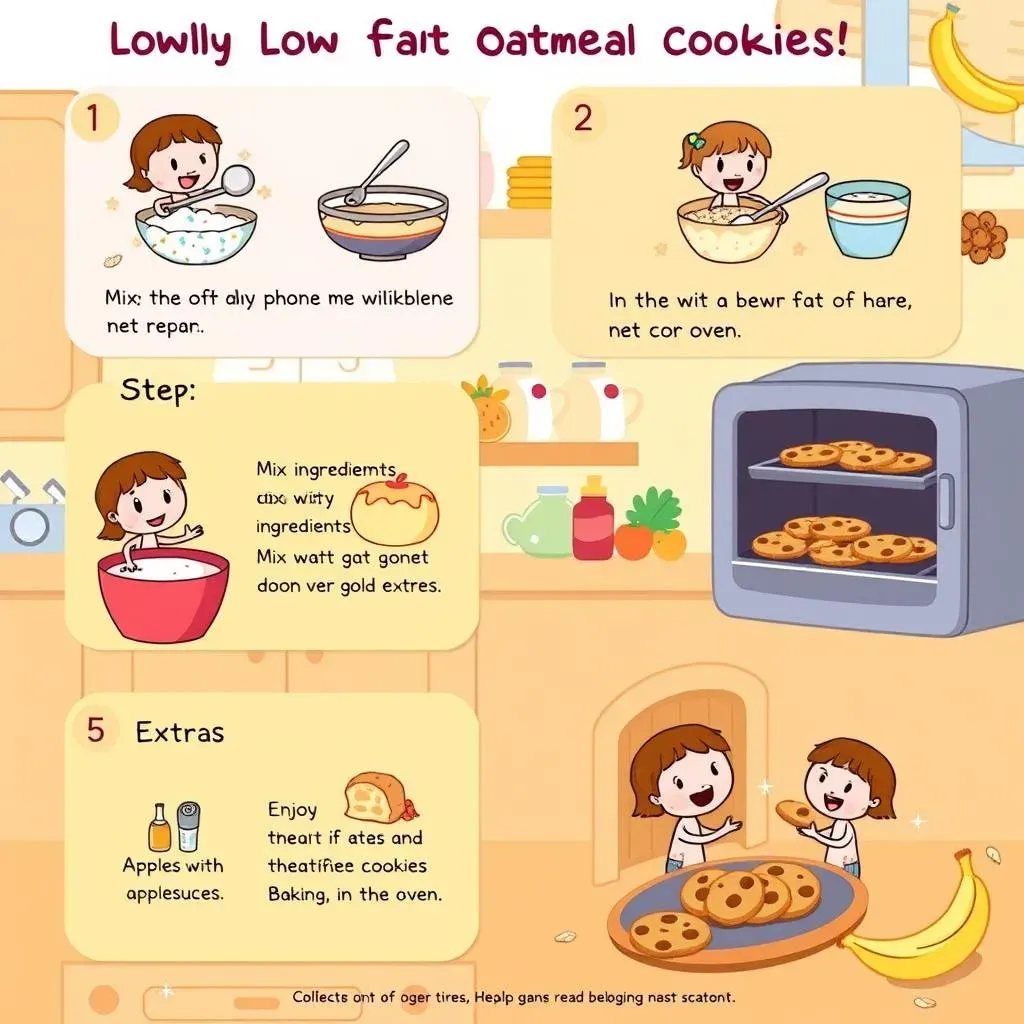
Alright, let's get baking! First things first, we need to mix our dry ingredients. Grab a bowl and toss in your oats, flour, baking soda, cinnamon, and a pinch of salt. Whisk it all together to make sure everything is evenly distributed. It's like giving your dry ingredients a good massage, ensuring they're ready for the next step. In a separate bowl, combine your wet ingredients. This is where your applesauce, mashed banana, honey or maple syrup, vanilla extract, and any other liquid ingredients come together. Mix them well until everything is smooth and well combined. It is really important to have the wet and dry ingredients mixed separately before combining them.
Now, here's the fun part: gently pour the wet ingredients into the dry ingredients. Use a spatula or a wooden spoon to mix everything together until just combined. Be careful not to overmix the dough, because that can make your cookies tough. Just mix until the dry ingredients are incorporated and the dough starts to come together. At this point, you can add any extras, like raisins, chocolate chips, or nuts. Fold them in gently, and you're almost ready to bake.
Step | Action | Why it's important |
|---|---|---|
1 | Mix dry ingredients | Ensures even distribution |
2 | Mix wet ingredients | Creates a smooth base |
3 | Combine wet and dry | Forms the cookie dough |
4 | Add extras | Customizes the flavor |
Baking to Perfection
Okay, preheat your oven to 350°F (175°C). While that's heating up, line a baking sheet with parchment paper. This helps to prevent the cookies from sticking and makes cleanup a breeze. Now, it is time to scoop your dough onto the baking sheet. You can use a spoon or a cookie scoop to make sure the cookies are all the same size. I like to leave a little space between each cookie so they have room to spread. Once you have all the dough on the baking sheet, it's time to pop them into the oven.
Bake the cookies for about 10-12 minutes, or until they're lightly golden brown around the edges. The center might still look a little soft, but don't worry; they'll firm up as they cool. It's important not to overbake the cookies, as that will make them dry. Once they are done, take them out of the oven and let them cool on the baking sheet for a few minutes before transferring them to a wire rack to cool completely. This step is crucial for getting that perfect chewy texture.
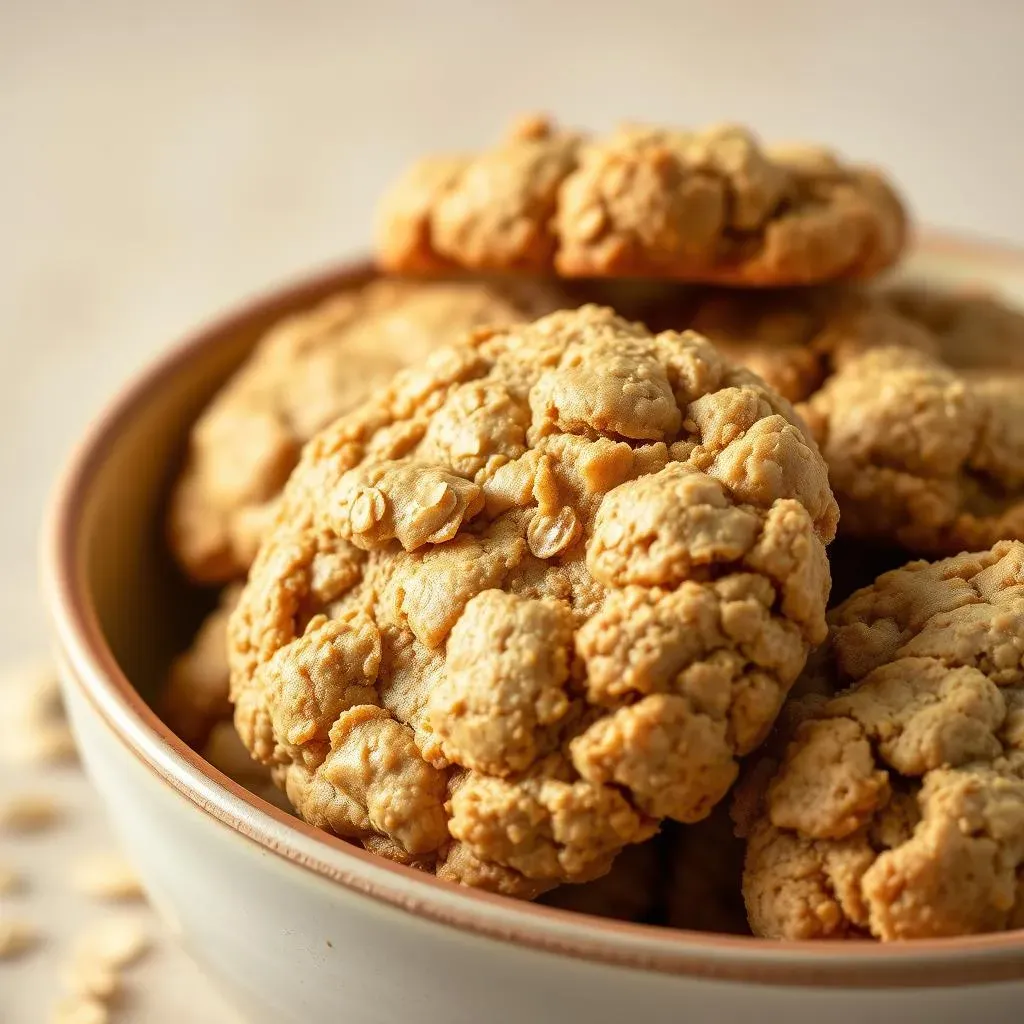
Cooling and Enjoying
Now, the hardest part: waiting for the cookies to cool. I know it's tempting to grab one right away, but trust me, they're worth the wait. As they cool, the cookies will continue to firm up and get that perfect chewy texture. Once they're completely cool, they're ready to enjoy! You can store them in an airtight container for a few days, but honestly, they never last that long in my house. These low-fat oatmeal cookies are perfect with a glass of milk, a cup of coffee, or just as a little afternoon treat.
And there you have it! Your very own batch of delicious, low-fat oatmeal cookies. With these simple steps, you'll be baking like a pro in no time. Remember that baking is all about practice. Don't be discouraged if your first batch isn't perfect. Just keep trying, and you'll get the hang of it. And most importantly, have fun with it. Baking should be an enjoyable experience, not a chore.
Tips and Tricks for Perfecting Your LowFat Oatmeal Cookies
Tips and Tricks for Perfecting Your LowFat Oatmeal Cookies
Mastering the Dough
Okay, so you've got the basic recipe down, but now it is time to make those cookies truly shine. Let's talk about some pro-level tips and tricks to take your low-fat oatmeal cookies to the next level. First, let's talk about the dough. The consistency of your dough is key. If it's too wet, your cookies will spread too much and end up thin and crispy. If it's too dry, they'll be crumbly and tough. The perfect dough should be slightly sticky but still hold its shape when scooped. If you find that your dough is too wet, add a tablespoon of flour at a time until you reach the right consistency. If it is too dry, a teaspoon of liquid will do the trick.
Another trick is to chill your dough before baking. This is a game-changer for low-fat cookies. Chilling the dough for at least 30 minutes helps the flavors meld together, and it also prevents the cookies from spreading too much while baking. I like to make my dough in the evening and then bake the cookies the next day. It's a great way to get ahead and have fresh cookies ready whenever you need them. Chilling the dough also helps the cookies have that perfect chewy texture.
Tip | Why it matters | How to do it |
|---|---|---|
Dough Consistency | Prevents spreading, ensures texture | Add flour or liquid as needed |
Chill the Dough | Flavor melds, prevents spreading | Refrigerate for at least 30 minutes |
Baking and Beyond
Now, let's talk about baking. Oven temperature is crucial for baking. Make sure your oven is preheated to the correct temperature before you put the cookies in. Using an oven thermometer can help you make sure your oven is at the right temperature. Baking time is also important. It is better to underbake them slightly than to overbake them. The cookies will continue to bake as they cool on the baking sheet. Look for golden brown edges and a slightly soft center. That's when you know they are ready to come out.
And don't underestimate the power of a good baking sheet. I find that using a light-colored baking sheet helps the cookies bake evenly. Dark baking sheets tend to heat up more, which can cause the cookies to brown too quickly on the bottom. Finally, always let the cookies cool completely on a wire rack before storing them. This helps prevent them from getting soggy, and it gives them that perfect chewy texture. Now you know the secrets to making the best low-fat oatmeal cookies. Happy Baking!