
Table of Contents
Ever find yourself staring into the freezer, dreaming of ice cream but dreading the guilt? I get it. The struggle is real. That’s why I went on a mission to find the perfect balance: an easy low fat ice cream recipe that satisfies your sweet tooth without derailing your healthy habits. Forget those store-bought options loaded with sugar and mystery ingredients. We're making our own, and it's going to be amazing! This isn’t about deprivation; it’s about smart choices. We’ll explore why choosing low-fat is a great idea, dive into the essential ingredients that make all the difference, and then I'll walk you through a simple recipe you can whip up at home. Plus, we'll tackle common issues and get creative with flavors. Get ready to enjoy homemade ice cream that’s both delicious and good for you. Let's get scooping!
Why Choose Easy Low Fat Ice Cream?
Why Choose Easy Low Fat Ice Cream?
let's talk about why you might want to ditch the full-fat stuff and embrace easy low fat ice cream recipe. First off, it's a game-changer for anyone watching their calorie intake. I mean, who doesn't love a good scoop of ice cream? But those extra calories from fat can add up quickly and sometimes I feel sluggish after eating it. Making it low fat means you can enjoy the creamy, cold goodness without the guilt. Plus, it's a sneaky way to get some extra protein into your diet, especially if you use Greek yogurt as a base, which is a big win in my book. And honestly, making it yourself gives you total control over what goes in, so you can skip all the artificial stuff and just enjoy the pure, delicious flavors.
Mastering the Basics: Key Ingredients for Low Fat Ice Cream

Mastering the Basics: Key Ingredients for Low Fat Ice Cream
Alright, so you're ready to make some magic happen? Let's talk ingredients for our easy low fat ice cream recipe. First up, you need a good base. I'm all about Greek yogurt. It's thick, creamy, and packed with protein. It really gives your ice cream that satisfying texture you're looking for, without all the extra fat. Then, you'll need some kind of liquid. I usually go with 2% milk because it hits that sweet spot of creaminess without being too heavy. But you can experiment with other options if you want. And don't forget about your sweetener. I prefer liquid stevia because it's plant-based and has zero calories. But you can use honey, maple syrup or any other kind of sweetener. The key is to find what you like best. Finally, a little bit of xanthan gum is a game changer, it's a natural thickener that will help you get rid of icy texture and get that perfect scoopable consistency. These ingredients are the foundation for any great low-fat ice cream.
Ingredient | Why It's Important |
|---|---|
Greek Yogurt | Provides creaminess and protein |
2% Milk | Adds moisture and smooth texture |
Liquid Stevia | Sweetens without added calories |
Xanthan Gum | Prevents icy texture |
Easy Low Fat Ice Cream Recipe: StepbyStep Guide
Easy Low Fat Ice Cream Recipe: StepbyStep Guide
Getting Started: The Prep Work
so you’ve got your ingredients ready, let's dive into making this easy low fat ice cream recipe! First, grab a medium-sized bowl. We're going to dump in the Greek yogurt. Now, add in the 2% milk and the liquid stevia. If you're using a different sweetener, measure it out according to your preference. Give everything a good mix with a whisk until it’s nice and smooth. You want to make sure there are no lumps, just a creamy, dreamy base. Then, sprinkle in the xanthan gum. Don't just dump it in! Sprinkle it slowly while whisking to avoid clumping. This stuff is like the magic glue that holds our ice cream together.
Now, whisk it all together again for about a minute. You'll notice the mixture start to thicken slightly. That's the xanthan gum doing its job. If you want to add a little extra flavor, now is the time to do it. A dash of vanilla extract or a pinch of salt can make a big difference. Just make sure everything is well combined before moving on to the next step. Remember, patience is key here. A smooth base will result in a creamy, delicious ice cream.
Freezing and Finishing Touches
Alright, so our mixture is looking good, it's time to transfer it to an ice cream maker. If you have one, follow the manufacturer's instructions to churn the mixture. This usually takes about 20-30 minutes. If you don't have an ice cream maker, don't worry. Pour the mixture into a freezer-safe container and place it in the freezer. Every 30 minutes for the next 2-3 hours, take it out and give it a good stir with a fork. This helps to break up the ice crystals and make the ice cream smoother. It's a little more work but totally worth it.
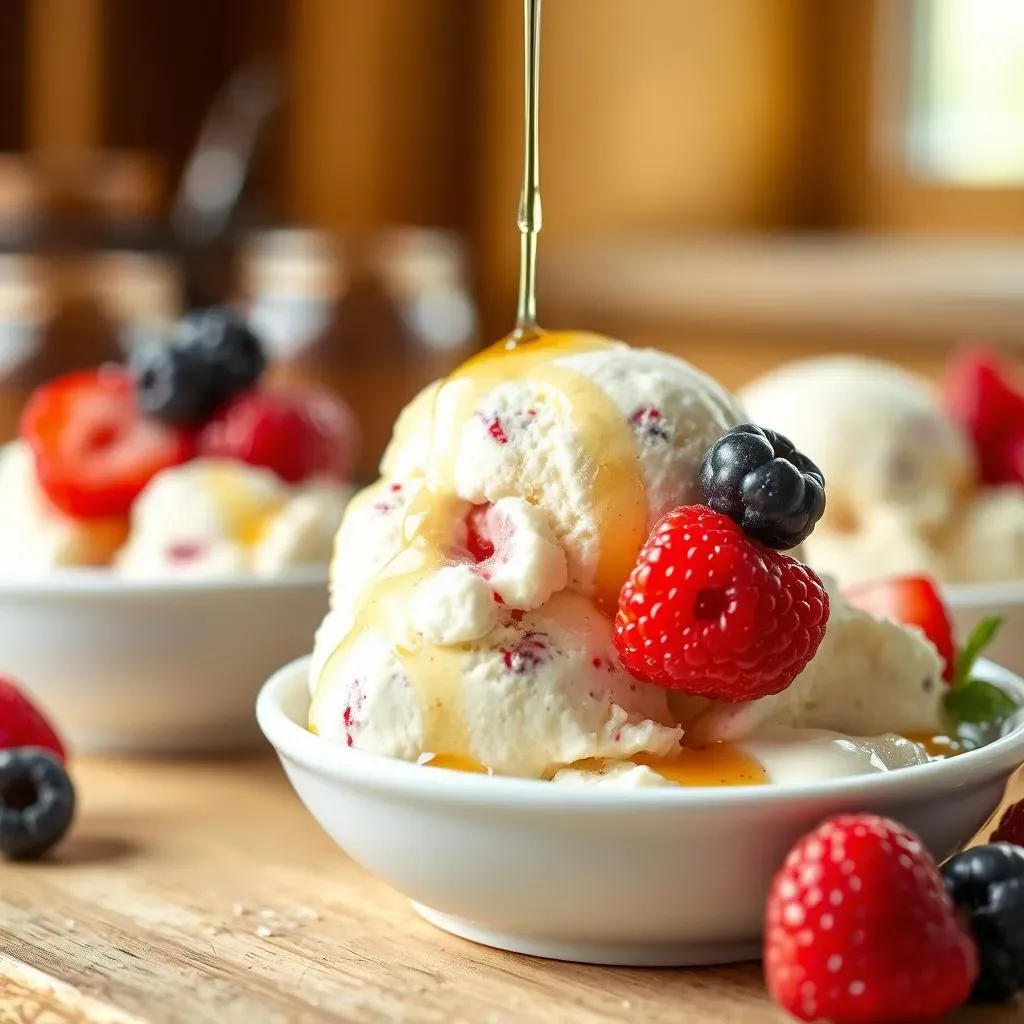
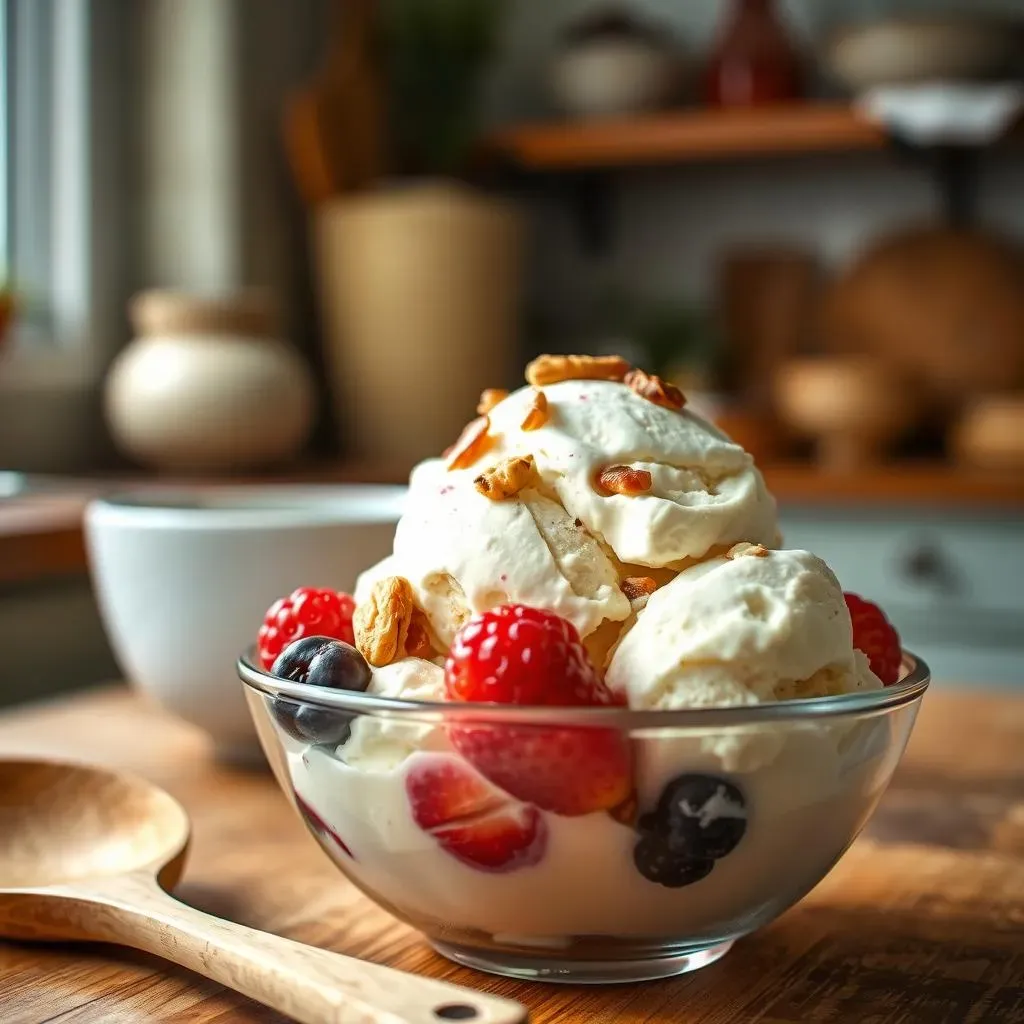
Once your ice cream is frozen to your desired consistency, it's time to enjoy it! I usually let it sit out for about 5-10 minutes before scooping, so it softens up a bit. This makes it much easier to scoop and gives it a more creamy texture. Now you can add your favorite toppings, like fresh fruit, nuts, or a drizzle of chocolate sauce. The possibilities are endless. And there you have it, your own homemade easy low fat ice cream recipe, ready to be devoured!
Step | Action |
|---|---|
1 | Combine yogurt, milk, and sweetener in a bowl. |
2 | Whisk in xanthan gum. |
3 | Churn in ice cream maker or freeze and stir. |
4 | Let soften and enjoy! |
Troubleshooting Your Easy Low Fat Ice Cream

Troubleshooting Your Easy Low Fat Ice Cream
Icy Texture Woes
so you’ve made your easy low fat ice cream recipe, and it’s come out a bit… icy? Don’t panic, it happens to the best of us. The main culprit here is usually the formation of large ice crystals. This can happen if your mixture wasn't cold enough when it went into the freezer or if you didn't stir it enough during the freezing process. Remember, those stirs are crucial! They break up the ice crystals, making your ice cream smoother. Another reason could be that you might not have used enough xanthan gum. It's essential to get the right amount, so your ice cream doesn't turn into a block of ice. So, if you're dealing with icy ice cream, double-check your process and adjust accordingly next time.
And hey, even if your ice cream is a little icy, it’s still edible. You can always blend it up into a milkshake, no one will know. It’s all about learning and tweaking your process. Sometimes, the best discoveries happen when things don't go exactly as planned. But, we aim for smooth, not icy, right? So, let's focus on the solutions and make sure your next batch is perfect. Let’s not let a few ice crystals get us down.
Flavor Fails and Fixes
Alright, let's say your ice cream isn't icy, but it's a bit bland. That's no fun! Flavor is key, and sometimes our taste buds need a little extra something. First, make sure you're using enough sweetener. Taste your base before freezing, and if it's not sweet enough for you, add a little more. Also, consider using extracts, like vanilla, almond, or even a bit of lemon. These can add a depth of flavor that you might be missing. And don’t underestimate the power of a pinch of salt! It can enhance the sweetness and bring out other flavors.
Another thing to think about is the quality of your ingredients. Using a good quality cocoa powder can make a big difference in chocolate ice cream, for example. And if you’re adding fruit, make sure it’s ripe and flavorful. It's all about layering those flavors and finding the right balance. So, if your ice cream is lacking in the taste department, don’t be afraid to experiment! A little tweaking here and there can make a world of difference. After all, we're all about creating deliciousness, right?
Problem | Possible Solution |
|---|---|
Icy Texture | Stir more frequently during freezing, use more xanthan gum, ensure base is cold. |
Bland Flavor | Add more sweetener, use extracts, add a pinch of salt, use high quality ingredients. |
Flavor Variations: Beyond the Basics
Flavor Variations: Beyond the Basics
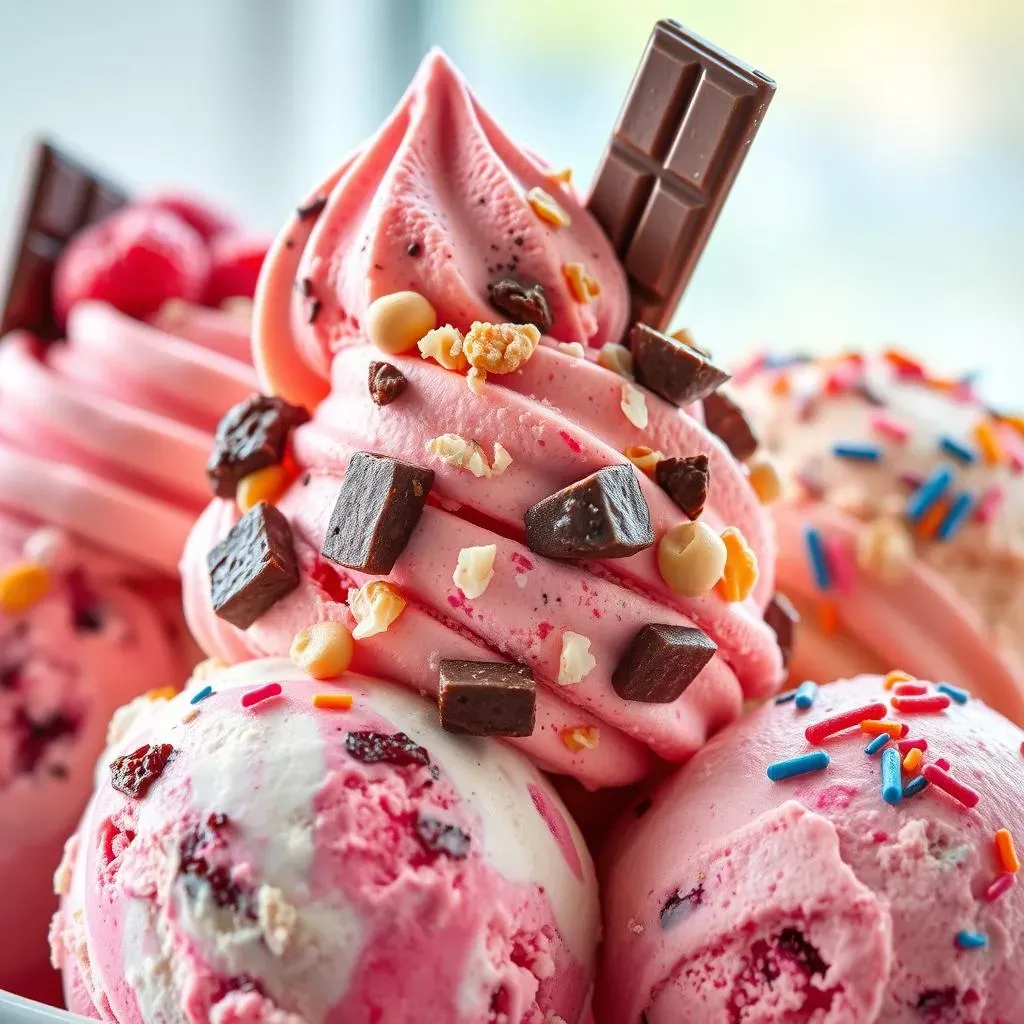
so you've nailed the basic easy low fat ice cream recipe, now let's get to the fun part: flavor variations! I mean, vanilla is great, but sometimes you just need a little more pizzazz, right? Think of your ice cream base as a blank canvas. You can go wild with extracts, spices, fruit, chocolate – anything your heart desires. I'm a huge fan of adding a splash of peppermint extract and some dark chocolate chips for a mint chocolate chip vibe. Or, if I'm feeling fruity, I’ll throw in some fresh berries. The key is to experiment and see what combinations make your taste buds sing. Don't be afraid to get creative and mix and match flavors until you find your signature blend.
Have you ever tried adding a pinch of cinnamon and some chopped apples? It's like a warm apple pie in ice cream form! You can also try mixing in some peanut butter for a nutty twist, or even a little bit of coffee for a caffeine kick. The possibilities are truly endless. And don't forget about the textural elements. Adding some chopped nuts or seeds will give you a nice crunch, or you can even try some crumbled cookies for a more decadent treat. It's all about layering those flavors and textures to create a truly unique and delicious experience. Remember, the best part of making your own ice cream is that you can customize it to exactly what you're craving.
Flavor Category | Examples |
|---|---|
Extracts | Vanilla, almond, peppermint, lemon |
Spices | Cinnamon, nutmeg, ginger |
Fruit | Berries, bananas, peaches, apples |
Nuts & Seeds | Almonds, walnuts, pecans, chia seeds |
Other | Chocolate chips, peanut butter, coffee |
Serving Suggestions: Enjoying Your Homemade Ice Cream
Serving Suggestions: Enjoying Your Homemade Ice Cream
Scooping Perfection
so you've made this amazing easy low fat ice cream recipe, and it's time to dig in! But before you grab a spoon and go wild, let's talk about serving it right. First things first, you need to let your ice cream soften up a bit. I usually leave it out of the freezer for about 5-10 minutes before scooping. This makes it much easier to get a nice, smooth scoop, and it also enhances the creamy texture. If you try to scoop it straight from the freezer, it'll be rock hard and you'll end up with a mess. Nobody wants that! I also recommend using an ice cream scoop that has a release mechanism. It makes the whole process so much easier and it helps you get those perfect round scoops.
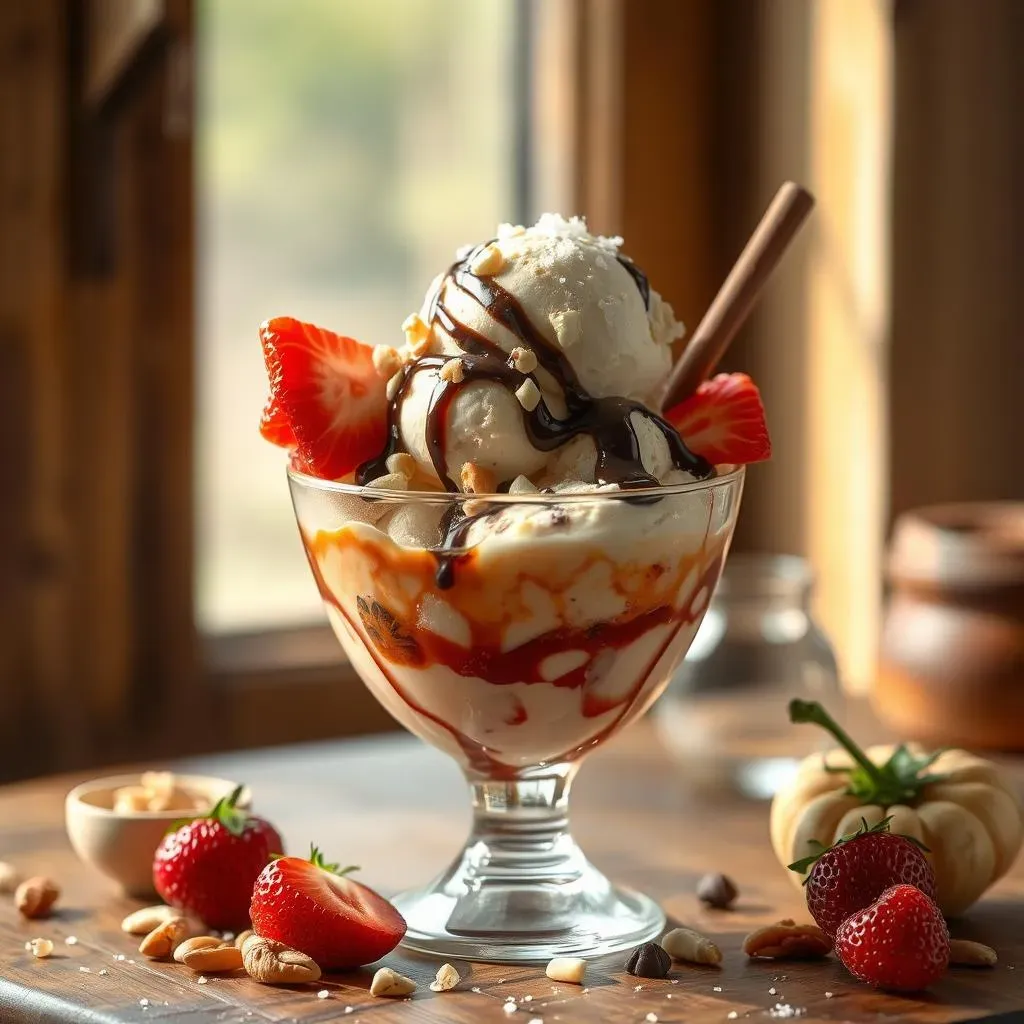
And don't forget about presentation! Serving your ice cream in a pretty bowl or glass can make the whole experience feel extra special. I love using those vintage-style sundae glasses. They just make everything look more elegant. You can also get creative with toppings. A drizzle of chocolate sauce, some chopped nuts, fresh fruit, or even a sprinkle of sea salt can take your ice cream from good to amazing. The key is to make it look as good as it tastes. I usually like to set up a little ice cream bar with different toppings and let everyone customize their own. It's a fun way to make dessert a bit more interactive.
Beyond the Bowl: Creative Serving Ideas
Alright, so you've mastered the art of scooping. But what if you want to get a little more creative with your easy low fat ice cream recipe? There are so many ways to enjoy your homemade treat beyond just a bowl. Have you ever tried making an ice cream sandwich? It's super easy! Just grab some cookies, place a scoop of ice cream between them, and you've got a delicious and portable dessert. You can also try making ice cream tacos. It’s very similar, but you use a taco shell instead of cookies. It’s a fun way to mix things up and it’s always a hit with kids. And if you’re feeling fancy, you can try making a parfait. Layer your ice cream with granola, fruit, and a drizzle of honey for a sophisticated and delicious treat.
Another fun idea is to use your homemade ice cream in smoothies. It adds a creamy texture and a touch of sweetness. Just blend it with some milk and your favorite fruits for a quick and easy breakfast or snack. You can also try using it to make milkshakes. It’s a classic for a reason! And if you’re having a party, you can set up an ice cream sundae bar with all kinds of toppings, sauces, and sprinkles. It’s always a crowd-pleaser, and it allows everyone to create their own unique dessert. The possibilities are truly endless. It's all about letting your imagination run wild and finding new ways to enjoy your delicious homemade ice cream.
Serving Style | Description |
|---|---|
Classic Scoop | Served in a bowl or cone with optional toppings. |
Ice Cream Sandwich | Ice cream between two cookies. |
Ice Cream Tacos | Ice cream in a taco shell. |
Parfait | Layered with granola, fruit, and other toppings. |
Smoothie | Blended with milk and fruit. |
Your Guilt-Free Ice Cream Adventure
So, there you have it! Crafting your own easy low fat ice cream recipe isn't just possible; it's downright enjoyable. We've covered the why, the how, and even a few tricks to make sure your frozen treat is nothing short of spectacular. Remember, this isn't about restriction, it's about empowerment. You're in control of what goes into your body, and you deserve to enjoy every single bite of it. Now, go forth, experiment with flavors, and share your creations with those you love. The world needs more homemade ice cream – especially the guilt-free kind. Happy scooping!