Table of Contents
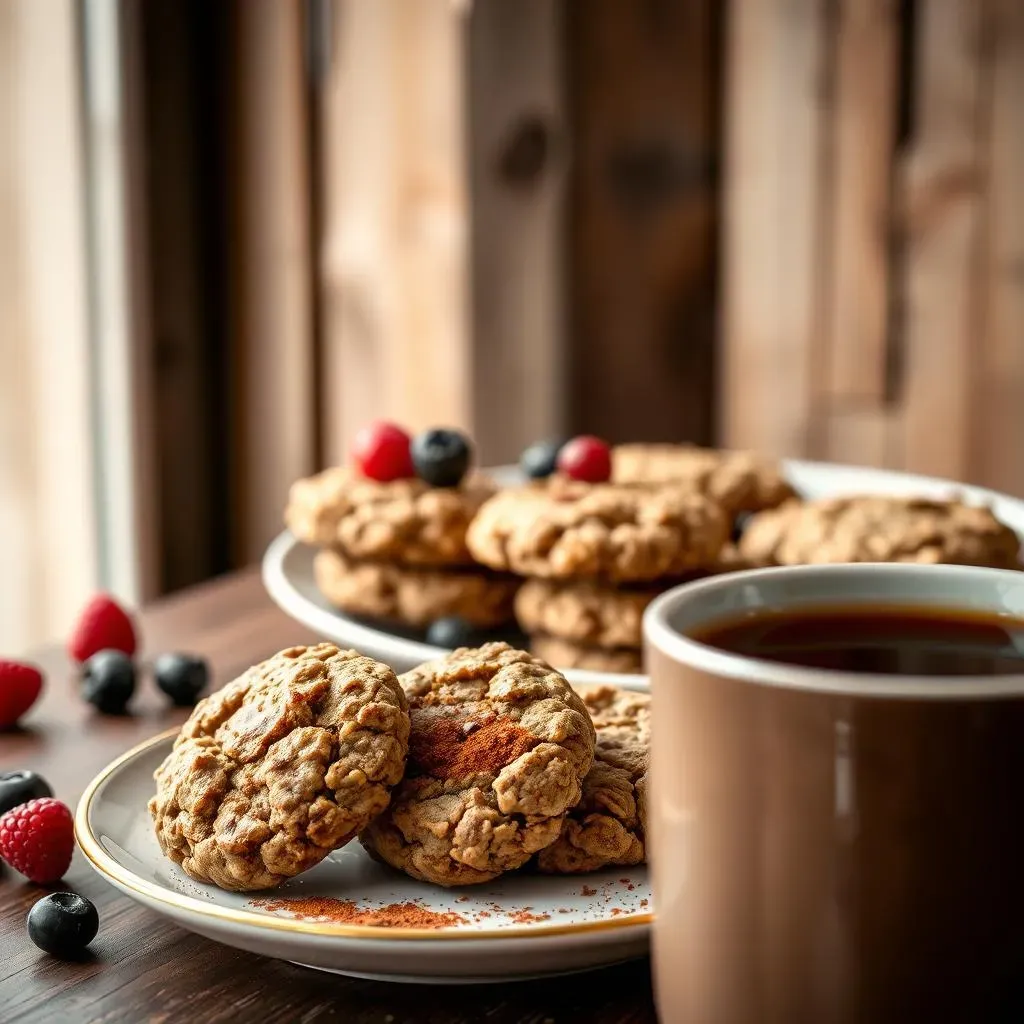
Ever find yourself craving a sweet treat but dreading the guilt that follows? I get it. That's why I'm obsessed with easy low fat oatmeal cookies. They’re the perfect solution when you want something comforting without derailing your healthy habits. Forget those overly processed, sugar-laden snacks. We're talking about real ingredients, simple steps, and a taste that’ll make you forget they're even good for you. This article is your guide to baking the best low fat oatmeal cookies, and I promise, it's easier than you think. We'll explore why these cookies are a great choice, the key ingredients to use, a simple step-by-step baking process, and some pro tips to ensure your cookies turn out perfect every time. Get ready to enjoy delicious, guilt-free cookies – let's get baking!
Why Choose Easy Low Fat Oatmeal Cookies?
Why Choose Easy Low Fat Oatmeal Cookies?
Guilt-Free Indulgence
Okay, let's be real, who doesn't love a good cookie? But sometimes, those store-bought ones leave you feeling sluggish and, well, guilty. That's where easy low fat oatmeal cookies swoop in to save the day. They're like a secret weapon against those afternoon cravings. You get the satisfying sweetness and chewiness of a cookie, without all the extra fat and processed junk. It's a win-win. I started making these because I was tired of feeling like I had to choose between my health and my sweet tooth, and honestly, they've changed the game for me. Now, I can enjoy a treat without the side of regret.
Plus, think about it, what's better than a homemade treat? You control exactly what goes into them. No weird preservatives or hidden sugars here. It's just wholesome ingredients, baked with love (and maybe a little bit of impatience). They're also super versatile. You can toss in different things, like chocolate chips or nuts, or keep them simple with just raisins. They are a blank canvas, and the best part is that they don’t require any fancy equipment or baking skills. If I can make them, trust me, anyone can!
Health Benefits in Disguise
Beyond the whole "guilt-free" thing, these cookies actually have some nutritional perks. Oatmeal, the star of the show, is packed with fiber. That's the stuff that keeps you feeling full and happy. It can also help with digestion and even keep your cholesterol in check. It's like you're getting a little dose of good health with every bite. I used to think oatmeal was just for breakfast, but now I realize it’s a superpower ingredient. When you combine it with other healthy ingredients, you’re basically making a super-cookie that tastes amazing.
And let's not forget about the "low fat" part. By swapping out excess butter and oil for healthier alternatives like applesauce or a touch of coconut oil, you're cutting down on saturated fats without sacrificing taste. This is perfect if you're trying to watch your weight, or just want to make a healthier choice for your body. It's not about being perfect, it's about making better choices that still allow you to enjoy life. These cookies are a testament to the fact that healthy doesn’t have to be boring.
Benefit | Details |
|---|---|
Reduced Guilt | Enjoy cookies without the high fat and sugar load. |
Fiber Rich | Oatmeal provides fiber for fullness and digestive health. |
Healthy Fats | Use of healthy fats over butter and oil. |
Customizable | Add your favorite ingredients like chocolate chips or nuts. |
Key Ingredients for Delicious Low Fat Oatmeal Cookies

Key Ingredients for Delicious Low Fat Oatmeal Cookies
The Power of Oats
Alright, let’s talk oats. They're not just for breakfast, you know. For these cookies, you have a couple of options: rolled oats (also called old-fashioned oats) or quick-cooking oats. I usually go for rolled oats because they give the cookies a nice, chewy texture. They hold their shape better during baking. But, quick-cooking oats work just as well, especially if you want a slightly softer cookie. It really comes down to personal preference. I've even tried a mix of both before, and it worked out great. No matter which you choose, make sure they are fresh; nobody likes stale oats. They are the backbone of these cookies, providing that hearty base that makes them so satisfying.
And here's a little secret: don't be afraid to experiment with different types of oats. Steel-cut oats, while not ideal for this recipe, can add a fun twist if you’re feeling adventurous. But, stick to rolled or quick-cooking for the best results. The key is to make sure they’re not overly processed or loaded with extra sugars. We want to keep things healthy and simple. I once accidentally bought flavored instant oatmeal and let’s just say it made for some interesting cookies—not in a good way! So, check your labels and keep it basic.
Sweeteners and Fats
Now, let's get to the sweet stuff. Instead of using tons of refined sugar, we're going to use natural sweeteners like honey, maple syrup, or agave. I personally love maple syrup because it adds a subtle caramel-like flavor. It's also less processed than white sugar, which is a bonus. But, you can use whichever one you prefer. The key is to use just enough to sweeten the cookies without making them overly sugary. It’s a balancing act, like a tightrope walker with a sweet tooth. I’ve found that a little goes a long way, and you can always adjust the amount based on your taste.
As for fats, we're ditching the excess butter and oil. Instead, we’re using applesauce or a small amount of coconut oil. Applesauce adds moisture and helps keep the cookies soft and chewy, without adding a ton of fat. Coconut oil adds a subtle flavor and helps with the texture. If you're not a fan of coconut, you can just use more applesauce or even try a little bit of mashed banana. The goal is to keep the fat content low without compromising the taste and texture. I remember using olive oil once because I was out of everything else, and let me tell you, that was not a good idea. So, stick to the applesauce or coconut oil, trust me on this one.
Ingredient | Why It's Important |
|---|---|
Rolled Oats | Provides chewy texture and fiber. |
Quick-Cooking Oats | Offers a softer texture. |
Honey/Maple Syrup | Natural sweetener and flavor. |
Applesauce | Adds moisture and reduces fat. |
Coconut Oil | Adds flavor and texture. |
StepbyStep: Baking Easy Low Fat Oatmeal Cookies
StepbyStep: Baking Easy Low Fat Oatmeal Cookies
Getting Started: The Prep Work
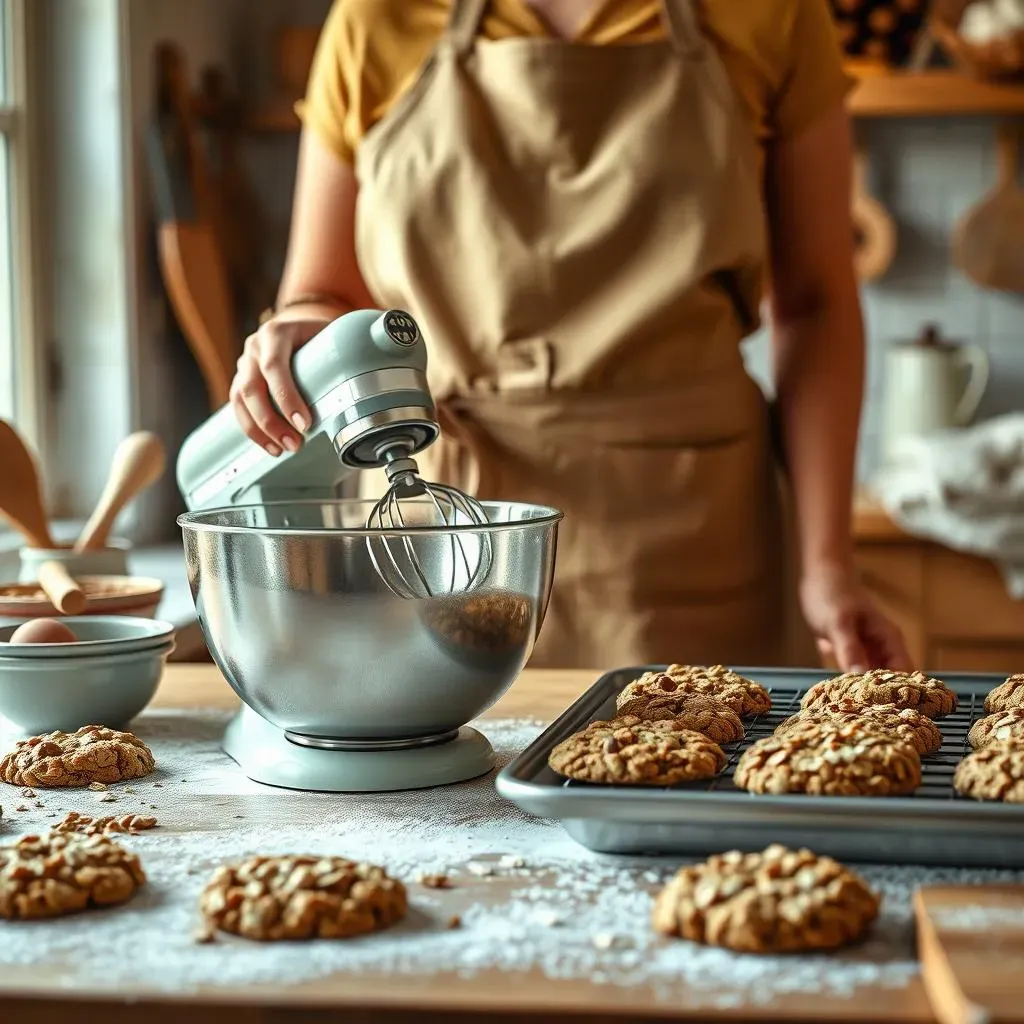
Okay, let’s get this baking party started! First things first, preheat your oven to 350°F (175°C). This is crucial, you don't want to put your cookies into a cold oven. While the oven is warming up, grab a large mixing bowl. This is where the magic happens. Now, add your dry ingredients: the oats (either rolled or quick-cooking), a bit of flour (whole wheat if you're feeling extra healthy), a pinch of baking soda, and a dash of cinnamon. I love cinnamon, but you can add other spices too, like nutmeg or ginger. A little bit of salt will help enhance all the flavors. I always like to whisk these dry ingredients together to make sure everything is evenly distributed. Nobody wants a bite of cookie that's all baking soda!
Next, in a separate bowl, mix your wet ingredients. This includes your chosen sweetener (honey, maple syrup, or agave), applesauce, and a touch of melted coconut oil. I always make sure to measure everything carefully. Baking is a science, after all. Whisk these wet ingredients together until they're well combined. Now, here’s the fun part: pour the wet ingredients into the bowl with the dry ingredients. Mix everything together until it forms a nice dough. Don't overmix, just stir until everything is just combined. You should have a soft, slightly sticky dough. If the dough seems too dry, you can add a tablespoon of water or milk. If it seems too wet, add a little bit of extra oats. Now we’re ready for the next step!
Shaping and Baking
Now that your dough is ready, it's time to make some cookies. Grab a baking sheet and line it with parchment paper. This will prevent the cookies from sticking. If you don’t have parchment paper, a lightly greased baking sheet will work fine too. Drop spoonfuls of dough onto the baking sheet. I use a spoon or a cookie scoop, this helps to make sure that the cookies are all the same size. This also helps to bake evenly. Space them out a little bit because they will spread during baking. I usually leave about an inch or two between each cookie. You can flatten them slightly with the back of a spoon, but don’t press them down too much. I like them to have a bit of a rounded shape.
Once your cookies are all set on the baking sheet, it’s time to put them in the oven. Bake for about 10-12 minutes. The edges should be golden brown, but the center should still be slightly soft. Remember, they will continue to bake as they cool. Don't overbake them, or they will turn hard and dry. I always set a timer and keep an eye on them. Every oven is a little different, so it’s a good idea to start checking them around the 10-minute mark. Once they’re done, take them out of the oven and let them cool on the baking sheet for a few minutes before transferring them to a wire rack to cool completely. This will help them set up properly.
Step | Action |
|---|---|
1 | Preheat oven to 350°F (175°C). |
2 | Mix dry ingredients in a large bowl. |
3 | Mix wet ingredients in a separate bowl. |
4 | Combine wet and dry ingredients. |
5 | Drop spoonfuls of dough onto a baking sheet. |
6 | Bake for 10-12 minutes. |
7 | Cool on a wire rack. |
Cooling and Enjoying
Okay, so your cookies are out of the oven and smelling amazing. Now for the hardest part: waiting for them to cool. I know, it's torture. But trust me, it's worth it. If you try to move them too soon, they might fall apart. So, let them sit on the baking sheet for a few minutes before carefully transferring them to a wire rack. This will allow the air to circulate around them and help them cool properly. Once they are completely cool, they will be firmer and easier to handle. This is when you can finally take a bite. It's like the moment of truth, all your hard work has paid off. The cookies should be soft, chewy, and oh-so-delicious.
And there you have it, easy low fat oatmeal cookies! You can store these in an airtight container at room temperature for a few days, or in the freezer for longer. But, let’s be honest, they probably won’t last that long. I usually end up eating a few as soon as they’re cool enough to handle. They're perfect for a snack, a light dessert, or even as a little treat with your morning coffee. I love making a big batch and sharing them with friends and family. It’s such a simple way to spread a little bit of joy. Plus, everyone will be impressed with your baking skills. Now, go ahead and enjoy your homemade, guilt-free cookies. You deserve it!
Tips and Tricks for Perfect Low Fat Oatmeal Cookies Every Time
Tips and Tricks for Perfect Low Fat Oatmeal Cookies Every Time
Alright, so you've got the basics down, but what about taking these cookies from good to absolutely amazing? That's where a few handy tips and tricks come into play. First off, let’s talk about chilling the dough. I know it's tempting to skip this step, but trust me, it makes a huge difference. By chilling the dough for at least 30 minutes (or even better, an hour), the fats in the dough solidify, which helps prevent the cookies from spreading too much during baking. This results in thicker, chewier cookies. I once tried baking a batch without chilling, and they turned into flat, crispy discs. Not exactly what I was going for. So, patience is key here.
Another tip is to not overbake the cookies. They should be slightly soft in the center when you take them out of the oven. They will continue to bake as they cool, and overbaking can lead to dry, hard cookies. I usually start checking them around the 10-minute mark, and I’m not afraid to take them out a little early if they look like they’re ready. Also, make sure to measure your ingredients accurately, especially the flour and oats. Too much flour can make the cookies dry, while too little can make them spread too much. Baking is all about precision, and a little bit of attention to detail can go a long way. I use a kitchen scale for the most accurate results, but measuring cups and spoons work just fine too, as long as you level them off.
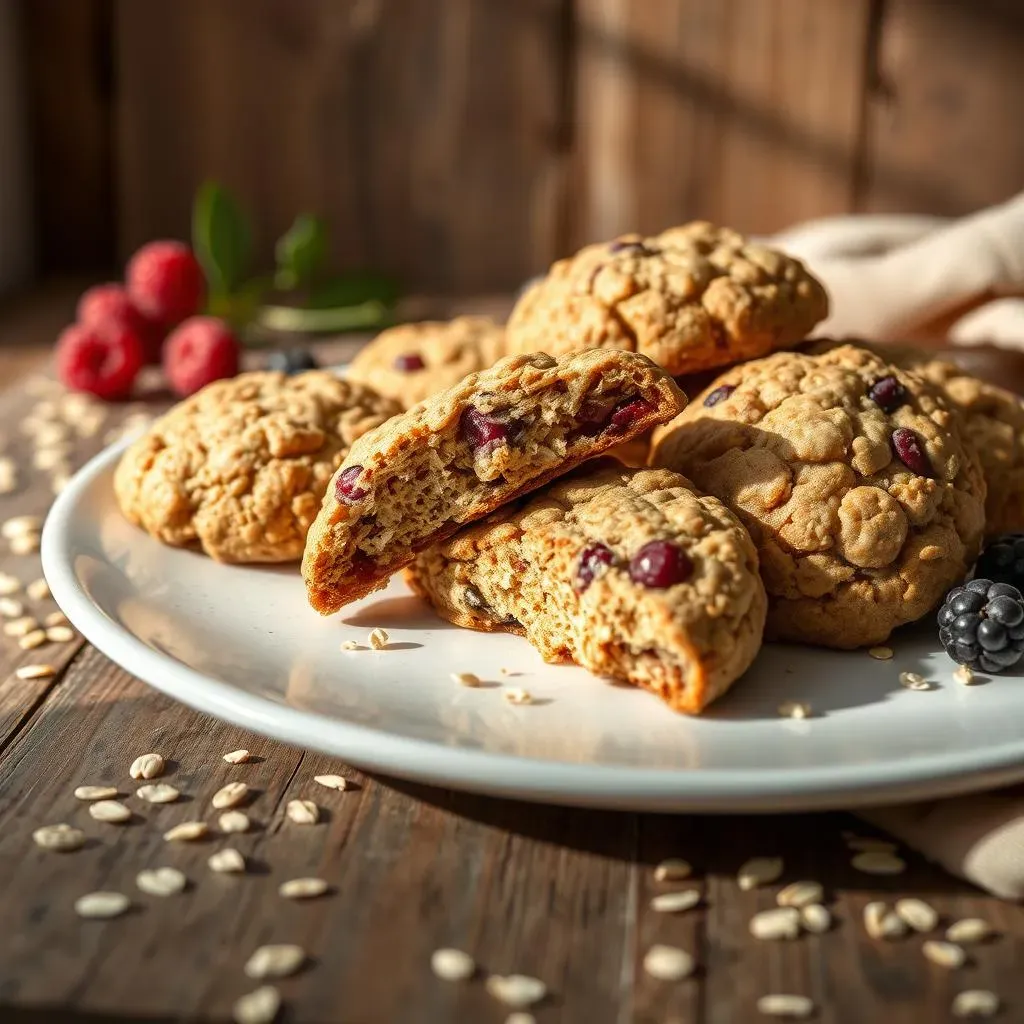
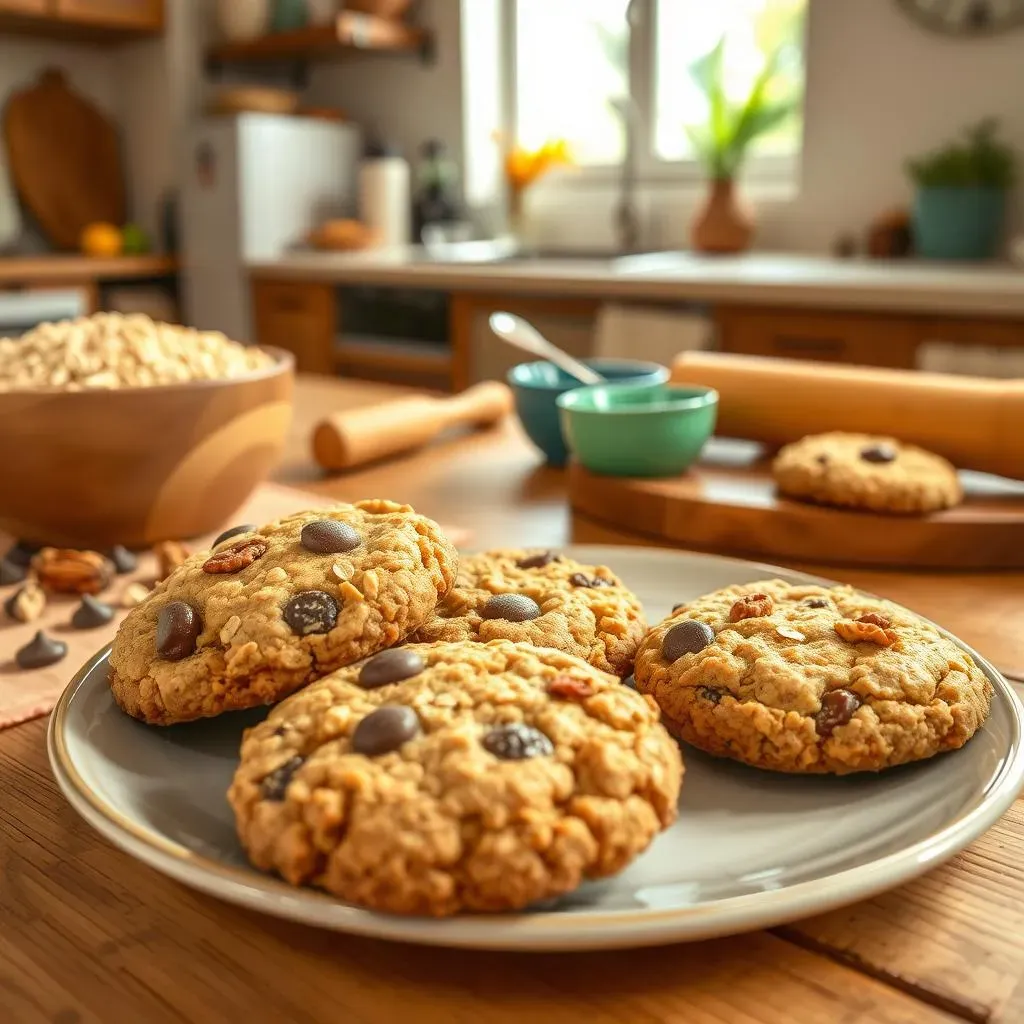
Now, let’s talk about variations. These cookies are like a blank canvas, and you can customize them in so many ways. Want to add some chocolate? Throw in some dark chocolate chips or chunks. Feeling nutty? Add some chopped walnuts, pecans, or almonds. Craving something fruity? Dried cranberries, raisins, or even chopped dried apricots work well. I love to experiment with different combinations, and the possibilities are endless. I once made a batch with white chocolate chips and dried cherries, and they were a huge hit. Another thing to consider is the type of sweetener you use. Each sweetener will add a slightly different flavor profile to the cookies. Honey will add a floral note, maple syrup will add a caramel-like flavor, and agave will add a mild sweetness. You can mix and match these as well to create your own perfect cookie. Don't be afraid to get creative and try different things. Baking should be fun, and it’s okay to make a few mistakes along the way. It’s all part of the learning process.
Finally, remember that the quality of your ingredients matters. Use fresh oats, good-quality sweeteners, and flavorful spices. It might seem like a small thing, but it can make a big difference in the overall taste and texture of your cookies. If you're using nuts, make sure they’re fresh and not stale. If you’re using dried fruit, plump them up by soaking them in warm water for a few minutes before adding them to the dough. And, most importantly, have fun with it! Baking should be a joyful experience, and these easy low fat oatmeal cookies are a great way to bring a little bit of happiness into your day. So, get in the kitchen, follow these tips, and bake some amazing cookies. You’ve got this!
Tip | Why It's Important |
|---|---|
Chill the dough | Prevents spreading, creates thicker cookies. |
Don't overbake | Keeps cookies soft and chewy. |
Measure accurately | Ensures correct texture and consistency. |
Experiment with variations | Adds flavor and customization. |
Use quality ingredients | Enhances taste and texture. |