Table of Contents
Ever wondered how is low fat yogurt made? Store-bought options can be pricey and packed with sneaky additives. But what if you could whip up your own creamy, delicious, and healthy low-fat yogurt right in your kitchen? It's easier than you think! This guide will walk you through the entire process, from understanding the science behind yogurt fermentation to mastering the art of achieving that perfect texture and tang. We'll break down the simple ingredients you need – spoiler alert: it's mostly just milk and a starter! – and the easy-to-follow steps that will have you enjoying homemade low-fat yogurt in no time. Get ready to ditch the store-bought stuff and embrace the satisfaction of creating your own nutritious treat. We will also cover troubleshooting tips to address common issues like runny yogurt or flavor imbalances. Let's get started and unlock the secrets to homemade low-fat yogurt!
Understanding LowFat Yogurt: What It Is and Why Make It?

Understanding LowFat Yogurt: What It Is and Why Make It?
What Exactly is Low-Fat Yogurt?
so, low-fat yogurt. What's the deal? Simply put, it's yogurt made with milk that has had most of its fat removed. Regular yogurt can have a significant amount of fat, depending on the type of milk used. Low-fat yogurt aims to give you that same creamy, tangy goodness, but with significantly less fat. Think of it as the lighter, brighter cousin of traditional yogurt. The reduction of fat content is achieved through processes like skimming the milk before fermentation or using milk that is naturally lower in fat, like skim milk.
But it's not just about cutting calories! The cool thing is that low-fat yogurt retains most of the other nutritional benefits of regular yogurt, like protein, calcium, and probiotics. So you are not missing out on any of the good stuff.
Why Bother Making It Yourself?
Alright, let's get real. Why should you even bother making your own low-fat yogurt when you can just grab a container at the store? Well, for starters, you have complete control over the ingredients. You know exactly what's going into your yogurt, no sneaky additives, artificial sweeteners, or excessive sugar. That's a win in my book!
Plus, making your own is often way cheaper than buying pre-made low-fat yogurt, especially if you eat it regularly. Think of all the money you'll save! And let's not forget the satisfaction of creating something delicious and healthy from scratch. It’s like a little science experiment that ends with a tasty reward. Seriously, once you get the hang of it, you'll feel like a yogurt-making wizard.
The Science Behind LowFat Yogurt: Milk, Cultures, and Fermentation

The Science Behind LowFat Yogurt: Milk, Cultures, and Fermentation
The Milk Matters: Choosing Your Base
Alright, let's dive into the nitty-gritty. The type of milk you choose is crucial when figuring out how low fat yogurt is made. Skim milk is the obvious choice if you're aiming for the absolute lowest fat content. It's basically milk with almost all the fat removed. 1% or 2% milk will also work, giving you a slightly creamier result while still keeping the fat content relatively low. Each type of milk has different properties that affect the taste and texture of the final product.
But here's a little secret: the protein content of the milk also plays a role. Higher protein milk tends to produce a thicker yogurt. Some people even add non-fat dry milk powder to their milk to boost the protein content and get an extra-creamy texture. It's all about experimenting to find what works best for you.
The Magic of Cultures: Tiny Chefs at Work
Now, for the real magic: the cultures! Yogurt is made through bacterial fermentation. That basically means we're letting good bacteria chow down on the lactose (the sugar in milk) and produce lactic acid. This lactic acid is what gives yogurt its characteristic tangy flavor and also causes the milk proteins to coagulate, thickening the milk into that lovely yogurt consistency. Without these tiny chefs, you just have milk!
You need a "starter culture" to kickstart this process. You can use a spoonful of plain, unsweetened yogurt with "live and active cultures" from a previous batch or store-bought. Make sure it lists specific strains like Lactobacillus bulgaricus and Streptococcus thermophilus – these are the workhorses of yogurt making. These cultures are the key to transforming milk into yogurt, and understanding their role is essential in learning how low fat yogurt is made.
Culture | Contribution |
|---|---|
Lactobacillus bulgaricus | Acidity, Flavor |
Streptococcus thermophilus | Texture, Speed of Fermentation |
StepbyStep: How LowFat Yogurt is Made at Home
StepbyStep: How LowFat Yogurt is Made at Home
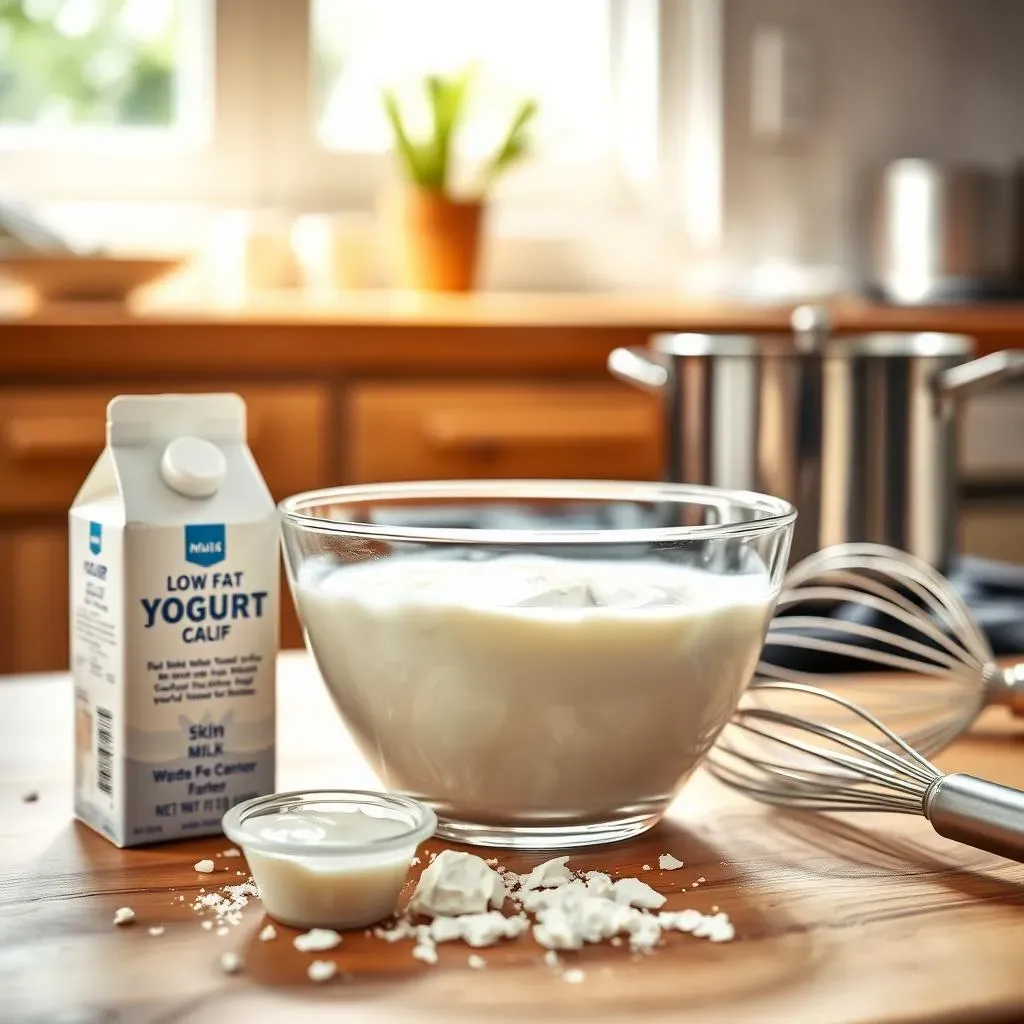
Gather Your Gear and Ingredients
Alright, let's get down to brass tacks. First, you'll need a few essential tools: a large pot (stainless steel or enamel-coated is best), a reliable thermometer, and something to incubate your yogurt in. This could be a yogurt maker, an Instant Pot with a yogurt setting, or even just a well-insulated cooler. You'll also need your chosen low-fat milk (skim, 1%, or 2%) and a starter culture – that plain yogurt with live and active cultures we talked about.
Make sure everything is squeaky clean! Sterilizing your equipment helps prevent unwanted bacteria from crashing the party and ruining your yogurt. I usually run everything through the dishwasher or give it a good scrub with hot, soapy water.
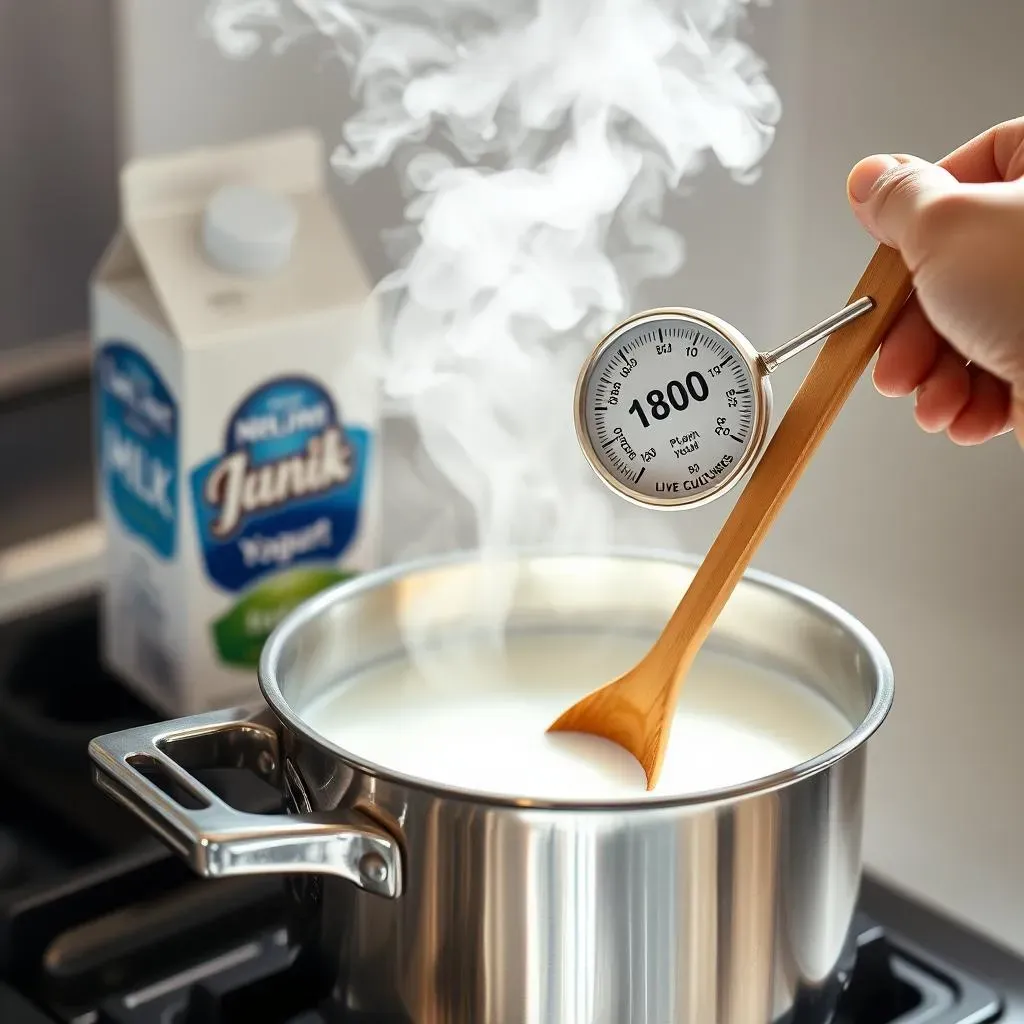
The Heating and Cooling Tango
Now for the fun part! Pour your low-fat milk into the pot and heat it over medium heat, stirring occasionally to prevent scorching. Keep a close eye on that thermometer! You want to heat the milk to 180°F (82°C). This heating step is crucial because it denatures the milk proteins, which helps create a thicker, creamier yogurt. Once it hits 180°F, take the pot off the heat and let the milk cool down to 110-120°F (43-49°C). This is the sweet spot for our yogurt cultures – too hot, and you'll kill them; too cold, and they won't thrive.
Once the milk has cooled, gently stir in your starter culture. A couple of tablespoons per quart of milk is usually plenty. Make sure the starter is well distributed throughout the milk.
Tips and Tricks for Perfect Homemade LowFat Yogurt
Tips and Tricks for Perfect Homemade LowFat Yogurt
Maintain a Stable Temperature
Temperature is everything when it comes to yogurt making. Those little cultures are divas! They need a consistent, cozy environment to do their thing. If the temperature fluctuates too much, they might get stressed out and produce a runny or sour yogurt. Aim for a steady 100-110°F (38-43°C) during incubation. If you're using a yogurt maker or Instant Pot, this is usually taken care of. But if you're using a cooler or another DIY method, check the temperature periodically and adjust as needed. A warm water bath can help maintain a stable temperature in a cooler.
Also, avoid peeking! Every time you open the incubator, you let out heat and potentially disrupt the fermentation process. Trust the process and resist the urge to check on your yogurt every hour.
Boosting Thickness and Creaminess
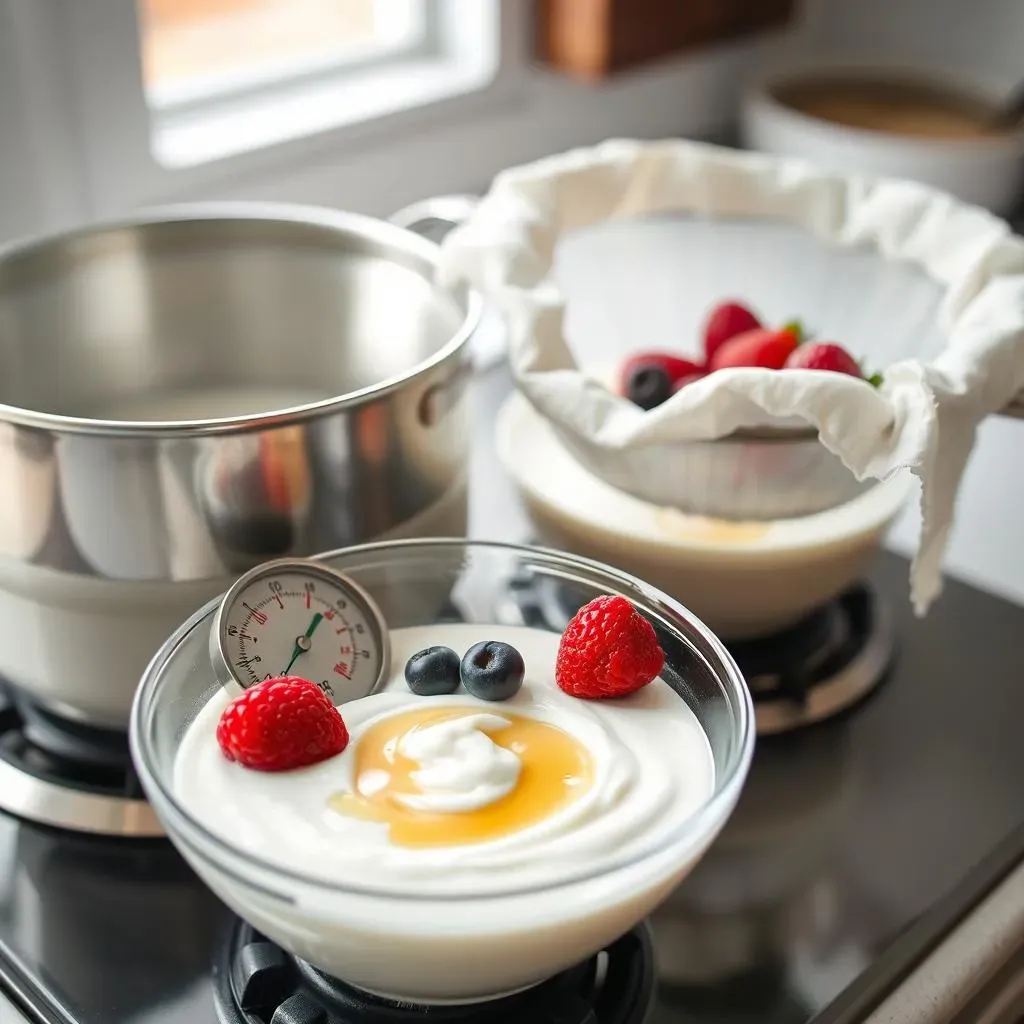
Want a thicker, creamier low-fat yogurt? Here's a trick: add a couple of tablespoons of non-fat dry milk powder to your milk before heating it. The extra protein will work wonders. You can also strain your finished yogurt through a cheesecloth-lined strainer for a few hours (or even overnight) to remove excess whey. This will give you a Greek-style yogurt that's super thick and decadent. Don't toss the whey! It's packed with protein and can be used in smoothies, baking, or even as a hair conditioner.
Another tip is to use a high-quality starter culture. Some cultures are simply more robust and produce a better texture than others. Experiment with different brands and see what works best for you.
Flavoring and Sweetening Strategies
Plain low-fat yogurt is great, but sometimes you want a little something extra. Instead of loading up on sugary store-bought flavors, why not get creative with your own additions? Stir in fresh or frozen fruit, a drizzle of honey or maple syrup, a sprinkle of cinnamon, or a dash of vanilla extract. You can also add nuts, seeds, or granola for extra texture and crunch.
If you're using sweeteners, add them after the yogurt has finished fermenting and chilling. This prevents them from interfering with the fermentation process. And remember, a little goes a long way! Start with a small amount and adjust to taste.
Flavor Idea | Ingredients |
|---|---|
Berry Blast | Mixed berries, chia seeds |
Honey Vanilla | Honey, vanilla extract |
Tropical Twist | Mango, pineapple, shredded coconut |
Troubleshooting Your LowFat Yogurt: Common Issues and Solutions
Troubleshooting Your LowFat Yogurt: Common Issues and Solutions
Runny Yogurt: Why and How to Fix It
so you've waited patiently, and you open your incubator to find… soup. Runny yogurt is a common frustration, but don't despair! Several factors can cause this. First, check your incubation temperature. If it's too low, the cultures won't be as active. Make sure you're maintaining that 100-110°F (38-43°C) range. Also, your starter culture might be weak or old. Try using a fresh batch of yogurt with live and active cultures. If you're still having trouble, consider adding a tablespoon or two of non-fat dry milk powder to your milk before heating it. The extra protein will help thicken things up. And finally, remember that straining your yogurt through cheesecloth is a surefire way to achieve a thicker consistency. Just be patient and let it drip!
Sometimes, it’s the milk itself! Ultra-pasteurized milk can sometimes be a bit finicky when it comes to yogurt making. If you’re consistently getting runny results, try switching to a different brand or type of milk. Experimentation is key!
Issue | Possible Cause | Solution |
|---|---|---|
Runny Yogurt | Low incubation temperature | Ensure consistent 100-110°F (38-43°C) |
Runny Yogurt | Weak starter culture | Use fresh yogurt with live cultures |
Runny Yogurt | Low protein content | Add non-fat dry milk powder |
Sour or Bitter Yogurt: Taming the Tang
On the other end of the spectrum, sometimes homemade yogurt can turn out too sour or even bitter. This is usually a sign of over-fermentation. The longer you incubate your yogurt, the more lactose the cultures will consume, and the more lactic acid they'll produce. If you prefer a milder flavor, try reducing the incubation time. Start checking your yogurt after about 6 hours and stop when it reaches your desired tanginess. Also, make sure your incubation temperature isn't too high. Excessive heat can accelerate the fermentation process and lead to a sour taste.
If your yogurt is consistently bitter, the culprit might be the starter culture itself. Some strains of bacteria naturally produce more bitter compounds than others. Try switching to a different brand or type of yogurt for your starter. Remember, finding the perfect balance is part of the fun!
Grainy Texture: Smoothing Things Out
Ever get a batch of yogurt that feels… gritty? A grainy texture can be caused by overheating the milk during the initial heating step. Remember, you want to reach 180°F (82°C), but don't let it boil! Boiling can alter the milk proteins and lead to a grainy result. Also, stirring the milk too vigorously while it's heating can also contribute to graininess. Be gentle! Another potential cause is using powdered milk that hasn't been properly dissolved. Make sure to whisk the powdered milk into a small amount of cold milk before adding it to the rest of the batch.
If you end up with a grainy batch, don't throw it away! You can often smooth it out by blending it with an immersion blender or in a regular blender. This will break up the grainy particles and create a creamier texture. Just don't over-blend, or you'll end up with yogurt smoothie!
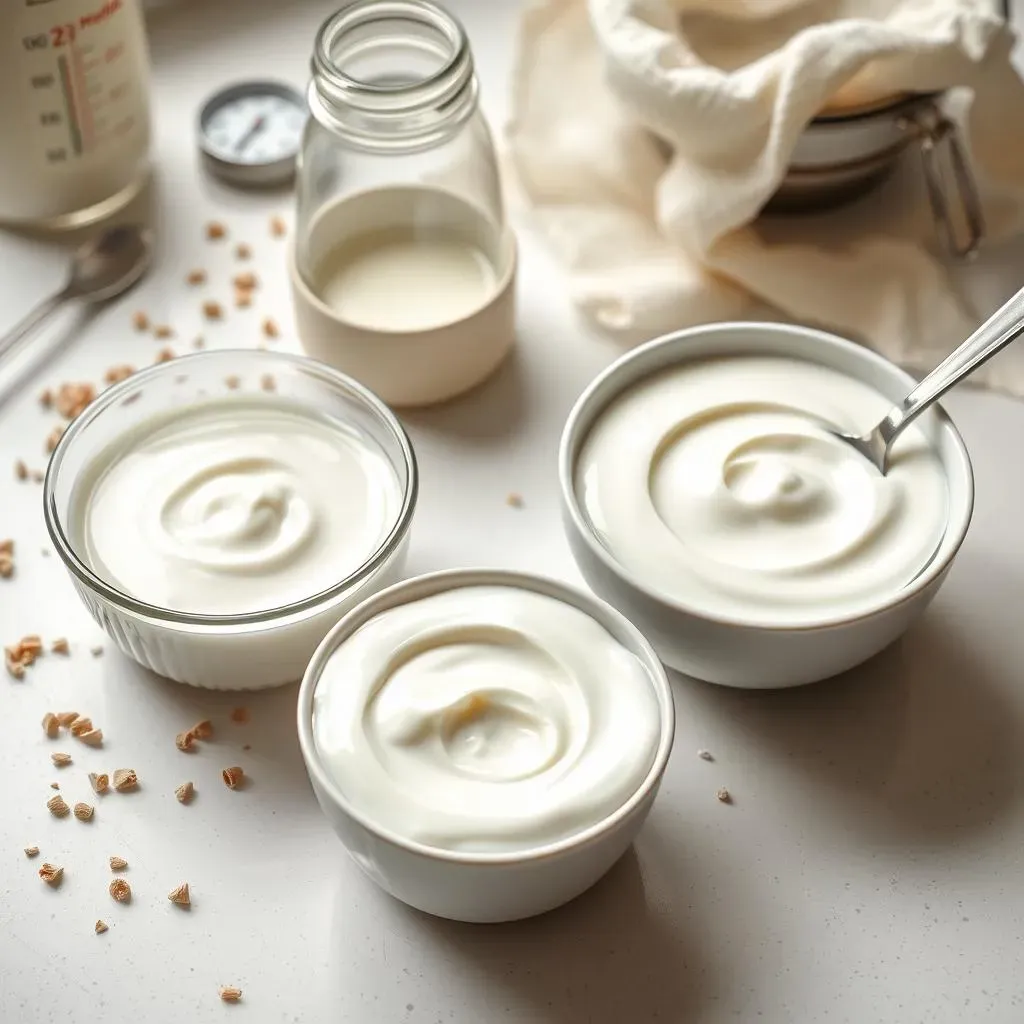
Enjoying Your Homemade Low-Fat Yogurt Journey
So, you've now mastered the art of making your own low-fat yogurt! From understanding the process to troubleshooting common issues, you're well-equipped to create delicious and healthy yogurt at home. Embrace the flexibility to experiment with flavors, textures, and ingredients to suit your preferences. Not only are you saving money and avoiding unwanted additives, but you're also taking control of your nutrition. Enjoy the creamy goodness of your homemade low-fat yogurt as a breakfast staple, a versatile snack, or a healthy ingredient in your favorite recipes. Happy yogurt making!