Table of Contents
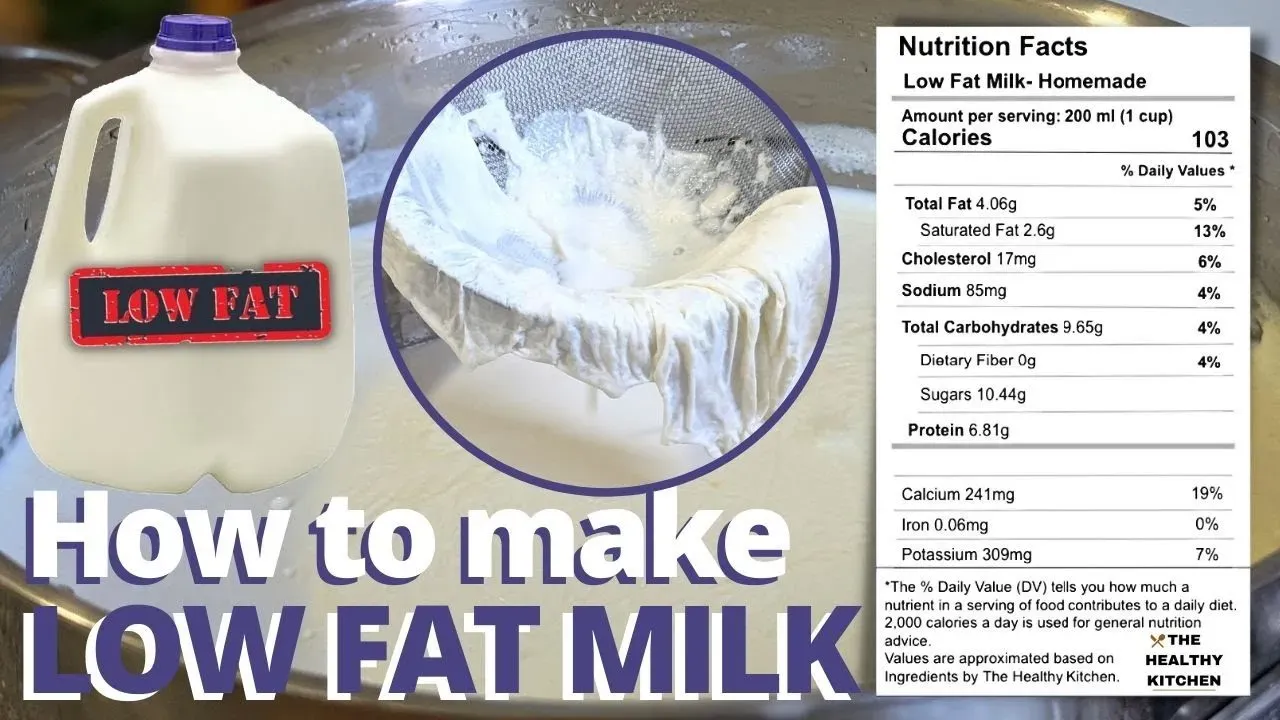
Achieving low fat milk at home is possible, provided you start with the right base ingredient. Ever looked at store shelves and wondered about the journey from whole milk to something with significantly less fat? The truth is, you don't need industrial machinery to control your milk's fat content. You can learn how to make low fat milk right in your own kitchen. The crucial factor isn't a special trick, but rather the state of the milk itself: it must be non-homogenized whole milk. Homogenization breaks down fat molecules so finely that they stay suspended, making natural separation impossible at home. This article details exactly how to make low fat milk using methods accessible in a standard kitchen. We'll explore two reliable techniques: allowing the milk to settle undisturbed for a period, and using controlled heat to encourage the fat to rise quickly. Both approaches leverage the natural property of milk fat to separate from the liquid, allowing you to skim off the cream layer and significantly reduce the overall fat content. Forget additives; with the right milk and these straightforward methods, you can create your own low-fat option tailored to your needs.
What Kind of Milk Works for Making Low Fat Milk?
What Kind of Milk Works for Making Low Fat Milk?
So, you want to know What Kind of Milk Works for Making Low Fat Milk? Let's cut to the chase: you absolutely need non-homogenized whole milk. Don't even bother trying this with the standard stuff you grab from the regular grocery store aisle, the one that just says "Whole Milk" without any other qualifiers. That milk has been through a process called homogenization, which blasts the fat molecules into tiny pieces so they stay evenly distributed throughout the liquid. Think of it like trying to separate glitter from glue once it's mixed in – practically impossible. Non-homogenized milk, sometimes labeled "creamline" or found directly from local dairies and farmers' markets, still has its fat globules intact. These larger fat particles are lighter than the liquid milk, and that simple fact is the key to separating them yourself.
How to Make Low Fat Milk by Letting it Settle

How to Make Low Fat Milk by Letting it Settle
The Patient Approach: Letting Gravity Do the Work
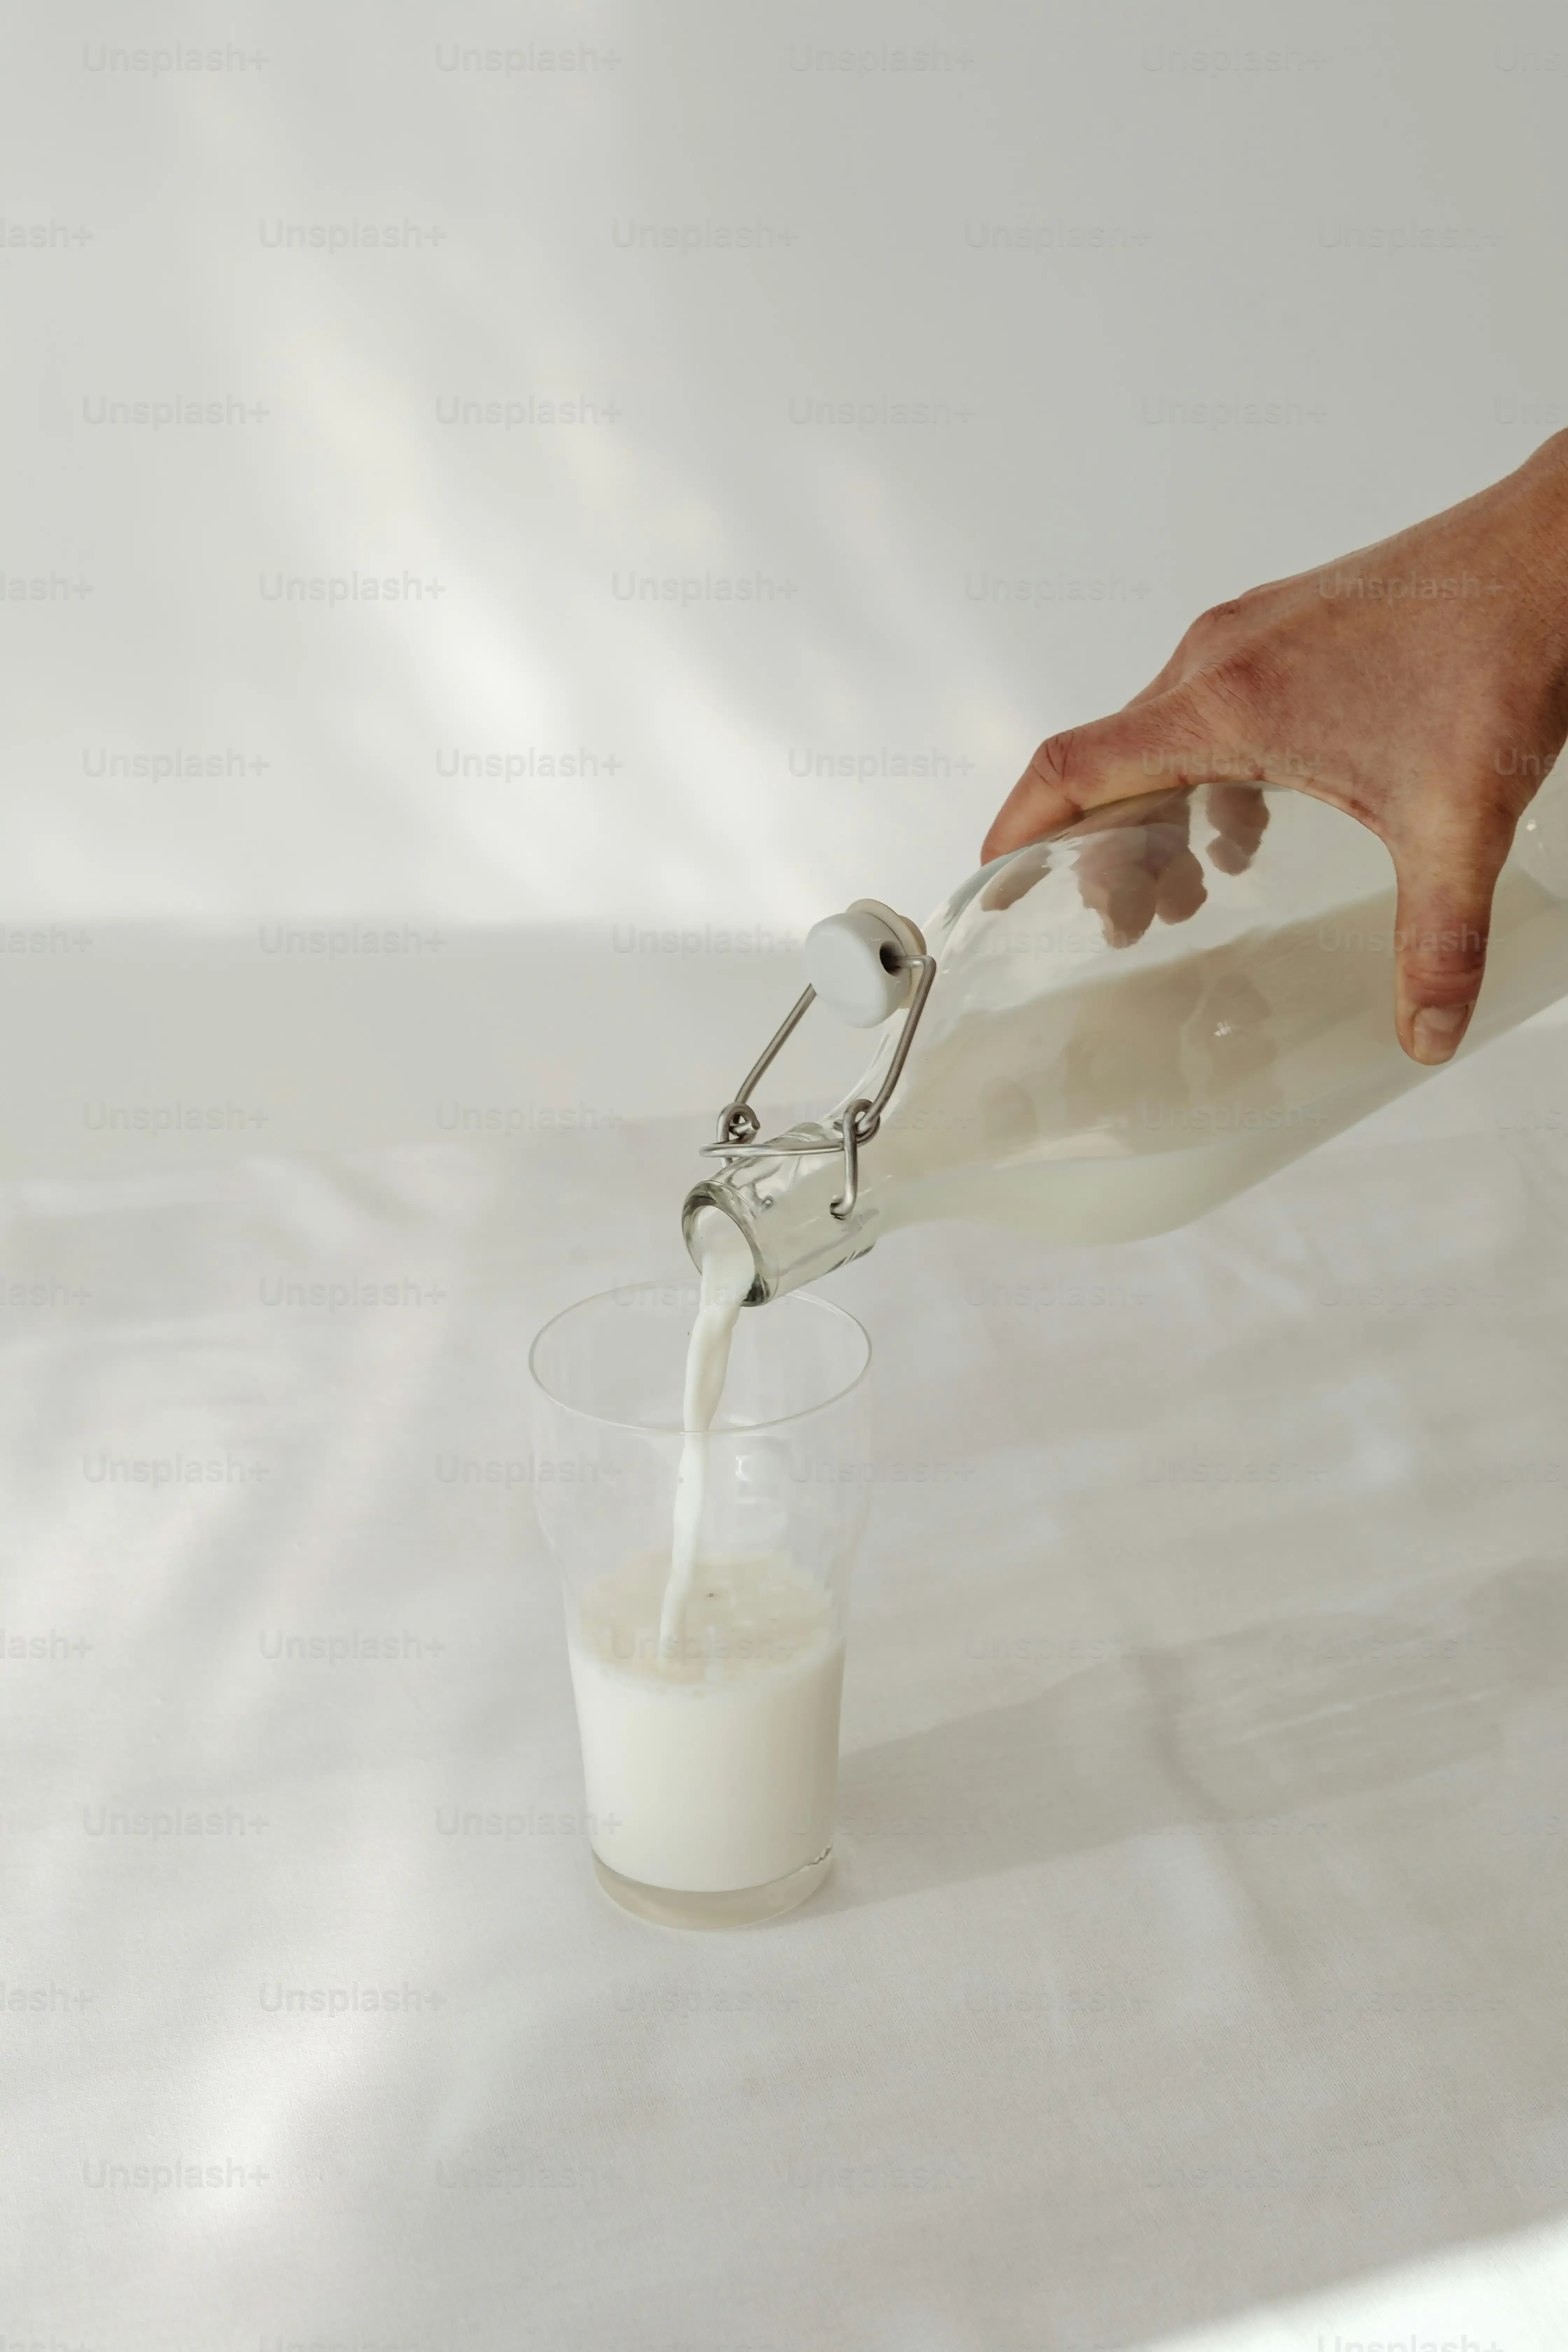
so you've got your non-homogenized whole milk. Now what? The simplest way on how to make low fat milk is also the slowest: patience. Find a clean, clear container, preferably one with a wide opening, like a large glass jar or a pitcher. Gently pour the milk into it. Don't shake it, don't stir it, just let it sit. The idea here is to let gravity do its thing. Those lovely, larger fat globules we talked about are less dense than the watery part of the milk. Over time, they will naturally rise to the top and form a distinct layer of cream. This usually takes at least 12 hours, and sometimes up to 24 hours, especially if the milk is very cold. Pop it in the fridge, uncovered or loosely covered, and leave it alone. Seriously, resist the urge to poke it or move it around. Any disturbance will start remixing the fat back into the liquid, and you'll have to wait all over again.
Skimming Off the Good Stuff (The Cream)
After the waiting period, you should see a clear line where the thick, yellow-white cream layer sits on top of the paler, bluish-white skim milk below. This is your moment of truth for how to make low fat milk using this method. Grab a wide, shallow spoon or a ladle. Carefully, and I mean *very* carefully, scoop off the cream layer from the surface. Angle the spoon gently and work your way across the top, trying not to dip too deep or break the surface tension too much, which could pull the lower milk up into the cream. Some folks find it easier to use a turkey baster to suck the cream off the top, which can be even more precise. Keep skimming until you've removed as much of the cream as possible. What's left in the container is your homemade low fat milk. Pour it into a storage container, label it (because you *will* forget which is which), and you're done with the skimming part.
Here's a quick rundown:
- Start with non-homogenized whole milk.
- Pour gently into a clean container.
- Refrigerate for 12-24 hours, undisturbed.
- Carefully skim off the top cream layer.
- Store the remaining low fat milk.
Boiling Milk: Another Method to Make Low Fat Milk
Boiling Milk: Another Method to Make Low Fat Milk
Heating Things Up to Separate the Fat
Alright, so maybe you're not the patient type. Waiting 24 hours for milk fat to decide it wants to rise feels like watching paint dry, right? There's a faster way on how to make low fat milk, and it involves a little heat. Boiling non-homogenized whole milk speeds up the fat separation process significantly. When you heat milk, the fat molecules become less dense and more mobile. This thermal energy helps them clump together and float to the surface much quicker than they would at fridge temperature. It's not quite instant, but it beats waiting a full day. This method is particularly useful if you need low-fat milk relatively quickly for a recipe or just can't stand the suspense of the settling method.
The Process: Gentle Boil, Then Cool Down
Ready to give the boiling method a shot? Pour your non-homogenized whole milk into a clean saucepan. Use medium heat, and stir occasionally with a wooden spoon to prevent scorching on the bottom. Watch it closely. You don't want a rolling boil that sends milk erupting all over your stove; a gentle simmer or just before boiling is perfect. Aim for the milk to reach about 180-190°F (82-88°C), or until you see small bubbles forming around the edges and a skin starting to form on top. This usually takes about 6-10 minutes depending on the amount of milk. Once it hits that point, remove it from the heat immediately. Now, and this is crucial, let it cool completely and undisturbed. You can let it sit at room temperature for a bit, then transfer it to the fridge. As it cools, the heated fat will solidify and form a thicker, sometimes waxy layer on the surface.
Here's a quick checklist for the boiling method:
- Use non-homogenized whole milk.
- Pour into a clean saucepan.
- Heat gently, stirring occasionally, until it simmers (180-190°F).
- Remove from heat.
- Let it cool completely and undisturbed, first at room temp, then in the fridge.
Skimming After the Chill
Once the milk is thoroughly chilled, you'll find that the fat layer on top is usually thicker and more solid than what you get from just settling. This makes skimming how to make low fat milk a bit easier, in some ways. You can often lift off large pieces of the solidified cream with a spoon or slotted spatula. Again, be gentle. Try to get under the edge of the fat layer and lift it off in sections, avoiding breaking it up too much or pushing it back down into the milk below. What's left underneath is your low-fat milk. It might have a slightly different texture or even a faintly "cooked" flavor compared to the settled method, but the fat content will be significantly reduced. Pour the skimmed milk into its final storage container.
Storing Your Homemade Low Fat Milk and What to Do With the Cream
Storing Your Homemade Low Fat Milk and What to Do With the Cream
Keeping Your Skimmed Milk Fresh
so you've successfully navigated how to make low fat milk, either by letting it settle or giving it the hot treatment. Now you have a container of lighter milk. Treat this homemade low fat milk just like you would store-bought milk. Pour it into a clean, airtight container – glass jars work great, or even a recycled milk jug if it's thoroughly washed. Get it into the coldest part of your refrigerator right away. The goal is to keep it consistently cold to slow down bacterial growth. Generally, it should last about 5 to 7 days. Give it a sniff test before using it, just like you would with any dairy. If it smells off, don't risk it. This isn't pasteurized in a commercial sense, so its shelf life might be a touch shorter than what you're used to from the supermarket.
Don't Trash That Cream!
Now, what about that glorious layer of cream you skimmed off? You've got a treasure trove of dairy fat there, far too good to waste. This cream is essentially heavy cream, just perhaps a little less uniform than the carton stuff. You can use it in countless ways. Whip it up for desserts – it might take slightly longer to whip than commercial heavy cream, but it gets there. Stir it into soups or sauces for richness. Use it to make butter – it's a bit of work, but satisfying. You can even dollop it into your coffee if you're feeling indulgent and want a splash of that full-fat goodness you just separated out. Store the cream in a separate airtight container in the fridge. It's higher in fat, so it tends to last a little longer than the skimmed milk, often up to a week or maybe slightly more, but again, use your nose.
So, what are you going to make with that skimmed cream first?
Wrapping Up Your Homemade Low Fat Milk Project
So, there you have it. Making low fat milk isn't some arcane science requiring specialized equipment. It boils down to starting with the right kind of milk – specifically, non-homogenized whole milk – and giving the fat a chance to separate. Whether you opt for the patient approach of letting it settle overnight or the quicker method involving a bit of heat, you now have the practical steps to reduce the fat content right in your own kitchen. It's a straightforward process that puts you in control, bypassing the industrial treatments and additives often found in store-bought versions. Give it a shot; you might find the results are exactly what you were looking for.