Table of Contents
Ever stand in the dairy aisle, staring at the rows of milk cartons – whole, 2%, 1%, skim – and wonder what the heck is actually in them, beyond the milk itself? Or maybe you just bought a gallon of whole milk and now realize you need something lighter for your morning cereal without another trip to the store. The good news is, you don't necessarily need a factory to get less fat in your milk. We're going to break down exactly how to make low fat milk from whole milk right in your own kitchen. It's less complicated than you might think, provided you start with the right kind of milk. Forget the fancy equipment; you likely already have everything you need. We'll walk through two straightforward methods – one that relies on patience and gravity, and another that involves a little heat. Stick around, and you'll learn the simple steps to lighten up your milk, giving you more control over what goes into your glass.
Why Make Your Own Low Fat Milk?
Why Make Your Own Low Fat Milk?
Take Control of Your Dairy
Let's be honest. Staring at the milk options in the grocery store can feel a bit overwhelming, or worse, slightly suspicious. You see all the different percentages, and sometimes the ingredient list includes things that make you pause. Maybe you're trying to cut back on fat, but you prefer the taste of whole milk or you're wary of potential additives in store-bought low-fat versions. Learning how to make low fat milk from whole milk yourself gives you complete control. You know exactly what you're getting: just milk, with some of the fat removed by a simple physical process, not chemical wizardry.
Use What You Have, Save a Trip
Picture this: you've got a fridge full of whole milk, bought for baking or coffee, but suddenly you're craving a lighter option for your smoothie or cereal. Instead of running back to the store just for a different carton, why not use what's already there? Understanding how to make low fat milk from whole milk at home is practical. It saves you time, gas, and a few bucks. Plus, it feels pretty satisfying to be resourceful and not beholden to the dairy aisle's specific offerings.
- Avoid potential additives in some store-bought versions.
- Utilize whole milk you already purchased.
- Gain control over the fat content.
- Save money and a trip to the store.
- Experience the satisfaction of a DIY project.
Freshness and Flexibility
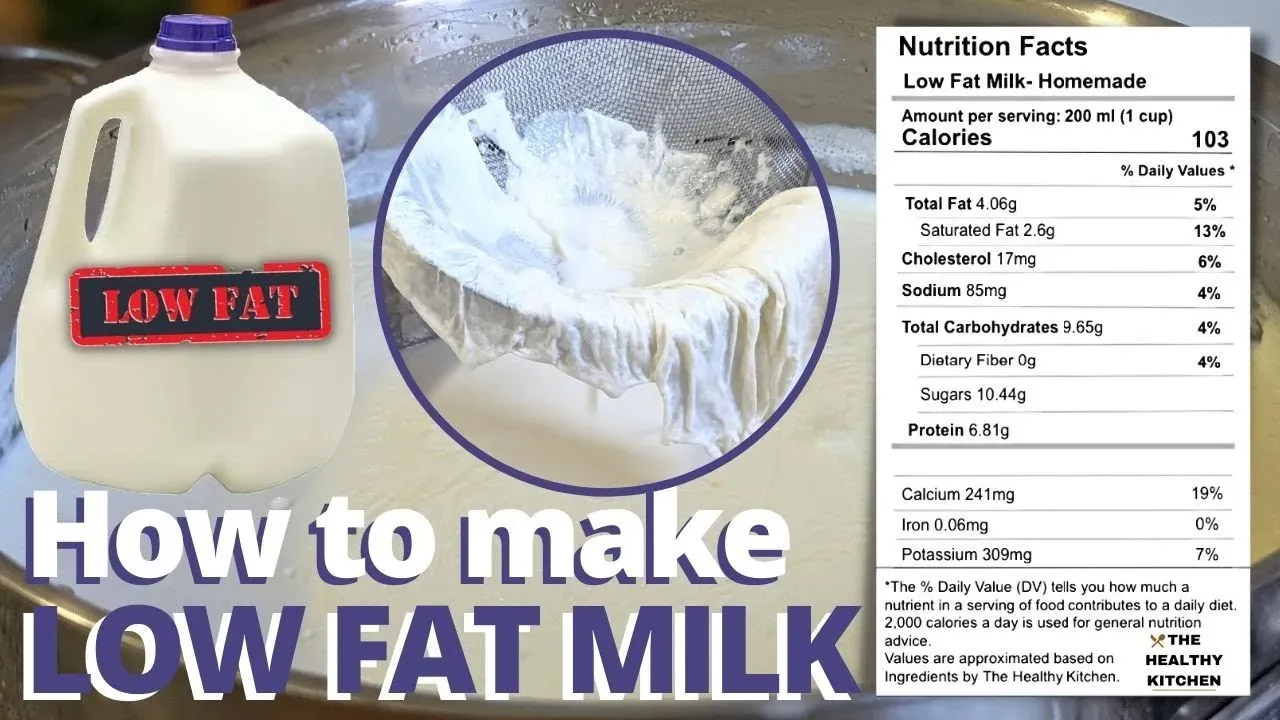
Another perk? Freshness. You're starting with milk you just bought, and you're processing it right when you need it. No sitting on a shelf for who knows how long. Plus, you can potentially control *how* low fat you want it to be. While we're talking about making something akin to 1% or 2% milk, the process inherently allows for some flexibility depending on how much cream you decide to skim off. It's not a perfect science like a commercial dairy, but for home use, it's remarkably effective and provides a level of customization you just don't get from a pre-packaged product.
The Essential First Step: Finding the Right Whole Milk
Not All Whole Milk is Created Equal
so you're ready to tackle how to make low fat milk from whole milk yourself. Great! But here's the absolute, non-negotiable first hurdle: you cannot, under any circumstances, use just any old carton of whole milk you grab from the standard grocery store shelf. The vast majority of milk sold today is "homogenized." This is a process where the milk is forced through tiny holes under high pressure, breaking up the fat molecules so they are evenly distributed throughout the liquid. It's why the cream doesn't rise to the top in your typical jug. If you try to skim homogenized milk, you'll just get slightly thicker milk, not a distinct layer of cream to remove. What you need is *non-homogenized* whole milk, sometimes labeled "creamline" milk because the cream naturally separates and forms a line at the top. This is the stuff your grandparents probably drank, and it's the only kind where the fat will physically separate and allow you to skim it off to make low fat milk.
Method One: How to Make Low Fat Milk from Whole Milk by Settling

Method One: How to Make Low Fat Milk from Whole Milk by Settling
The Settling Method: Gravity Does the Work
Once you've got your hands on that magical non-homogenized whole milk, making low fat milk from whole milk using the settling method is almost ridiculously simple. Think of it like letting oil and water separate, but with milk fat. You just need a container, preferably one that's clear so you can see what's happening, and a bit of patience. Pour the milk into your container, seal it up tight, and pop it in the fridge. The cold helps the fat solidify slightly, making the separation more pronounced. Now, you wait. Over several hours, usually around 24, the less dense cream will slowly, inevitably, rise to the top, forming a distinct layer. The liquid underneath is your now-lower-fat milk.
Here's the breakdown of the settling process:
- Source non-homogenized whole milk.
- Pour milk into a clean, clear container.
- Seal the container tightly.
- Refrigerate undisturbed for at least 24 hours.
- Observe the distinct cream layer forming at the top.
Method Two: Boiling Whole Milk to Get Low Fat Milk
Method Two: Boiling Whole Milk to Get Low Fat Milk
Boiling as a Fast Track to Separation
Alright, so the settling method works, but maybe you're not the patient type. Or perhaps you just like the idea of applying a little heat to speed things along. Good news: boiling non-homogenized whole milk is another effective way of how to make low fat milk from whole milk. It works on the same principle as settling – encouraging the fat globules to separate from the liquid – but the heat helps to destabilize the fat structure and make it rise to the surface more quickly as the milk cools. It’s a bit more hands-on than just sticking a jar in the fridge, but it cuts down on the waiting time significantly.
The Boiling and Cooling Steps
Grab a saucepan, preferably one that's not prone to sticking, and pour your non-homogenized milk into it. Heat it over medium heat, stirring occasionally to prevent scorching on the bottom. You don't need a rolling boil, just bring it up to a gentle simmer. Let it simmer there for about 6 minutes. This simmering helps ensure the fat separates nicely. After the 6 minutes are up, take the pan off the heat. Now comes the crucial cooling phase. Let the milk sit undisturbed for about 10-15 minutes. As it cools, you'll start to see that familiar, beautiful layer of cream forming on the surface. Don't rush this part; adequate cooling is key to getting a good, thick layer of cream to skim.
Here’s a quick rundown of the boiling method steps:
- Pour non-homogenized whole milk into a saucepan.
- Heat to a gentle simmer over medium heat.
- Simmer for approximately 6 minutes, stirring occasionally.
- Remove from heat and let cool undisturbed for 10-15 minutes.
- Watch the cream layer form on the surface.
Skimming Off the Rewards
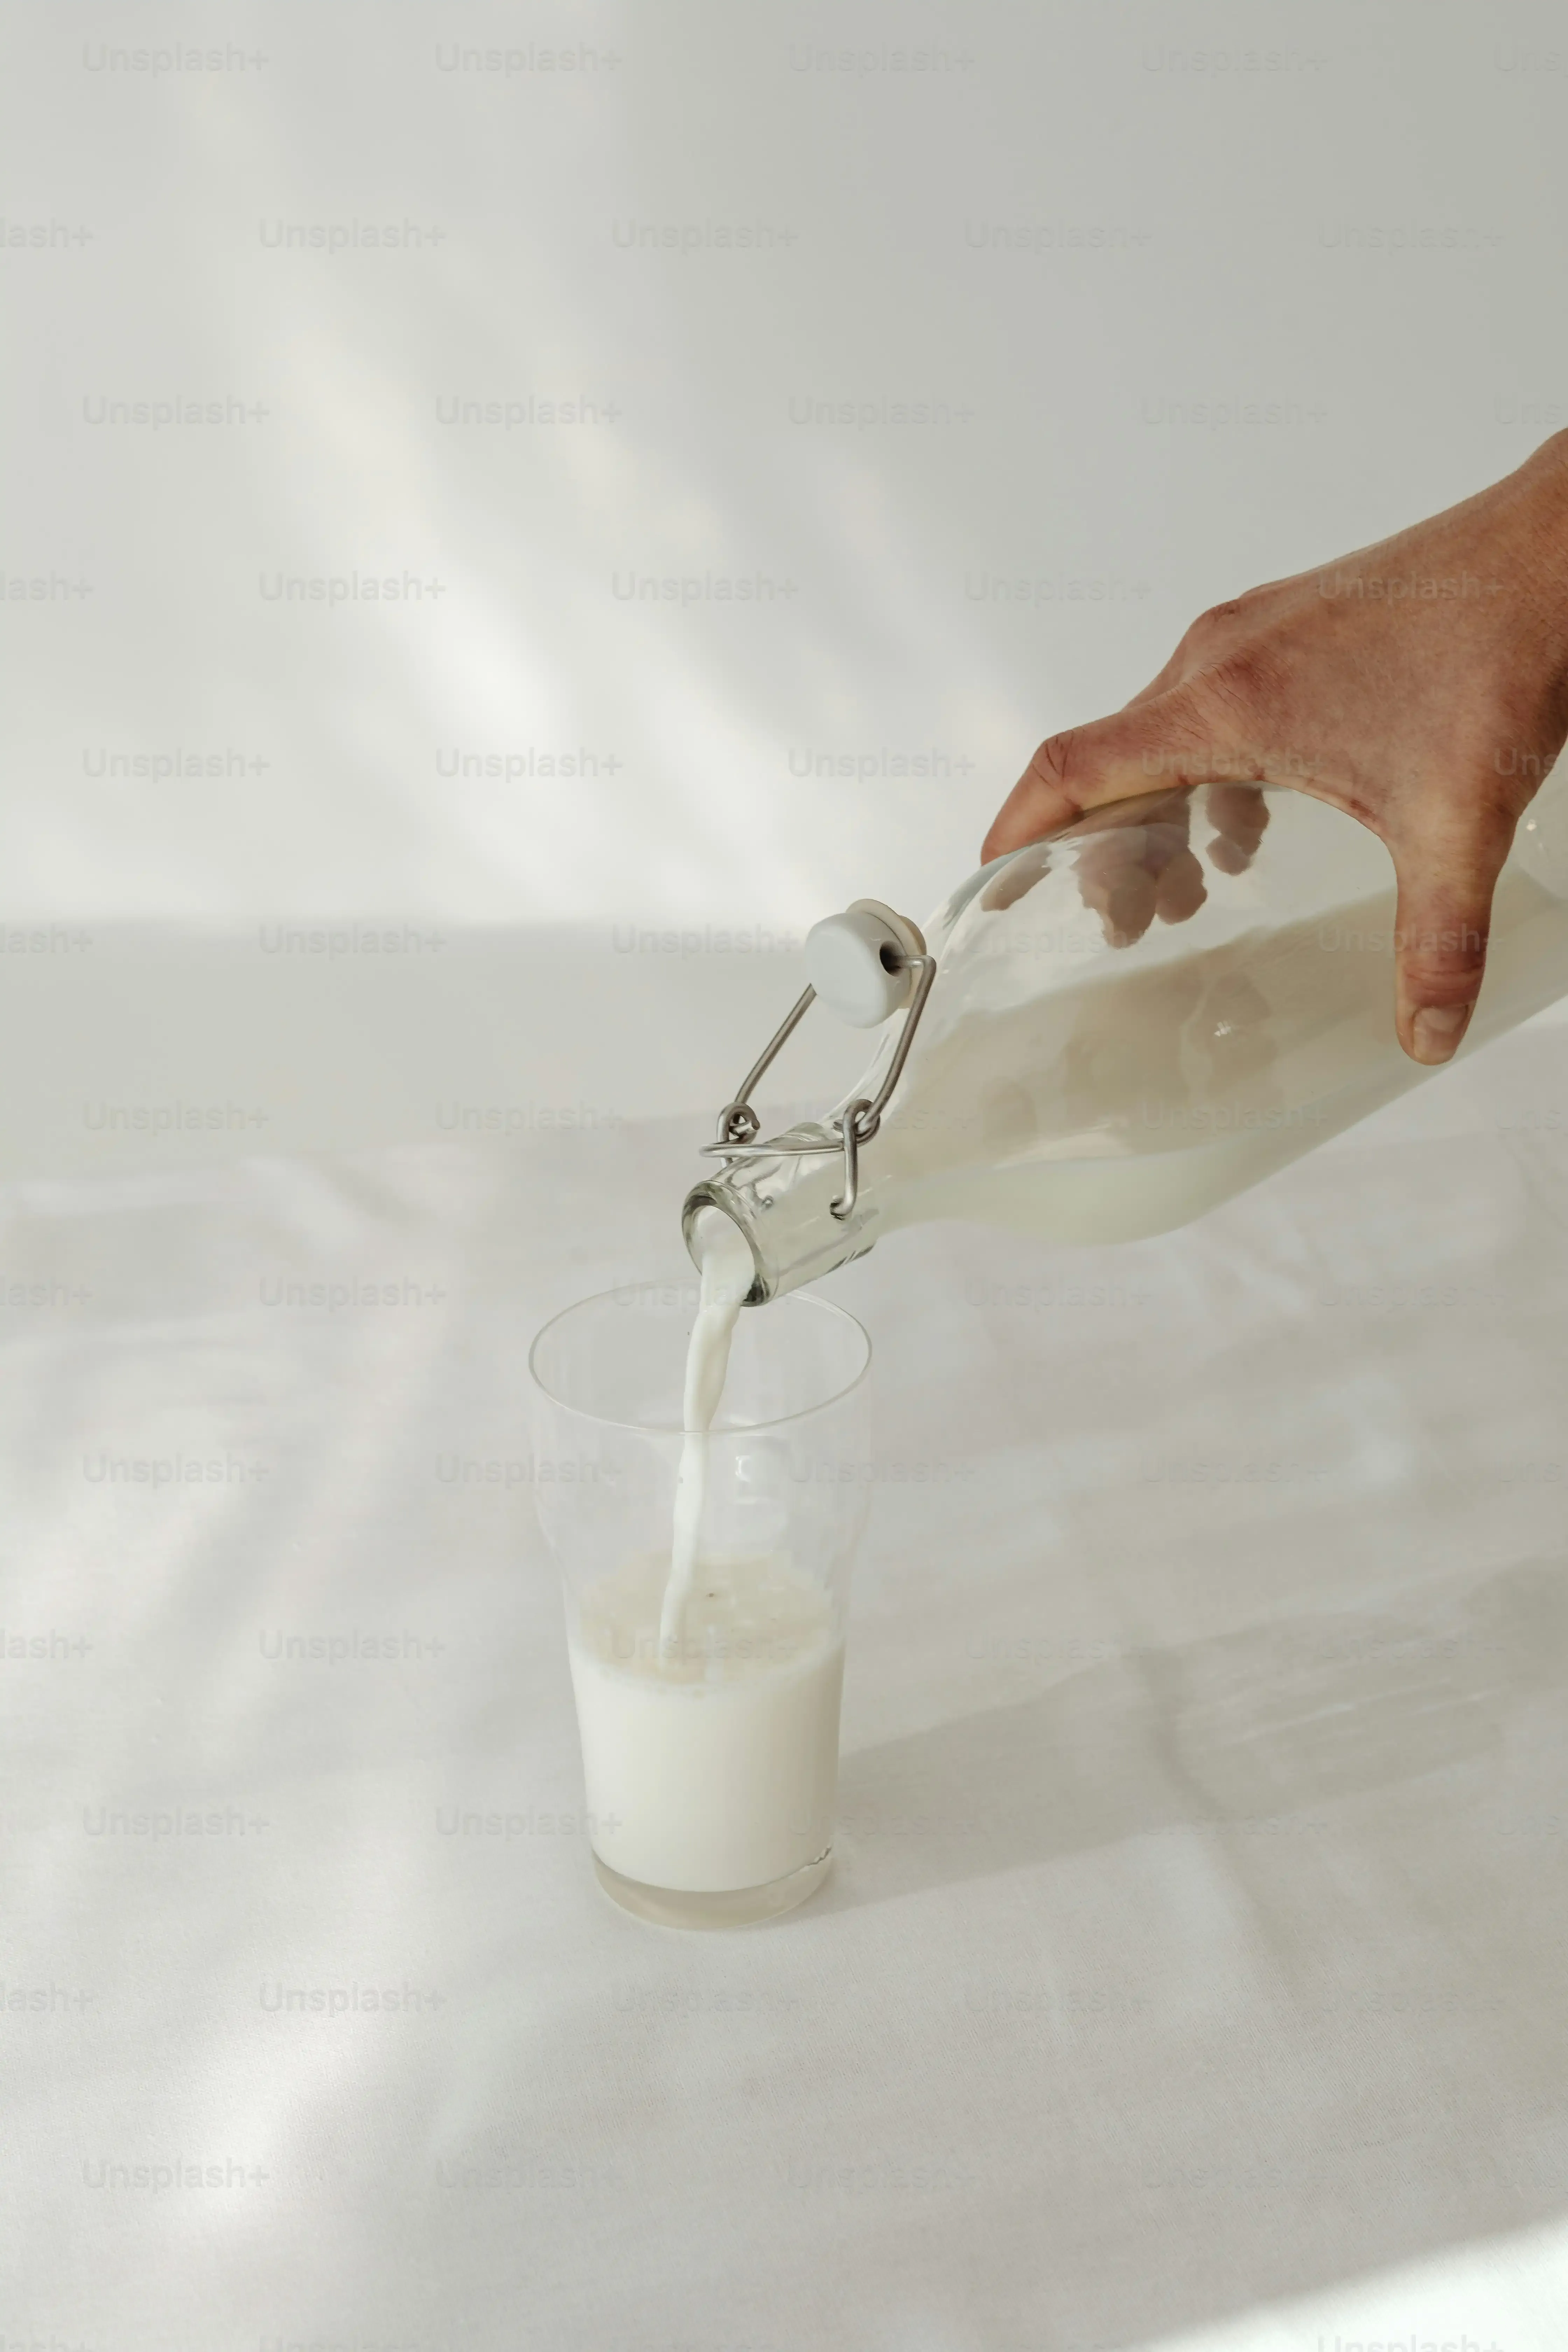
Once the milk has cooled sufficiently and the cream layer is clearly visible and has firmed up slightly, it's time for the final step in how to make low fat milk from whole milk using this method: skimming. The goal here is to carefully lift the cream off the surface without mixing it back into the milk below. A large, shallow spoon or a skimmer works best. Gently slide the spoon under the edge of the cream layer and lift it away. You might need to do this in several passes to get most of it. Don't worry if you don't get every single molecule of fat; the aim is to reduce the fat content significantly, not necessarily eliminate it entirely unless you're going for true skim milk (which is even harder to achieve perfectly at home). The liquid left behind is your homemade low-fat milk, ready to be poured into a clean container and stored in the fridge.
Less Fat, More Control: Wrapping It Up
So there you have it. Turning whole milk into something closer to low-fat isn't some ancient secret or complex process. It boils down to starting with milk that hasn't been messed with too much initially and then letting physics or a bit of gentle heat do the work of separating the cream. Whether you let gravity do its thing overnight or give it a quick boil and skim, you end up with a lighter milk option without needing a dairy plant in your backyard. It might not be exactly 1% or 2% on the dot, but it's a practical way to adjust the fat content of the milk you have on hand. Give it a shot next time you find yourself with only whole milk and a craving for something less rich.