Table of Contents
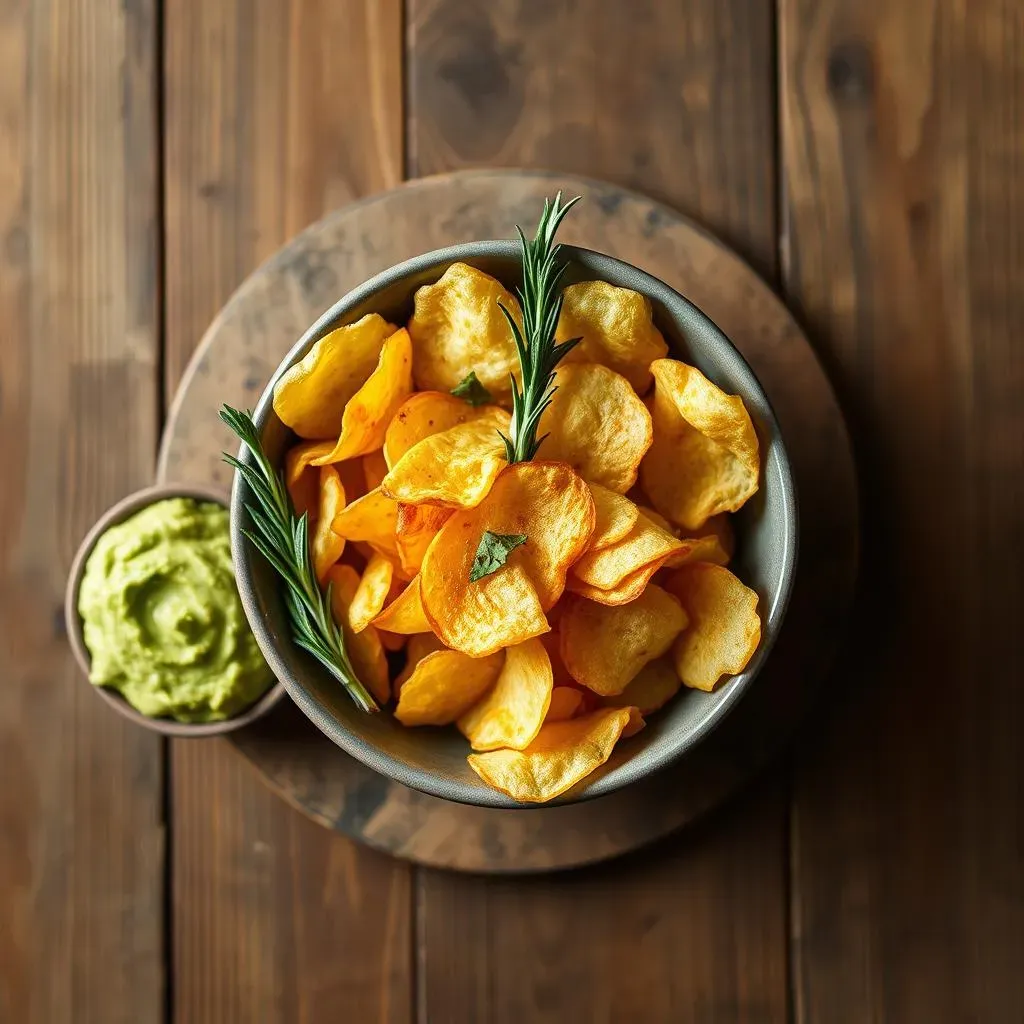
Let's be honest, potato chips are amazing. That satisfying crunch, the salty burst of flavor... they're dangerously addictive! But what if you could enjoy that same delicious crunch without all the guilt? This article is your guide to mastering the art of "how to make low-fat potato chips." We'll ditch the deep fryer and explore healthier, equally satisfying methods. Get ready to discover the secrets to perfectly crispy chips, from choosing the right potatoes and mastering the perfect slicing technique, to experimenting with exciting flavor combinations. We’ll cover baking techniques that deliver that coveted crunch without excessive oil, and even explore alternative cooking methods. Whether you're trying to cut back on calories, looking for healthier snack options, or simply want to elevate your snack game, this article will equip you with everything you need to create low-fat potato chips that taste incredible. Prepare to be amazed at how easy and delicious healthy snacking can be!
Choosing Your Potatoes and Slicing Techniques
Choosing Your Potatoes and Slicing Techniques
Potato Power: Choosing the Right Spud
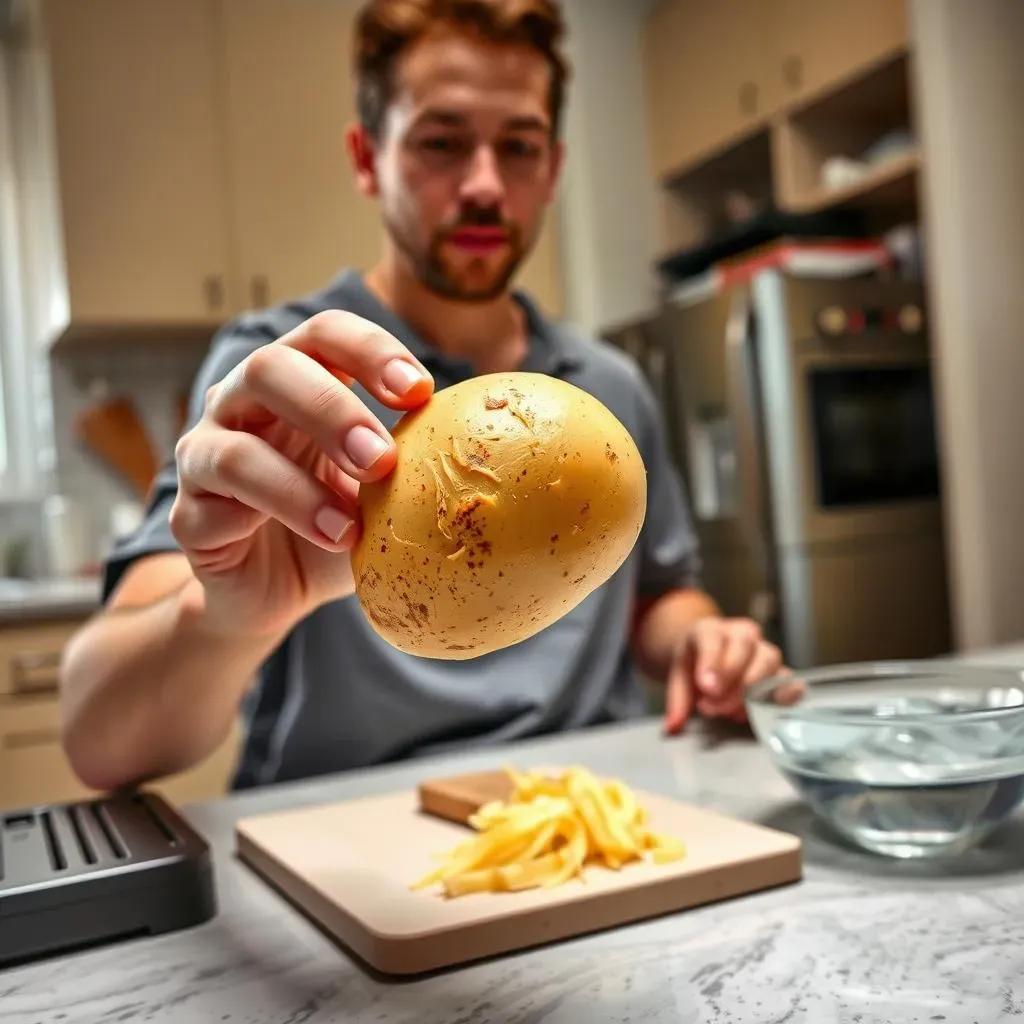
Picking the right potatoes is crucial for achieving that perfect chip. Russet potatoes are your best bet; their high starch content translates to extra-crispy chips. Avoid waxy potatoes like red potatoes – they'll just end up gummy. Look for potatoes that are firm, without bruises or soft spots. Think of it like choosing the perfect athlete for your team – you want a strong, reliable player! And remember, the fresher the potato, the better the chip. Check out our tips for best low-fat potato chips for more insights.
Once you've got your perfect potatoes, it's time to prep them. Thoroughly wash and scrub your potatoes to remove any dirt or debris. Peeling is optional; some people prefer the extra flavor and nutrients from the skin, while others find it easier to work with peeled potatoes. The choice is entirely yours! If you're aiming for extra-thin chips, consider using a mandoline slicer for consistent results. This is especially helpful if you're aiming for perfect uniformity – think of it as having a perfectly trained team.
Potato Type | Suitable for Low-Fat Chips? | Why? |
|---|---|---|
Russet | Yes | High starch content, crisps well |
Red | No | Waxy texture, tends to be gummy |
Yukon Gold | Maybe (thinner slices) | Medium starch, needs thinner slices for crispness |
Slicing for Success: Consistency is Key
Uniformity in slicing is key to even cooking and perfectly crispy chips. Aim for slices that are about 1/8 inch thick. Thicker slices will take longer to cook and may be slightly chewy in the middle, while thinner slices will crisp up beautifully. If you don't have a mandoline slicer (and let's be honest, who *really* does?), a sharp knife will do the trick, just be super careful and patient, it’s all about consistency! Remember, precision is power. We've got a great recipe for low-fat chips that might help.
After slicing, soak your potato slices in cold water for at least 30 minutes. This helps remove excess starch, leading to crispier chips. Think of it as a pre-game warm-up for your potatoes – it gets them ready for their moment in the spotlight! Pat them dry with a clean kitchen towel before seasoning and cooking. This step is essential for achieving that satisfying crunch. Don't skip it!
- Use a mandoline slicer for even slices.
- Aim for 1/8-inch thick slices.
- Soak slices in cold water for 30 minutes.
- Pat slices dry thoroughly before cooking.
Beyond the Basics: Advanced Slicing Techniques
While simple slices are perfect for many, you can get creative! Try crinkle-cut chips for a fun twist, or experiment with different shapes using cookie cutters. You can even try julienning your potatoes for a different texture altogether! It's all about finding what works best for your taste and skillset. Remember, there’s no wrong way to make your chips, as long as they taste good! For more ideas, check out our guide to low-fat chips and find your perfect method.
Consider using a food processor with a slicing attachment if you want to make the process even faster. This is great for batch cooking, or if you're making a huge amount of chips for a party. However, remember to take extra care when using food processors, and always follow the manufacturer's instructions. Safety first!
The Baking Method: Achieving Crispy Perfection
The Baking Method: Achieving Crispy Perfection
Baking Basics: Temperature and Time
Baking is the best way to make low-fat potato chips. It's all about that perfect balance of heat and time. Preheat your oven to 400°F (200°C). Line a baking sheet with parchment paper – this is crucial to prevent sticking and ensures even cooking. Arrange your potato slices in a single layer, making sure they're not overlapping. Overlapping leads to steam buildup and soggy chips – a culinary tragedy we want to avoid! Bake for 15-20 minutes, flipping halfway through. Keep a close eye on them, as ovens can vary. For more detailed instructions, check out our guide on baked low-fat tortilla chips – the principles are very similar!
The key to perfectly baked chips is patience and attention to detail. Don't rush the process! You want those chips to get golden brown and crispy, not burnt to a crisp. A little patience goes a long way. We've got some tips on achieving perfectly crispy chips in our article on best low-fat potato chips. Remember, the goal is maximum crispness with minimum effort.
- Preheat oven to 400°F (200°C).
- Use parchment paper to line the baking sheet.
- Arrange slices in a single layer.
- Bake for 15-20 minutes, flipping halfway.
Monitoring for Perfection: The Golden Rule
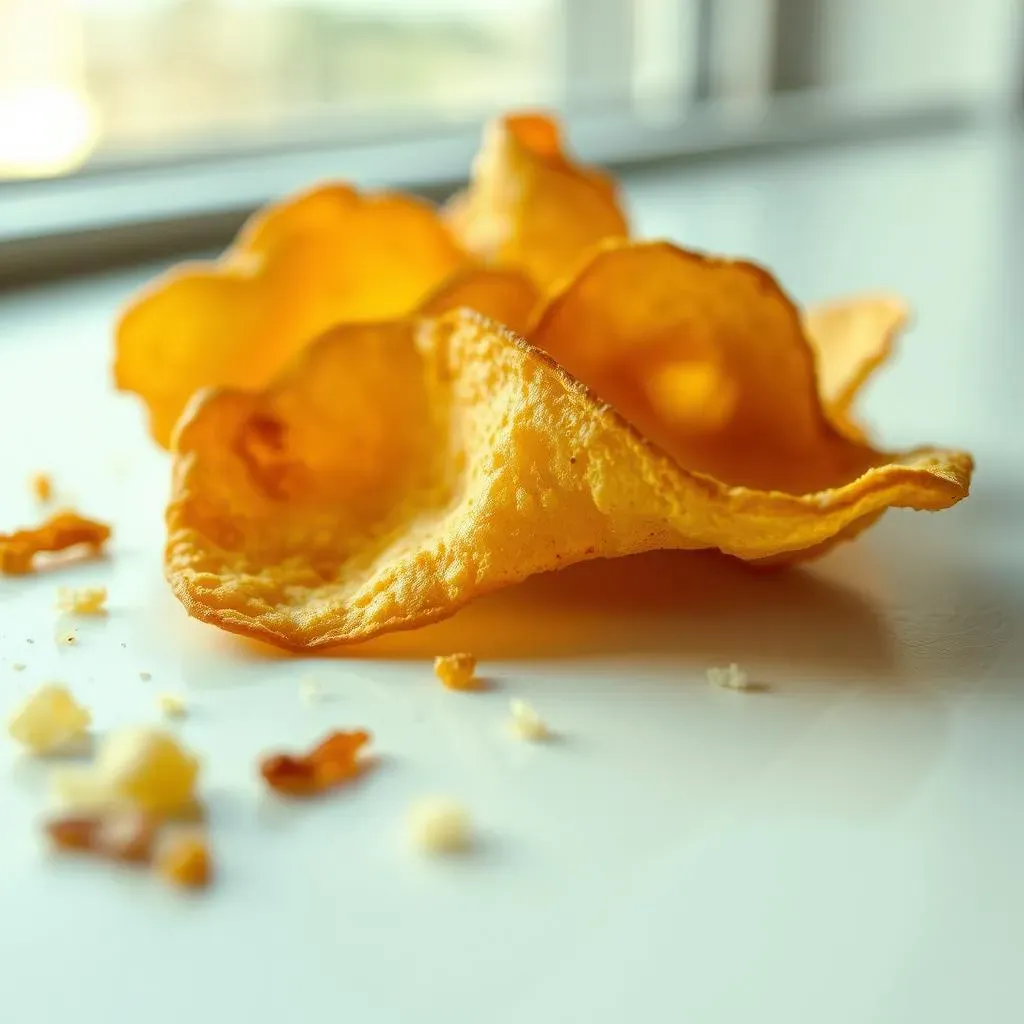
The color of your chips is a great indicator of doneness. You want them to be a beautiful golden brown, indicating that they're crispy and delicious. If they're still pale, they need more time in the oven. If they're starting to look dark brown or black, they're probably burning – time to take them out! It's a delicate dance between perfectly golden and slightly burnt. The ideal is a light golden brown.
Once your chips are perfectly golden brown, remove them from the oven and let them cool completely on a wire rack. This allows them to crisp up even further. Resist the urge to eat them while they're still warm – patience, young padawan! Cooling them properly allows for maximum crispness. For more information on achieving the perfect texture, check out our article on healthy low-fat chips.
Color | Doneness |
|---|---|
Pale | Needs more baking time |
Golden Brown | Perfectly cooked |
Dark Brown/Black | Burnt! |
Troubleshooting: Common Baking Problems
Sometimes, even with the best intentions, things don't go exactly as planned. If your chips are soggy, it's likely due to overlapping or insufficient drying. Make sure to arrange them in a single layer and pat them dry thoroughly before baking. If they're burning too quickly, your oven might be too hot – try reducing the temperature slightly.
Experimentation is key! Don't be afraid to adjust baking times and temperatures based on your oven and the thickness of your slices. Every oven is different, so finding what works best for yours might take a little trial and error. But don't worry, even slightly imperfect chips are still delicious! For more tips and tricks, check out our article on low-fat chips.
Seasoning Your Chips: Flavor Exploration
Seasoning Your Chips: Flavor Exploration
The Basics: Salt, Pepper, and Beyond
Let's start with the essentials: salt and freshly ground black pepper. A simple sprinkle of both before baking brings out the natural potato flavor. But don't stop there! Experiment with different types of salt – coarse sea salt adds a nice crunch and texture, while flaky sea salt offers a more delicate touch. Think of seasoning as the finishing touch on a masterpiece.
Beyond salt and pepper, consider adding garlic powder and onion powder for a savory kick. These are classic additions that complement the potato perfectly. For a little extra zing, try a dash of paprika or cayenne pepper for a touch of heat. Remember, the goal is to enhance the natural flavor of the potato, not to overpower it. Check out our recipe for low-fat chips for more seasoning ideas.
- Salt (sea salt, kosher salt)
- Black pepper (freshly ground)
- Garlic powder
- Onion powder
- Paprika
- Cayenne pepper (optional)
Flavor Adventures: Herbs, Spices, and More
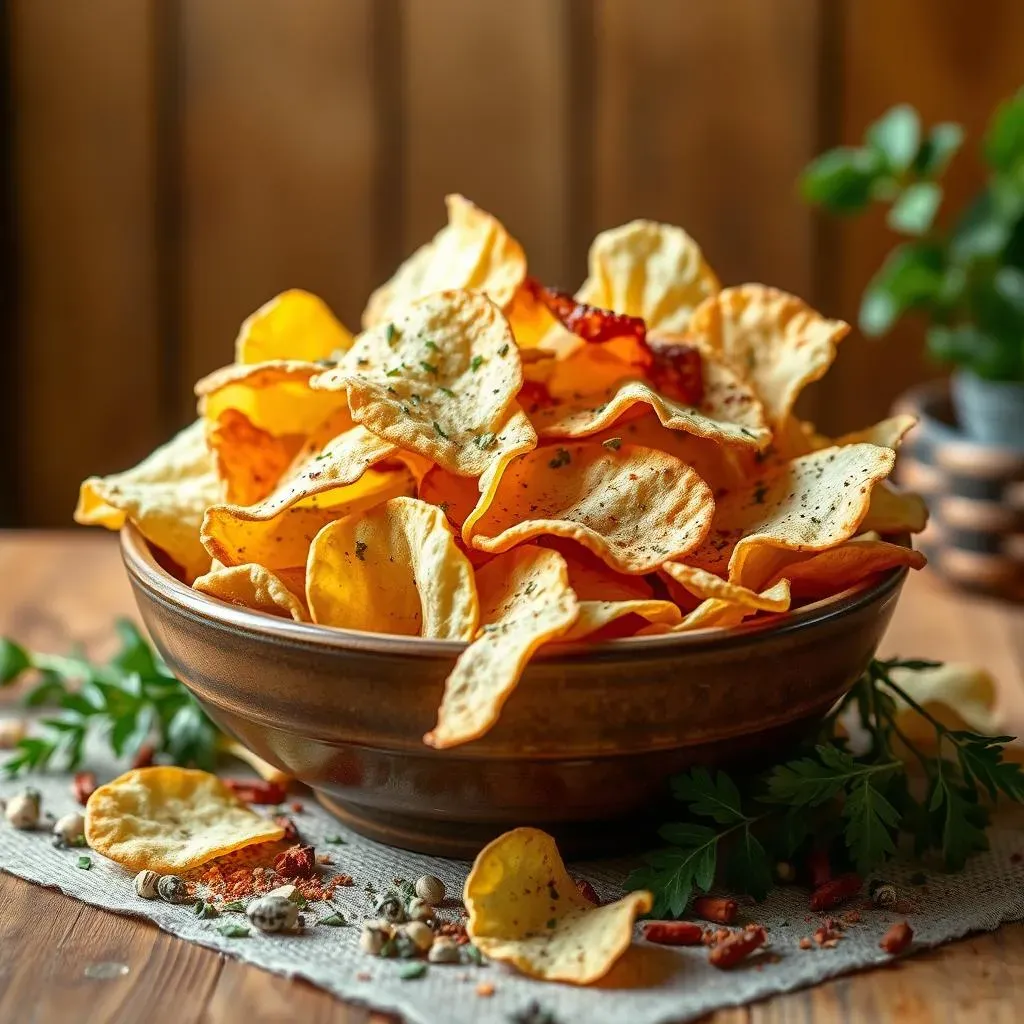
Once you've mastered the basics, it's time to get creative! Experiment with different herbs and spices to create unique flavor profiles. Dried herbs like rosemary, thyme, or oregano add an earthy aroma and subtle flavor. For a more intense flavor, try using fresh herbs, finely chopped, just before serving. Think of your chips as a blank canvas, waiting for your culinary masterpiece!
Don't be afraid to think outside the box. Try adding a sprinkle of parmesan cheese after baking for a cheesy twist, or experiment with different spice blends like curry powder or taco seasoning for a more global flair. The possibilities are endless! Remember to season generously, but don't overdo it. A little goes a long way. For even more inspiration, check out our selection of healthy low-fat chips with diverse flavor profiles.
Spice/Herb | Flavor Profile |
|---|---|
Rosemary | Earthy, slightly piney |
Thyme | Earthy, slightly lemony |
Oregano | Earthy, slightly peppery |
Curry Powder | Warm, savory, complex |
Alternative Cooking Methods and Storage Tips
Alternative Cooking Methods and Storage Tips
Air Fryer Adventures: Crispy Chips in Minutes
If you've got an air fryer, you're in for a treat! Air fryers create wonderfully crispy chips with minimal oil. Preheat your air fryer to 400°F (200°C), arrange your potato slices in a single layer, and cook for 8-12 minutes, shaking halfway through. The result? Perfectly crispy chips in a fraction of the time it takes to bake them. For a similar approach, check out our guide on baked low-fat tortilla chips – the air fryer method is very similar!
Remember to check your chips frequently, as air fryers can cook faster than ovens. Overcooked chips are a sad sight, so keep a close eye on them. The key is to achieve that golden-brown perfection without burning. We have some helpful tips on achieving this in our article on best low-fat chips.
- Preheat air fryer to 400°F (200°C).
- Arrange slices in a single layer.
- Cook for 8-12 minutes, shaking halfway.
- Monitor closely to prevent burning.
Microwave Magic: Quick & Easy Chips
For a super-speedy snack, try microwaving your potato slices. Arrange them in a single layer on a microwave-safe plate lined with a paper towel. Microwave on high for 2-3 minutes, then check for doneness. Continue microwaving in 30-second intervals until they reach your desired crispness. This method is perfect for a quick fix when you're short on time. It's not as crispy as baking or air frying, but it’s incredibly convenient! For more ideas on quick snacks, check out our article on low-calorie chip substitutes.
Be careful not to overcook your microwave chips, as they can quickly go from crispy to rubbery. Start with shorter intervals, and check frequently. It might take a few tries to get the timing perfect for your microwave. Remember, practice makes perfect! This method works best with very thinly sliced potatoes. For a more detailed breakdown of cooking times, see our guide to fat-free chips.
Microwave Time (High) | Result |
|---|---|
2-3 minutes | Partially cooked |
4-5 minutes | Crispy (for thin slices) |
5+ minutes | Likely overcooked |
Storage Solutions: Keeping Your Chips Crispy
Once your chips are cool, store them in an airtight container at room temperature for up to 2 days. For longer storage, consider placing them in a freezer bag and freezing them for up to 2 months. This is perfect for making a big batch and enjoying them over time. Just be sure to let them thaw completely before eating them.
To maintain crispness, avoid storing your chips in a humid environment. A cool, dry place is ideal. If you're storing them for longer periods, consider using a vacuum sealer to remove excess air. This will help prevent them from becoming soggy. Check out our suggestions for low-fat chips or crackers for more storage ideas.