Table of Contents
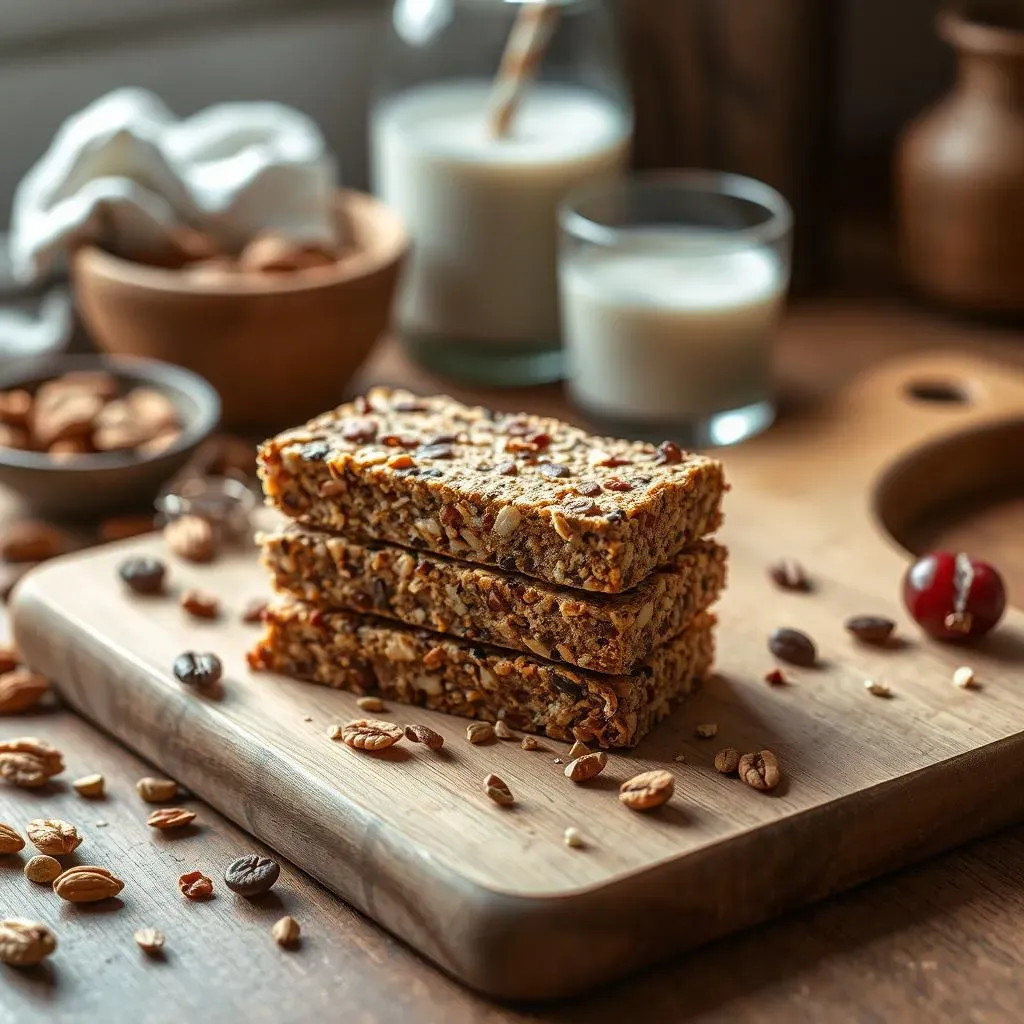
Are you tired of those overly sugary, high-fat protein bars that leave you feeling sluggish? Do you dream of a delicious, guilt-free snack that helps you reach your fitness goals? Then you've come to the right place! This comprehensive guide will walk you through everything you need to know about how to make low-fat protein bars. We'll explore the best ingredients to use to keep your bars healthy and delicious, guiding you through a step-by-step process that’s so simple, even a beginner can master it. Forget expensive, processed bars loaded with hidden sugars and unhealthy fats – we’ll unlock the secrets to creating your own customized low-fat protein bars, tailored to your specific dietary needs and taste preferences. Get ready to experiment with exciting flavors and textures, creating protein-packed snacks that are both satisfying and nutritious. This isn't just about following a recipe; it's about empowering you to take control of your diet and enjoy healthy, homemade treats. Let's dive in and discover the world of delicious, low-fat protein bars!
Choosing the Right Ingredients for LowFat Protein Bars
Choosing the Right Ingredients for LowFat Protein Bars
Protein Powerhouses: Choosing Your Protein Source
The foundation of any great protein bar is, of course, the protein! When aiming for low-fat, you've got some excellent choices. Whey protein isolate is a popular option because it's low in fat and carbs, and it mixes easily. However, it's not for everyone, so consider alternatives like casein protein (for a slower-digesting protein), soy protein isolate (a good plant-based option), or even pea protein isolate. Remember to check the nutrition labels carefully; even within a category like "whey isolate," fat content can vary. For some truly delicious vegan options, check out our vegan low-fat protein bar recipes!
Thinking about the texture you want in your bar is important, too. Some protein powders are naturally fluffier than others. Experiment to find your favorite! Also, consider adding a binding agent like chia seeds or flaxseed meal; these add a little extra fiber and help hold everything together nicely. A little goes a long way, though!
Protein Source | Fat Content (approx.) | Pros | Cons |
|---|---|---|---|
Whey Isolate | Low | Fast-digesting, mixes well | Not vegan/vegetarian |
Casein | Low | Slow-digesting | Can be gritty |
Soy Isolate | Low | Plant-based | Some people have sensitivities |
Pea Isolate | Low | Plant-based, hypoallergenic | Can have a slightly earthy taste |
Sweeteners, Fats, and Fillers: Balancing Flavor and Health
Now, let's talk about the other crucial components. For sweetness, opt for natural sweeteners like stevia, erythritol, or monk fruit; these offer sweetness without the hefty calorie count of sugar. While we're aiming for low-fat, a tiny amount of healthy fats can actually improve the texture and taste of your bars. A touch of nut butter (peanut, almond, or cashew) can add richness and flavor without going overboard on the fat. Just use it sparingly! You can also add a touch of unsweetened applesauce or mashed banana for moisture and natural sweetness.
For a nice chewy texture, consider incorporating oats (rolled or quick-cooking), shredded coconut, or even some chopped nuts (again, use sparingly!). These also help to bulk up your bars and add some healthy fiber. For more inspiration on building your perfect low-fat bar, check out this low-fat protein bar recipe for some ideas!
- Natural Sweeteners (Stevia, Erythritol, Monk Fruit)
- Healthy Fats (Small amount of nut butter)
- Fillers (Oats, Coconut, Nuts – use sparingly)
- Binders (Chia seeds, Flaxseed meal)
Mastering the Art of Making LowFat Protein Bars: A StepbyStep Guide
Mastering the Art of Making LowFat Protein Bars: A StepbyStep Guide
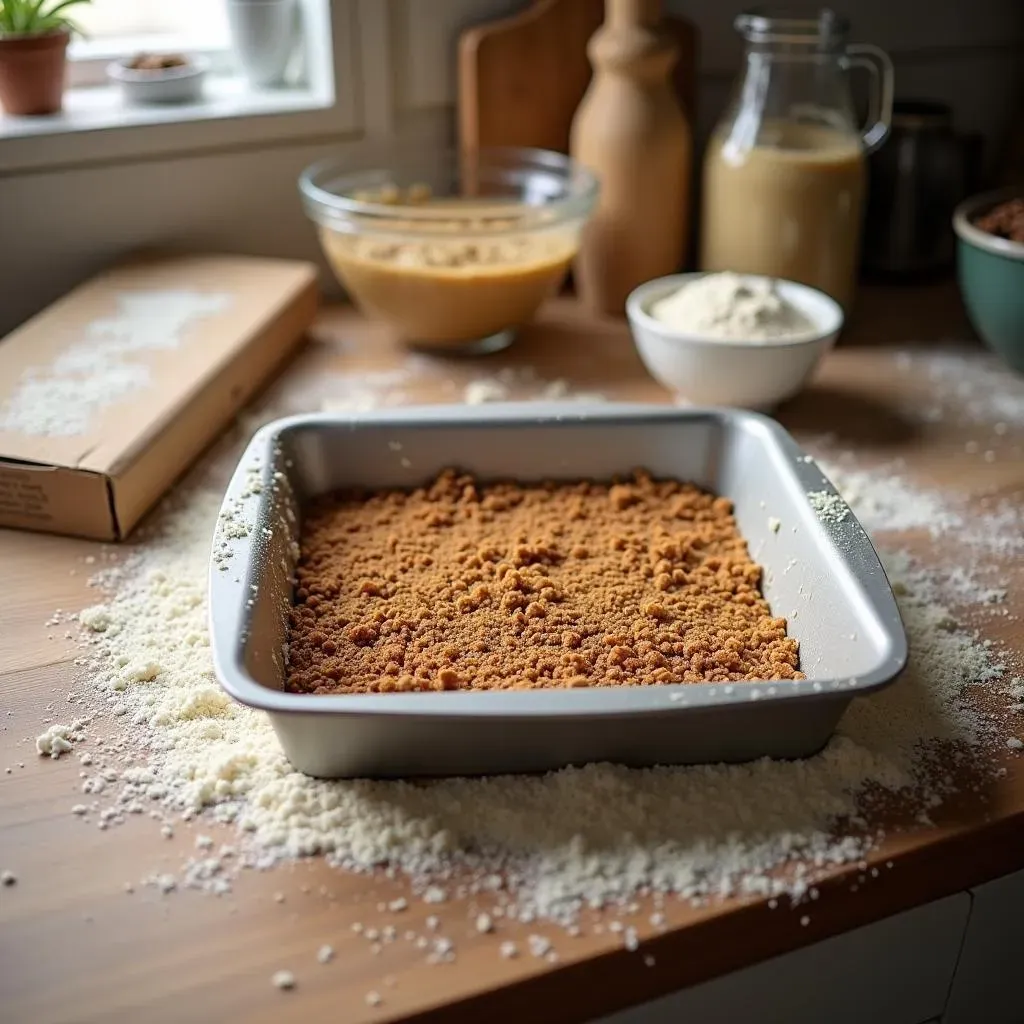
Alright, let's get our hands dirty! The beauty of making your own protein bars is the control you have over every ingredient. First, measure out all your dry ingredients—protein powder, sweetener, oats, and any other fillers you've chosen. Get everything prepped and ready to go. This makes the process so much smoother. Think of it as prepping your battlefield before the culinary battle begins!
Next, in a separate bowl, combine your wet ingredients. This usually includes your healthy fats (like that touch of nut butter we talked about), any liquid (like unsweetened applesauce or almond milk), and any binding agents. Mix them well until they’re completely combined. Don't overmix, though; you want a smooth but not overly blended mixture. For some extra guidance on wet ingredients, check out our guide to low-fat, low-sugar bars!
- Measure dry ingredients
- Combine wet ingredients separately
- Gently combine wet and dry
Now, the fun part: gently combine your wet and dry ingredients. You want to mix just until everything is evenly moistened; don’t overmix, or your bars will be tough. Think of it like a delicate dance—gentle and careful. Once everything is evenly distributed, pour the mixture into a lined baking dish (usually an 8x8 inch square pan works well). Press the mixture firmly and evenly into the pan. This ensures even baking and helps prevent crumbly bars. If you want to make mini bars, you can use a muffin tin instead!
Refrigerate your mixture for at least 2-3 hours, or preferably overnight. This allows the bars to firm up and set properly. Once they’re firm, cut them into your desired size and shape. You can store them in the refrigerator for up to a week, or freeze them for longer storage (up to a month). Try different shapes and sizes—get creative! Find a recipe perfect for you with our ultimate homemade low-fat protein bar recipe.
Step | Action | Tip |
|---|---|---|
1 | Combine dry ingredients | Measure accurately |
2 | Combine wet ingredients | Mix until smooth |
3 | Gently combine wet and dry | Don't overmix |
4 | Press into pan | Firmly and evenly |
5 | Refrigerate | At least 2-3 hours |
6 | Cut and enjoy! | Store in fridge or freezer |
Creative LowFat Protein Bar Recipes: Beyond the Basics
Creative LowFat Protein Bar Recipes: Beyond the Basics
Fruity & Nutty Delights
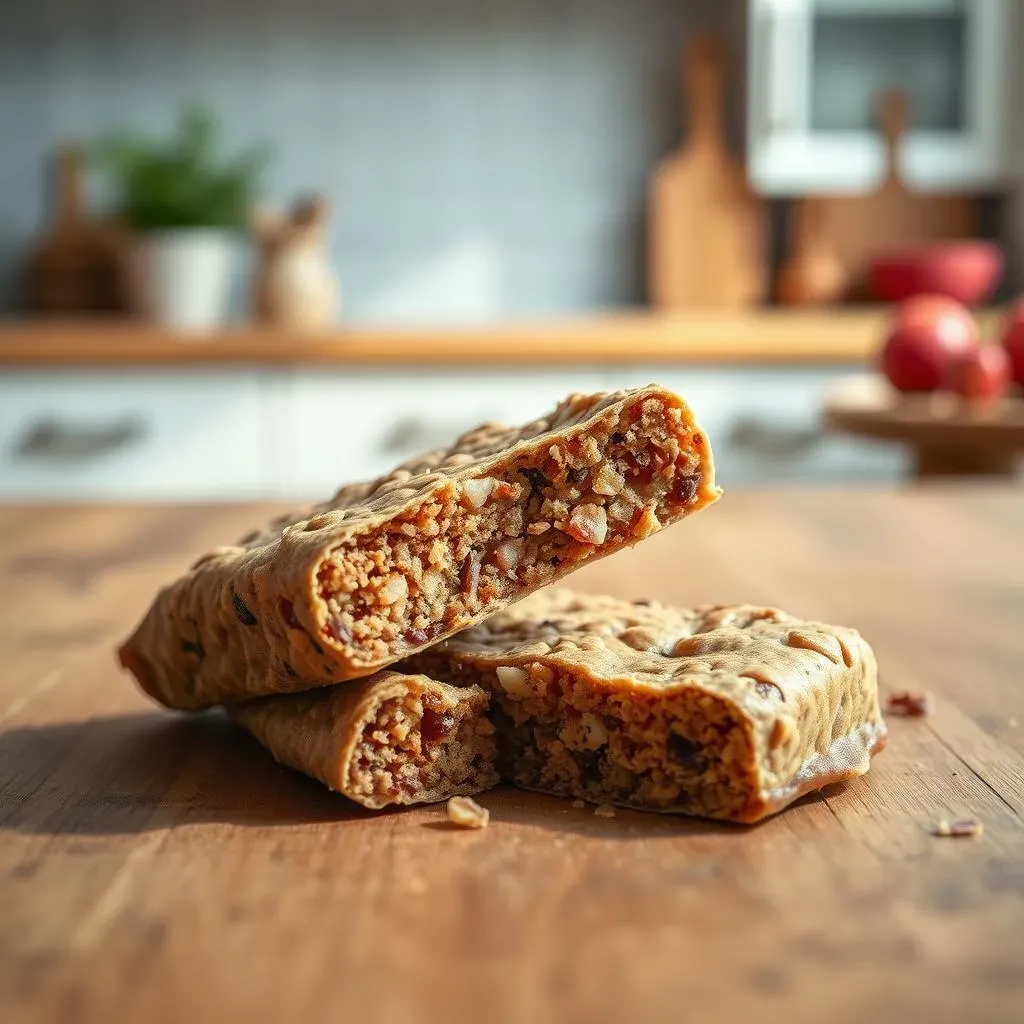
Let's move beyond the basic peanut butter and oats! Think about incorporating dried fruits like cranberries, blueberries, or chopped apricots for a burst of natural sweetness and fiber. A sprinkle of chopped nuts (almonds, pecans, or walnuts—again, use sparingly!) adds a nice crunch and healthy fats. Remember, we're aiming for *low* fat, not no fat! Experiment with different combinations to find your perfect flavor profile. For example, a cranberry-almond bar with a hint of cinnamon is simply divine.
To add a bit of zing, consider adding spices like cinnamon, nutmeg, or even a touch of ginger. These spices not only add flavor complexity but also offer potential health benefits. And don't forget the potential of adding cocoa powder for a decadent chocolatey twist! For more low-fat bar inspiration, check out our low-calorie, high-protein snack bar recipes.
- Dried Cranberries
- Chopped Almonds
- Cinnamon
- Unsweetened Cocoa Powder
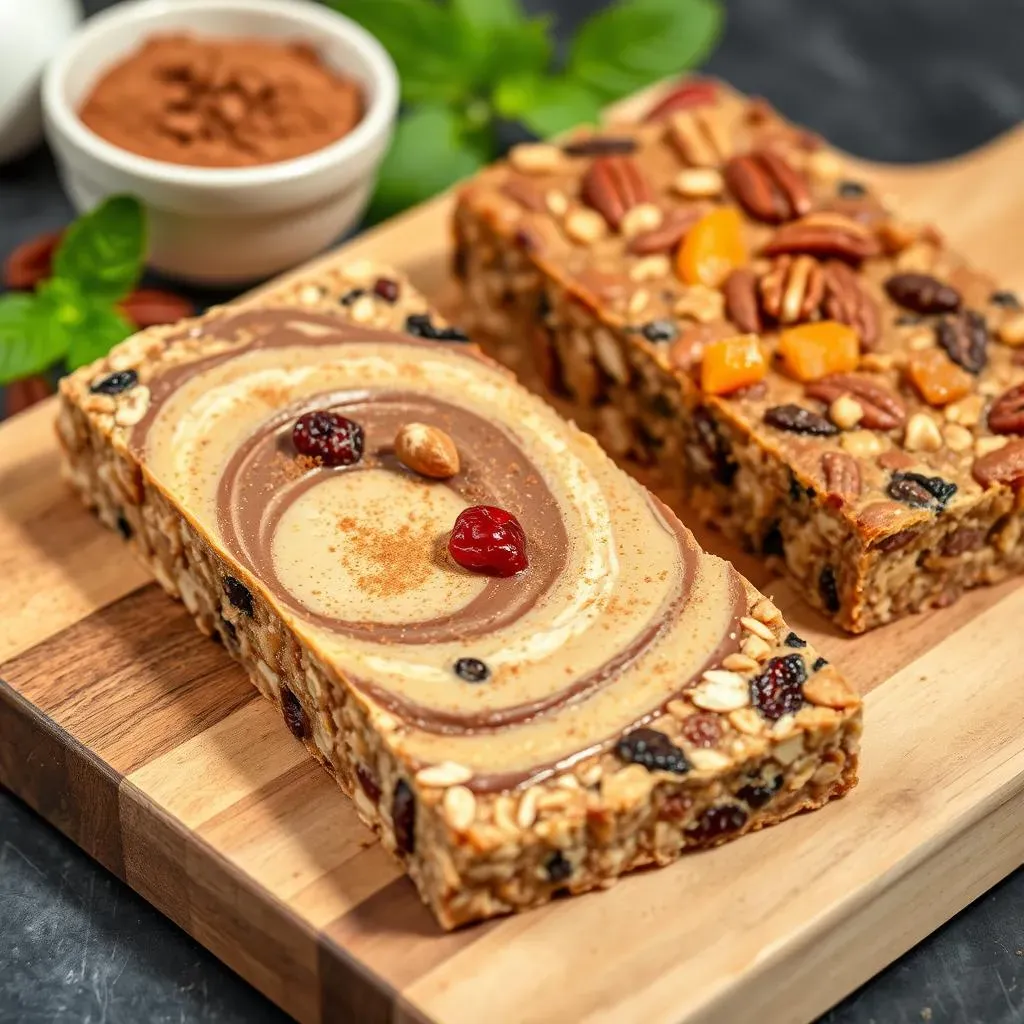
Chocolate Peanut Butter Swirl
Now for something a little more decadent! This recipe takes the classic peanut butter protein bar and adds a delicious chocolate swirl. Start with your basic low-fat protein bar recipe (using a base of peanut butter, oats, and your chosen protein powder). Once you've combined your wet and dry ingredients, divide the mixture in half. To one half, add a couple of tablespoons of unsweetened cocoa powder and mix well. This will be your chocolate layer.
Layer the plain mixture and the chocolate mixture in your prepared baking dish, swirling them together slightly with a knife or toothpick for a marbled effect. Refrigerate as usual. The result? A protein bar that's both healthy and satisfies that chocolate craving. For more low-fat, low-sugar options, have a look at our low-fat, low-sugar high-protein bars guide.
Ingredient | Quantity (adjust to your recipe) | Notes |
|---|---|---|
Unsweetened Cocoa Powder | 2-3 tablespoons | Adjust to desired chocolate intensity |
Peanut Butter | 1/4 cup | Use a low-fat variety |
Protein Powder | 1 scoop | Choose your favorite low-fat option |
Oats | 1/2 cup | Rolled or quick-cooking |
Tips and Tricks for Perfect LowFat Protein Bars: Troubleshooting and Storage
So, you've made your low-fat protein bars, and they're... a bit crumbly. Don't despair! This is a common issue, often caused by not enough binding agent or too much liquid. Next time, try adding a bit more chia seeds or flaxseed meal. If your bars are too dry, add a tiny bit more unsweetened applesauce or almond milk to the wet ingredients. Experiment to find the perfect balance for your chosen ingredients. Remember, consistency is key—and that consistency might vary slightly depending on your specific ingredients.
Another common problem is bars that are too sweet or not sweet enough. This is easily adjusted by tweaking the amount of sweetener you use. Start with a smaller amount, then taste and adjust as needed. Remember, you can always add more sweetener, but you can't take it away! For some additional tips and tricks on perfecting your low-fat bars, check out our ultimate guide to high-protein, low-fat, low-sugar bars.
- Crumbly bars? Add more binding agent.
- Dry bars? Add a touch more liquid.
- Too sweet? Reduce sweetener next time.
- Not sweet enough? Add more sweetener.
Proper storage is crucial for keeping your low-fat protein bars fresh and delicious. Store them in an airtight container in the refrigerator for up to a week. This helps prevent them from drying out or absorbing odors from other foods in your fridge. For longer storage (up to a month), freeze your bars in a freezer-safe container or bag. Freezing them helps to maintain their texture and flavor.
Before enjoying frozen bars, let them thaw at room temperature for about 30 minutes to an hour. This allows them to soften to a more enjoyable consistency. You can also thaw them in the refrigerator overnight. This way, you always have a healthy and delicious snack ready when you need one! Looking for more low-fat, low-sugar ideas? Check out our high-protein, low-fat, low-sugar bar recipes!
Storage Method | Duration | Notes |
|---|---|---|
Refrigerator | Up to 1 week | Airtight container |
Freezer | Up to 1 month | Freezer-safe container or bag |