Table of Contents
Craving a creamy, tangy treat without the guilt? Learning how to make low fat yogurt at home is easier than you think! Forget the store-bought options packed with hidden sugars and additives. This guide will walk you through a simple, step-by-step process to create your own delicious and healthy low fat yogurt. We'll cover everything from the essential equipment and ingredients you'll need, to mastering the fermentation process for that perfect creamy texture.
Essential Equipment and Ingredients for Low Fat Yogurt
Essential Equipment and Ingredients for Low Fat Yogurt
The Milk Matters
First and foremost, you'll need milk! To make low fat yogurt, obviously opt for low fat or skim milk. I've found that 1% or 2% milk strikes a good balance between creaminess and keeping the fat content down. Ultra-pasteurized (UP) milk works fine, but some folks swear by regular pasteurized milk for a slightly better flavor. Experiment and see what you prefer! Keep in mind that the type of milk you choose will directly impact the final texture and taste of your yogurt.
Don't skimp on quality here. While any low fat milk will technically work, the better the milk, the better the yogurt. Look for milk from cows that are grass-fed or at least have access to pasture. You can even try experimenting with goat's milk for a different flavor profile if you're feeling adventurous. It’s all about finding what works best for your taste and dietary needs.
Yogurt Starter: The Key to Fermentation
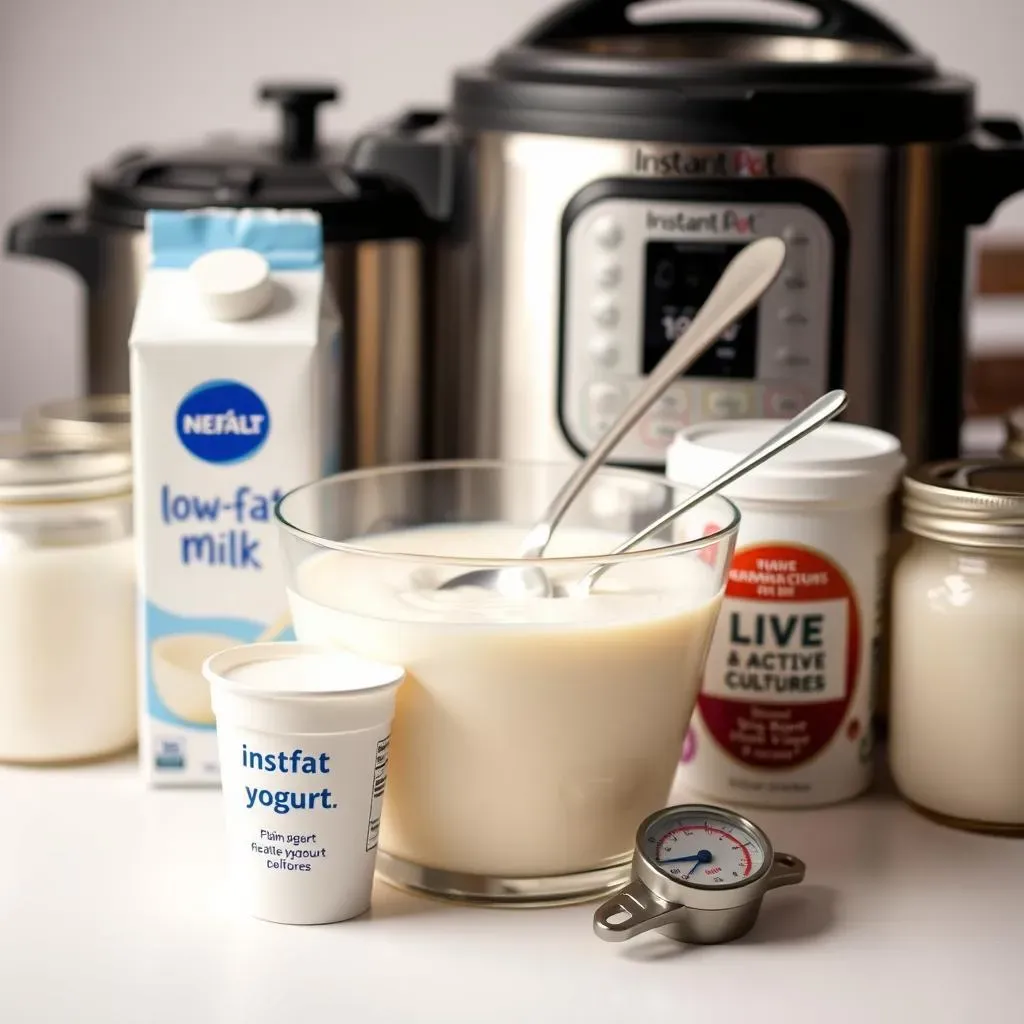
Next up, you need a yogurt starter. This is where the magic happens! You can't just use any yogurt; it needs to contain live and active cultures. Look for plain, unsweetened yogurt at the store, making sure the label clearly states "live and active cultures." A few tablespoons are all you need to get started. After your first batch, you can use some of your homemade yogurt as a starter for future batches – talk about sustainable!
Pro-tip: the fresher the starter yogurt, the better the results. Check the expiration date and aim for the one furthest out. Also, avoid yogurts with added thickeners or stabilizers, as these can interfere with the fermentation process. You want a pure, unadulterated source of those beneficial bacteria to get your yogurt-making journey off to a great start.
Essential Equipment: Keeping it Simple
Now, for the equipment. You don't need a ton of fancy gadgets to make low fat yogurt. A heavy-bottomed pot is essential for heating the milk evenly and preventing scorching. A reliable thermometer is crucial for monitoring the temperature – you'll want to heat the milk to around 180°F (82°C) and then cool it down to 110-115°F (43-46°C) before adding the starter. And finally, you'll need a container to incubate the yogurt. This could be a yogurt maker, an Instant Pot with a yogurt setting, or even just a warm spot in your oven or a cooler.
Here's a quick checklist:
- Heavy-bottomed pot
- Thermometer
- Whisk
- Incubation container (yogurt maker, Instant Pot, oven, cooler)
- Jars or containers for storing the finished yogurt
Optional but helpful: a fine-mesh strainer lined with cheesecloth or butter muslin for making Greek-style yogurt (straining out the whey for a thicker consistency).
StepbyStep Guide: Making Your Own Low Fat Yogurt
StepbyStep Guide: Making Your Own Low Fat Yogurt
Heating the Milk: The First Crucial Step
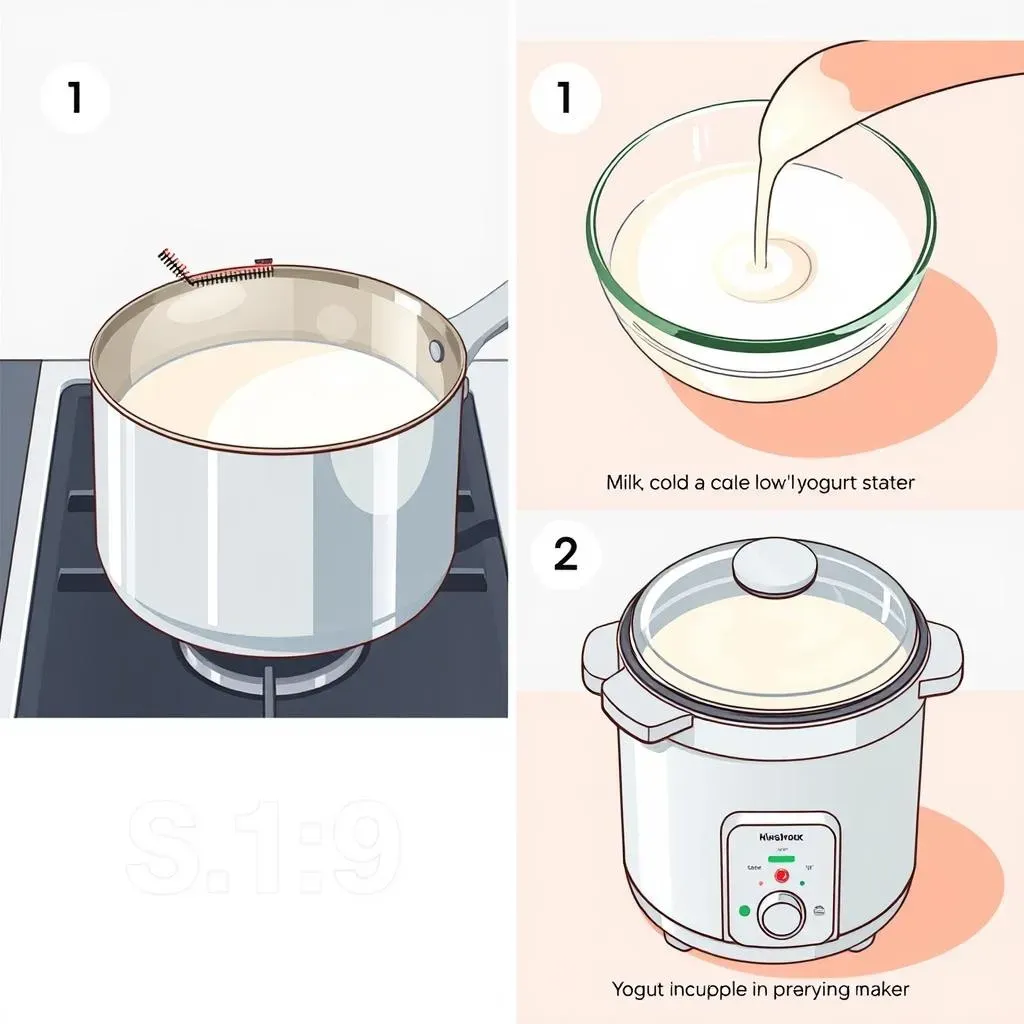
Alright, let's get started! Pour your low fat milk into that heavy-bottomed pot. Turn the heat to medium, and keep a close eye on it. You want to heat the milk to 180°F (82°C). This step is super important because it denatures the milk proteins, which helps create a thicker, creamier yogurt. Stir the milk occasionally to prevent it from scorching on the bottom. Use your trusty thermometer to monitor the temperature – don't eyeball it! Once it hits 180°F, remove the pot from the heat.
Now, you might be wondering, "Why can't I just boil the milk?" Well, boiling can change the flavor and texture of the yogurt, and not in a good way. Heating it to 180°F is the sweet spot for achieving that perfect balance of thickness and tanginess. So, patience is key here!
Cooling and Adding the Starter: The Temperature Tango
Next, you need to cool the milk down to 110-115°F (43-46°C). This is crucial because if the milk is too hot, it'll kill the live and active cultures in your yogurt starter. If it's too cold, the cultures won't thrive. I usually let the milk cool at room temperature, stirring occasionally to speed up the process. You can also place the pot in a cold water bath to cool it down faster, just be careful not to splash any water into the milk!
Once the milk has cooled to the right temperature, gently whisk in your yogurt starter. Make sure it's thoroughly combined. Now, you're ready for the incubation phase, where the magic truly happens!
Incubation: The Waiting Game (But Worth It!)
Now comes the incubation period. This is where the live and active cultures in your starter get to work, fermenting the milk and turning it into yogurt. The incubation time can vary depending on the temperature and the strength of your starter, but generally, it takes anywhere from 6 to 12 hours.
Here are a few incubation options:
- Yogurt Maker: Follow the manufacturer's instructions.
- Instant Pot: Use the yogurt setting.
- Oven: Preheat your oven to the lowest setting, then turn it off. Place the yogurt in the oven with the door slightly ajar.
- Cooler: Fill a cooler with warm water (around 110°F), and place the yogurt inside. You may need to replace the warm water periodically to maintain the temperature.
During incubation, avoid disturbing the yogurt as much as possible. Let those cultures do their thing! After the allotted time, check the consistency of the yogurt. It should be thick and jiggly. If it's not thick enough, you can incubate it for a few more hours. Once it's reached your desired consistency, transfer it to the refrigerator to chill for at least 2 hours before enjoying.
Troubleshooting Tips for Perfect Homemade Low Fat Yogurt
Troubleshooting Tips for Perfect Homemade Low Fat Yogurt
Yogurt's Too Thin? Let's Thicken It Up!
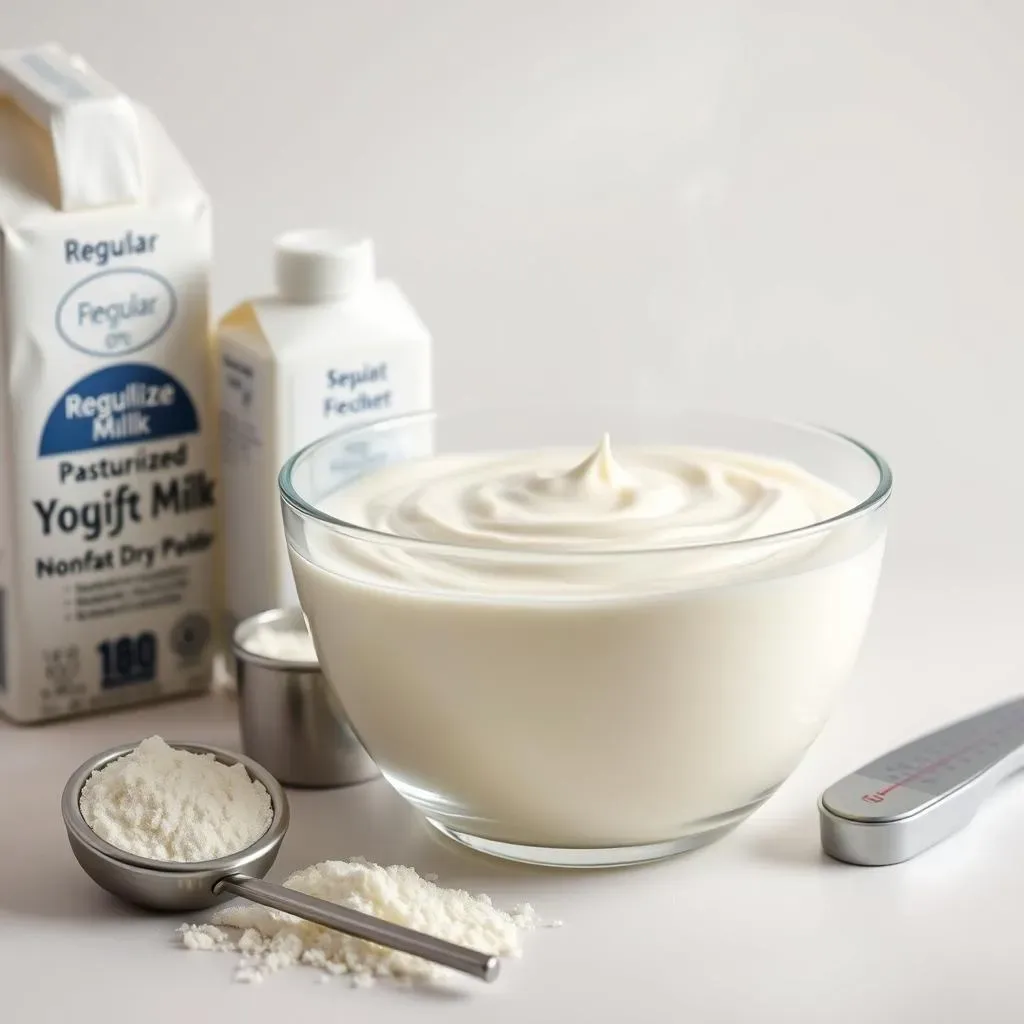
So, you've waited patiently, but your yogurt is still watery? Don't panic! Several factors could be at play. First, check your milk. Ultra-pasteurized milk can sometimes be a culprit. Try using regular pasteurized milk for your next batch. Also, make sure your milk reached 180°F (82°C) during the heating process. This step is crucial for denaturing the milk proteins, which helps create a thicker yogurt. If all else fails, you can add a tablespoon or two of nonfat dry milk powder to the milk before heating. This will increase the protein content and help thicken the yogurt.
Another potential issue could be the incubation temperature. If it's too low, the cultures won't thrive and the yogurt won't thicken properly. Make sure your incubation environment is consistently warm, around 110-115°F (43-46°C). You can also try incubating for a longer period, up to 12 hours, to give the cultures more time to work their magic.
Problem | Possible Solution |
|---|---|
Thin Yogurt | Use regular pasteurized milk, ensure milk reaches 180°F, add nonfat dry milk powder. |
Inconsistent Thickness | Maintain consistent incubation temperature, extend incubation time. |
Taming Tanginess: Too Sour or Just Right?
Some folks love that tangy yogurt flavor, while others prefer a milder taste. If your yogurt is too sour for your liking, it's likely been incubated for too long. The longer the yogurt ferments, the more lactic acid is produced, resulting in a tangier flavor. Try reducing the incubation time in your next batch. Start by checking the yogurt after 6 hours and stop when it reaches your desired level of tanginess.
On the other hand, if your yogurt isn't tangy enough, it may not have incubated for long enough. Give it a few more hours to ferment and develop that characteristic yogurt flavor. Also, make sure your starter yogurt is fresh and contains plenty of live and active cultures. A weak starter can result in a bland, flavorless yogurt.
Flavor Variations and AddIns for Your Low Fat Yogurt
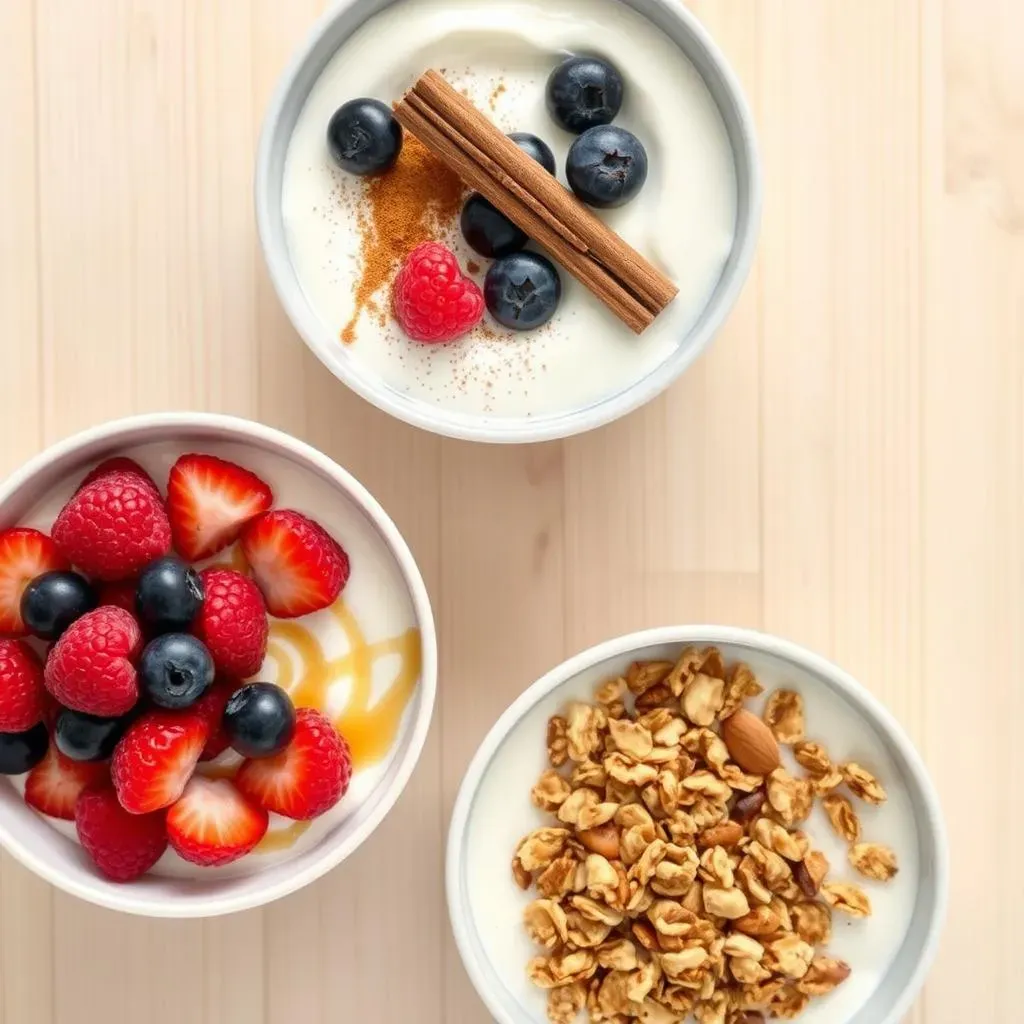
Flavor Variations and AddIns for Your Low Fat Yogurt
Fresh Fruit: Nature's Sweetener
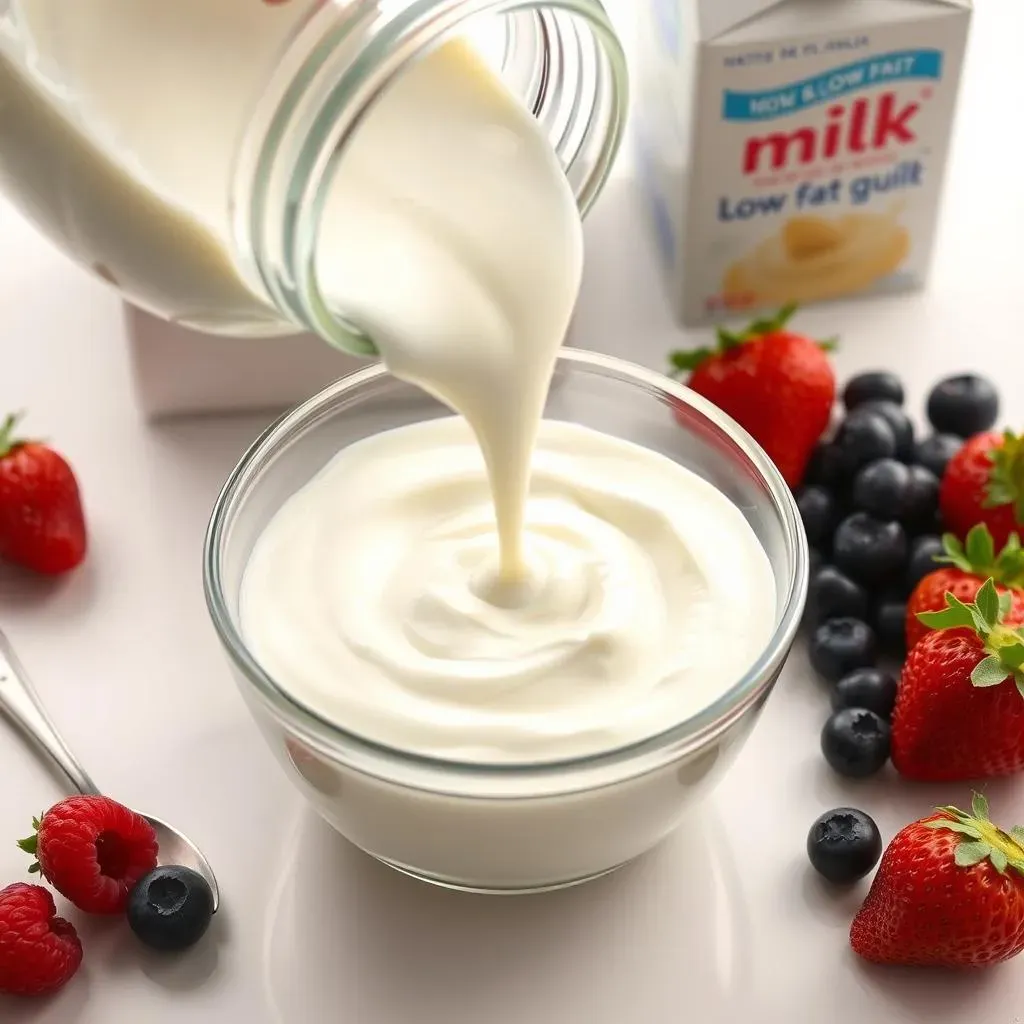
One of the simplest and healthiest ways to jazz up your low fat yogurt is with fresh fruit. Berries like strawberries, blueberries, and raspberries are packed with antioxidants and add a burst of natural sweetness. Sliced bananas, peaches, or mangoes also work wonderfully. Get creative and mix and match your favorite fruits to create your own signature yogurt parfaits. For an extra touch, try grilling your fruit lightly before adding it to the yogurt – it caramelizes the natural sugars and adds a smoky flavor.
When adding fresh fruit, it's best to do so just before serving to prevent the yogurt from becoming too watery. If you're preparing your yogurt ahead of time, consider adding the fruit as a topping rather than mixing it in. This will help maintain the texture and prevent the fruit from breaking down and making the yogurt soggy.
Spice It Up: Beyond Sweetness
Who says yogurt has to be sweet? Experiment with spices to add a warm and comforting flavor to your low fat yogurt. A dash of cinnamon, nutmeg, or ginger can transform your yogurt into a cozy treat, especially during the colder months. For a more adventurous flavor profile, try adding a pinch of cardamom or turmeric. You can also create savory yogurt dips by adding herbs like dill, mint, or cilantro, along with a squeeze of lemon juice and a pinch of salt and pepper. These savory yogurt dips are perfect for pairing with vegetables, crackers, or grilled meats.
Here are a few spice combination ideas:
- Cinnamon + nutmeg + a drizzle of honey
- Ginger + turmeric + a pinch of black pepper
- Dill + mint + lemon juice + garlic powder
Don't be afraid to experiment and find your own favorite spice blends. The possibilities are endless!
Crunch Time: Adding Texture and Interest
Sometimes, all you need is a little crunch to take your low fat yogurt to the next level. Granola is a classic choice, adding both texture and flavor. Look for low-sugar granola options to keep your yogurt healthy. Nuts and seeds are another great way to add crunch, as well as healthy fats and protein. Try adding chopped almonds, walnuts, pecans, or pumpkin seeds. For a more decadent treat, consider adding a sprinkle of dark chocolate chips or cacao nibs. These will add a touch of sweetness and a satisfying crunch.
Pro-tip: Toast your nuts and seeds before adding them to the yogurt to enhance their flavor and crunch. Simply spread them out on a baking sheet and bake at 350°F (175°C) for 5-10 minutes, or until they're lightly golden brown and fragrant. Let them cool completely before adding them to the yogurt to prevent it from becoming soggy.
Storing and Using Your Homemade Low Fat Yogurt Creations
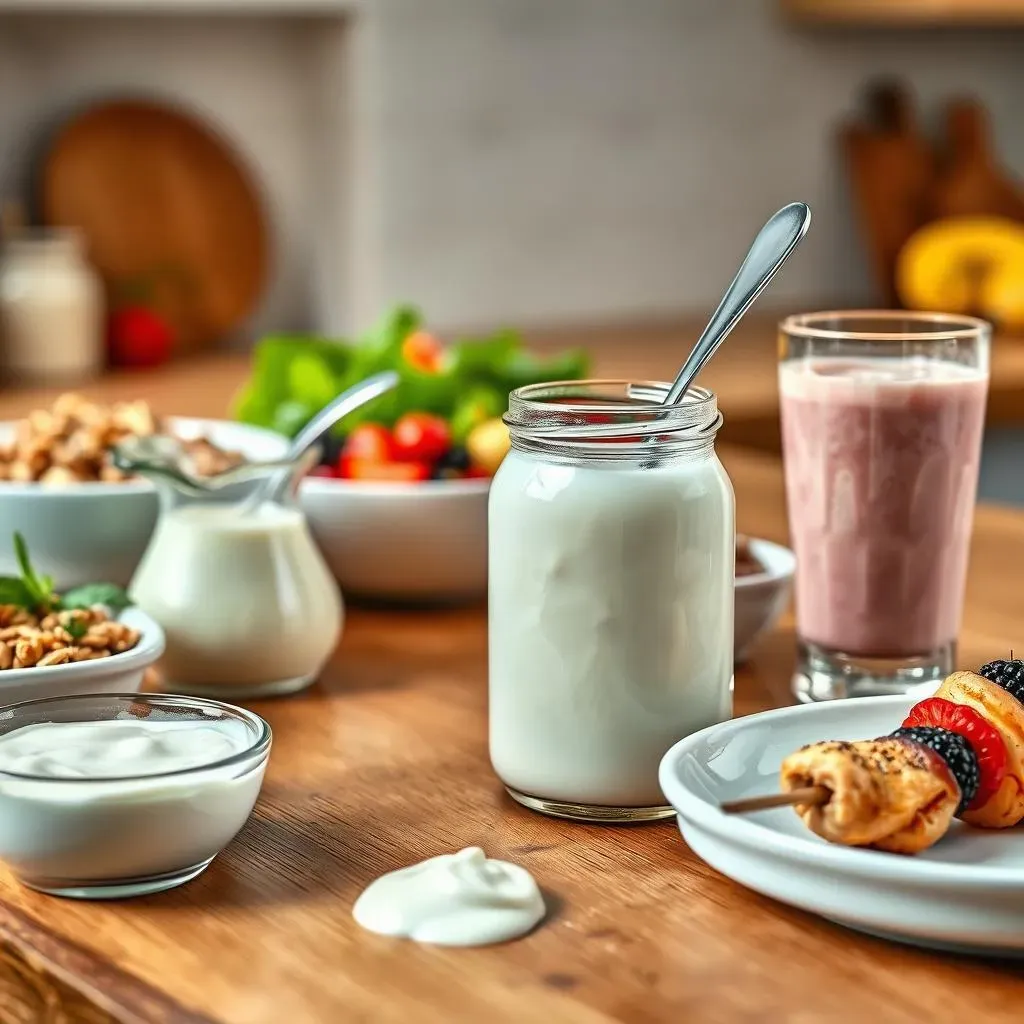
Storing and Using Your Homemade Low Fat Yogurt Creations
Proper Storage: Keeping it Fresh
Alright, you've made a beautiful batch of low fat yogurt – congrats! Now, let's talk storage. Properly stored, your homemade yogurt can last up to two weeks in the refrigerator. The key is to use airtight containers. I like to use glass jars or BPA-free plastic containers. Make sure the yogurt has cooled completely before transferring it to the fridge. This will prevent condensation from forming, which can lead to a watery yogurt.
Also, resist the urge to dip your spoon directly into the storage container. This can introduce bacteria and shorten the shelf life of your yogurt. Instead, portion out what you need into a separate bowl. If you find that whey (the watery liquid) separates from the yogurt during storage, don't worry – it's perfectly normal. You can simply stir it back in or pour it off.
Storage Tip | Why It Matters |
|---|---|
Use airtight containers | Prevents contamination and keeps yogurt fresh. |
Cool completely before refrigerating | Reduces condensation and watery texture. |
Portion out servings | Avoids introducing bacteria to the entire batch. |
Creative Uses: Beyond Breakfast
So, you've got a fridge full of delicious low fat yogurt – what now? The possibilities are endless! Of course, it's a fantastic breakfast or snack, topped with fruit, granola, or a drizzle of honey. But don't limit yourself! Use it as a healthy substitute for sour cream or mayonnaise in dips, dressings, and sauces. It adds a tangy flavor and creamy texture without all the fat. You can also use it to marinate meats, tenderize baked goods, or even make frozen yogurt popsicles.
One of my favorite uses is in smoothies. A scoop of low fat yogurt adds protein, probiotics, and a creamy consistency to any smoothie recipe. You can also use it to make a refreshing yogurt drink called lassi – simply blend yogurt with fruit, spices, and a touch of sweetener. Get creative and explore all the ways you can incorporate your homemade low fat yogurt into your daily meals!
Enjoying Your Homemade Low Fat Yogurt Journey
Congratulations, you've unlocked the secret to making your own delicious and healthy low fat yogurt! From mastering the basics to experimenting with flavors and textures, the possibilities are endless. Embrace the process, tweak the recipe to your liking, and enjoy the satisfaction of knowing exactly what goes into your food. With a little practice, you'll be a low fat yogurt pro in no time, whipping up batches of creamy goodness whenever the craving strikes. So, grab your ingredients, get creative, and savor the delightful taste of homemade yogurt!