Table of Contents
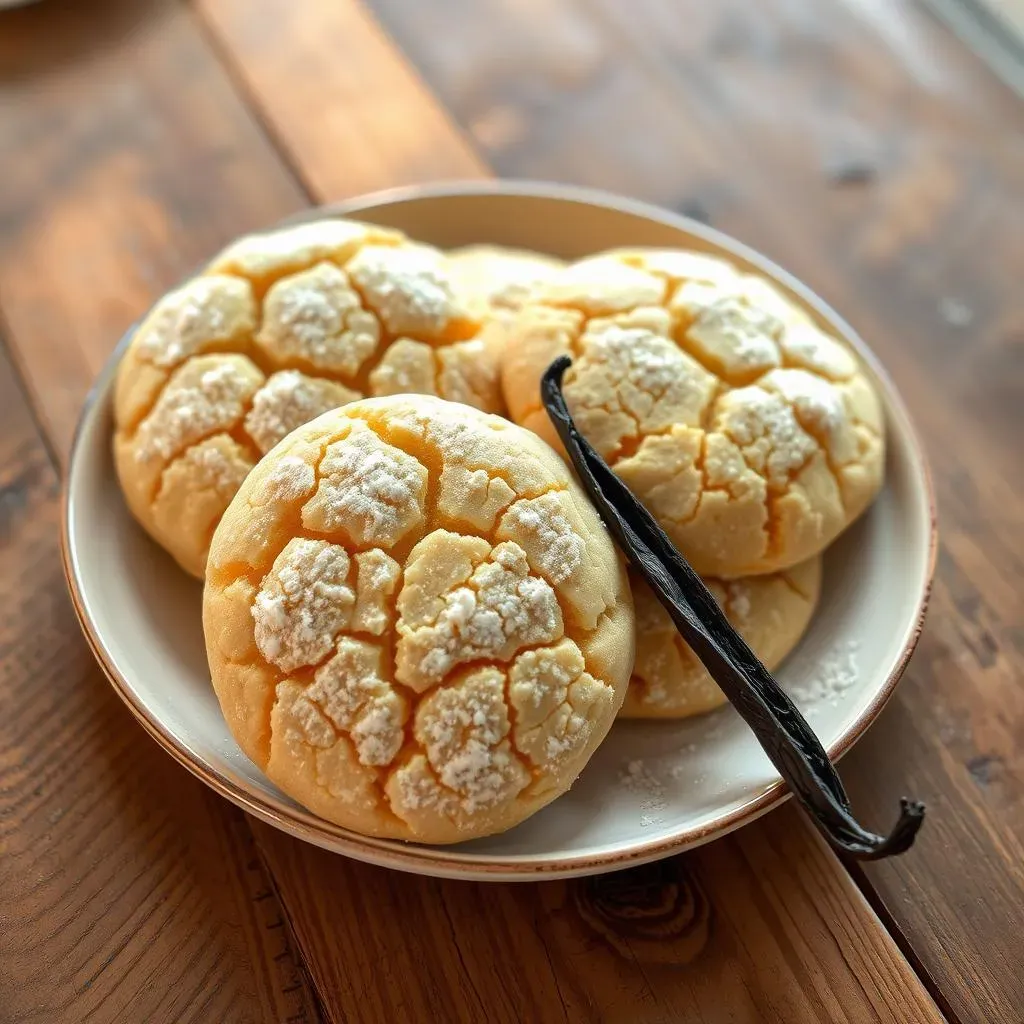
Ever been to a food blogger conference? Picture this: tables overflowing with gourmet goodies, everyone buzzing with recipe ideas, and me, wide-eyed, clutching a precious gift – a real Madagascar vanilla bean pod. I was thrilled but also, let’s be honest, a little terrified. What does one even *do* with a whole vanilla bean? Turns out, I'm more of a "vanilla bean paste" kind of gal – all the flavor, none of the fuss. This revelation led me down a path to create the perfect, guilt-free treat: low calorie vanilla cookies. Forget those bland diet snacks; these cookies are soft, chewy, and packed with vanilla goodness, but without all the extra calories. I’ll share the story of how this recipe came to life. I will also give you some tips and tricks to help you make your own version of these amazing low calorie vanilla cookies. We will go over the ingredients, the steps, some substitutions and how to troubleshoot your baking.
Baking Low Calorie Vanilla Cookies: My Journey
Baking Low Calorie Vanilla Cookies: My Journey
So, there I was, fresh from that food blogging conference, a vanilla bean pod burning a hole in my bag. I'd always thought real vanilla was some kind of mystical ingredient only fancy chefs could wield. The pod sat on my counter for a week, mocking me with its elegant curves. Eventually, I caved and bought some vanilla bean paste. It was a game changer! It's like the easy button for amazing vanilla flavor, and it got me thinking: could I create a truly delicious low calorie vanilla cookie? I started experimenting with different flours, sweeteners, and fats, trying to capture that classic cookie texture without all the guilt. It was a messy, sometimes frustrating, but ultimately rewarding process.
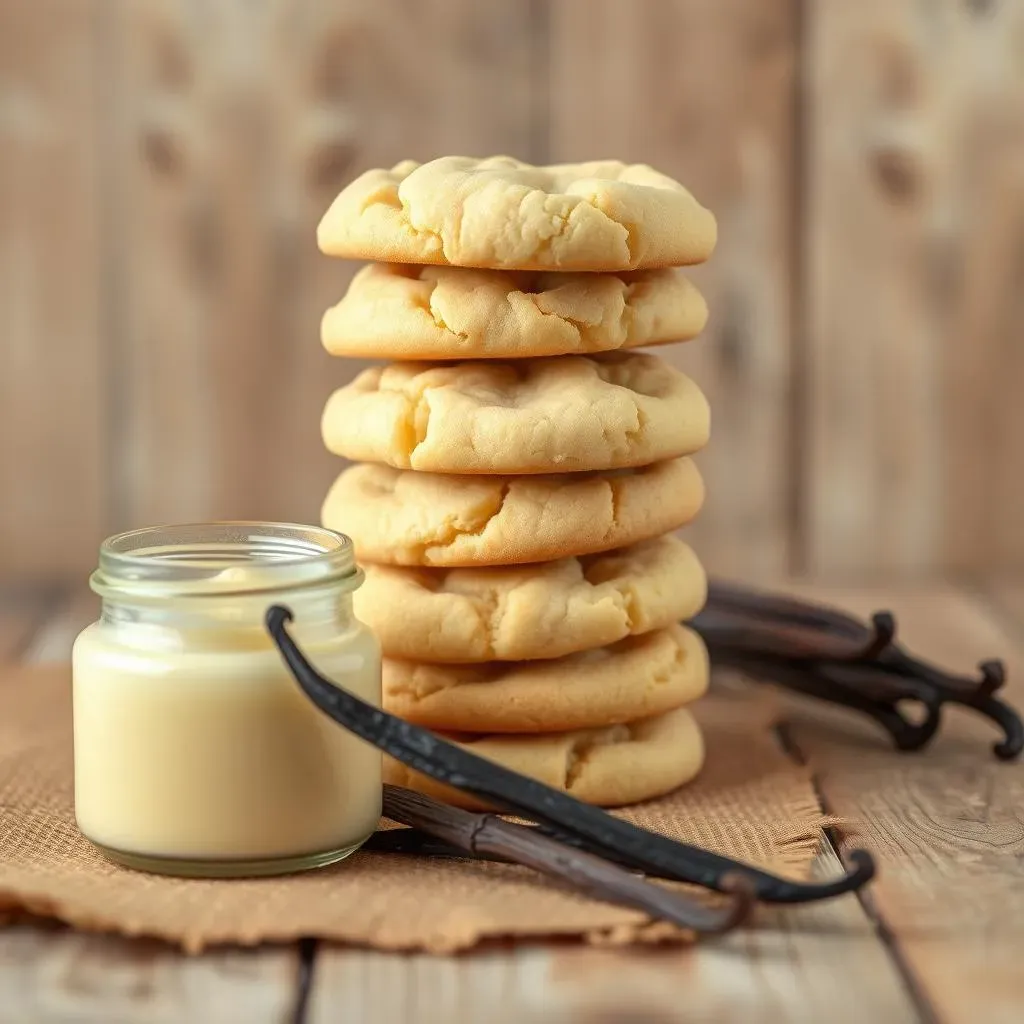
My first few attempts were… well, let’s just say they weren’t pretty. Some were too crumbly, others were flat as pancakes, and one batch tasted suspiciously like cardboard. But I’m stubborn, and I really wanted this low calorie cookie dream to work. I tweaked the recipe again and again, swapping ingredients, adjusting measurements, and doing tons of taste tests. It’s all part of the fun, right? Finally, after many trials and errors, I landed on a recipe that was soft, chewy, and bursting with vanilla flavor. Each cookie is only 20 calories! I was so excited to finally achieve my goal.
Ingredient | My First Attempt | The Winning Recipe |
|---|---|---|
Flour | All-purpose | White whole wheat |
Sweetener | Granulated sugar | Honey and liquid stevia |
Fat | Butter | Minimal butter |
The Secret to Low Calorie Vanilla Cookies
The Secret to Low Calorie Vanilla Cookies
The Flour Power
Okay, so the first secret isn't really that secret, but it's super important: the flour. We're ditching the all-purpose and going for white whole wheat. It might sound a little "healthy," but trust me, it gives the cookies a lovely texture and a touch of nuttiness that plays so well with the vanilla. Don't worry, it won’t make your cookies taste like cardboard. It just makes them a bit more wholesome without sacrificing that soft, chewy bite. I tried using almond flour in some of my tests, but they ended up too crumbly. The white whole wheat flour is the perfect balance.
Also, using the right flour helps keep the calorie count down a bit. It has more fiber than regular flour, which can help you feel fuller, and that's always a win when you're trying to keep things light. Think of it like a secret weapon in your low-calorie cookie arsenal. It's not just about cutting calories, it's about making smart choices with the ingredients you use. Remember, every little bit counts when you're aiming for that perfect low-calorie treat.
Sweetness without the Sugar Rush
Next up, let’s talk about sweetness. Sugar is the enemy of low calorie baking, right? Wrong. Well, sort of wrong. We're not using tons of sugar, that's for sure. Instead, we're using a combo of honey and liquid stevia. Honey adds a touch of moisture and a subtle flavor that complements the vanilla, while the liquid stevia provides the sweetness without the extra calories. It’s like a dynamic duo of sweetness that keeps things light but delicious. I have tried using other artificial sweeteners, but I found this combination to be the best in terms of flavor and texture.
Finding the right balance of sweeteners was a bit of an adventure. Too much honey, and the cookies would be too sticky, too much stevia, and they would taste a bit artificial. I experimented with different ratios until I found the sweet spot. It's important to measure carefully when you're working with these ingredients, as a little bit can go a long way. It is also important to add the right amount of sweetness so that you can enjoy your low calorie vanilla cookies without feeling guilty.
Fat: A Little Goes a Long Way
Finally, let’s talk about fat. We're not completely ditching it, because let's be real, cookies need a little fat for that melt-in-your-mouth texture. But we're using minimal butter, just enough to keep things soft and tender. I’ve tried using oil instead, but it doesn't quite give the same results. Butter adds a richness that's hard to replicate. The key is to use it sparingly and to use it wisely. You don't need a whole stick of butter to make a delicious cookie.
The trick is to use just enough to keep the cookies from being dry and crumbly, but not so much that they become greasy. It’s a balancing act, and it took me a few tries to get it just right. I found that using unsalted butter and adding a pinch of salt to the recipe gives the best flavor. It's all about the details when you are creating the perfect low calorie vanilla cookie. The right amount of fat is crucial for that perfect texture.
- Flour: White whole wheat
- Sweeteners: Honey and liquid stevia
- Fat: Minimal butter
Perfecting Your Low Calorie Vanilla Cookies
Perfecting Your Low Calorie Vanilla Cookies
Mixing it Right
Alright, so you've got your ingredients, now it's time to mix them up. This isn't rocket science, but a few tips can really make a difference. First, make sure your butter is softened, but not melted. You want it to be easy to cream with your sweeteners. I like to use a hand mixer, but a good old-fashioned whisk will do the trick too. Don't overmix the batter, though, that's a big no-no. You want to mix it until everything is just combined. Overmixing can lead to tough cookies, and nobody wants that. Think gentle, not aggressive, when you're mixing.
Once everything is mixed, I like to chill the dough for about 30 minutes. This helps the flavors meld together and also makes the dough easier to handle. It's a bit of a pain, I know, but trust me, it's worth it. I’ve tried skipping this step, and the cookies tend to spread too much and become thin. The chilled dough holds its shape better. Also, when you are chilling the dough, you have time to clean up the kitchen and get ready for the next step. It is all about the process.
Baking to Perfection
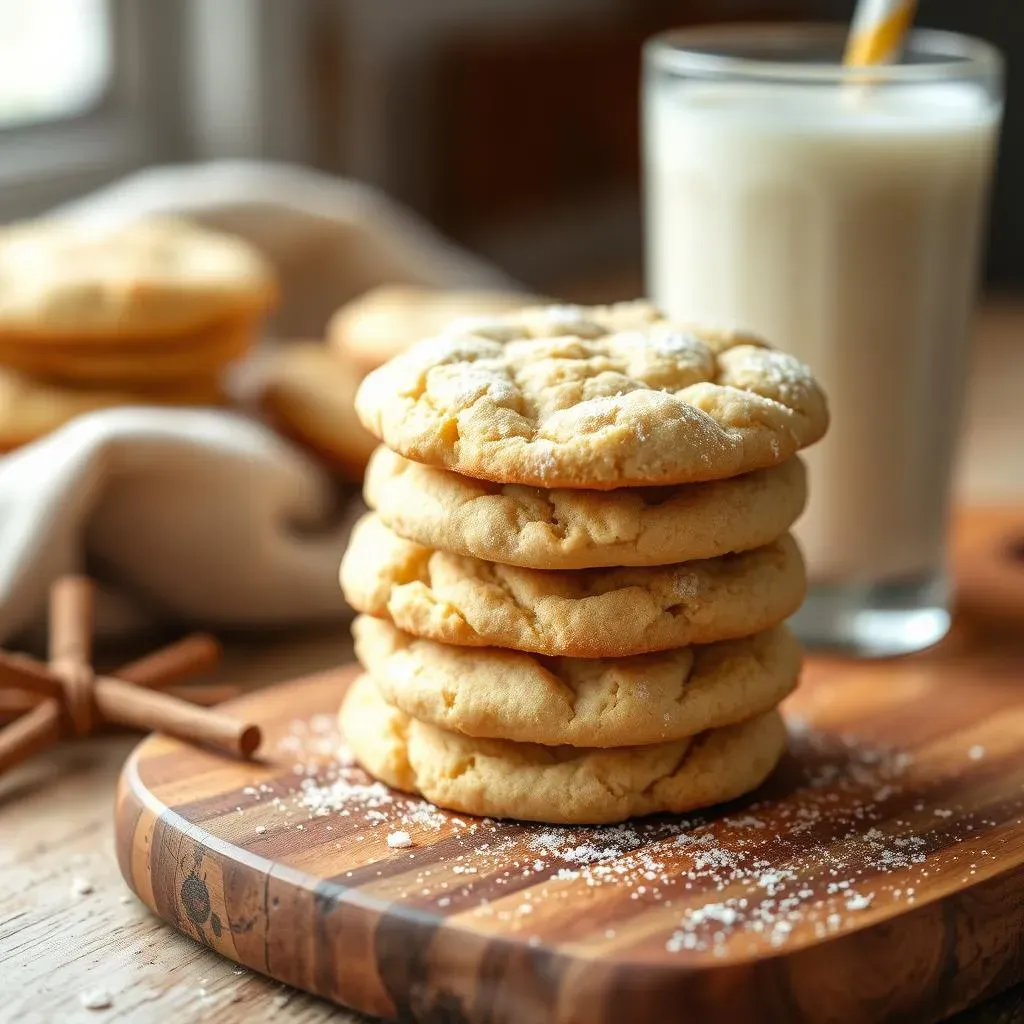
Now for the fun part: baking! Preheat your oven to 325°F (160°C). Line a baking sheet with parchment paper – this is non-negotiable. It prevents the cookies from sticking and makes cleanup a breeze. I like to use a small cookie scoop to portion out the dough, so they're all the same size and bake evenly. If you don't have a scoop, you can use a spoon, just try to keep the portions consistent. Bake them for about 8-10 minutes, or until the edges are lightly golden. They might seem a little soft when they come out of the oven, but they'll firm up as they cool. It's all about finding that perfect balance between slightly underbaked and perfectly done.
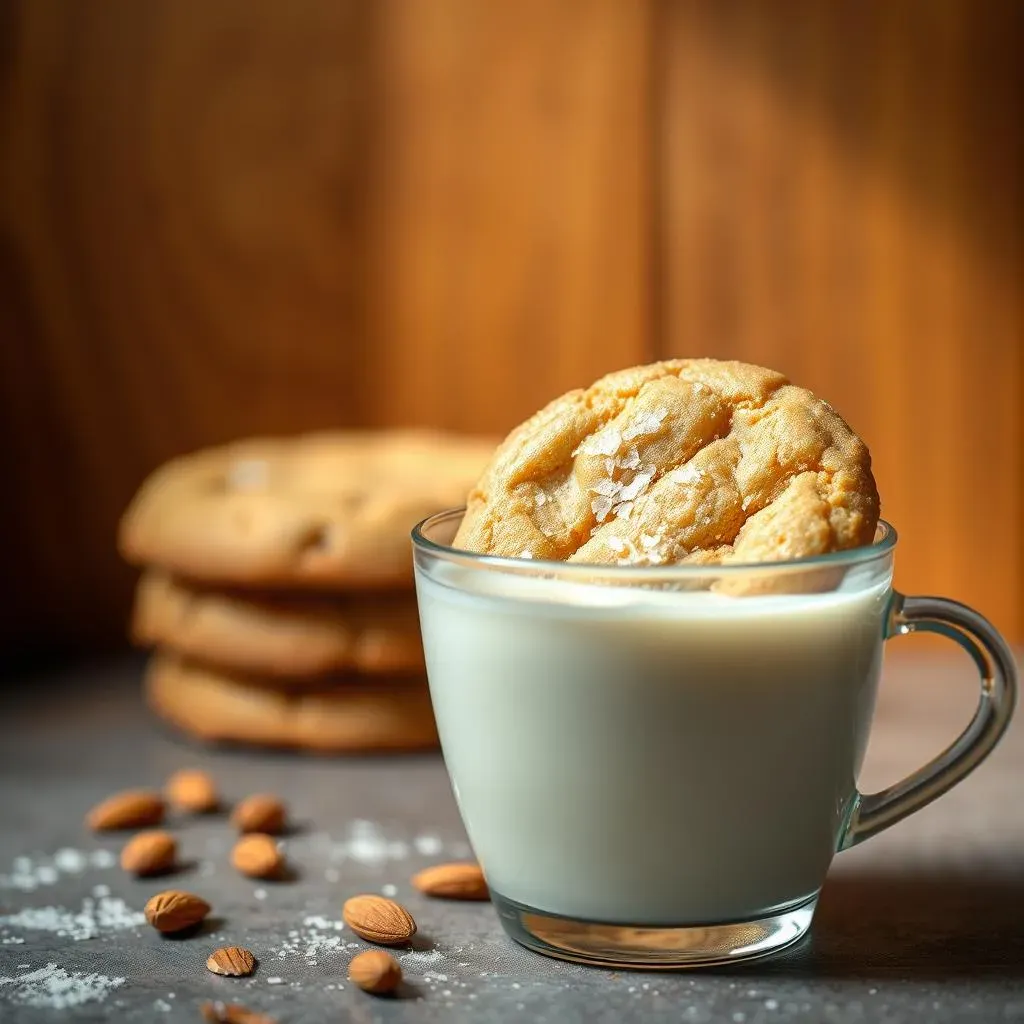
Let the cookies cool on the baking sheet for a few minutes before transferring them to a wire rack to cool completely. This prevents them from breaking. It's so hard to resist eating them right away, but patience is key. Once they are fully cooled, they are ready to be devoured. I love to enjoy mine with a glass of almond milk or a cup of tea. Remember, baking is a science, and every oven is different. You might need to adjust the baking time slightly based on your oven and the size of your cookies. This is where your personal touch comes into play.
Step | Action | Why |
|---|---|---|
1 | Soften the butter | Easy to cream with sweeteners |
2 | Mix gently | Avoid tough cookies |
3 | Chill the dough | Flavors meld, dough is easier to handle |
4 | Bake at 325°F (160°C) | Until edges are golden |
5 | Cool completely | Cookies firm up and don't break |
Notes and Substitutions
Okay, so not everyone can eat everything, right? No problem. If you’re gluten-free, you can use a gluten-free all-purpose flour blend. Just make sure it’s a good quality one, or you may end up with some crumbly cookies. For the egg, if you need to substitute that, you can use a flax egg (1 tablespoon of flaxseed meal mixed with 3 tablespoons of water, let it sit for 5 minutes to thicken). It works like a charm. You can also swap the honey for maple syrup, it gives a similar result, but it may have a slightly different flavor. Baking is all about experimenting, so don't be afraid to try new things and make this recipe your own.
The best part about this recipe is that it’s so versatile. You can add some spices to the dough, like cinnamon or nutmeg, for a different flavor profile. You can also add some chocolate chips or chopped nuts. I love to add a sprinkle of sea salt on top before baking, it enhances the sweetness and adds a little extra something. These low-calorie vanilla cookies are a blank canvas, and you can get creative with them. Remember, it's all about having fun and enjoying the process.
The Sweet Ending: Enjoying Your Low Calorie Vanilla Cookies
So there you have it, a journey from a fancy vanilla bean to a batch of delicious, low calorie vanilla cookies. These aren't just a diet food; they're a testament to the fact that you don't have to sacrifice flavor for health. Whether you're tweaking the recipe with gluten-free flour or adding a dash of your own special ingredient, remember that baking is about experimenting and having fun. Now, go ahead and enjoy those cookies, guilt-free! And maybe, just maybe, you'll find your own inspiration in a random food blogging conference gift.