Table of Contents
Okay, let's face it: we all love the satisfying crunch of a good chip. But sometimes, those potato chips leave us feeling a bit… well, not so great. That's where my obsession with low calorie zucchini chips began. I'm not kidding, I was a skeptic too. Zucchini? As a chip? But trust me on this one, these aren't your soggy garden variety veggies. We're talking crispy, flavorful, and totally addictive. I've spent a lot of time perfecting this recipe, and now I'm sharing all my secrets with you. Get ready to learn how to make these easy and healthy snacks. In this article, we'll go through the simple steps to make them, share some pro tips for extra crispiness, and then explore all the fun flavor options you can try. Plus, we'll discuss how to store them and when to serve them, so you can always have a batch ready to go. Get excited because you're about to discover your new favorite way to snack without any guilt!
Making Low Calorie Zucchini Chips: Ingredients and StepbyStep
Making Low Calorie Zucchini Chips: Ingredients and StepbyStep
The Zucchini Chip Lineup
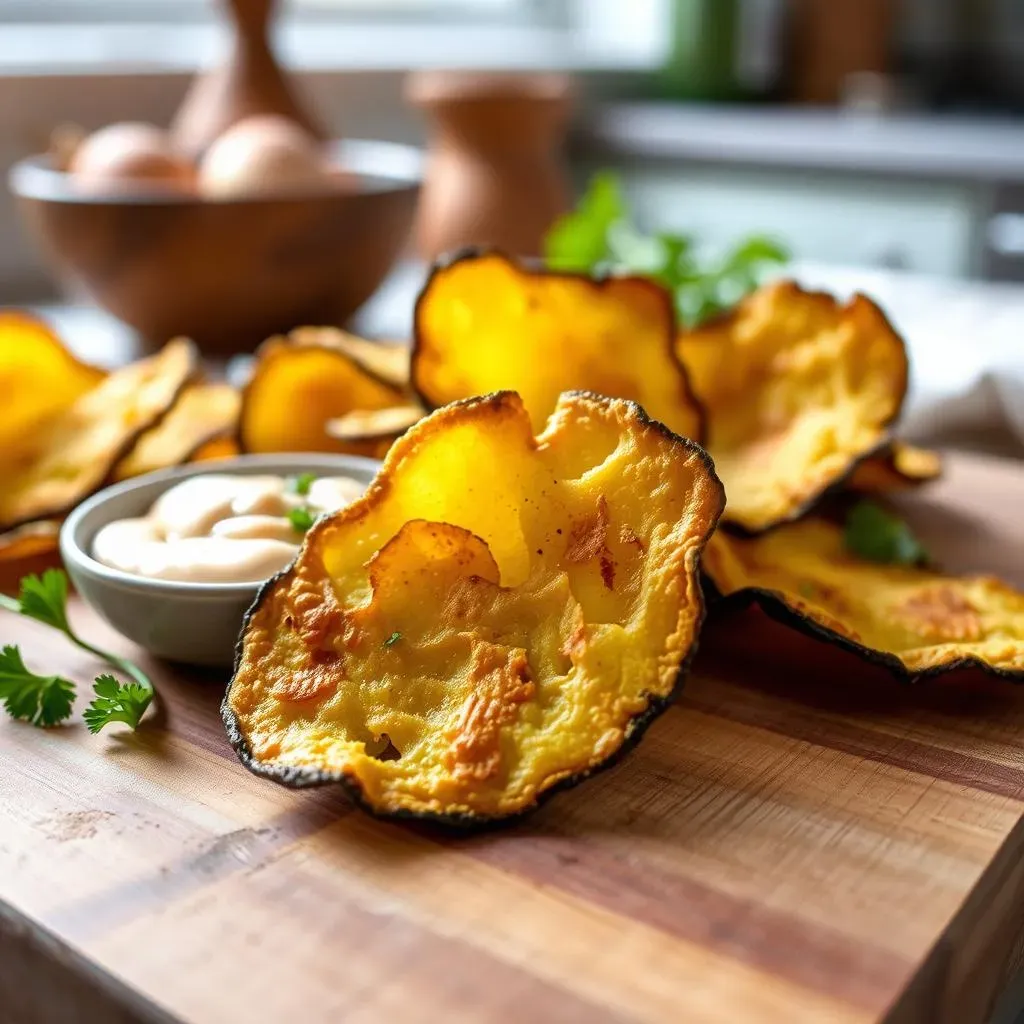
Alright, let's get down to business! Making these low calorie zucchini chips is way easier than you might think. First things first, you'll need your stars of the show: fresh zucchinis. I usually grab about two medium-sized ones, but feel free to adjust depending on how many chips you want. Besides the zucchini, you'll need a bit of olive oil—just a tablespoon or two will do—and your favorite seasonings. I'm a big fan of smoked paprika, garlic powder, and a pinch of salt, but we'll get into more flavor options later. Oh, and don’t forget some parchment paper to line your baking sheet; it’ll save you some serious scrubbing time later. So, to recap, zucchini, olive oil, seasonings, and parchment paper – that’s all you need!
Now, before you start slicing, let me give you a pro tip: try to pick zucchinis that are firm. The softer ones can end up a bit soggy. Also, think about the size of your chips; bigger zucchinis will give you bigger chips, while smaller ones will give you the cutest little guys. It’s all up to you, but remember, size does matter when it comes to baking time. So, gather your ingredients and let's get cooking!
Ingredient | Quantity | Notes |
|---|---|---|
Zucchini | 2 medium | Firm, not too soft |
Olive Oil | 1-2 tablespoons | Extra virgin recommended |
Seasonings | To taste | Salt, pepper, paprika, garlic powder |
Parchment Paper | 1 sheet | For baking sheet |
Chip-Making Magic
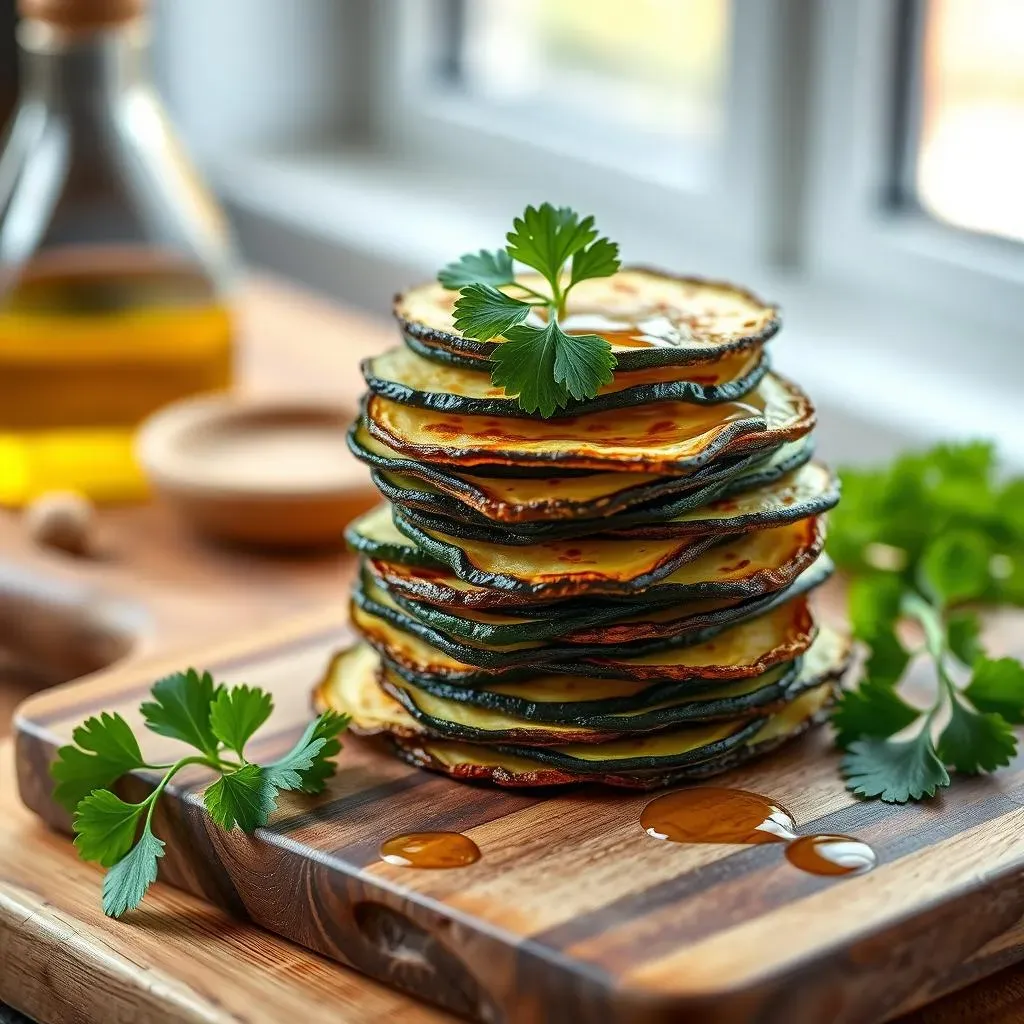
Okay, so you've got your ingredients. Now, let's get these zucchinis transformed into chips! First, wash and dry your zucchinis. Then, using a sharp knife or a mandoline slicer, slice them thinly, about 1/8-inch thick. The thinner they are, the crispier they'll get. If you're using a knife, try to make them as even as possible so they all cook at the same rate. Once your zucchini slices are ready, lay them out on a clean kitchen towel or paper towels. Sprinkle them lightly with salt and let them sit for about 10-15 minutes. This is a crucial step, folks, because it draws out the excess moisture, which is the enemy of crispiness.
After the waiting game, pat the zucchini slices dry with a paper towel. Don’t skimp on this step; you want those chips as dry as possible! Now, place the dried slices on your parchment-lined baking sheet. Drizzle them with olive oil and toss them gently to coat. Make sure to spread them out in a single layer, so they don't overlap. Finally, sprinkle your seasonings generously over the slices. Now they are ready to go into the oven. We will bake them until they turn golden brown and crispy. This usually takes about 30-40 minutes at 225°F (107°C). But, keep an eye on them; ovens can be temperamental.
Tips for the Crispiest Low Calorie Zucchini Chips
Tips for the Crispiest Low Calorie Zucchini Chips
The Moisture Mission
Alright, so you've got the basics down, but let's talk about the real game-changer: moisture control. Zucchinis are basically water balloons disguised as vegetables, so getting rid of that extra liquid is key to achieving maximum crispiness. Remember that salting step? Don't skip it! It's like a mini spa treatment for your zucchini, drawing out all the unwanted water. After salting, pat those slices down like you're trying to get them ready for a photoshoot. The drier they are, the better they'll crisp up in the oven. Also, don't overcrowd the baking sheet. Give each chip its own personal space, so they are not steaming each other, which will make them soggy. Think of it like a dance floor; everyone needs room to do their thing.
Another sneaky trick? Try using a wire rack inside your baking sheet. This lets the hot air circulate all around the chips, ensuring they crisp up evenly. It's like giving them a little air bath! And if you're feeling extra dedicated, you can even flip the chips halfway through baking. I know, I know, it sounds like a lot of work, but trust me, the results are worth it. It’s all about getting that perfect crunch, that satisfying snap when you bite into your chip. We're aiming for chips that could double as ASMR material, are we not? So, go the extra mile for ultimate crispiness.
Baking and Beyond
Okay, so you've got your zucchini slices prepped and ready, now let's talk baking. Low and slow is the name of the game here. I know it's tempting to crank up the heat, but resist! Baking at a lower temperature for a longer period allows the moisture to evaporate gradually, giving you that nice, even crisp. Think of it like a slow roast for chips. Patience is key here, my friend. Also, keep a close eye on them during the last 10 minutes or so of baking. They can go from perfectly golden to slightly burnt in a flash. It is a thin line between perfection and disaster, and you must be vigilant.
And hey, if you've got an air fryer, you're in luck! Air fryers are basically crispiness machines. They work wonders for zucchini chips, giving them that perfect crunch in less time than a traditional oven. Just toss the slices with a little olive oil and your seasonings, and then air fry them at about 350°F (175°C) for 10-12 minutes, flipping them halfway through. No matter how you bake them, the goal is the same: crispy, delicious chips. If you have trouble getting them crispy, you can always put them back in the oven for a few minutes. It's all about trial and error, and finding what works best for you.
Tip | Why It Works |
|---|---|
Salt and Pat Dry | Removes excess moisture |
Use a Wire Rack | Ensures air circulation |
Bake Low and Slow | Evaporates moisture gradually |
Air Fryer | Faster and crispier results |
Low Calorie Zucchini Chips: Flavor Variations, Storage, and Serving
Low Calorie Zucchini Chips: Flavor Variations, Storage, and Serving
Flavor Fiesta
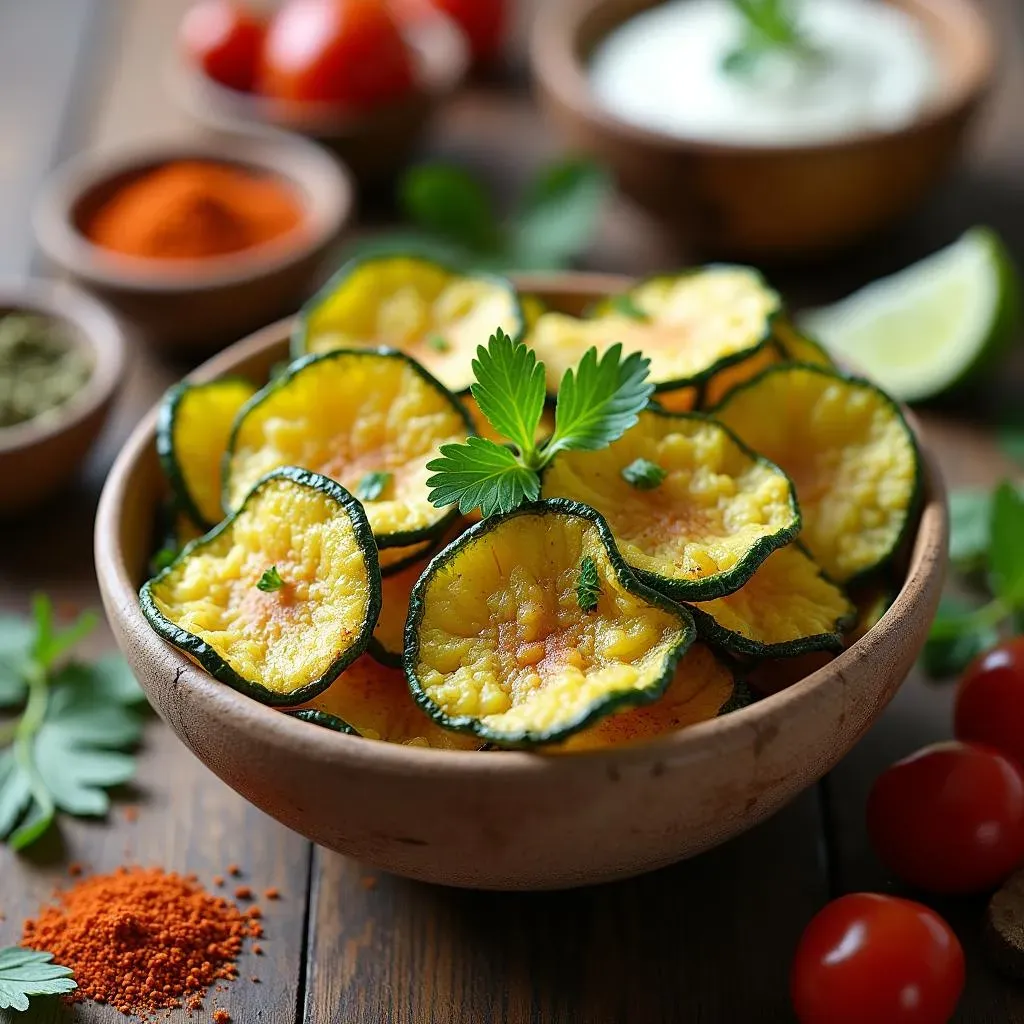
Okay, so you've mastered the basic low calorie zucchini chip, but why stop there? The world of flavor is your oyster! Let's talk about some amazing ways to spice things up. If you're a fan of heat, try adding a dash of cayenne pepper or red pepper flakes to your seasonings. For something a little more savory, nutritional yeast gives a cheesy, umami flavor that's totally addictive. And if you're feeling adventurous, why not go for some curry powder or a blend of Italian herbs? The possibilities are endless! You can even try a sweet version by sprinkling cinnamon and a touch of sweetener, after baking. I like to experiment with different spice blends, and I have to say, a little bit of everything is my favorite way to go. It's like a flavor party in your mouth! Don't be afraid to get creative and mix and match until you find your perfect combo.
Another fun idea is to use different kinds of salt. Smoked salt adds a lovely smoky flavor, while sea salt gives a nice burst of saltiness. You can also try adding some dried herbs like rosemary, thyme, or oregano. And if you're looking for something a little more sophisticated, a sprinkle of truffle salt is always a good idea. Seriously, it turns humble zucchini chips into a gourmet snack. You can also experiment with lemon or lime zest for a citrusy kick. It's all about finding flavors that make you happy and excited to eat your veggies! The beauty of these chips is that they’re a blank canvas, waiting for your personal touch.
Flavor Profile | Seasoning Ideas |
|---|---|
Spicy | Cayenne pepper, red pepper flakes, chili powder |
Savory | Nutritional yeast, garlic powder, onion powder |
Herby | Italian herbs, rosemary, thyme, oregano |
Smoky | Smoked paprika, smoked salt |
Sweet | Cinnamon, sweetener |
Keeping it Fresh and Serving It Up
So, you've baked a big batch of these low calorie zucchini chips, and now you're wondering how to keep them fresh. Well, the key is to store them in an airtight container. Once they've cooled completely, pop them into a container and seal it tight. If you live in a humid environment, you can add a silica gel packet to help absorb any extra moisture. This will keep your chips nice and crispy for a few days. But honestly, they're so good that they probably won't last that long! Also, avoid storing them in the fridge, because the moisture inside the fridge will make them soggy. The best place is a cool, dry place away from direct sunlight. And if you notice they've lost a little crispness, you can always pop them back in the oven for a few minutes to revive them.
Now, let's talk about serving. These chips are amazing all by themselves as a healthy snack, but they're also great as a side dish or even as a topping for salads or soups. I love to crush them up and use them as a crunchy topping for my favorite dishes. They're also fantastic with dips, like hummus or guacamole. And if you're having a party, they're a great alternative to traditional potato chips. You can even set up a little "chip bar" with different seasonings and dips, so everyone can customize their own snack. The possibilities are endless! Just remember, these low calorie zucchini chips are more than just a snack; they're a versatile and delicious addition to any meal or occasion.
- Store in an airtight container
- Add silica gel packet for extra dryness
- Serve as a snack, side dish, or topping
- Great with dips
- Perfect for parties