Table of Contents
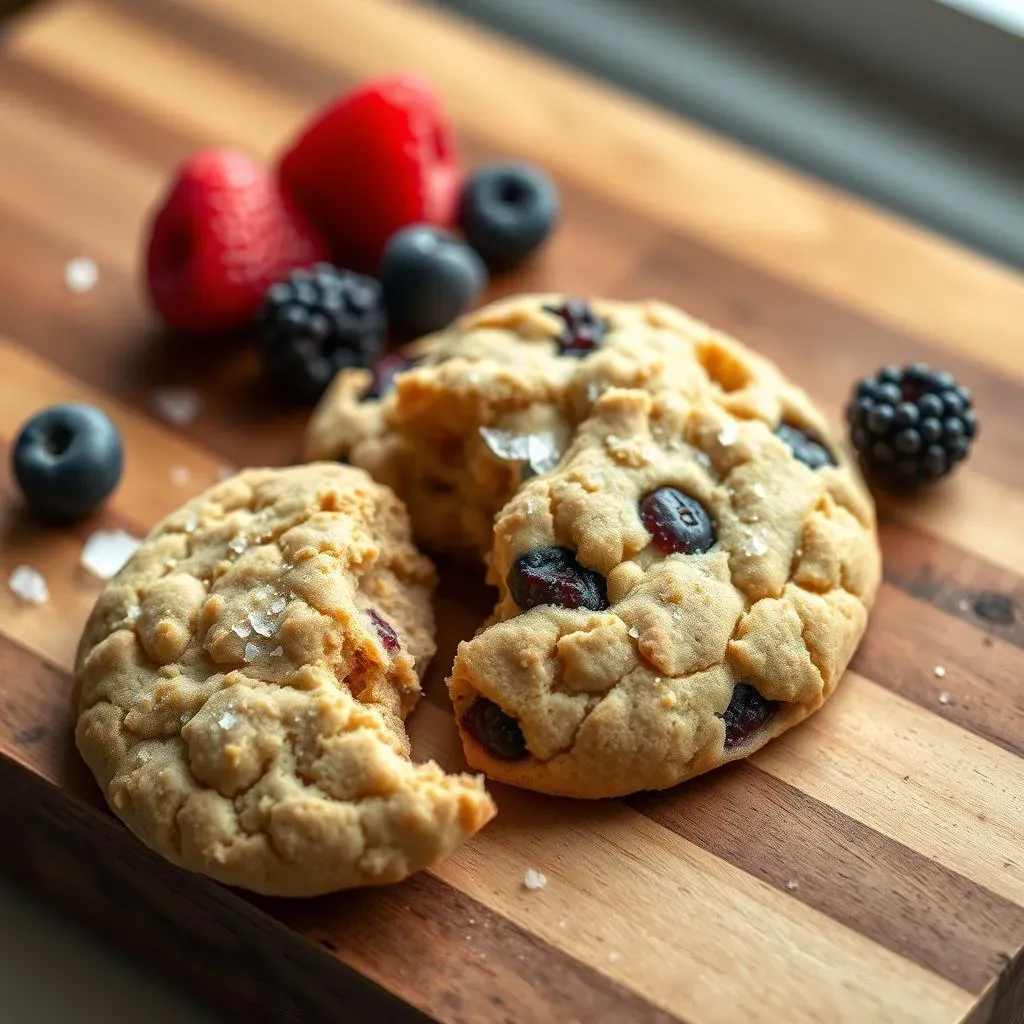
Ever find yourself battling a sweet craving while trying to stick to a healthier eating plan? I get it. The struggle is real, especially when you're aiming for both low carb and low fat. That's where the magic of low carb low fat cookies comes in. This isn't about denying yourself; it's about finding smart ways to enjoy those treats you love without the guilt. We're going to explore how to bake cookies that fit your goals, using ingredients that won't throw you off track. Forget those dry, tasteless diet cookies you might have tried before. I'm going to show you how to make them delicious and satisfying, from choosing the right flours and sweeteners to mastering the baking process. We'll also explore some fun variations to keep things interesting. So, if you're ready to dive into the world of guilt-free cookies, you're in the right place. Let's get baking!
Understanding Low Carb and Low Fat Baking
Understanding Low Carb and Low Fat Baking
Alright, let's talk about what "low carb low fat" really means when we’re baking. It might sound like a complicated science experiment, but it's actually pretty straightforward. Basically, we're aiming to reduce the amount of carbohydrates, which are primarily sugars and starches, and fats, which are… well, fat, in our cookies. Traditional cookies get most of their carbs from flour and sugar, and fat from butter or oil. So, we're ditching those heavy hitters and using alternatives. Think of it like this: we're swapping out the usual suspects for lighter, less impactful options. It's not about deprivation; it's about making smarter choices to enjoy a treat that aligns with our health goals. Understanding this swap is the first step to baking cookies that are both delicious and good for you.
Key Ingredients for Low Carb Low Fat Cookies
Key Ingredients for Low Carb Low Fat Cookies
Flour Power: Low Carb Alternatives
Okay, so we've waved goodbye to traditional flour. Now what? The good news is, there are plenty of fantastic low-carb alternatives that work wonders in cookies. My go-to is almond flour; it's made from ground almonds and gives a slightly nutty flavor and a nice, soft texture. It's also packed with healthy fats, but don't worry, we'll manage the overall fat content. Coconut flour is another solid choice, it's super absorbent, so you need less of it and a bit more liquid in your recipe. Just remember, they don't behave exactly like wheat flour, so you can't just swap them one-for-one. You might need a little experimenting, but that’s part of the fun!
These flours are not only lower in carbs but also offer some extra nutrients compared to regular white flour, which is always a plus in my book. Think of it like upgrading your cookie base from a plain old sedan to a sleek, high-performance sports car. It might take a bit of getting used to, but the results are totally worth it. And don't forget, these flours can be a bit more sensitive, so accuracy in measuring is key. No more eyeballing ingredients here!
Flour Type | Carb Content (per 1/4 cup) | Fat Content (per 1/4 cup) | Texture |
|---|---|---|---|
Almond Flour | 6g | 14g | Soft, Slightly Nutty |
Coconut Flour | 8g | 3g | Absorbent, Can Be Dry |
Sweetness Without the Sugar
Next up, let's talk about sweeteners. Sugar is a big no-no for low-carb and we're trying to keep the fat down, so we need alternatives that won't send our blood sugar on a rollercoaster ride. I love using erythritol; it's a sugar alcohol that tastes sweet but has almost zero calories and doesn't affect blood sugar much. Stevia is another good option, it’s super sweet, so a little goes a long way. You can also find blends of these sweeteners, which can be great for getting the right level of sweetness without any weird aftertaste, you want to avoid that. Just be careful, some sweeteners can have a bit of a cooling effect or a distinct flavor, so play around to see what you prefer.
My experience is that combining erythritol with a touch of stevia works really well. It’s like having a tag team of sweetness that covers all the bases. I've tried some recipes that used just one type of sweetener, and they sometimes fell a bit flat. Also, remember that these sweeteners don’t caramelize like regular sugar, so don’t expect that same browning effect you get with traditional cookies. It’s a different kind of magic, but equally satisfying when you get it right.
- Erythritol: Minimal impact on blood sugar, but use sparingly.
- Stevia: Very sweet, use in small amounts.
- Monk Fruit: Natural sweetener, good option for flavor.
StepbyStep Guide to Baking Delicious Low Carb Low Fat Cookies
StepbyStep Guide to Baking Delicious Low Carb Low Fat Cookies
Getting Started: The Base Recipe
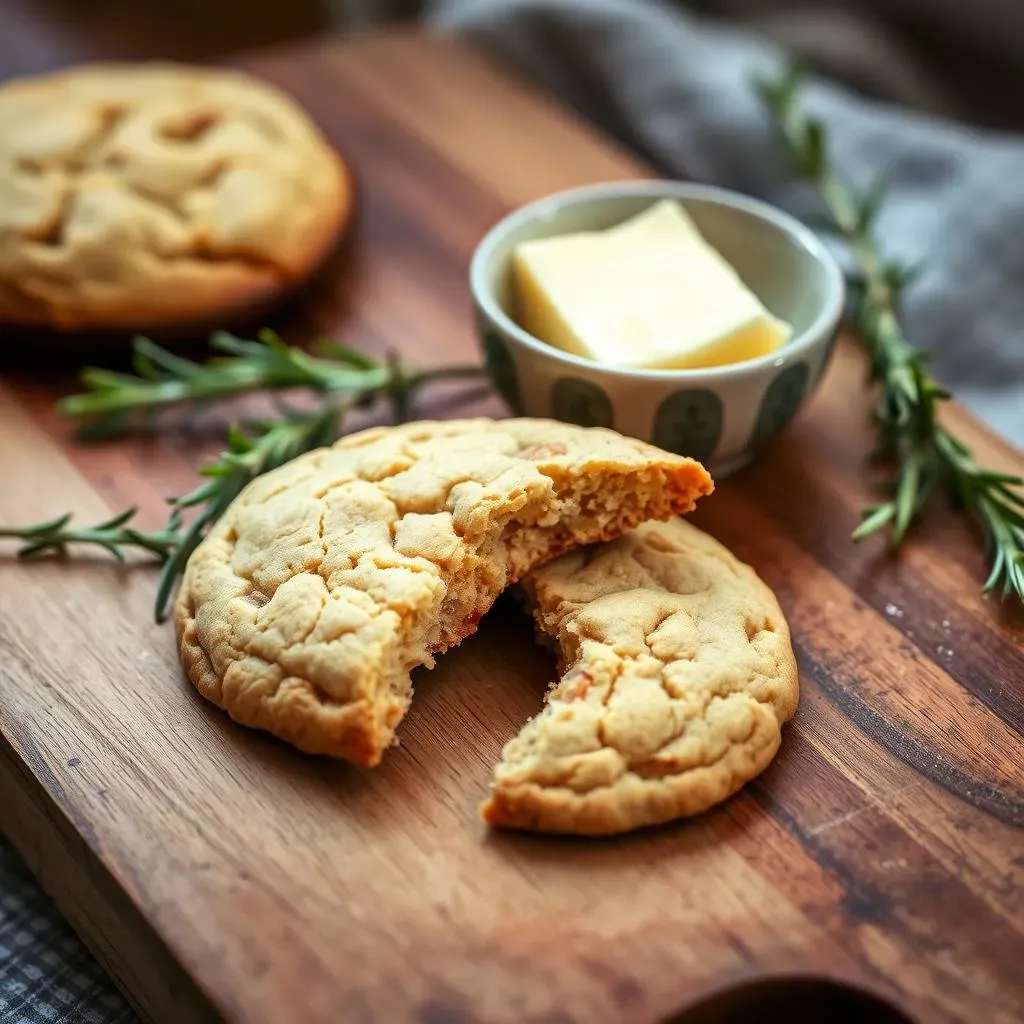
Okay, let's get to the fun part – actually making these cookies! First things first, you'll need to gather your ingredients. I usually start with almond flour as it’s my go-to for that lovely texture. Then, I add a touch of coconut flour, just to help with the structure. Remember, coconut flour is a bit of a sponge, so don't overdo it. Next up, we’ll use a mix of erythritol and a tiny bit of stevia for sweetness – that combo works wonders, trust me. A little vanilla extract adds warmth, and a pinch of salt balances everything out. Don't forget the binding agent, eggs, and finally, a little melted coconut oil, we're keeping it low fat here, so not much is needed. I know it seems like a lot of moving parts, but once you have the ingredients prepped, it goes pretty quickly.
Once you've got your dry ingredients in a bowl, whisk them together really well. This is important because you don't want any clumps of flour messing up your cookie texture. Then, in a separate bowl, whisk together your wet ingredients: the eggs, melted coconut oil, and vanilla extract. Now, the magic happens – you pour the wet into the dry and mix until it's just combined. You don’t want to overmix, or your cookies might get a bit tough. This is where I sometimes add my sugar-free chocolate chips. I like to fold them in gently at the end, so they don’t get all smushed up. It’s like tucking them into bed, but for cookies. The dough should be slightly wet but not runny. If it's too dry, add a tiny bit more egg white, if it's too wet, a sprinkle of almond flour.
Baking to Perfection
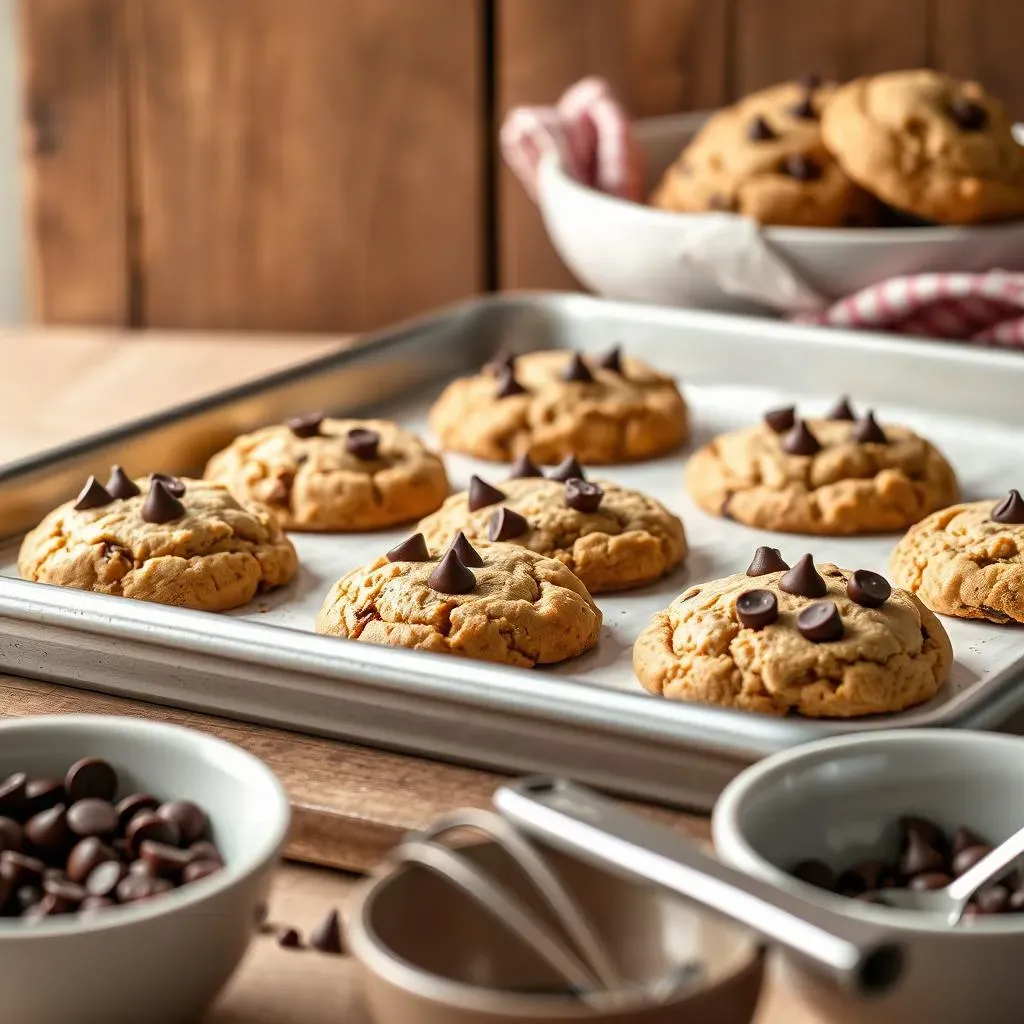
Now, for the baking part! Preheat your oven to 325°F (160°C), and line a baking sheet with parchment paper. This is non-negotiable, you don't want your cookies sticking. Using a spoon or a small cookie scoop, drop rounded balls of dough onto the baking sheet. Make sure to leave some space between each cookie; they will spread a little, but not as much as traditional cookies. I like to gently flatten the tops with the back of a spoon, just a little. This helps them bake evenly. Pop the baking sheet into the preheated oven and bake for about 10-12 minutes. Keep an eye on them, they're ready when the edges are golden brown and the centers are set. The time might vary a little, depending on your oven, so don’t be afraid to check them often.
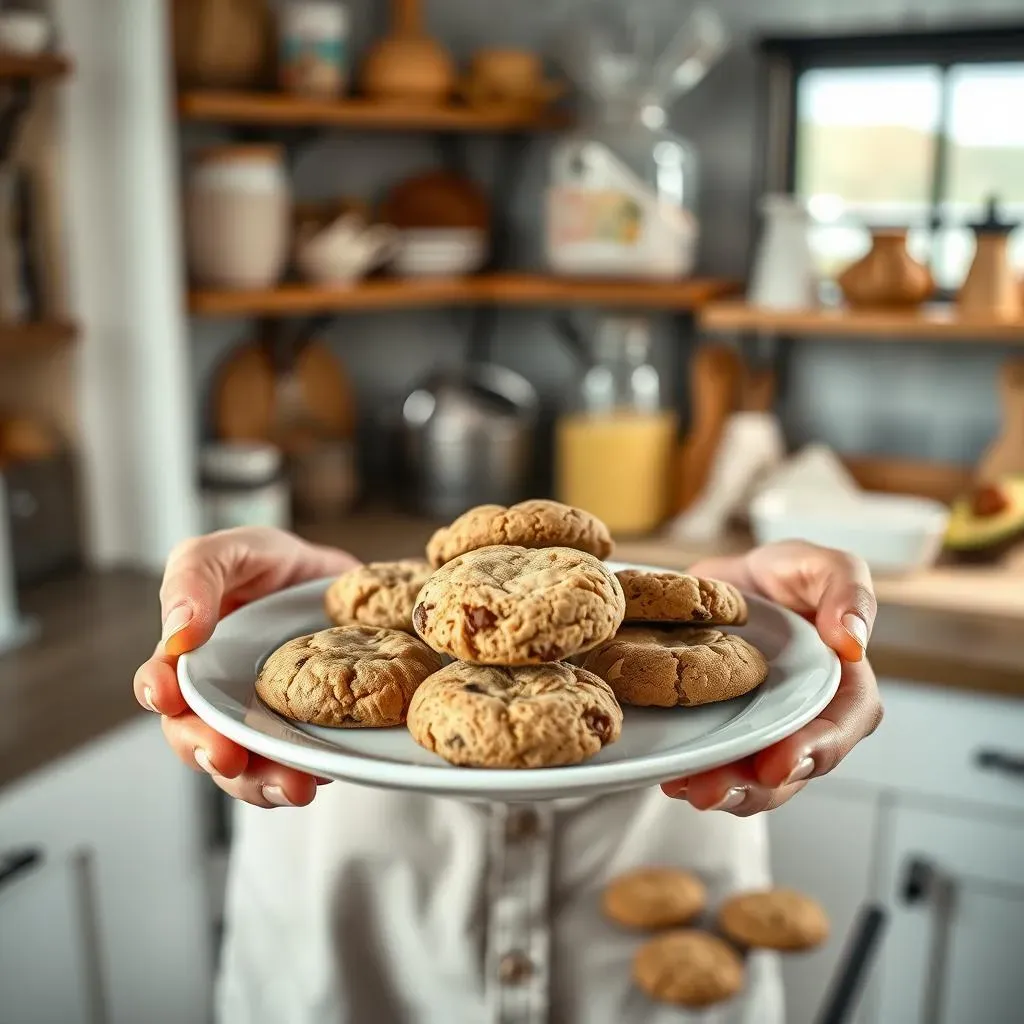
Once your cookies are out of the oven, let them cool on the baking sheet for a few minutes. This is important! They’ll be very soft and fragile when they come out of the oven, and moving them too soon can lead to them crumbling. After a few minutes, you can transfer them to a wire rack to cool completely. This is the hardest part, I know. The smell will be tempting, but patience is key. Once they’re cool, they’ll be perfectly chewy and ready to enjoy. I can tell you from experience, the wait is worth it. And if you accidentally eat one warm? Well, I won’t judge!
Step | Action | Why |
|---|---|---|
1 | Combine dry ingredients | Ensures even distribution |
2 | Mix wet ingredients | Prepares liquids for blending |
3 | Mix wet and dry | Forms the cookie dough |
4 | Bake | Cooks the cookies |
5 | Cool | Sets the texture |
Tips, Tricks, and Variations for Perfect Low Carb Low Fat Cookies
Tips, Tricks, and Variations for Perfect Low Carb Low Fat Cookies
Alright, let's talk about how to take your low carb low fat cookies from good to great. Baking is like a science experiment, and sometimes you need to tweak things to get the perfect result. First off, if your cookies are spreading too much, it could be that your dough is too wet. Try adding a tablespoon of almond flour, or even a little bit of protein powder, to soak up some of the moisture. If they’re too dry, a teaspoon of egg white or a tiny splash of unsweetened almond milk can help. Also, chilling the dough for about 30 minutes before baking can make a huge difference in how they hold their shape. It's like letting them take a little nap before the big show. And don't be afraid to experiment with different extracts, like almond or lemon, they can add a burst of flavor that really elevates your cookies.
Now, for the fun part – variations! You can totally customize these cookies to suit your taste. If you're a chocolate lover (who isn't?), try adding sugar-free cocoa powder to the dough for a double chocolate treat, or some chopped sugar-free chocolate chunks for extra gooeyness. If you’re into nutty flavors, add some chopped almonds or walnuts. Just remember, nuts add fat, so keep an eye on portion sizes. For a bit of spice, add a dash of cinnamon or nutmeg to the dough, or even a sprinkle of sea salt on top before baking, that always gives a nice contrast. And for all the peanut butter fans, a dollop of sugar-free peanut butter in the middle of the dough before baking is a game-changer. It’s like a little surprise waiting inside your cookie! The beauty of these cookies is that they’re a blank canvas, ready for your creative touch.
Problem | Solution |
|---|---|
Cookies spread too much | Add almond flour, chill dough |
Cookies are too dry | Add egg white, almond milk |
Want more flavor | Try different extracts, spices |
One of my favorite tips is to use a silicone baking mat instead of parchment paper. It's reusable, eco-friendly, and also helps prevent the cookies from sticking. Also, don't overcrowd the baking sheet. Give the cookies some breathing room, they'll thank you for it. Another trick is to underbake them slightly. They’ll continue to cook a bit as they cool, and this will help keep them nice and chewy. It's all about finding that sweet spot. And remember, baking is about trial and error, so don’t get discouraged if your first batch isn't perfect. Every batch is a learning experience, and that’s part of the fun. So keep experimenting, keep tasting, and keep enjoying the process. After all, you're making cookies, and that is always a win.
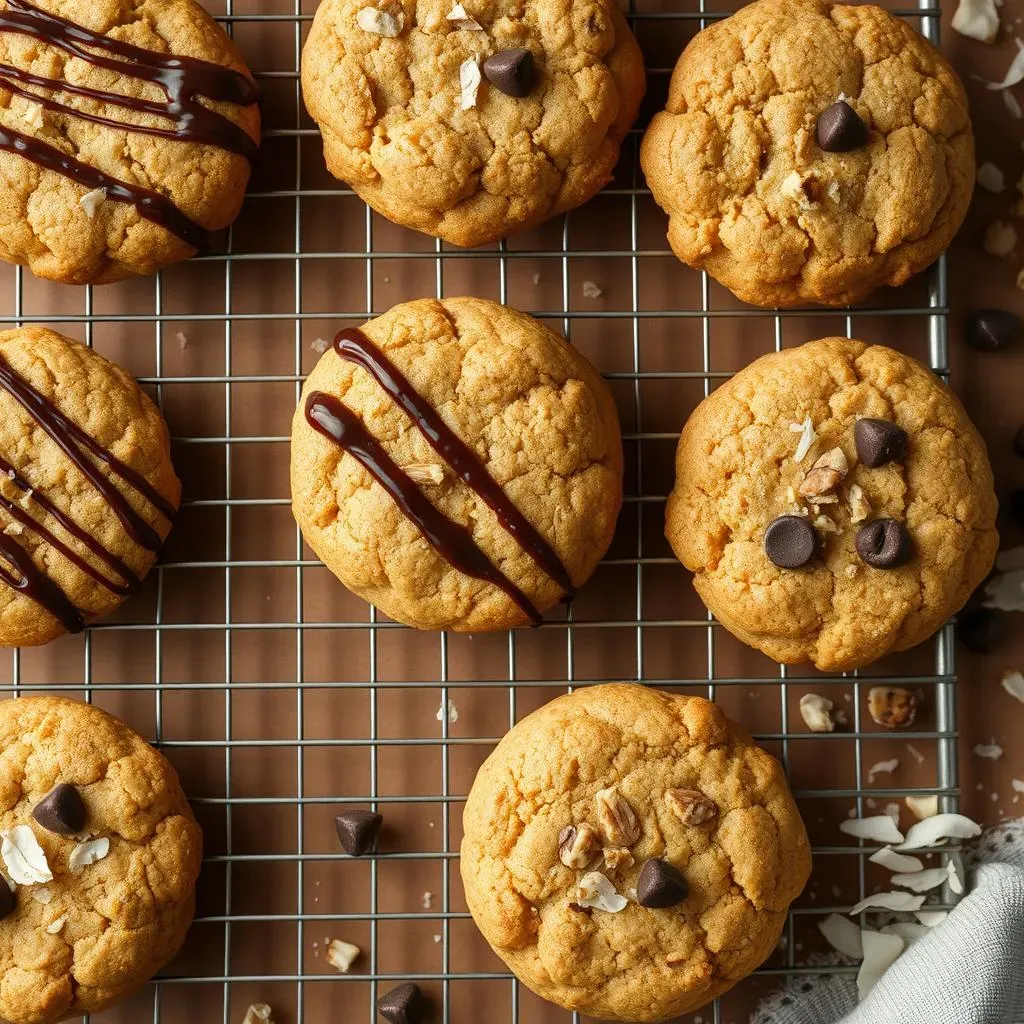
Lastly, let's not forget about presentation. Once the cookies are cooled, you can drizzle them with some melted sugar-free chocolate or decorate them with a sprinkle of chopped nuts or unsweetened coconut flakes. It’s like giving them a little makeover before they hit the spotlight. These little touches can make a big difference, especially if you’re serving them to guests. And for storage, keep them in an airtight container at room temperature for a few days, or in the fridge for a little longer. Just remember, they might get a little softer over time, but they’ll still be delicious. So go ahead, get creative, and make these cookies your own. The world of low-carb, low-fat cookies is your oyster!
- Use a silicone baking mat for easy cleanup.
- Don't overcrowd the baking sheet.
- Underbake slightly for chewier cookies.
- Store in airtight container.