Table of Contents
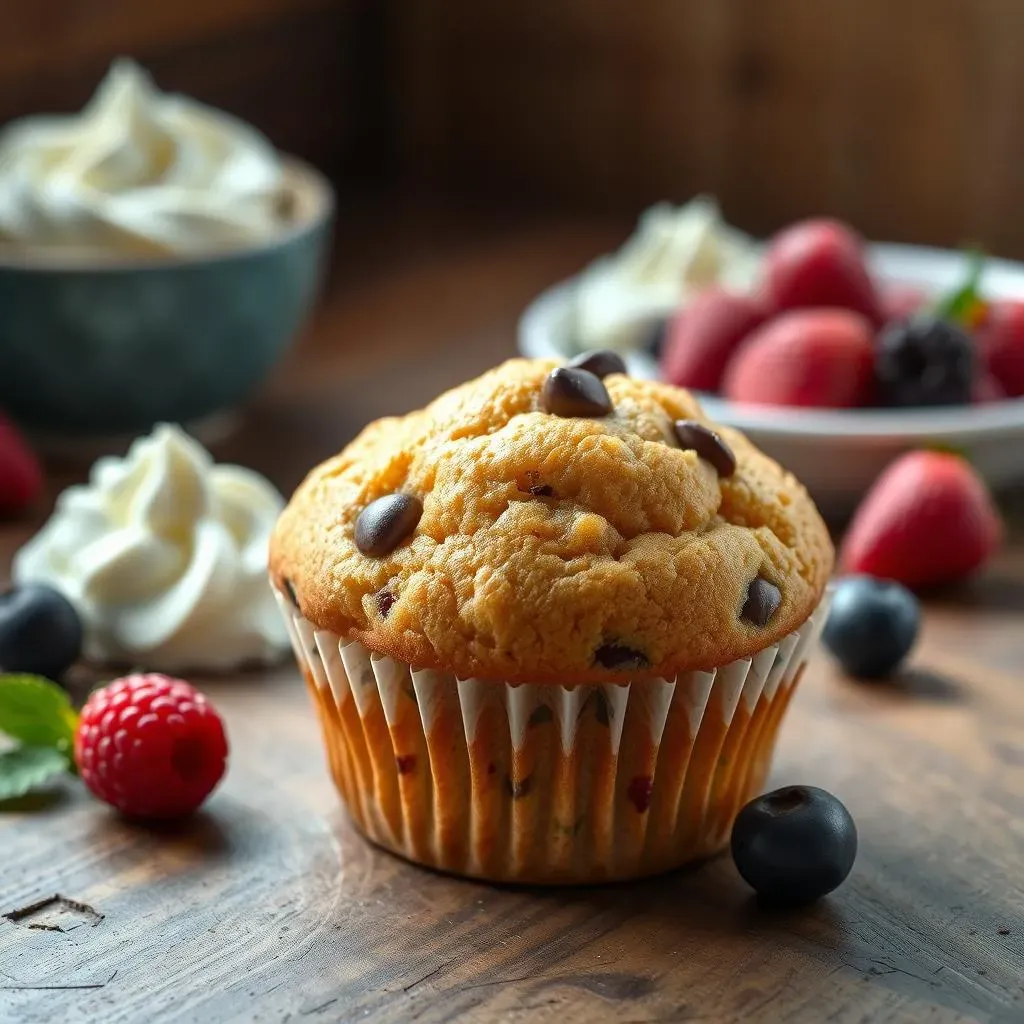
Okay, let's talk muffins! But not just any muffins, we're talking about incredibly delicious, guilt-free, low fat chocolate chip muffins. Yes, you heard right! This isn't some dry, tasteless health food imposter. I’m sharing a low fat chocolate chip muffin recipe that's so good, you'll forget it's actually good for you. We’re swapping out the usual heavy stuff for lighter options, without sacrificing that amazing muffin texture and taste. Think moist, fluffy, and packed with chocolatey goodness. I'll guide you through why this recipe is a winner, the simple swaps that make it healthier, how to bake them perfectly, and even some tips to make them look like they came straight from a bakery. Get ready to ditch the diet dread and embrace a healthy treat that will make you feel good, inside and out. This recipe is quick, easy, and perfect for breakfast, a snack, or even a dessert.
Why You'll Love This Low Fat Chocolate Chip Muffin Recipe

Why You'll Love This Low Fat Chocolate Chip Muffin Recipe
Let's be real, who doesn't love a good muffin? But sometimes, those bakery treats can feel like a total diet derailment. That's where this low fat chocolate chip muffin recipe swoops in to save the day. Seriously, these muffins are a game changer. They're moist and fluffy, not dense and sad like some "healthy" alternatives. You get that satisfying muffin texture, but without all the extra fat and calories. Plus, it's a super easy recipe, so you don't need to be a baking expert to whip these up. I’m talking minimal cleanup and maximum deliciousness. Imagine biting into a warm, chocolate-studded muffin knowing it's actually good for you. It's the perfect way to satisfy that sweet craving without any of the guilt.
Ingredients for Low Fat Chocolate Chip Muffins and Smart Swaps
Ingredients for Low Fat Chocolate Chip Muffins and Smart Swaps
The Base: Flour Power
Alright, let's get into the nitty-gritty of what makes these muffins tick. First up, flour. Now, you can use regular all-purpose flour if that's what you've got on hand. But for a healthier twist, I recommend using whole wheat pastry flour. It gives the muffins a bit more fiber and a slightly nutty flavor. If you're feeling adventurous, you can even try a mix of half all-purpose and half whole wheat. It's all about finding what works for you. Just remember, when measuring flour, spoon it into your measuring cup and level it off with a knife. Don't scoop directly from the bag, or you'll end up with too much flour and your muffins will be dry.
If you're looking to make it gluten free, almond flour or a gluten-free blend can work wonders here. I've tested this with a few different gluten-free mixes and they work well. The key is to adjust the liquid a little if needed, as gluten-free flours can absorb liquid differently. It’s a bit of an experiment, but it's worth it if you need to avoid gluten.
Sweetness and Moisture: The Dynamic Duo
Next, let's talk sweetness and moisture. Instead of refined sugar and tons of oil, we are using maple syrup and Greek yogurt. Maple syrup gives a lovely, natural sweetness, and you can adjust the amount to your taste. If you don't have maple syrup, honey or agave will work. Just be mindful that honey can have a stronger flavor. And for the moisture, Greek yogurt is the real MVP. It replaces most of the oil, keeping the muffins moist and adding a good dose of protein. I usually use non-fat Greek yogurt, but you can use low-fat or full-fat if you prefer. Just know that the fat content will change the overall nutritional value of the muffin.
Eggs are also crucial for structure, and I use one large egg in this recipe. If you are looking to make this vegan, you can use a flax egg instead. For the milk, any milk works well here, I normally use almond milk as it has the lowest calorie count. It’s not really the star of the show, but it helps make the batter the right consistency.
Ingredient | Smart Swap |
|---|---|
All-Purpose Flour | Whole Wheat Pastry Flour or Gluten-Free Blend |
Refined Sugar | Maple Syrup, Honey or Agave |
Oil | Greek Yogurt |
Regular Milk | Almond Milk |
Chocolate and Extras: The Fun Part
Finally, the best part – the chocolate! I use mini chocolate chips in this recipe, but feel free to use regular-sized ones, or even chop up a chocolate bar. Dark chocolate chips are my personal favorite, but milk or semi-sweet chips work great too. The amount of chocolate is totally up to you. Some people like a lot, some like a little. Go wild, I won't judge. And don't forget about the other little things that make these muffins even better. A touch of vanilla extract adds a lovely flavor. You can also add a pinch of cinnamon or nutmeg for extra warmth. Feel free to get creative with this part. It’s your muffin, make it your own!
Baking soda and baking powder are crucial for the rise and texture of the muffin. Don't skip those. Salt also plays an important role, it helps balance all the flavors, so make sure to add it. So, that’s it for the ingredients, it’s all about using the right ingredients and the right measurements to make the perfect muffin.
Baking Your Own Low Fat Chocolate Chip Muffins: StepbyStep

Baking Your Own Low Fat Chocolate Chip Muffins: StepbyStep
Get Your Prep On
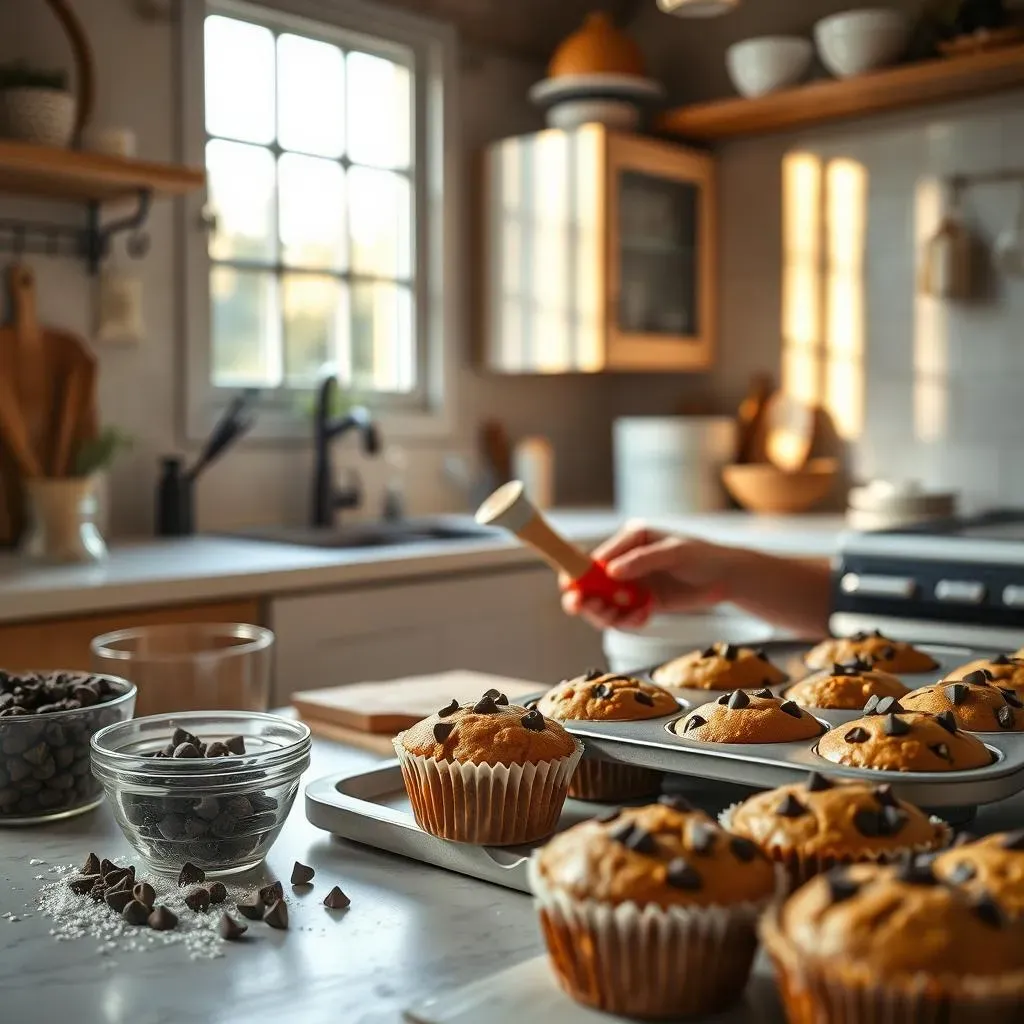
Alright, let's get baking! First things first, preheat your oven to 375°F (190°C). While that's heating up, grab your muffin tin and either grease it well or line it with paper liners. I find that liners make cleanup a breeze, but if you're going liner-free, make sure to grease the tin thoroughly to avoid sticking. Now, grab two bowls. In one, whisk together all the dry ingredients: the flour, baking powder, baking soda, salt, and any spices you're using. Make sure to mix them well so everything is evenly distributed. This is key for a good rise and even texture.
In the other bowl, whisk together all the wet ingredients: the Greek yogurt, maple syrup, egg, milk, and vanilla extract. Give it a good mix until everything is smooth and well combined. Now that we have all the ingredients prepped, we are ready for the next step. Trust me, getting organized at the start makes the whole process smoother.
Combine and Conquer
Now for the fun part, combining the wet and dry ingredients. Pour the wet ingredients into the bowl with the dry ingredients. Here's the most important rule: mix until just combined. Don't overmix! Overmixing will develop the gluten in the flour, and you'll end up with tough, rubbery muffins. You want a light and fluffy texture, so just mix until the flour disappears and everything is moist. It's okay if there are still a few lumps, they'll bake out.
Next, gently fold in the chocolate chips. Again, don't overmix at this stage. You just want the chips evenly distributed throughout the batter. Once everything is combined, it’s time to fill the muffin tins. Use a spoon or ice cream scoop to divide the batter evenly among the muffin cups. I usually fill them about two-thirds full. This leaves room for them to rise without overflowing. And there you have it, it’s time to bake.
Step | Action |
|---|---|
1 | Preheat oven to 375°F (190°C). Grease or line muffin tin. |
2 | Whisk dry ingredients in one bowl. |
3 | Whisk wet ingredients in another bowl. |
4 | Combine wet and dry ingredients until just combined. |
5 | Fold in chocolate chips. |
6 | Fill muffin tins about 2/3 full. |
Bake to Perfection
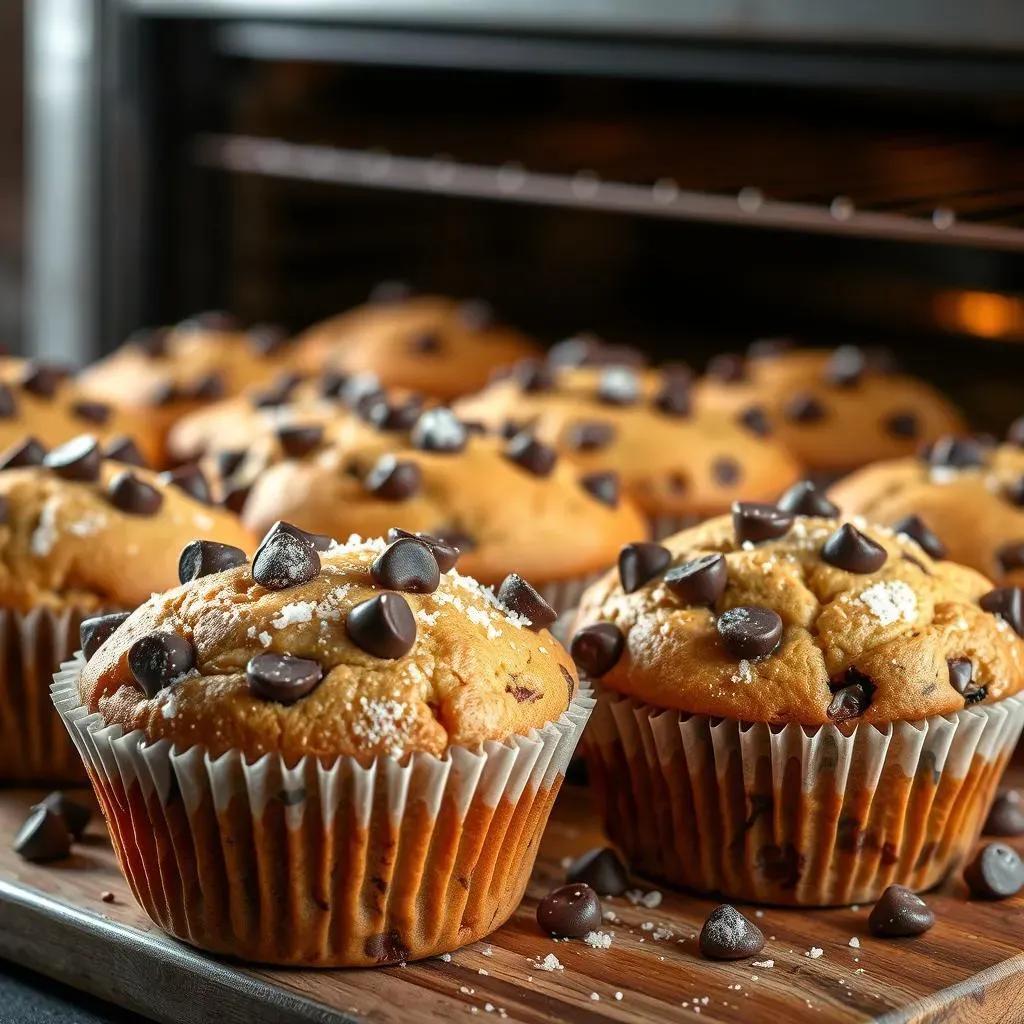
Place your muffin tin in the preheated oven and bake for about 18-20 minutes, or until a toothpick inserted into the center of a muffin comes out clean. The tops of the muffins should be golden brown and spring back gently when touched. Baking time can vary depending on your oven, so keep an eye on them. Once they're done, remove the muffin tin from the oven and let the muffins cool in the tin for a few minutes before transferring them to a wire rack to cool completely. This prevents them from getting soggy. And that's it, you've baked your own delicious and healthy low fat chocolate chip muffins!
Let them cool before you dive in. I know it’s tempting to eat them right away, but they taste so much better when they've had a chance to cool. Now, it's time to enjoy the fruits of your labor. You did a great job!
Storing Your Low Fat Chocolate Chip Muffins and BakeryStyle Tips
Storing Your Low Fat Chocolate Chip Muffins and BakeryStyle Tips
Keeping Them Fresh
Alright, so you've baked a batch of these amazing low fat chocolate chip muffins, and now you're wondering how to keep them fresh. Well, good news, it's pretty simple. If you plan on eating them within a day or two, you can just store them at room temperature in an airtight container. This will keep them nice and moist. I usually put a paper towel in the bottom of the container to absorb any excess moisture, this helps prevent them from getting soggy. If you're making these ahead of time, or just want to keep them longer, you can freeze them. Once they’re completely cooled, wrap them individually in plastic wrap and place them in a freezer-safe bag. They can be frozen for up to 3 months. When you’re ready to eat them, just take them out and let them thaw at room temperature. They'll taste just as good as the day you baked them.
One of the best things about these muffins is how well they keep. You can bake a batch on Sunday and have them ready for a quick breakfast or snack throughout the week. It’s all about planning ahead, and when you’ve got a good recipe like this, it makes healthy eating so much easier.
Bakery-Style Magic
Now, let's talk about taking these muffins to the next level. We want that bakery-style look and feel, right? One of the easiest tricks is to add extra chocolate chips on top of the muffins before baking. This makes them look extra decadent and delicious. You can also sprinkle a little bit of coarse sugar on top for a nice crunch. Another trick is to use a slightly higher oven temperature for the first few minutes of baking. This helps create that nice domed top that you see in professional bakeries. A quick burst of heat at the beginning will make a world of difference. But remember, always reduce the heat for the rest of the baking time. And lastly, don't overmix the batter. This is the golden rule for all muffins. Overmixing develops the gluten and makes them tough. Just mix until everything is combined and no streaks of flour remain. The less you mix, the better the texture.
With these few tips and tricks, you can make your homemade muffins look and taste like they came straight from your favorite bakery. And the best part is that you know exactly what went into them, and they're good for you too. It's like having your cake and eating it too, or in this case, your muffin!
Storage Method | Shelf Life |
|---|---|
Room Temperature (Airtight Container) | 1-2 days |
Freezer (Individually Wrapped) | Up to 3 months |