Table of Contents
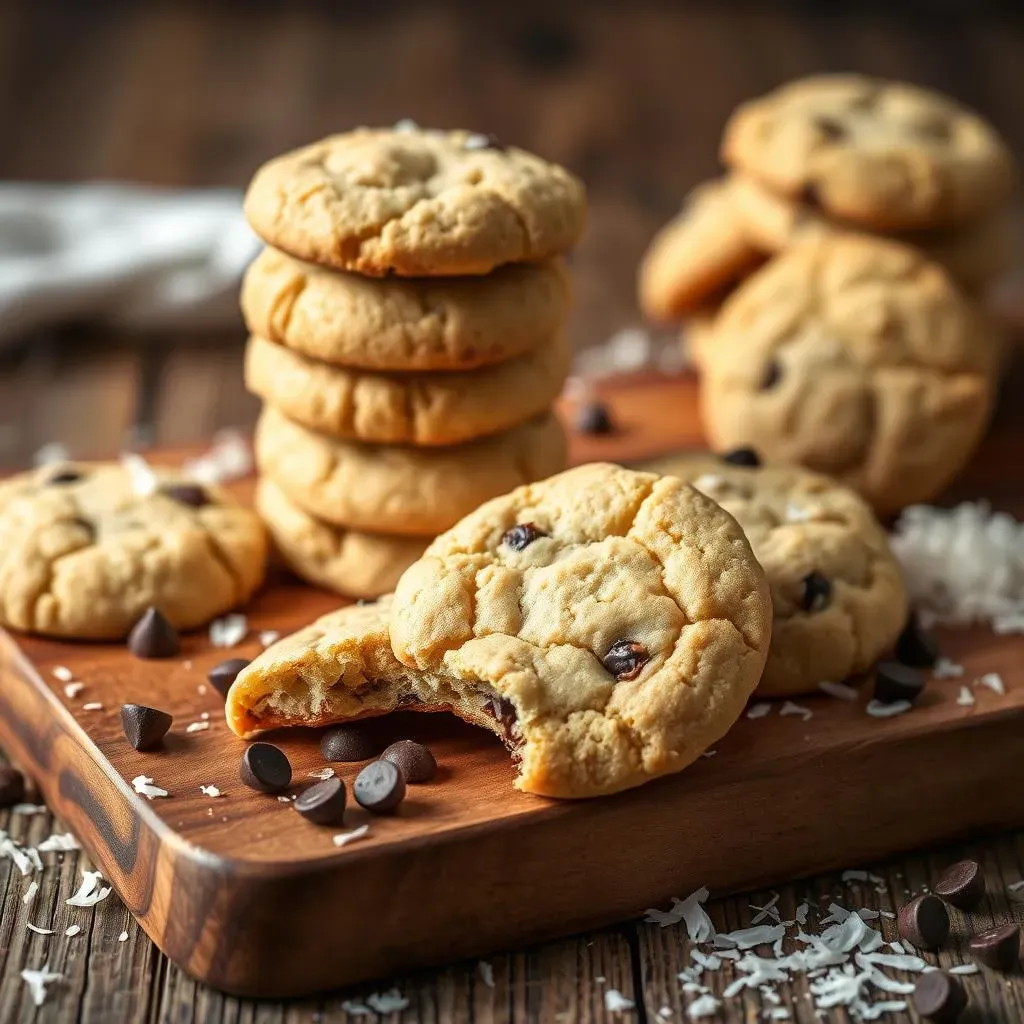
Ever find yourself craving a sweet treat, but also trying to keep things on the lighter side? I get it. That's why I'm so excited to share my go-to recipe for delicious low fat coconut cookies. These aren't your average dry, flavorless diet cookies. We’re talking about soft, chewy, and utterly satisfying bites packed with tropical coconut goodness, minus the guilt. Forget those store-bought options that taste like cardboard. I’ve spent ages perfecting this recipe, and I'm pretty sure you'll be obsessed. We'll explore why choosing low fat options can still be incredibly tasty, then I’ll walk you through the super easy baking process, and give you my top tips for making the best cookies ever. Get ready to bake some magic and enjoy every single crumb. Let's dive in!
Why Choose Low Fat Coconut Cookies?
Why Choose Low Fat Coconut Cookies?
The Guilt-Free Treat
Let's be real, sometimes you just need a cookie. But the usual suspects? They're often loaded with butter, oil, and all sorts of things that don't exactly scream "healthy." That's where low fat coconut cookies swoop in to save the day. They offer that satisfying sweetness and chewy texture you crave, but without all the extra fat. It's like having your cake (or cookie!) and eating it too. You can indulge without feeling like you've completely derailed your healthy eating goals. It’s a win-win situation, really, and I’m all about that.
I remember this one time when I was trying to cut down on unhealthy snacks, and all I wanted was a cookie. Seriously, just one. But all the recipes I found were just a butter and sugar bomb. So, I started experimenting, and after a few (okay, maybe more than a few) tries, I landed on this low fat coconut cookie recipe. It’s been a lifesaver, and now I can have a sweet treat without the guilt. I feel good eating them, and that's what matters.
The Coconut Advantage
Beyond being low in fat, these cookies also boast the benefits of coconut. Coconut isn't just a delicious flavor; it's pretty awesome for you, too. It contains medium-chain triglycerides (MCTs), which some studies suggest can help with energy levels and even weight management, though more research is needed. Plus, it brings a lovely tropical flavor that can make you feel like you're on a mini-vacation with every bite. It's like a little escape from the everyday, all thanks to a cookie.
I've found that the natural sweetness of coconut also means you need less added sugar in the recipe. That's a huge plus in my book. I mean, who doesn't want to cut down on refined sugars? I used to think healthy meant tasteless and boring, but these cookies have totally changed my mind. They prove that you can have flavor, texture, and a good time while still being mindful of your health. And that's something to celebrate, right?
Benefit | Description |
|---|---|
Lower Fat Content | Reduces overall fat intake compared to traditional cookies. |
Coconut MCTs | Potential benefits for energy and weight management. |
Natural Sweetness | Reduces the need for added refined sugars. |
Tropical Flavor | Provides a pleasant, exotic taste experience. |
Baking Your Own Low Fat Coconut Cookies
Baking Your Own Low Fat Coconut Cookies
Gather Your Goodies
Okay, so you're ready to bake some awesome low fat coconut cookies? Great! First things first, let's talk about ingredients. You won't need a ton of fancy stuff, which is always a plus. We're aiming for simplicity here, but every ingredient plays a crucial role in getting that perfect texture and flavor. Think flour (whole wheat or gluten-free works great), unsweetened shredded coconut, a touch of coconut oil or applesauce for moisture, a little bit of sweetener (I like maple syrup or honey), and some vanilla extract for that extra oomph. Don’t forget a pinch of salt to balance out all the sweetness. It's all about creating harmony, you know?
I've found that having everything measured out beforehand makes the baking process so much smoother. It's like prepping your art supplies before you start painting, it just sets you up for success. And don’t worry if you don’t have every single thing on hand; I’ll give you some substitution ideas later on. Remember, baking should be fun and a little bit experimental. It’s not about perfection, it’s about enjoying the process.
Mixing It Up
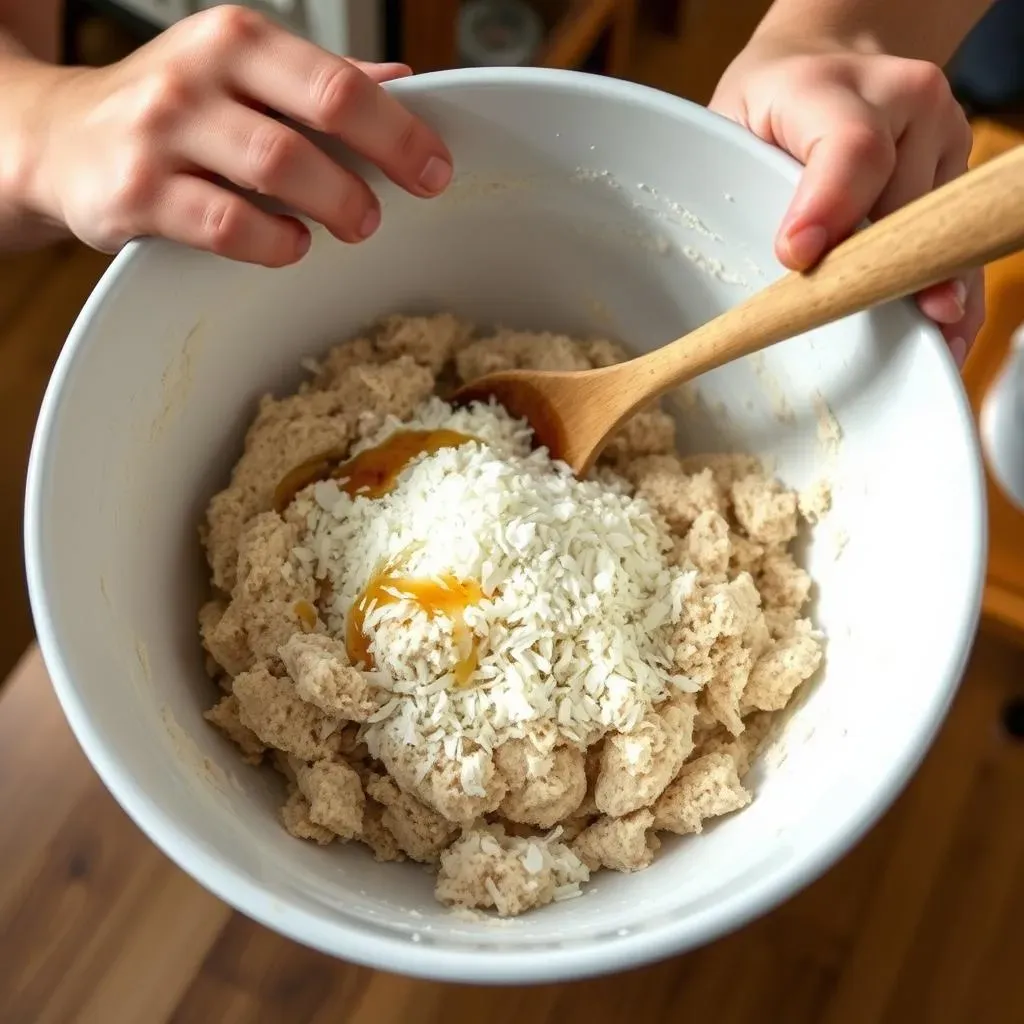
Now for the fun part: mixing! Once you've got your ingredients ready, grab a big bowl, and let's get started. You'll want to combine all the dry ingredients first – the flour, shredded coconut, salt, and any spices if you're feeling adventurous. Then, in a separate bowl, mix the wet ingredients – your coconut oil or applesauce, sweetener, and vanilla extract. Once those are all cozy together, gently pour the wet mix into the dry mix and stir until just combined. Don't overmix the dough, though; that's a common mistake that can make your cookies tough. We want them soft and chewy, remember?
I always tell people that mixing is like a dance. You don't want to stomp all over the ingredients; you want to gently fold them together until they're just friends. And if you have any little helpers in the kitchen, this is a great step for them to get involved. It’s a great way to make memories and maybe even create a new family tradition. Baking is more fun when you’re doing it with the ones you love, right?
Ingredient Category | Examples | Purpose |
|---|---|---|
Dry Ingredients | Flour, Shredded Coconut, Salt, Spices | Provides structure and flavor. |
Wet Ingredients | Coconut Oil/Applesauce, Sweetener, Vanilla Extract | Adds moisture and binds ingredients. |
Optional | Chocolate Chips, Nuts, Dried Fruit | Adds extra flavor and texture. |
Baking to Golden Perfection
Alright, your dough is ready, and it's time to get these cookies into the oven. I like to drop rounded tablespoons of dough onto a baking sheet lined with parchment paper. This helps prevent sticking and makes cleanup a breeze. Then, pop them into a preheated oven and bake until they're golden brown around the edges. The baking time will depend on your oven, so keep a close watch. You’ll know they’re ready when the edges are nice and golden and the centers are just set.
One trick I've learned is to let the cookies cool on the baking sheet for a few minutes before transferring them to a wire rack. This helps them firm up and keeps them from breaking apart. And the hardest part? Waiting for them to cool completely before you dive in. But trust me, it’s worth it. These low fat coconut cookies are so much better when they’ve had a chance to set. Plus, a little patience is good for the soul, right?
Tips for the Best Low Fat Coconut Cookies

Tips for the Best Low Fat Coconut Cookies
Coconut Toasting Magic
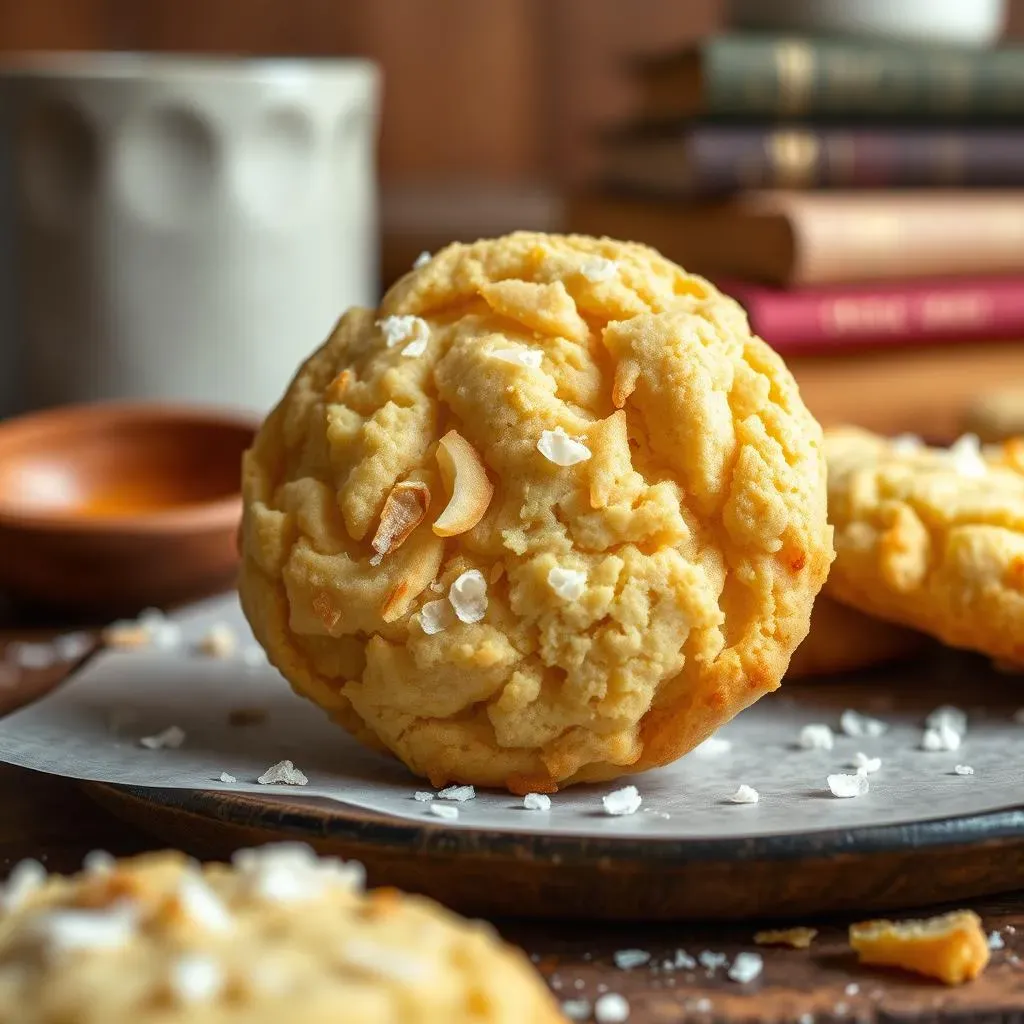
Okay, let's talk about secrets to making these low fat coconut cookies truly amazing. First up, toasting the coconut. Seriously, don’t skip this step. It's a game-changer. Toasting the shredded coconut before adding it to the dough brings out this incredible nutty flavor and also gives it a slightly crispier texture. It's like waking up the coconut and making it shine. I usually spread it out on a baking sheet and pop it in the oven for a few minutes, keeping a close eye so it doesn’t burn. The smell alone is worth the effort, I promise. It really elevates the whole cookie experience.
I remember the first time I tried toasting coconut, I was a bit skeptical. But wow, what a difference it made! It adds this depth of flavor that you just don’t get with raw coconut. It's like the difference between a regular cup of coffee and a perfectly brewed espresso. The little details can make all the difference.
Chill Out for Chewier Cookies
Another trick for cookie perfection? Chilling the dough. I know, it requires a bit more patience, but it’s worth it. When you chill the dough, it allows the fats to solidify, which helps prevent the cookies from spreading too thin while baking. This results in a thicker, chewier cookie, which is exactly what we’re after. I usually chill my dough for at least 30 minutes, but even a short 15 minutes can make a difference. It’s like giving the dough a little spa day before it goes into the oven.
I've tried baking the cookies straight away, and while they still taste good, they're just not quite as chewy and satisfying. It's like the difference between a half-hearted hug and a big, warm embrace. The chill time makes the dough a little more manageable and the cookies a lot more delicious. Trust me on this one.
Tip | Benefit |
|---|---|
Toast the Coconut | Enhances flavor and texture. |
Chill the Dough | Prevents over-spreading, creates chewier cookies. |
Don't Overbake | Keeps cookies soft and moist. |
Baking Time is Key
Finally, be careful not to overbake your cookies. Overbaking is the quickest way to end up with dry, crumbly cookies that nobody wants. I always take mine out when the edges are golden brown, but the centers are still slightly soft. They’ll continue to firm up as they cool, and that’s exactly what we want. It’s like taking a cake out of the oven just before it’s fully done, you know that it’s going to be moist and delicious.
I’ve definitely overbaked my fair share of cookies, and it’s such a bummer. Now I set a timer and keep a close watch on them. It’s like watching a movie scene and not wanting to miss a single detail. I’ve learned that a little attention goes a long way. And remember, practice makes perfect, so don't worry if your first batch isn't flawless. Just have fun with it, and you'll be baking like a pro in no time.
Wrapping Up Your Low Fat Coconut Cookie Adventure
So, there you have it – a simple path to incredibly tasty low fat coconut cookies. We've explored why these cookies are a great choice, how to bake them to perfection, and some sneaky tips to make them even better. Remember, you don’t have to sacrifice flavor when you're making healthier choices. These cookies prove that. Now it's your turn to get baking and fill your kitchen with the amazing aroma of toasted coconut. Go ahead, grab your ingredients, and get ready to enjoy some seriously delicious, guilt-free treats. Happy baking!