Table of Contents
Are you on a quest for the perfect treat that doesn't derail your healthy eating goals? You're not alone! Many of us crave that comforting cookie experience without the guilt. That's where the magic of "low fat cookies recipe uk" comes in. Forget those store-bought options loaded with hidden fats and sugars. This article is your guide to creating delicious, homemade cookies that satisfy your sweet tooth without compromising your well-being. We'll explore why these recipes are a game changer, focusing on simple ingredients and easy-to-follow steps. You'll discover how to whip up these treats in your own kitchen, customize them to your liking, and even learn how to store them for later. Get ready to embark on a baking journey where taste and health walk hand-in-hand. Let's get started and create some amazing low-fat cookies together!
Why These Low Fat Cookies Are a Game Changer
Why These Low Fat Cookies Are a Game Changer
Guilt-Free Indulgence
Let's be real, who doesn't love a good cookie? But often, the thought of all that butter and sugar makes us think twice. That’s where low-fat cookies swoop in, like a superhero for your sweet tooth. They're not about denying yourself; it's about making smarter choices that still taste amazing. These recipes are designed to keep the flavor and fun, without the heavy fats. Think of it as a secret weapon for when cravings hit, allowing you to enjoy a treat without that sluggish feeling afterward. It's a win-win.
These aren't your grandma's dry, tasteless diet cookies either. These recipes are all about using clever swaps and techniques to keep them moist, chewy, and utterly satisfying. We’re talking about using ingredients that add natural sweetness and texture, not just cutting out the bad stuff. It’s like discovering a whole new world of baking where delicious and healthy can actually coexist. It is possible to have your cookie and eat it too, without feeling like you've completely derailed your day.
Health Benefits & Smart Swaps
Beyond just being lower in fat, these cookies often bring extra health perks to the table. By swapping out butter for things like applesauce or coconut oil, you reduce saturated fat. Also, you can add in oats, which are great for fiber. Fiber helps you feel full and keeps things moving, so you're not just eating empty calories. Plus, when you bake at home, you control the ingredients. That means no weird additives or preservatives you can't pronounce. It’s about nourishing your body while still enjoying a treat.
Making these cookies at home also puts you in charge of the sweetness level. You can dial down the sugar and use alternatives like honey or maple syrup. And let's not forget the fun of experimenting with different spices like cinnamon or nutmeg, which add flavor without adding extra fat. It's about being mindful and intentional with what you eat. These cookies aren’t just a treat; they’re a step towards healthier habits. Who knew cookies could be so good for you?
Benefit | Why It Matters |
|---|---|
Lower in Saturated Fat | Better for heart health. |
Control Over Ingredients | Avoid unhealthy additives. |
Higher in Fiber | Helps with digestion and fullness. |
Customizable Sweetness | Reduce refined sugar intake. |
Easy Ingredients for Your Low Fat Cookies
Easy Ingredients for Your Low Fat Cookies
The Pantry Staples
Alright, let's talk about what you'll actually need. The best part about low-fat cookies is that the ingredient list is usually pretty straightforward. You won't need a bunch of fancy, hard-to-find items. Think simple, everyday stuff you might already have in your pantry. We're talking about the basics that form the heart of these delicious treats. Oats, for example, are a superstar. They add that chewy texture and a good dose of fiber. Then there's flour, which provides the structure, and don't forget the sweetener – we'll use things like honey or maple syrup to keep things naturally sweet. These are the building blocks that make our low-fat cookies so easy to whip up.
And the best part? You can often swap things around based on what you have on hand. No bananas? Try applesauce. Out of peanut butter? Almond butter works just as well. This is all about making baking easy and accessible, not complicated and frustrating. We’re not aiming for perfection here, just a good, tasty cookie that doesn't weigh you down. So, take a peek in your cupboards and let’s see what magic we can make with the basics!
The Flavor Enhancers
Now, let’s move on to the fun part: adding flavor! These are the ingredients that transform a simple cookie into something truly special. Think about things like cinnamon, nutmeg, or even a dash of vanilla extract. These additions bring warmth and depth without adding any extra fat. Chocolate chips are a classic for a reason, and you can totally use them. Just go for dark chocolate to keep things a little healthier. And if you're feeling adventurous, why not add some chopped nuts or dried fruit? These tiny additions can make a huge difference in the overall taste and texture.
The beauty of low-fat cookies is that you can really let your creativity shine here. Don't be afraid to experiment with different combinations of spices and mix-ins. Maybe you're a fan of ginger and cloves, or perhaps you love the combo of cranberries and walnuts. The possibilities are endless! Remember, baking should be enjoyable. So gather your favorite flavor enhancers and let's create some low-fat cookies that are bursting with taste. These small additions are what make each bite exciting and satisfying, and are what make your cookies truly yours.
Ingredient Category | Examples | Why They're Great |
|---|---|---|
Base Ingredients | Oats, Flour | Provide structure and texture |
Sweeteners | Honey, Maple Syrup | Natural sweetness |
Flavor Enhancers | Cinnamon, Vanilla Extract | Add flavor without fat |
Mix-Ins | Chocolate Chips, Nuts, Dried Fruit | Extra texture and flavor |
Baking Your Own Low Fat Cookies: StepbyStep

Baking Your Own Low Fat Cookies: StepbyStep
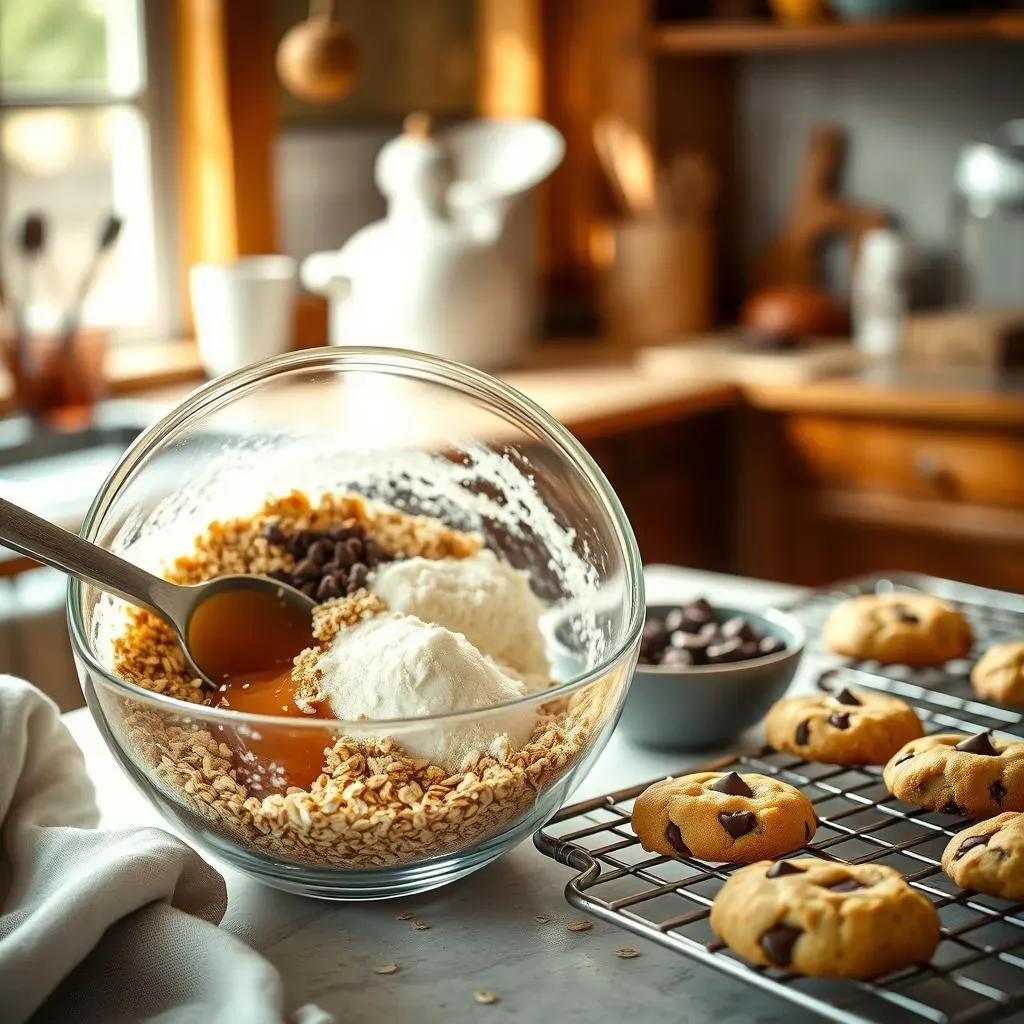
Getting Started: The Prep Work
so you've got your ingredients ready, now what? First things first, let's get organized. Preheat your oven – usually around 180°C (350°F) will do the trick. While the oven's heating up, grab a large mixing bowl. This is where all the magic happens. You'll want to make sure you've got all your measuring spoons and cups handy too. No one wants to be scrambling for a teaspoon mid-recipe, trust me on that one. It’s all about making the process smooth and enjoyable, not chaotic and messy. This small step of preparation will save you time and stress later on.
Next up, if your recipe calls for it, mash those bananas or measure out your applesauce. Get your dry ingredients into the bowl, like the oats and flour. Give them a quick whisk together to make sure everything's evenly mixed. This helps prevent any clumps and ensures that all the ingredients play nicely together. Remember, we're not aiming for perfection here, just a good, solid base for our cookies. So, let's get this prep work done and move on to the exciting part – actually making the cookies!
Mixing and Shaping: The Fun Part
Alright, now for the fun part: mixing everything together! If your recipe has wet ingredients, like honey or vanilla extract, add those to the dry ingredients. Give it all a good stir until it's just combined. Don’t overmix, or you'll end up with tough cookies. It's better to err on the side of under-mixing. Once it’s all combined, gently fold in your mix-ins like chocolate chips or nuts. This is where you can get creative and add whatever your heart desires. Now, it’s time to get your baking tray ready. Line it with parchment paper to prevent the cookies from sticking. This step is also great for easy clean-up later.
Next up is shaping the cookies. You can use a spoon to drop dollops of dough onto the baking tray. If you want them to be uniform, you could use a cookie scoop. You can also lightly flatten them with a fork. This helps them bake evenly. Make sure to leave some space between the cookies on the tray so they don't spread into each other while baking. Remember, these cookies don't spread much, so you can place them a bit closer than you would with traditional cookies. Now, they’re ready for the oven!
Step | Action | Why It Matters |
|---|---|---|
Preheat Oven | Set to 180°C (350°F) | Ensures even baking |
Mix Dry Ingredients | Whisk together oats, flour | Prevents clumps |
Combine Wet and Dry | Mix gently until just combined | Avoids tough cookies |
Shape Cookies | Drop or scoop onto tray | Prepares for baking |
Baking and Cooling: Patience is Key
Pop the baking tray into the preheated oven and let the magic happen. Baking time can vary, but generally, these cookies take around 10 to 15 minutes to bake. Keep an eye on them. You'll know they're ready when they're lightly golden around the edges. Don’t worry if they look a little soft when they come out of the oven. They'll firm up as they cool. Once they’re baked, carefully take the tray out of the oven and let the cookies cool on the tray for a few minutes before transferring them to a wire rack to cool completely. This is important because they need time to set properly.
Now, the hardest part: waiting. It might be tempting to sneak a warm cookie right away, but trust me, they're much better when they've had a chance to cool down. This also helps them hold their shape. Once they’re completely cool, they’re ready to enjoy! They’ll be perfectly chewy and delicious. You can store them in an airtight container for a few days. But let’s be honest, they probably won’t last that long! You did it, you’ve baked your own low-fat cookies. Enjoy your hard work, and feel good about treating yourself to something tasty and healthy!
Low Fat Cookie Variations & Storage Tips
Low Fat Cookie Variations & Storage Tips
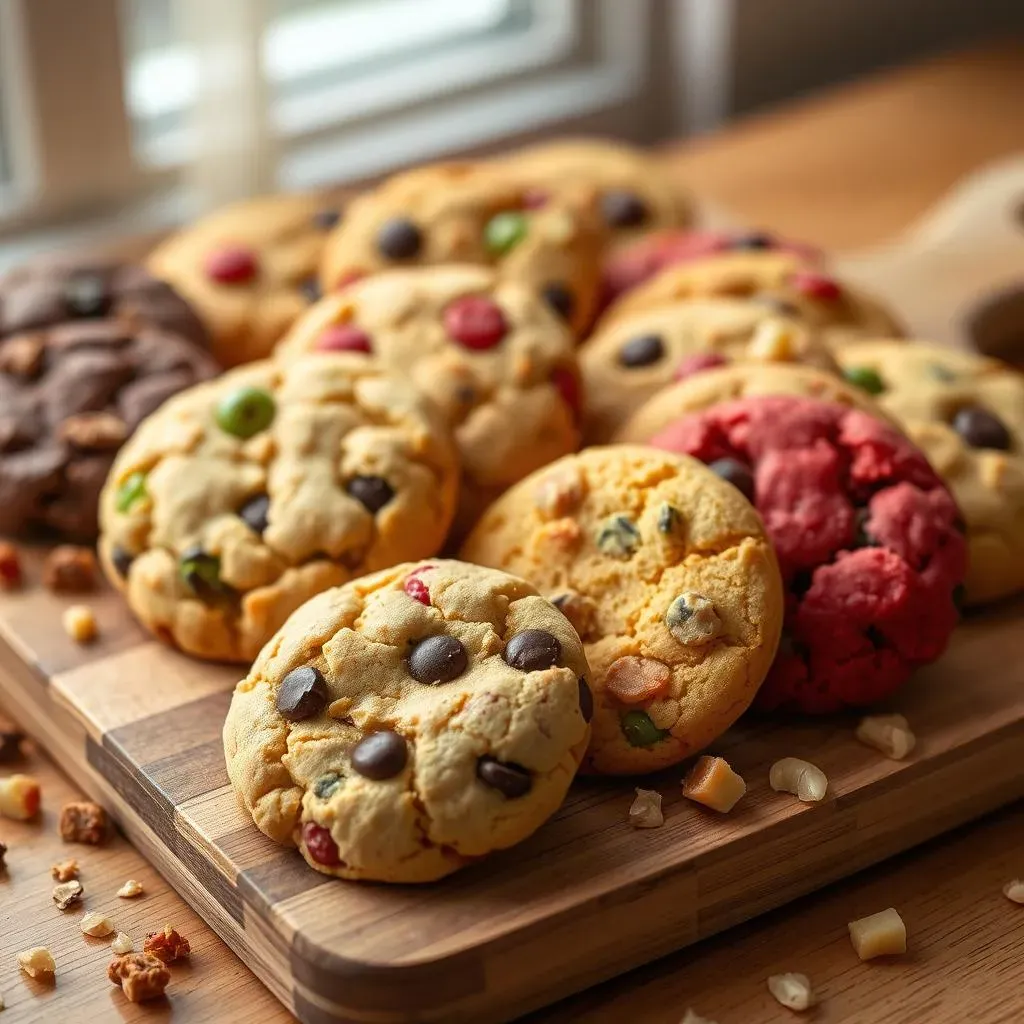
Get Creative: Flavor Variations
so you've mastered the basic low-fat cookie recipe – amazing! But why stop there? Baking is all about experimenting and finding what you love. Let's talk variations. Maybe you're a chocolate fiend? Try adding a tablespoon of cocoa powder to the dry ingredients for a richer, chocolatey flavor. Or, if you're feeling nutty, mix in some chopped almonds, walnuts, or pecans for a bit of crunch. You could also try swapping out the vanilla extract for almond extract for a different flavor profile. And don't underestimate the power of spices – a pinch of cardamom or ginger can really elevate your cookie game. The key is to find what flavors make your taste buds sing.
Another fun idea is to play around with different types of fruit. Dried cranberries, raisins, or chopped dates can add a chewy sweetness to your cookies. And if you're a fan of citrus, a little bit of lemon or orange zest can bring a burst of freshness. Remember, these low-fat cookies are your canvas. Don't be afraid to get a little messy and try new things. Baking should be an adventure, not a chore. So go ahead, mix and match, and create your own signature low-fat cookie masterpiece!
Variation Idea | What to Add | Flavor Profile |
|---|---|---|
Chocolate Lover | 1 tbsp cocoa powder | Rich, chocolatey |
Nutty Crunch | Chopped nuts (almonds, walnuts) | Crunchy, earthy |
Fruity Delight | Dried cranberries, raisins | Chewy, sweet |
Citrus Burst | Lemon or orange zest | Fresh, zesty |
Keeping Them Fresh: Storage Tips
So, you've baked a batch of these amazing low-fat cookies, and now you're wondering how to keep them fresh. The good news is, storing them is super easy. Once your cookies have cooled completely, the best way to keep them tasting great is to store them in an airtight container. This will help prevent them from drying out or becoming stale. If you’re planning on eating them within a few days, you can keep them at room temperature. A cookie jar or a sealed plastic container works perfectly. Just make sure the container is properly sealed to keep the air out.
If you’ve baked a large batch or just want to keep some for later, you can also freeze your low-fat cookies. Place the cooled cookies in a freezer-safe bag or container, and they'll keep well for a few months. When you're ready to eat them, just take them out of the freezer and let them thaw at room temperature. They'll taste just as delicious as the day you baked them. One thing to note, if you've added any fresh fruit, freezing is not recommended. Remember, proper storage is key to ensuring that your low-fat cookies stay fresh and delicious for as long as possible. So, go ahead, bake away, and don’t worry about having leftovers!
Troubleshooting and FAQs
Sometimes, even with the best recipes, things might not go exactly as planned. Maybe your cookies came out a little too soft or a bit dry. Don't worry, it happens! If your cookies are too soft, it could be because they weren’t baked long enough or because the wet ingredients were slightly off. Next time, try baking them for a couple of extra minutes or reducing the amount of wet ingredients slightly. On the other hand, if your cookies are too dry, it could be because they were overbaked. Try baking them for a shorter amount of time next time. Remember, baking is a learning process, so don't get discouraged by minor setbacks. Every mistake is a chance to learn and improve.
If you're using substitutions, like applesauce instead of bananas, keep in mind that they can affect the texture of the cookies. Some substitutions might make the cookies slightly more moist or dense. It’s all about experimenting and finding what works best for you. If you are unsure about an ingredient substitution, it is always a good idea to research before making the change. And if you are struggling, don't be afraid to ask for help! There are tons of online communities and forums where you can get tips and advice from fellow bakers. Baking should be fun and relaxing, so embrace the process, and let's create some amazing low-fat cookies together!
Wrapping Up Your Low Fat Cookie Adventure
So there you have it, a complete guide to creating your very own low fat cookies! From understanding why these recipes are so great, to mastering the baking process, and even exploring fun variations, you're now equipped to make delicious, guilt-free treats anytime you want. Remember, baking should be enjoyable, so don't be afraid to experiment and find what works best for you. Whether you’re baking for yourself or sharing with friends and family, these low fat cookies are sure to be a hit. Happy baking, and may your kitchen always smell of freshly baked goodness!