Table of Contents
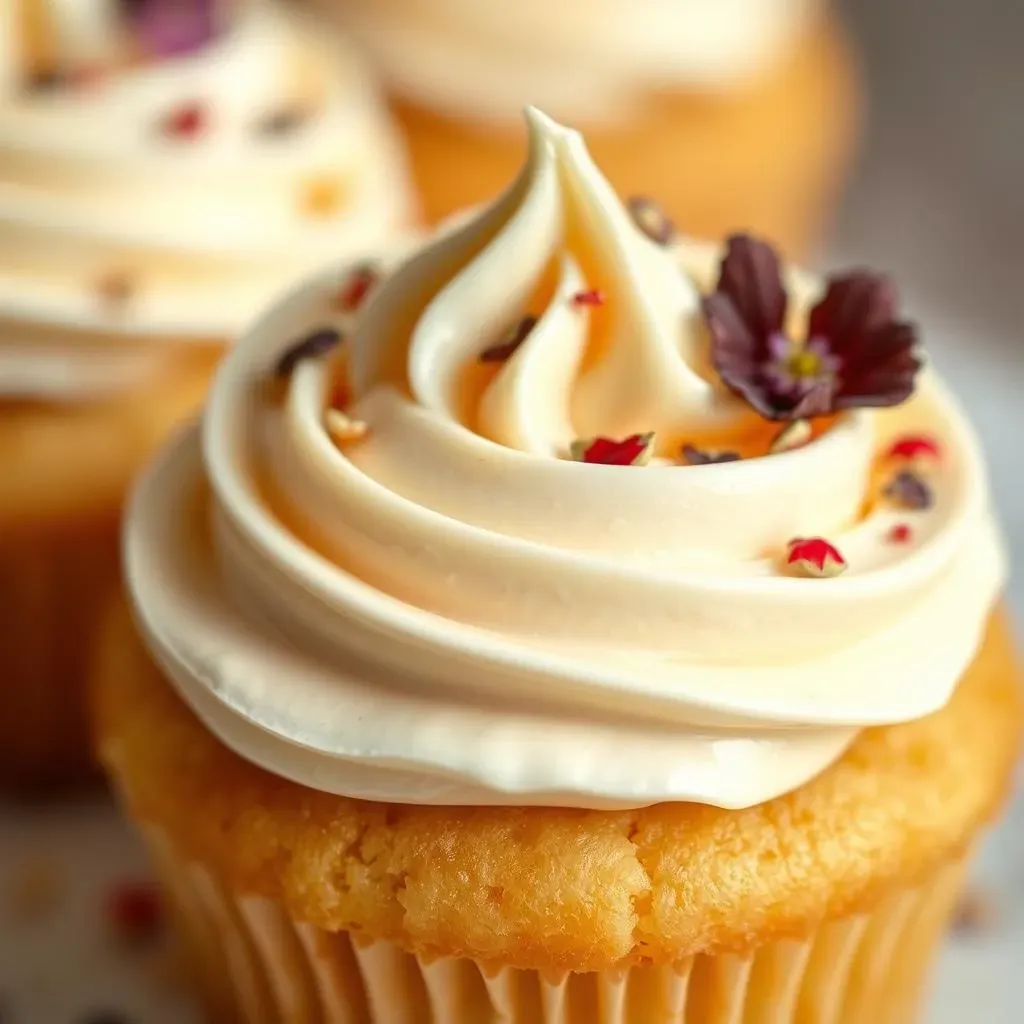
Ever wished you could enjoy a decadent cream cheese frosting without the guilt? Me too! That's why I went on a mission to create a low fat cream cheese icing that tastes just as amazing as the full-fat version. Forget those heavy, overly sweet frostings that leave you feeling sluggish. This recipe uses the magic of Greek yogurt and a touch of maple syrup to bring you a light, fluffy, and absolutely delicious alternative. We're talking about a frosting that's perfect for your carrot cake, pancakes, muffins, or even just a sneaky spoonful straight from the bowl. In this article, I’ll show you exactly how to make this healthier version, step by step. We’ll cover everything from the ingredients you need, to handy tips and tricks, and even how to store it, so that you can have the best possible result. Get ready to transform your baking with this easy and tasty low fat cream cheese icing. Let's get started!
The Secret to a Healthier Low Fat Cream Cheese Icing
The Secret to a Healthier Low Fat Cream Cheese Icing
so you're probably wondering how to make a cream cheese frosting that isn't a total sugar bomb, right? The secret is ditching some of the usual suspects and bringing in some healthier heroes. Instead of relying solely on cream cheese and mountains of powdered sugar, we're using a base of full-fat brick cream cheese—yes, full-fat! Don't worry, the fat isn't the enemy here. It gives us that creamy texture we all love. Then, we're adding in Greek yogurt, which not only cuts down on the fat and calories but also adds a tangy flavor that balances the sweetness perfectly. And for the sweetener? We're using maple syrup instead of refined sugar. It gives a lovely natural sweetness and a hint of caramel flavor. It's like a little hug for your taste buds, but without the sugar crash!
Making Your Low Fat Cream Cheese Icing: StepbyStep
Making Your Low Fat Cream Cheese Icing: StepbyStep
Getting Started: The Prep Work
Alright, let's get down to business! Before you even think about mixing, make sure your cream cheese is at room temperature. This is super important. If it's cold, you'll end up with a lumpy mess. Trust me, I've been there. It’s not pretty. Take it out of the fridge about 30 minutes before you start. Next, measure out your Greek yogurt, maple syrup, and vanilla extract. Having everything ready to go makes the whole process way smoother. It's like prepping for a race; you wouldn't start without your shoes on, right? So, get your ingredients lined up and ready to roll.
Now, grab a medium-sized bowl and your trusty hand mixer (or a stand mixer if you’re fancy). Add the softened cream cheese to the bowl and beat it until it’s nice and smooth. This usually takes about a minute or two. You want it to look creamy and ready to mingle with the other ingredients. Once that's done, add in your Greek yogurt. Mix it in with the cream cheese until it’s well combined and the texture is even. Don't overmix at this stage, just enough to bring it all together. We're building a flavor foundation here, not trying to create a science experiment.
The Sweet Finish: Mixing and Tasting
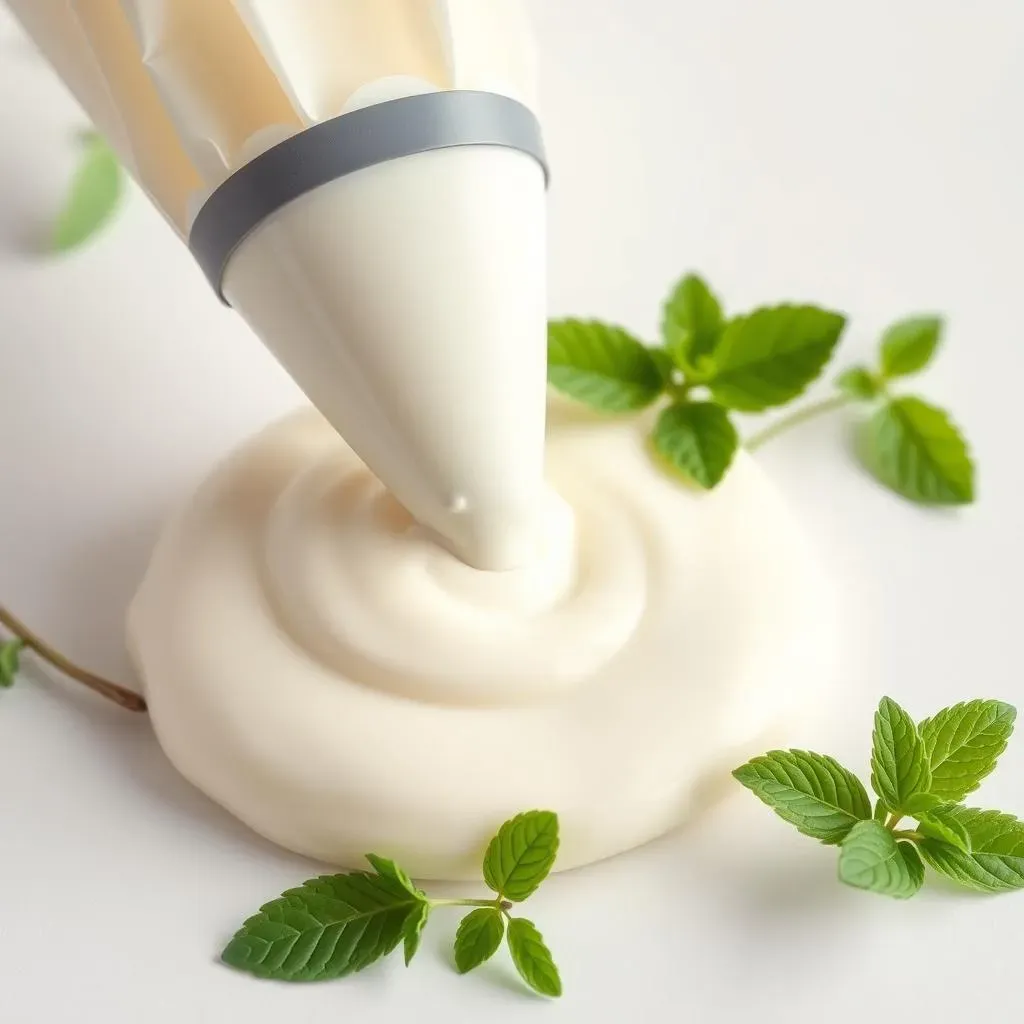
Now comes the sweet part! Pour in the maple syrup and the vanilla extract. Mix everything together on low speed at first, then bump it up to medium. Keep mixing until your frosting is smooth, creamy, and everything is well combined. This shouldn't take more than a couple of minutes. You'll see it transform into this beautiful, fluffy cloud of goodness. Don't be afraid to stop and scrape down the sides of the bowl to make sure everything gets mixed evenly. We want every bit of that flavor to shine.
Once it looks perfect, give it a taste! This is the most important step, in my opinion. Does it need a little more sweetness? Add a touch more maple syrup. Does it need a little more tang? Add a tiny bit more Greek yogurt. Remember, you’re the boss here. Adjust the flavor to your liking. The best part about making your own frosting is that you can customize it to your heart's content. Once you are happy with the taste, you are ready for the next steps.
Ingredient | Why it's important |
|---|---|
Room Temperature Cream Cheese | Ensures a smooth, lump-free frosting |
Greek Yogurt | Reduces fat, adds tang, and keeps the texture light |
Maple Syrup | Natural sweetness and a hint of caramel flavor |
Vanilla Extract | Enhances the overall flavor |
Low Fat Cream Cheese Icing: Tips, Tricks, and Substitutions

Low Fat Cream Cheese Icing: Tips, Tricks, and Substitutions
Getting the Texture Just Right
so you've made the icing, but what if it's not quite perfect? Don't worry, it happens! If your frosting is too thick, add a tablespoon of milk or a splash of lemon juice at a time until you reach the desired consistency. Be careful not to add too much liquid at once, or it might get runny. If your frosting is too thin, you can pop it in the fridge for about 15-20 minutes to let it firm up a bit. Remember, patience is key! The fridge is your friend here, it can fix a lot of texture issues, but don't leave it in for too long, or it might get too hard to work with. It's all about finding that sweet spot.
Another tip is to make sure you don't overmix the frosting. Overmixing can incorporate too much air and make it less stable. It might look great at first, but it can break down later. Mix just until everything is combined and the frosting is smooth. Think of it like folding in egg whites when baking a cake; gentle movements are best, and overdoing it won't give you the best result.
Swapping Ingredients Like a Pro
Now, let's talk substitutions. What if you don't have maple syrup on hand? Honey is a great alternative, just use the same amount. It will give your frosting a slightly different flavor, but it will still be delicious. If you are vegan, you can substitute the Greek yogurt for coconut yogurt. It provides a similar tang and texture. Make sure it's a thick, plain coconut yogurt. You can even experiment with different extracts like almond, lemon, or even a hint of orange to give your frosting a unique twist. The beauty of this recipe is how easy it is to adapt to your own tastes and what you have in your pantry. Don't be afraid to get creative!
What about the cream cheese? If you’re really trying to cut back on fat, you can try using a reduced-fat cream cheese, but be aware that it might affect the final texture. It might be a little less creamy and a bit more watery, so you might need to adjust the liquid accordingly. Also, make sure not to use fat-free cream cheese, as it might not work well for this recipe. It's all about finding that balance between healthy and delicious.
Ingredient | Substitution |
|---|---|
Maple Syrup | Honey, Agave |
Greek Yogurt | Coconut Yogurt (plain, thick) |
Vanilla Extract | Almond Extract, Lemon Extract, Orange Extract |
Cream Cheese | Reduced-fat Cream Cheese (use with caution) |
Flavor Boosters and Fun Ideas
Want to take your frosting to the next level? Try adding a pinch of cinnamon or nutmeg for a warm, cozy flavor. A little bit of lemon or orange zest can also add a delightful zing. If you're a chocolate lover, mix in a tablespoon of cocoa powder for a chocolate cream cheese frosting. For extra texture, you can add some chopped nuts or sprinkles. The possibilities are endless! Think of your frosting as a blank canvas, ready to be transformed by your creativity. And hey, why not try adding a bit of food coloring to make it even more fun? A bright pink frosting can be super fun for a kid's birthday party.
Also, if you want to make it even healthier, you can add a little bit of protein powder. It will add a bit of extra protein to your dessert, but make sure you use a vanilla flavored protein powder, as it will match the flavor and not give you a weird taste. These are just a few ideas, but feel free to experiment and find your own favorite combinations. After all, baking should be fun! Don't be afraid to try new things and see what you can create.
Serving and Storing Your Low Fat Cream Cheese Icing
Serving and Storing Your Low Fat Cream Cheese Icing
How to Use Your Icing
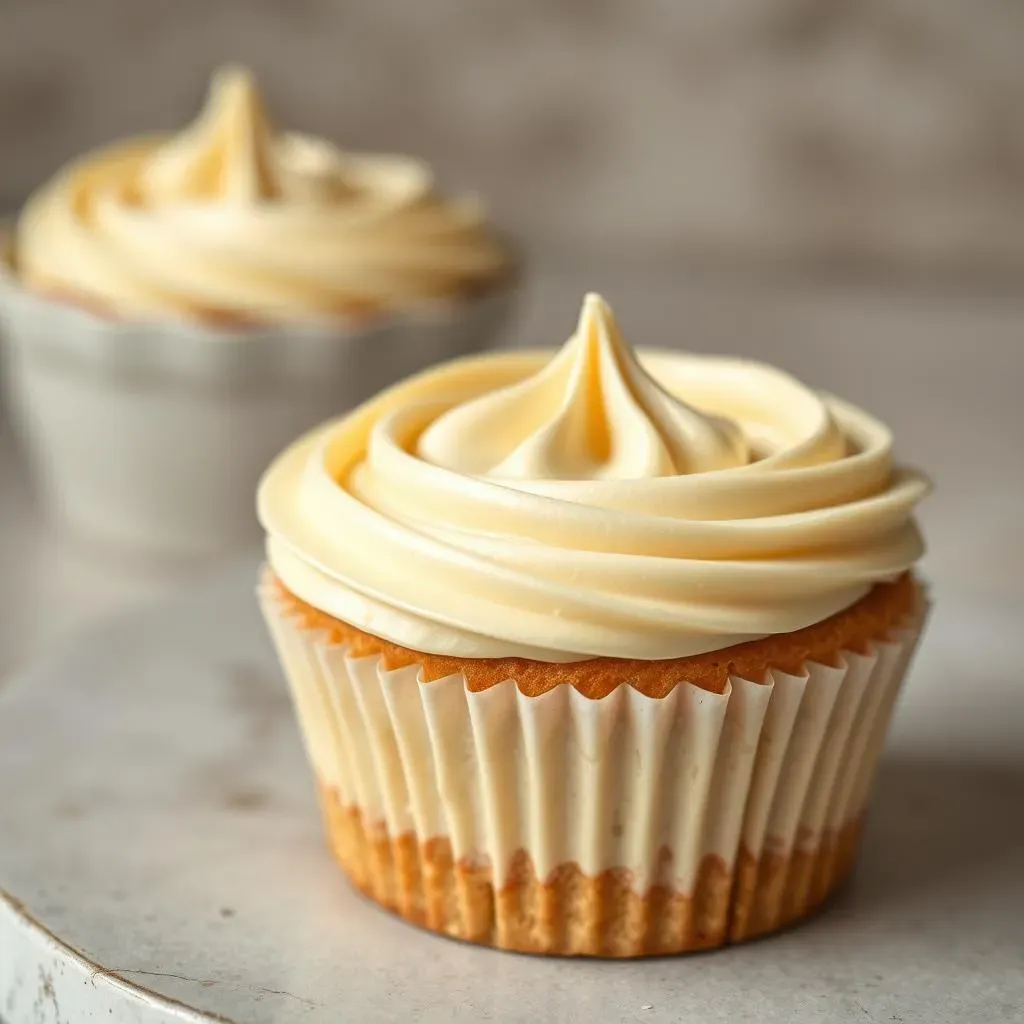
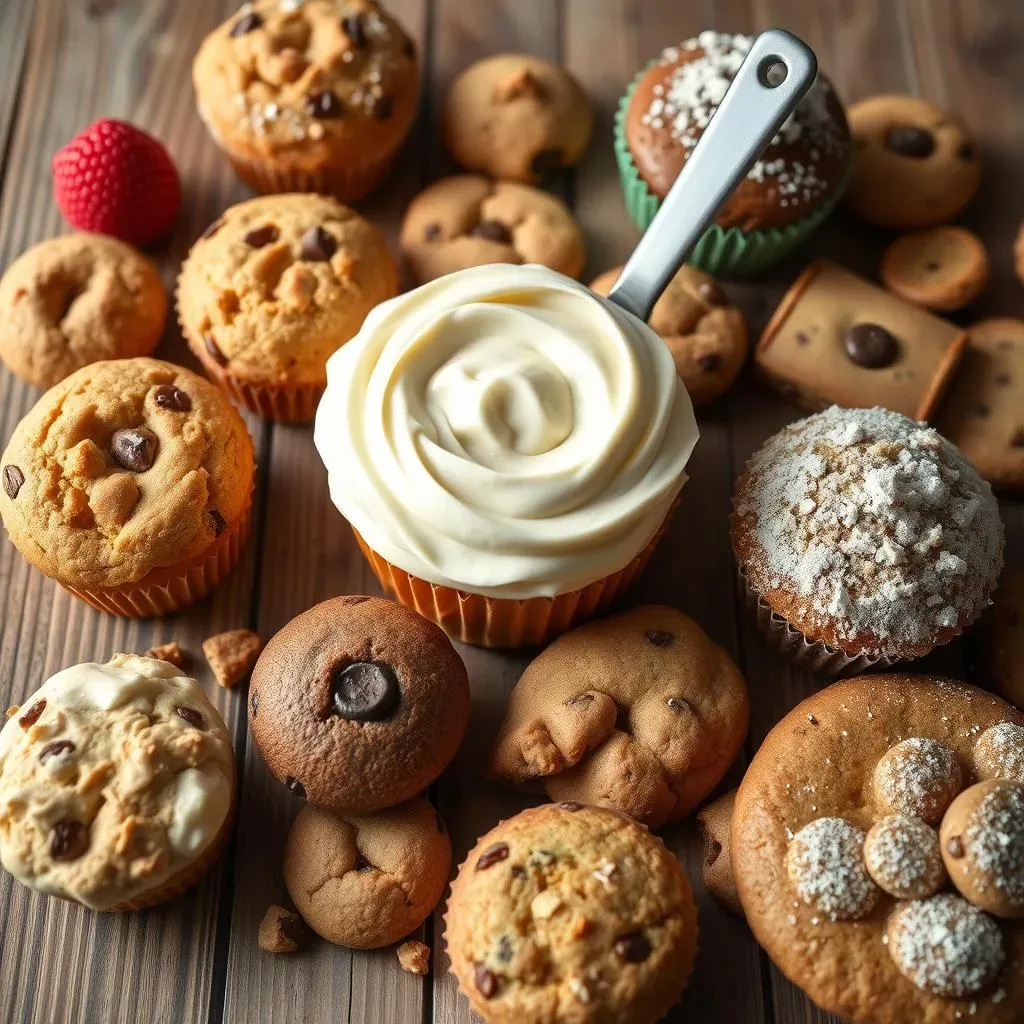
so you've whipped up this amazing low fat cream cheese icing, now what? Well, the possibilities are endless! This frosting is fantastic on everything. It's perfect for frosting cakes, cupcakes, and even cookies. It's also great for spreading on muffins, pancakes, or waffles. You can even use it as a dip for fruit or graham crackers. The texture is light and fluffy, so it's not ideal for piping with intricate designs, but it's perfect for a simple, rustic look. Think of it as the versatile sidekick to all your baked goods, ready to add a touch of creamy, tangy sweetness.
When you're applying the frosting, don't be shy! Use a spatula or a knife to spread it evenly over your baked goods. If you want a more polished look, you can use an offset spatula to create smooth, even layers. For cupcakes, you can either swirl the frosting on top or use a spoon to dollop it. If you're using it as a dip, just put it in a bowl and let everyone dig in. Remember, there are no rules when it comes to enjoying your frosting, so have fun with it! It’s your creation, after all, so make it look and taste however you like.
Storing Your Icing Like a Pro
Now, what if you have some leftover frosting? No problem! This low fat cream cheese icing stores really well. Just transfer it to an airtight container and keep it in the fridge. It will get a little thicker as it chills, which is great if you want a firmer frosting. It will stay fresh for up to two weeks in the fridge, so you can make a batch and enjoy it whenever you need a sweet treat. Just make sure the container is sealed properly to prevent it from drying out or picking up any fridge odors. Nobody wants a frosting that tastes like last night’s leftovers.
If you want to keep it for longer, you can freeze it! Just put it in a freezer-safe container and it will last for up to three months. When you're ready to use it, thaw it in the fridge overnight, and then give it a good mix before using it. The texture might change slightly after freezing, but it will still be delicious. Just don't freeze it for too long, as the texture might get a bit grainy. It's all about finding that balance between convenience and quality. And hey, if you’re anything like me, you’ll probably use it up way before the three-month mark!
Storage Method | Duration | Tips |
|---|---|---|
Refrigerator | Up to 2 weeks | Store in an airtight container |
Freezer | Up to 3 months | Thaw in the fridge overnight |
Troubleshooting and Final Thoughts
Sometimes, even with the best intentions, things can go a little sideways. If your frosting is too thick after chilling, just let it sit at room temperature for a few minutes or add a tiny splash of milk or lemon juice to loosen it up. If it’s too thin, you can put it back in the fridge to firm up. Remember, the key is to be patient and adjust as needed. This frosting is pretty forgiving, so don’t be afraid to experiment and make it your own. It's all part of the fun of baking!
And there you have it! A simple, delicious, and healthier low fat cream cheese icing that you can use on all your favorite treats. It's easy to make, adaptable to your preferences, and a great way to enjoy a little sweetness without all the guilt. So go ahead, bake something amazing, and top it off with this fantastic frosting! You deserve it. And remember, baking is about having fun and creating something delicious, so don’t stress too much about perfection. Just enjoy the process and the tasty results!
Wrapping Up Your Guilt-Free Icing Adventure
So, there you have it—a low fat cream cheese icing that doesn't compromise on flavor or texture. We've walked through the simple steps, explored some helpful swaps, and even peeked at storage options. This isn't just about cutting calories; it's about enjoying your favorite treats in a way that makes you feel good. Whether you're topping a birthday cake or adding a dollop to your morning pancakes, this frosting is a game-changer. Now, go ahead, whip up a batch, and share the deliciousness. You deserve it!