
Table of Contents
Let's be honest. The quest for a decent scoop of ice cream that doesn't immediately expand your waistline often leads down a dark path of icy, flavorless disappointment. You swap out the cream, dial back the sugar, and end up with something that feels less like dessert and more like flavored ice chips. If you've tried making a low fat ice cream base and ended up pouring it down the drain, you're not alone. It's a common culinary tragedy.
Why Your Low Fat Ice Cream Base Might Taste Like Sadness (And How to Fix It)

Why Your Low Fat Ice Cream Base Might Taste Like Sadness (And How to Fix It)
The Fat Fallacy: Why Less Can Mean Ice Shards
So, you’ve tried making a low fat ice cream base and ended up with something that feels suspiciously like a block of ice you chipped off your freezer wall? You’re not alone. The biggest culprit is often the simple act of removing fat. Fat does more than just add richness; it interferes with ice crystal formation. When you strip away the fat, there's nothing stopping those water molecules from freezing into large, crunchy, unpleasant shards. It’s a texture disaster, plain and simple. You've inadvertently created a sorbet's less sophisticated cousin, and it's not invited to the dessert party.
Flavor Fades and Sad Textures
Beyond the ice problem, pulling out fat often means pulling out flavor. Many flavor compounds are fat-soluble, meaning they cling to fat molecules. When fat is scarce, those flavors don't disperse as well, leaving your low fat ice cream base tasting bland and watery. Think of biting into a cloud, but a cold, flavorless one. Combine that with the aforementioned icy texture, and you’ve got a recipe for sadness in a bowl. It's not just about reducing calories; it's about maintaining the *experience* of eating ice cream, which requires addressing both texture and taste.
Here are the usual suspects behind your low-fat ice cream woes:
- Too much water, not enough structure
- Skipping stabilizers (the unsung heroes)
- Not enough sugar (sugar lowers the freezing point)
- Relying solely on milk (needs help for richness)
- Freezing too slowly
Essential Ingredients for a Better Low Fat Ice Cream Base
Essential Ingredients for a Better Low Fat Ice Cream Base
Building a Better Base: Beyond Just Milk
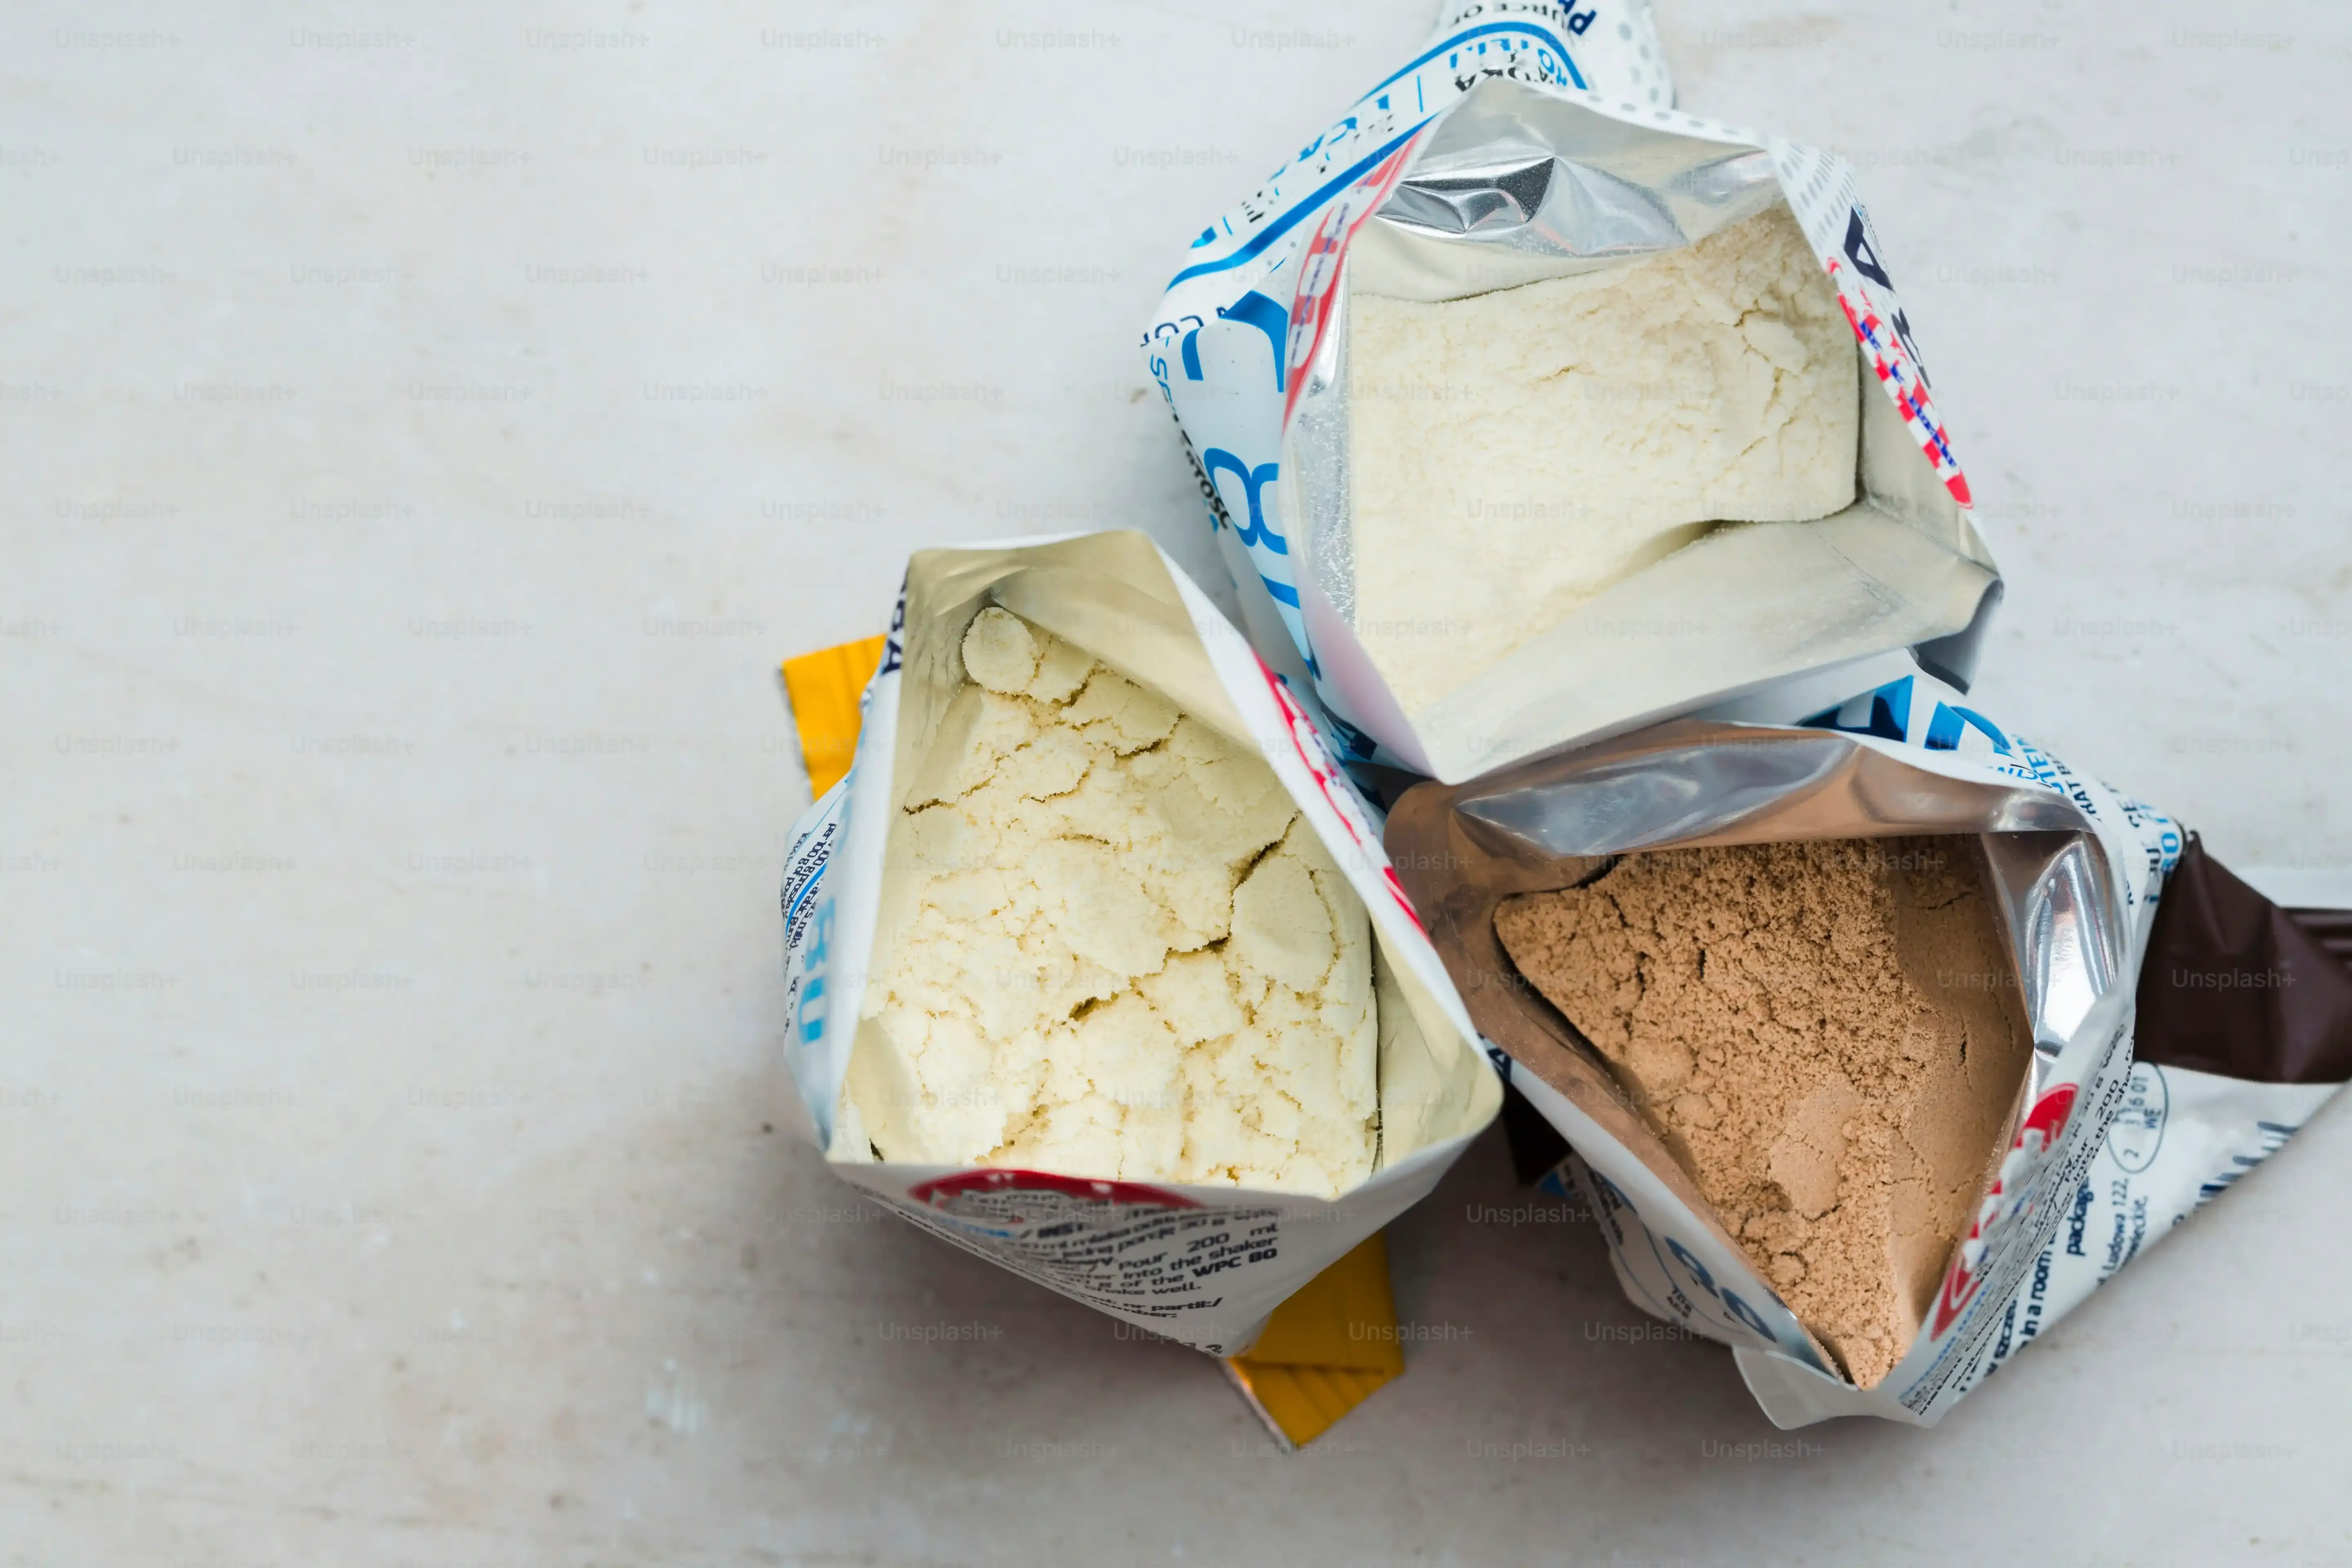
so you've sworn off the heavy cream. That's step one for a low fat ice cream base. But just swapping it for skim milk and hoping for the best is like bringing a spoon to a knife fight. You need to introduce elements that mimic the *function* of fat and solids. Think about adding non-fat dry milk powder. This boosts the milk solids without adding much fat, contributing to a smoother texture and richer flavor. Some folks even experiment with a tiny bit of a neutral oil, like MCT oil, though you have to be careful not to overdo it or you'll end up with a greasy mouthfeel. The goal isn't to perfectly replicate full-fat, but to build a stable structure that resists those dreaded ice crystals.
Sweeteners Aren't Just for Sweetness
Sugar isn't just there to make your low fat ice cream base taste like dessert. It's a workhorse when it comes to texture. Sugar lowers the freezing point of water. Less sugar means the mix freezes harder and faster, making those large ice crystals more likely to form. You need *some* sugar. If you're cutting back on granulated sugar for calorie reasons, consider alternative sweeteners, but be mindful of their properties. Some sugar alcohols can lower the freezing point even more than sugar, which can lead to a softer scoop, but they can also have digestive side effects if you eat half a tub (which, let's be real, is the goal). Finding the right balance is key.
Here’s a quick look at how sweeteners affect your base:
- Granulated Sugar: Standard, helps lower freezing point, adds classic sweetness.
- Alternative Sweeteners (Stevia, Erythritol, etc.): Add sweetness with fewer calories, but impact on freezing point varies. Can sometimes leave an aftertaste.
- Corn Syrup/Glucose Syrup: Interferes with ice crystal formation, results in a smoother texture, less sweet than sugar.
- Honey/Maple Syrup: Add flavor and sweetness, also lower freezing point, but can make the base softer and sometimes gummy.
The Secret Weapons: Stabilizers and Emulsifiers
If you want a low fat ice cream base that's actually creamy and smooth, you need friends in the form of stabilizers and emulsifiers. These are the unsung heroes of commercial ice cream, and they work wonders in homemade versions too. A little bit of egg yolk acts as both a thickener and an emulsifier, helping to bind water and fat (even minimal fat) together and create a smoother texture. For a non-egg option, consider a pinch of xanthan gum or guar gum. These hydrocolloids absorb water and prevent those nasty ice crystals from forming. A tiny amount makes a huge difference, turning a potentially icy mess into something closer to soft-serve. Don't be afraid of these ingredients; they're the difference between sad, crunchy ice and a genuinely enjoyable low fat ice cream base.
StepbyStep: Crafting Your Perfect Low Fat Ice Cream Base
StepbyStep: Crafting Your Perfect Low Fat Ice Cream Base
Mixing Your Low Fat Ice Cream Base Magic
Alright, let's get this kitchen party started. Making a solid low fat ice cream base isn't rocket science, but it does require paying attention to a few details. First things first, gather your ingredients – your low-fat milk (or skim milk), perhaps some non-fat dry milk powder for body, your chosen sweetener, maybe an egg yolk or a pinch of stabilizer like guar gum if you're feeling adventurous. Whisk your dry ingredients together first to avoid clumps, especially if using stabilizers. Then, gently heat your milk and other wet ingredients in a saucepan over medium heat. You're not trying to boil it, just warm it enough to dissolve the sugar and help any thickeners or stabilizers activate. Stir constantly to prevent scorching, especially with milk.
Think of this stage as building the foundation. Get it right here, and the rest is much easier. Don't rush the dissolving process. Ensure everything is fully incorporated before moving on. This is where you prevent that grainy texture from undissolved sugar or powdery bits from milk powder.
Common mixing missteps to dodge:
- Adding stabilizers directly to hot liquid (hello, giant glob!)
- Not whisking dry ingredients together first
- Overheating the milk
- Not stirring constantly
Chilling Out: The Crucial Ripening Phase
Once your base mix is warm and everything is dissolved, you need to get it cold. Like, really cold. Pour it into a clean container, press plastic wrap directly onto the surface to prevent a skin from forming, and pop it in the fridge. This isn't just about getting it cold enough to churn; it's a crucial step called "ripening." Allowing your low fat ice cream base to chill for at least 4 hours, or even better, overnight, lets the proteins hydrate and the stabilizers work their magic. This significantly improves the texture, making it smoother and less icy. Skipping this step is like trying to run a marathon without training – you're just making things harder on yourself and the final product.
Ever wonder why store-bought ice cream is so smooth? Ripening is a big part of it. It gives all those carefully chosen ingredients time to settle in and do their job properly before hitting the ice cream maker.
Churning and Freezing for the Win
the base is chilled and happy. Now it's time for the main event: churning! Make sure your ice cream maker bowl is frozen solid (this is non-negotiable for a good low fat ice cream base). Pour the chilled base into the machine and churn according to the manufacturer's instructions. This process whips air into the mix and freezes it quickly, preventing large ice crystals from forming. Churn until it reaches a soft-serve consistency. It won't be rock hard right out of the machine.
Transfer the churned ice cream to an airtight container. Press the surface again with plastic wrap or parchment paper to minimize air exposure (which causes freezer burn). Stick it in the back of the freezer for several hours to harden completely. Patience is a virtue here. Resist the urge to dig in too soon! Freezing it solid is the final step to achieving that scoopable texture you're after.
Making Your Low Fat Ice Cream Base Exciting: Flavor Hacks

Making Your Low Fat Ice Cream Base Exciting: Flavor Hacks
Beyond Vanilla: Building Flavor from the Base Up
Once you've mastered the texture of your low fat ice cream base, the real fun begins: making it taste like something you actually want to eat. A common mistake is treating the low-fat base like a blank canvas that magically absorbs flavor. It doesn't. Because fat carries flavor so well, you need to be more deliberate in a low-fat scenario. Start with quality extracts. A good vanilla extract is non-negotiable, but don't stop there. Consider a touch of almond extract or even a few drops of food-grade essential oils like peppermint or orange. Bloom spices like cinnamon or cardamom in the warm milk before chilling. This infuses the base itself with deeper flavor, rather than just relying on surface-level additions later.
Infusions and Extracts: Your Flavor Arsenal
Think about infusing your low fat ice cream base. Steep tea leaves (chai, Earl Grey, green tea) in the warm milk mixture, then strain them out. Add coffee or espresso powder for a mocha kick. Citrus zest steeped in the warm base adds brightness. You can also use fruit purees, but be mindful that adding too much water from fruit can impact the texture, making it icier. Reduce fruit purees on the stovetop first to concentrate the flavor and reduce water content. A little bit of salt, just a tiny pinch, can also surprisingly enhance the sweetness and overall flavor profile without making it taste salty.
Consider these flavor boosters for your low fat ice cream base:
- High-quality vanilla extract
- Citrus zest (lemon, orange, lime)
- Coffee or espresso powder
- Spices (cinnamon sticks, cardamom pods)
- Tea leaves (steeped and strained)
- A tiny pinch of salt
- Reduced fruit purees
Mix-Ins and Swirls: Adding Texture and Interest
Even the best low fat ice cream base can benefit from some textural contrast and bursts of flavor. This is where mix-ins and swirls come in. Add chopped fruit (berries, peaches, mango) after churning. Swirl in a reduced fruit sauce, a thin caramel sauce (use a low-fat version if you can), or even melted dark chocolate (a little goes a long way). Crushed cookies, chopped nuts, or granola can add crunch. Just remember that adding too much frozen or watery mix-in can make your final product harder. Add mix-ins towards the end of the churning process so they are evenly distributed but don't get pulverized. For swirls, layer the churned ice cream and swirl sauce in the container before the final freeze. This turns a simple low fat ice cream base into a dynamic dessert.
The Scoop on Satisfying Low Fat Ice Cream
Making a low fat ice cream base that doesn't disappoint isn't some culinary myth. It's about ditching the idea that taking out fat means taking out flavor and texture entirely. By understanding the role of each ingredient and employing a few smart techniques, you can create a base that holds its own, whether you eat it plain or load it up with fruit. It won't be Häagen-Dazs, and let's be real, nothing truly low-fat ever is, but it will be a genuinely enjoyable treat that fits a lighter lifestyle. So go ahead, give it another shot. Your freezer (and your taste buds) might just thank you.