Table of Contents
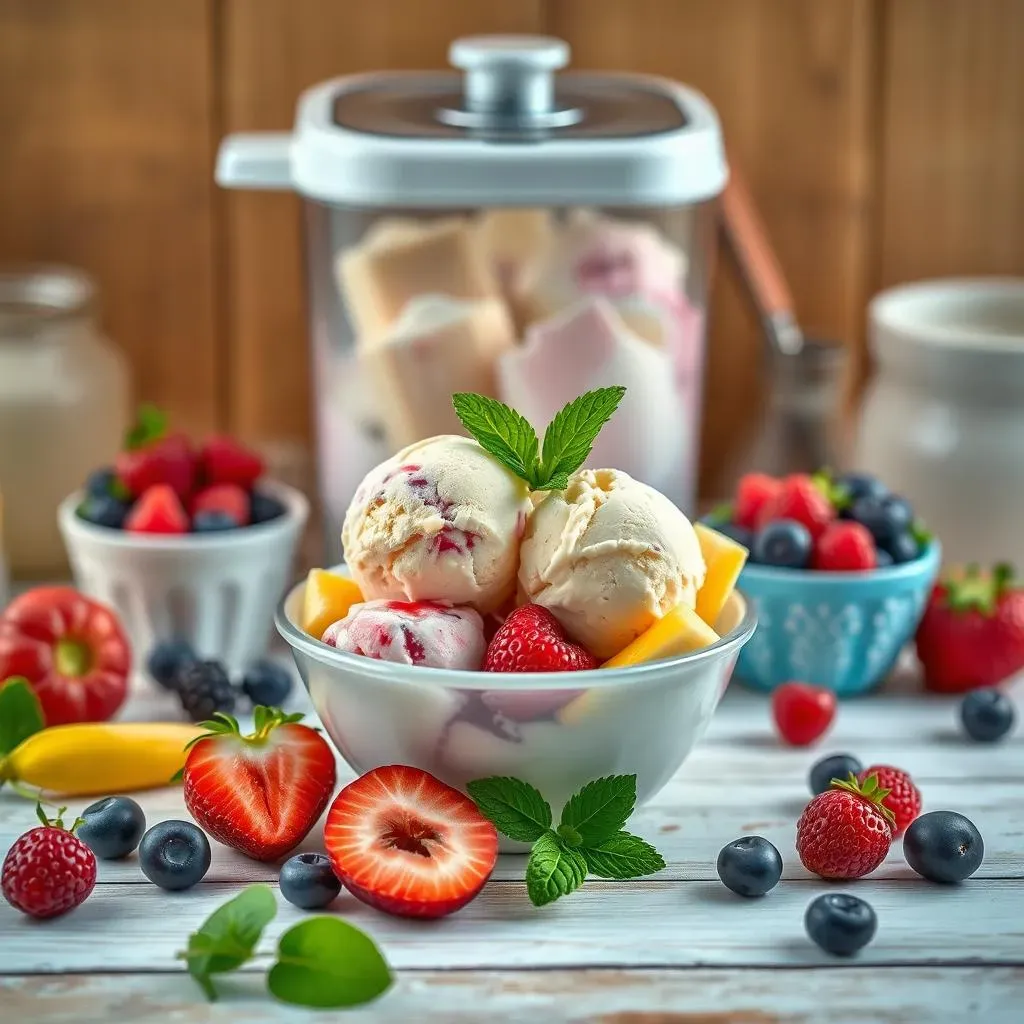
Picture this: a hot summer day, the sun beating down, and all you crave is a big bowl of creamy, dreamy ice cream. But wait, you're trying to eat healthier, and the thought of all that fat and sugar makes you cringe. What if I told you there's a way to have your ice cream and eat it too? That's where the magic of a low fat ice cream in ice cream maker comes in! Forget those sad, icy store-bought versions. We're talking real, homemade ice cream that's actually good for you. This isn't some complicated science experiment; it's a simple way to enjoy your favorite treat without the guilt. In this article, we'll explore why making your own low fat ice cream is a total game-changer. You'll learn the key ingredients that make it work, step-by-step instructions for using your ice cream maker, and even some tips for customizing your flavors. So, get ready to dive into the world of healthier ice cream because it’s about to get a whole lot more delicious. Let's make some low fat ice cream in ice cream maker!
Why Low Fat Ice Cream in an Ice Cream Maker Rocks

Why Low Fat Ice Cream in an Ice Cream Maker Rocks
The Control Factor
Let's be real, store-bought "low fat" ice cream often tastes like a sad, icy compromise. It’s either packed with weird gums and artificial sweeteners, or it’s just plain flavorless. When you make your own low fat ice cream in an ice cream maker, you're the boss! You get to choose exactly what goes in, which means you can control the ingredients, the sweetness, and, most importantly, the taste. No more mystery ingredients or disappointing textures. It's all about crafting the perfect frozen treat, exactly how you like it.
Healthier Indulgence
so we’ve established that you’re in control. But what does that mean for your health? Well, it means you can use natural sweeteners like stevia or honey, and you can swap out heavy cream for lower fat alternatives like milk or Greek yogurt. This dramatically cuts down on the fat and calories, without sacrificing that creamy texture. Plus, you're avoiding all those sneaky additives and preservatives that often come with commercial ice cream. It’s a win-win: you get to indulge your sweet tooth while keeping things on the healthier side. Think of it as a mindful treat, not a cheat day disaster.
Here is a summary of the benefits:
Benefit | Description |
|---|---|
Ingredient Control | Choose your sweeteners, fats, and flavors. |
Lower Calories | Use healthier alternatives to reduce fat and sugar. |
No Additives | Avoid artificial flavors, gums, and preservatives. |
Customizable | Create unique flavor combinations to your taste. |
The Fun Factor
Let's face it, making ice cream at home is just plain fun. There's something oddly satisfying about watching your ingredients transform into a luscious, frozen dessert. It's a great activity to do with kids, friends, or even just by yourself when you need some kitchen therapy. Plus, the possibilities are endless! You can experiment with different flavors, mix-ins, and toppings to create your very own signature ice cream. It’s not just about the eating; it’s about the whole experience of creating something delicious from scratch. And let's be honest, showing off your homemade ice cream is pretty cool too.
Essential Ingredients for Low Fat Ice Cream Success
Essential Ingredients for Low Fat Ice Cream Success
The Base: Choosing Your Low-Fat Liquid
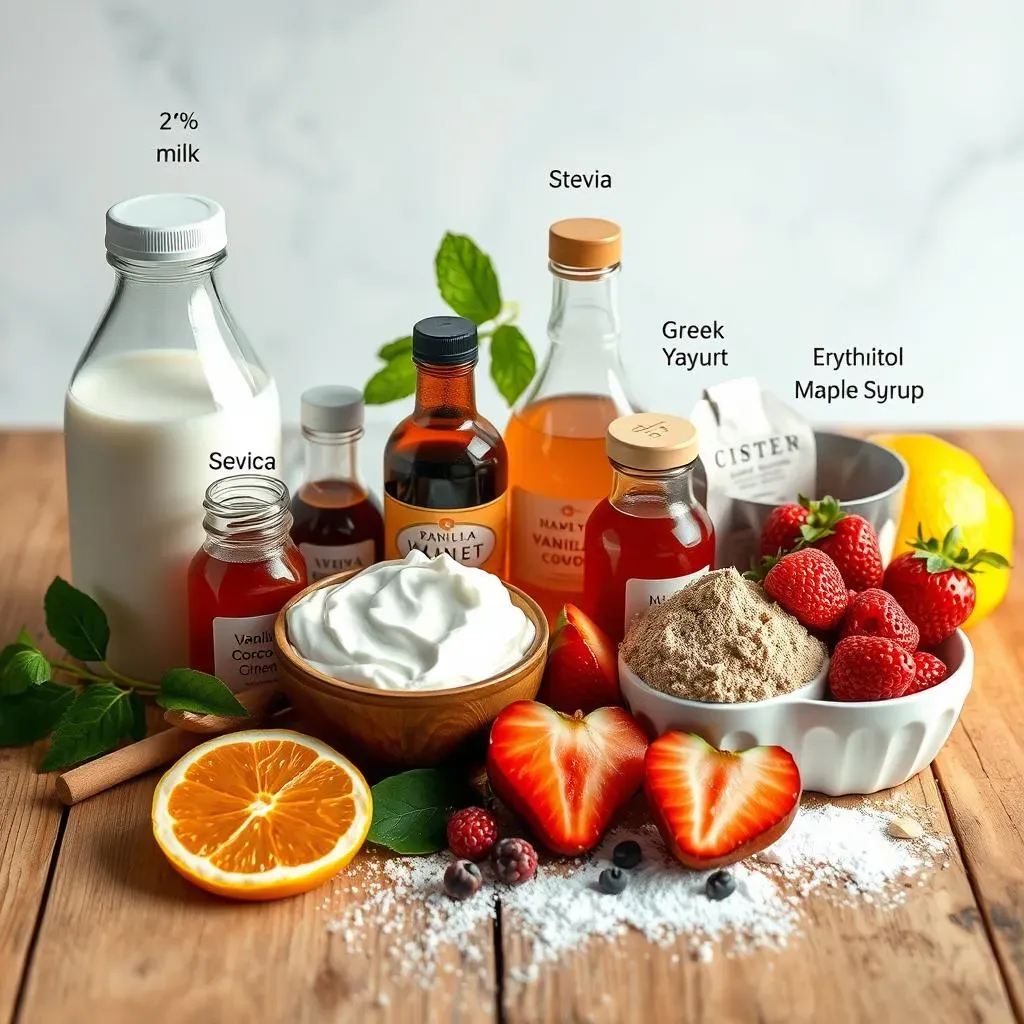
so you're ready to make some magic, but what do you actually use as the base for your low fat ice cream? This is where things get interesting. You've got a few options, and each one brings something different to the table. First up, we have 2% milk. It’s a solid choice that provides a good balance of flavor and creaminess, without being overly heavy. Then, there's skim milk, which is the lowest in fat, but you might find that it needs a little help to get that creamy texture. My personal favorite? Greek yogurt! It’s packed with protein, adds a lovely tang, and really helps create that smooth, decadent feel. It's like the secret weapon for low fat ice cream.
Don't just grab whatever's in your fridge. Think about what you want your final product to feel like. If you're looking for light and refreshing, skim milk might be your go-to. But if you want something that feels like a true indulgence, Greek yogurt is where it's at. Also, keep in mind that some plant based milks might work but they can have a different texture and flavor, so experiment to find what works best for your taste and texture preferences. Remember, the base you choose is the foundation of your entire ice cream masterpiece.
Sweeteners and Flavor Boosters
Now that you've nailed the base, let's talk about sweetness. Sugar is the usual suspect, but we're going low-fat, remember? That means we need to be a bit smarter about our sweetening. Stevia and erythritol are great sugar-free options that won't spike your blood sugar. Honey and maple syrup are natural alternatives, but keep in mind that they add some extra calories, so use them sparingly. A little bit goes a long way. And don't be afraid to experiment with flavors! Vanilla extract is a must for classic recipes, but you can also add cocoa powder for chocolate, or fresh fruit purees for a burst of natural flavor. A splash of lemon or lime juice can add a lovely zing, and a pinch of salt can enhance all the other flavors. It’s all about finding that perfect sweet and flavor combo that makes your taste buds sing.
Think of your sweeteners and flavorings as the artists' palette for your ice cream. It’s where you get to express yourself and have fun with it. The key is to balance the sweetness with the other flavors, and to use high-quality ingredients. Remember, you're making this from scratch, so you want it to taste amazing. So don't be shy, try different combinations, and find what makes your low fat ice cream truly special. Just remember that different sweeteners have different levels of sweetnes, so start small and taste as you go!
Ingredient | Purpose | Notes |
|---|---|---|
2% Milk | Base liquid | Good balance of flavor and texture. |
Skim Milk | Base liquid | Lowest in fat, can be less creamy. |
Greek Yogurt | Base liquid | Adds protein and creamy texture. |
Stevia/Erythritol | Sweetener | Sugar-free options. |
Honey/Maple Syrup | Sweetener | Natural, use sparingly. |
Vanilla Extract | Flavor | Classic and versatile. |
Cocoa Powder | Flavor | For chocolate ice cream. |
Fruit Purees | Flavor | Adds natural fruit flavor. |
StepbyStep: Making Low Fat Ice Cream in Your Machine
StepbyStep: Making Low Fat Ice Cream in Your Machine
Get Your Prep On
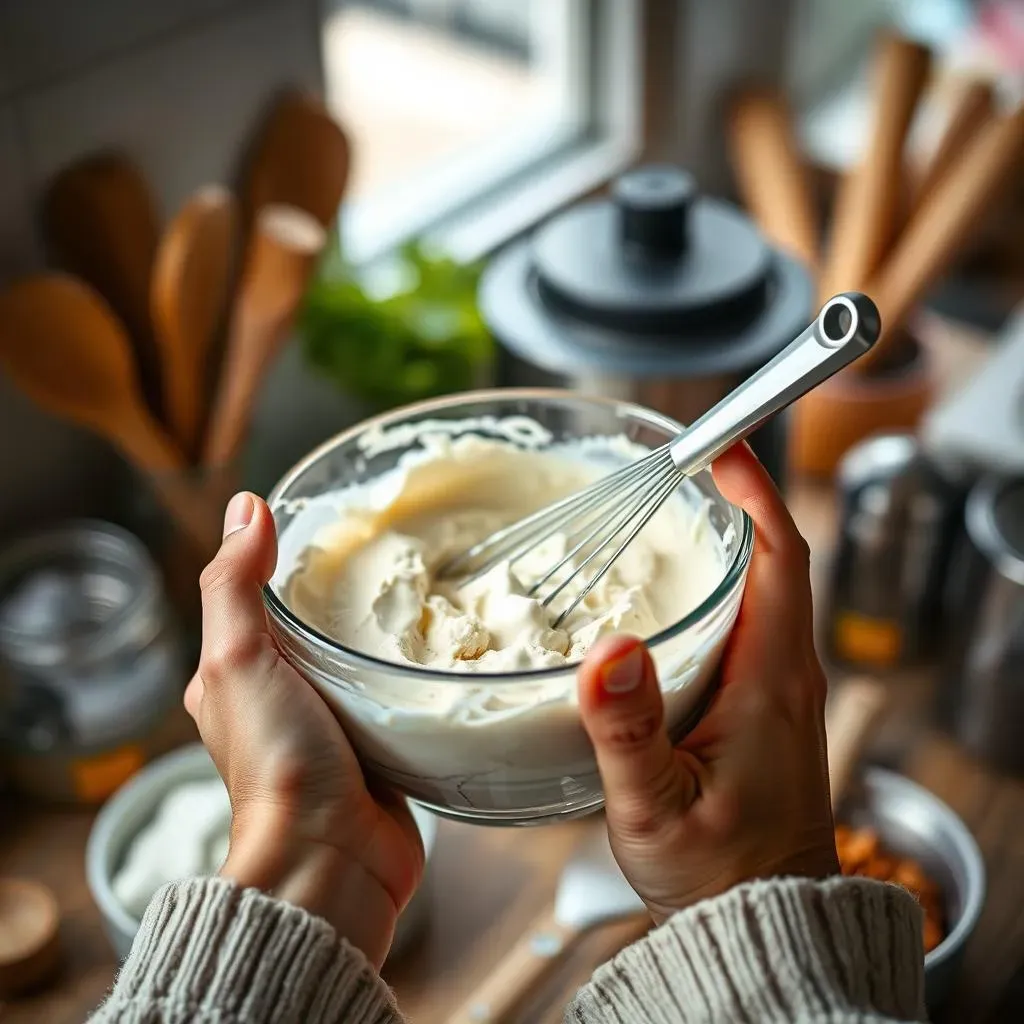
Alright, let's get down to business. You've got your base, your sweeteners, and your flavorings all lined up, ready to go. The first thing you’ll want to do is combine all your ingredients in a bowl. Give it a good whisk until everything is well mixed. If you’re using a sweetener that tends to clump, like stevia, make sure it’s fully dissolved. Now, here’s the important part: chill that mixture. I know, I know, patience is hard, but trust me on this. You want your mixture to be nice and cold before it goes into the ice cream maker. This will make the freezing process much smoother and give you a better texture. I usually stick mine in the fridge for at least a couple of hours, or even better, overnight. The colder, the better!
While your mixture is chilling, take a moment to get your ice cream maker ready. If you have one of those machines with a freezer bowl, make sure it’s been in the freezer for at least 24 hours, or whatever the manufacturer recommends. If it’s not cold enough, your ice cream will just be a soupy mess. Nobody wants that. Also, double check that your paddle or dasher is clean and ready to go. It’s the little things that make a big difference in the final result. This prep work might seem tedious, but it will save you a lot of disappointment and ensure your low-fat ice cream turns out perfectly creamy.
Churning to Perfection
the moment we’ve been waiting for has arrived! Your mixture is chilled, your ice cream maker is ready, so it’s time to churn. Pour your cold mixture into the freezer bowl, making sure not to overfill it (leave some space for the ice cream to expand). Secure the lid and turn on your machine. Now, the magic begins. Let it churn for the amount of time your machine recommends, usually around 20-30 minutes. You’ll notice that the mixture starts to thicken and become more like a soft serve consistency. It’s pretty mesmerizing to watch, like a science experiment that you get to eat at the end.
Once your ice cream has reached that lovely soft serve stage, it’s time to decide what you want to do next. If you’re happy with the soft serve consistency, you can dig right in. Or, if you want a firmer ice cream, you can transfer it to a freezer-safe container and freeze it for another couple of hours. This will allow it to firm up nicely and make it easier to scoop. Either way, you’ve just made your very own homemade low-fat ice cream, and you should be super proud of yourself. The taste of fresh, homemade ice cream is so rewarding, and knowing that you’re in control of all the ingredients makes it even better.
Step | Action | Notes |
|---|---|---|
1 | Combine Ingredients | Whisk well until fully mixed. |
2 | Chill Mixture | Refrigerate for at least 2 hours. |
3 | Prepare Ice Cream Maker | Ensure freezer bowl is frozen solid. |
4 | Churn | Pour mixture into machine and churn for 20-30 minutes. |
5 | Freeze (Optional) | Transfer to freezer for firmer ice cream. |
Troubleshooting and Flavor Twists for Your Low Fat Ice Cream
Troubleshooting and Flavor Twists for Your Low Fat Ice Cream
My Ice Cream is Icy, Not Creamy!
so you've gone through the process, and your ice cream isn't quite the smooth, creamy dream you were hoping for. It happens! The most common culprit for icy ice cream is too much water content. This often occurs when using skim milk or when your mixture isn't cold enough before churning. To fix this, try using a higher fat base like 2% milk or Greek yogurt. Also, make sure your mixture is thoroughly chilled before it hits the ice cream maker. You can even try adding a tablespoon or two of a clear alcohol like vodka or gin (don't worry, it won't make you tipsy). This helps to lower the freezing point of the ice cream and keep it softer. Another thing to check is if your freezer bowl is completely frozen. If it's not, it won't properly freeze the ice cream.
Another common issue is that your ice cream is too soft. This could be because you didn't churn it long enough, or the mixture wasn't cold enough to begin with. If it's too soft, you can always transfer it to a freezer-safe container and let it firm up for a couple of hours. If you notice that your mixture isn't thickening during the churning process, it might be a sign that your freezer bowl isn't cold enough, or that your ice cream maker isn't working correctly. It might also mean that your mixture was too warm, and you need to chill it down more. Don’t get discouraged! It’s all part of the learning process. Once you figure out what works best for your machine and your ingredients, you’ll be making perfect low-fat ice cream every time.
Flavor Adventure Time
Now, let's get to the fun part: flavor! You’ve mastered the basic low fat ice cream, now it’s time to get creative. Think beyond vanilla and chocolate. How about a zesty lemon and basil ice cream? It’s surprisingly refreshing. Or maybe a spicy mango chili? That's a flavor explosion! You can add fruit purees, chopped nuts, chocolate chips, or even a swirl of caramel or peanut butter. The possibilities are endless! I like to raid my pantry and fridge for inspiration. Leftover berries? Toss 'em in! A little bit of coconut flakes? Why not! Just be mindful of the water content of your mix-ins; too much can make your ice cream icy. When you are adding mix-ins, stir them in during the last few minutes of churning, or fold them in gently after the ice cream is done. That way, they don’t get too broken down or frozen solid.
Don't be afraid to experiment with different extracts and spices too. A little bit of almond extract can add a lovely nutty flavor, and a pinch of cinnamon or nutmeg can make your ice cream feel warm and cozy. And if you’re feeling really adventurous, try adding some herbs like mint or lavender. They add a unique twist that will make your ice cream stand out. When it comes to flavor, there's no right or wrong answer. It's all about finding what you love and having fun with it. So, go ahead, unleash your inner ice cream artist and create some truly unique and delicious low-fat ice cream flavors. Just remember to jot down your experiments so you can recreate your favorites!
Problem | Solution |
|---|---|
Icy Ice Cream | Use higher fat base, chill mixture thoroughly, add a little alcohol. |
Too Soft | Churn longer, chill mixture more, freeze after churning. |
Not Thickening | Ensure freezer bowl is frozen, check machine, chill mixture more. |
Mix-ins Freezing Solid | Add mix-ins near the end of churning or fold in after. |
The Sweet Success of Homemade Low Fat Ice Cream
So, there you have it! Making low fat ice cream in an ice cream maker isn't just possible; it's a fun, rewarding, and delicious way to satisfy your sweet tooth without compromising your health goals. You've discovered the secrets to creamy textures, learned how to navigate ingredient choices, and even picked up some tricks for adding your personal flavor twists. Now, you're not just making ice cream; you're crafting healthier, happier moments. The next time a craving hits, you'll know exactly what to do. Grab your ice cream maker, experiment with your favorite flavors, and enjoy the cool, guilt-free goodness you created. The possibilities are endless, and the results are always worth it. Go ahead, treat yourself!