Table of Contents
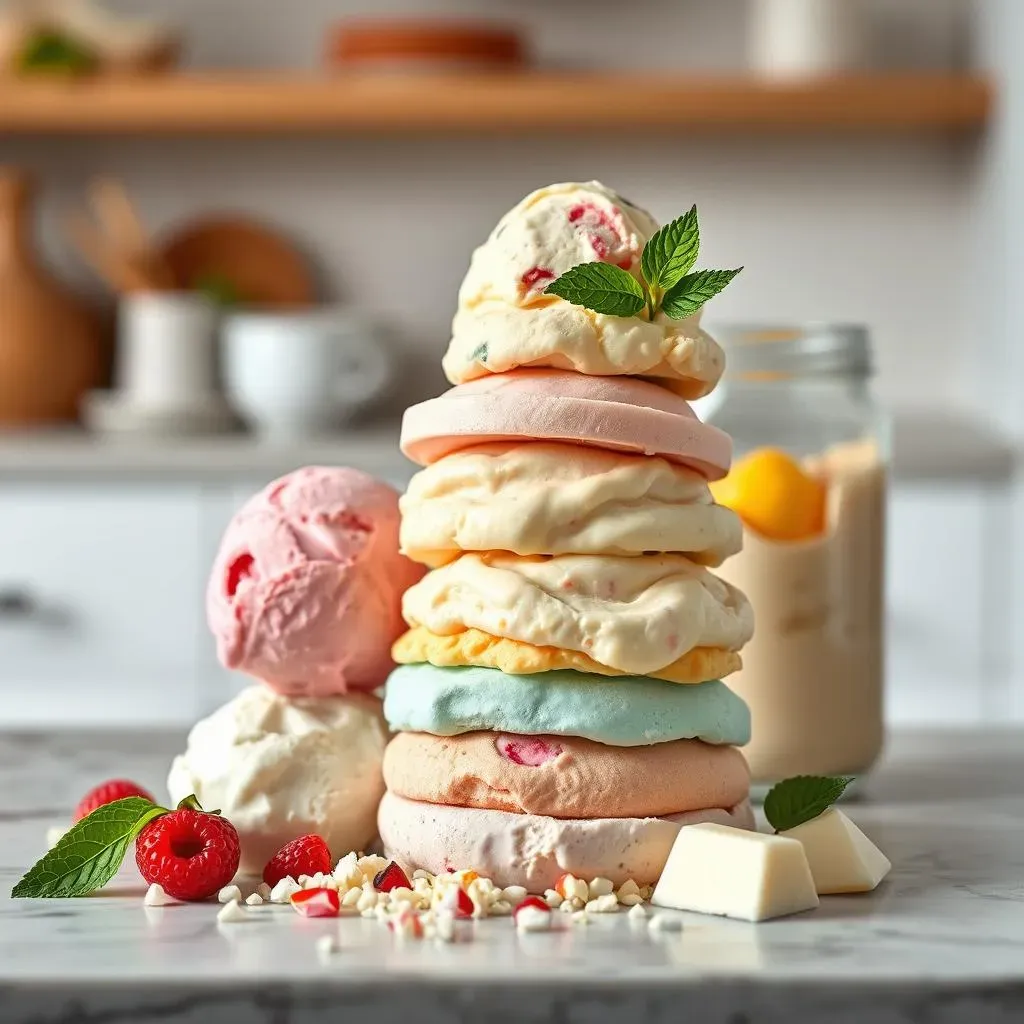
Ever find yourself staring longingly at the ice cream aisle, wishing for a treat that doesn't derail your healthy habits? I get it. The struggle is real. That’s why I decided to explore the world of low-fat ice cream. Forget those store-bought options that often taste like, well, sadness. We're diving into the nitty-gritty of low fat ice cream ingredients and how you can whip up a batch of creamy, dreamy goodness right in your own kitchen. This isn't about sacrificing flavor; it’s about smart swaps and understanding what goes into that pint. We'll uncover the key components that make low-fat ice cream work, from the base liquids to the thickeners that give it that satisfying texture. We'll also walk through a straightforward recipe that even a kitchen newbie can handle. Finally, we'll look at the nutritional details and some fun ways to serve your homemade creation. Get ready to indulge without the guilt!
Understanding LowFat Ice Cream Ingredients
Understanding LowFat Ice Cream Ingredients
The Base: Liquids
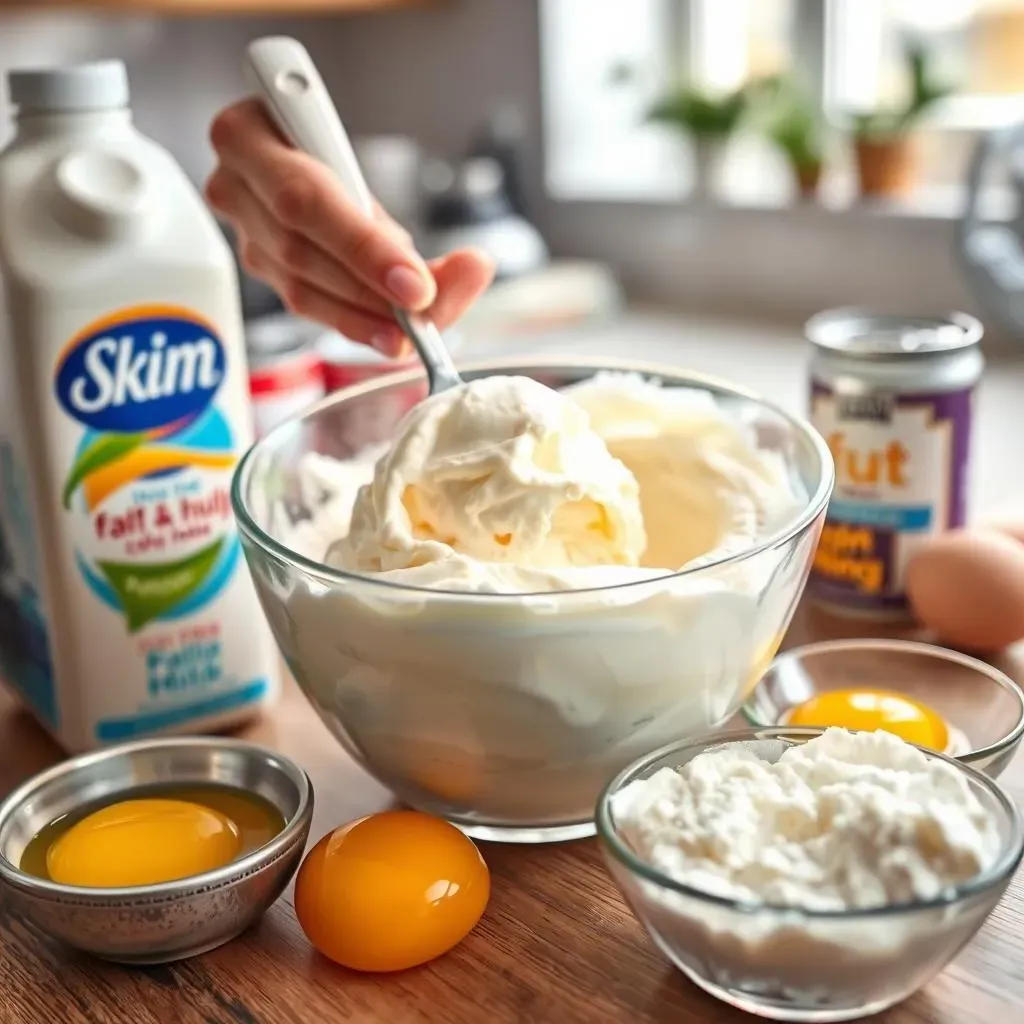
so you're thinking about making low-fat ice cream, right? First things first, let's talk about the liquid base. This is where the magic starts, and it's also where a lot of the fat usually lives. Traditional ice cream uses heavy cream, which is delicious but definitely not low-fat. For our lighter version, we're going to swap that out. Think skim milk or fat-free half-and-half. These options give you that creamy texture without the extra fat. Some people even use a mix of regular milk and a bit of fat-free half-and-half for a good balance. It's like finding the perfect ratio in a recipe, not too much, not too little, just right.
But the base isn't just about milk; it's also about the other liquids you might add. Some recipes call for a touch of water or even a bit of a non-dairy milk alternative, like almond or soy milk. The key is to understand how these different liquids affect the overall texture and freezing process. Skim milk tends to freeze a bit harder, while the fat-free half-and-half gives a slightly smoother consistency. It's all about experimenting to find what you like best. So, don't be afraid to try a few different combinations to get that perfect base for your icy treat.
The Thickening Agents: Making it Creamy
Now, let's get to the secret ingredients that make low-fat ice cream not taste like a sad, icy mess: thickeners. Because we've taken out a lot of the fat, we need something to replace that richness and give the ice cream some body. This is where things like cornstarch, tapioca starch, or even a touch of gelatin come in. They help create a smooth, creamy texture that you'd expect from real ice cream. Cornstarch is a popular choice because it's easy to find and use. It works by thickening the liquid base as it heats, creating a custard-like consistency that freezes beautifully.
Another option is to use egg yolks, which are a classic ice cream ingredient. They add richness and help with that creamy texture. However, if you're trying to keep things really low-fat, you might want to use them sparingly or skip them altogether. It's a balancing act, like trying to ride a bike on a tightrope. You need enough thickener to get the right texture, but not so much that it tastes gummy. And let's not forget about natural thickeners, like a pinch of agar-agar powder for a plant-based option. It's always fun to explore new ingredients and see what works best for your taste buds.
Ingredient | Purpose | Notes |
|---|---|---|
Skim Milk | Base liquid | Low in fat, freezes harder |
Fat-Free Half-and-Half | Base liquid | Creamier than skim milk |
Cornstarch | Thickener | Easy to use, creates custard-like base |
Egg Yolks | Thickener | Adds richness, use sparingly for low-fat |
StepbyStep: Making LowFat Ice Cream at Home
StepbyStep: Making LowFat Ice Cream at Home
Getting Started: The Custard Base
Alright, so you're ready to actually make some ice cream? Awesome! First, you'll need to mix your base liquids in a saucepan. Grab that skim milk, fat-free half-and-half, or whatever combo you've decided on, and pour it in. If you're using cornstarch, whisk it in now, making sure there are no lumps. Nobody likes lumpy ice cream! Heat this mixture over medium heat, stirring constantly, until it starts to thicken. It should look like a thin custard. This is where patience comes in handy; don't rush it. You'll see it gradually transform from a watery liquid into something with a bit of body. Once it's thick enough to coat the back of a spoon, it's time for the next step.
Now, if you're adding egg yolks, this is where they come in. In a separate bowl, whisk the egg yolks with a little bit of the hot milk mixture. This is called tempering, and it prevents the yolks from scrambling when you add them to the hot liquid. Slowly pour this egg yolk mixture into the saucepan, whisking constantly. Keep cooking over low heat for another minute or two, until the custard thickens a bit more. Remove from the heat and stir in your vanilla extract. Let this mixture cool completely before moving on to the freezing part. The cooling is important, it helps the flavors meld and prevents ice crystals from forming.
Freezing and Finishing: From Liquid to Ice Cream
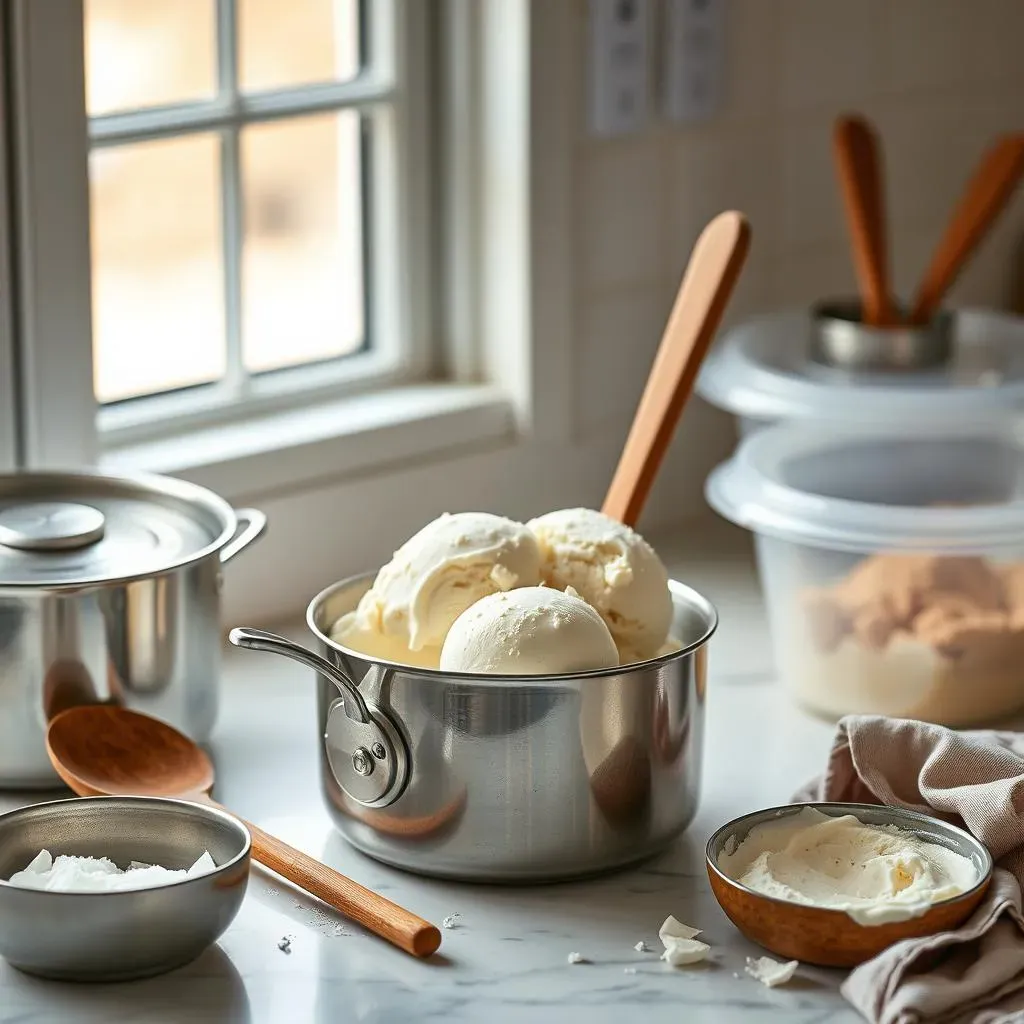
so your custard base is now cool and ready to become ice cream. If you have an ice cream maker, follow the manufacturer's instructions. Usually, you'll pour the cooled custard into the machine and let it churn for about 20-30 minutes, or until it reaches a soft-serve consistency. If you don't have an ice cream maker, no worries! You can use the freezer method. Pour the cooled custard into a freezer-safe container and place it in the freezer. Every 30 minutes, take it out and stir vigorously with a fork or a whisk to break up the ice crystals. Repeat this process for about 2-3 hours, or until the ice cream is firm enough to scoop.
Once the ice cream has reached the desired consistency, you can add any mix-ins, like chocolate chips, fruit, or nuts. Gently fold these in. If you're going for a super smooth texture, you can blend the ice cream briefly using an immersion blender before freezing it for the final time. Finally, transfer the ice cream to an airtight container and freeze for at least 2 hours to allow it to fully set. Now, you just have to wait, which is the hardest part, I know. But trust me, the wait is worth it when you get to taste your homemade, low-fat ice cream!
Step | Action | Notes |
|---|---|---|
1 | Mix base liquids and thickener | Heat until thickened, whisk constantly |
2 | Temper egg yolks (if using) | Whisk with hot milk mixture before adding |
3 | Cool the custard | Allow to cool completely before freezing |
4 | Churn or freeze | Use an ice cream maker or the freezer method |
5 | Add mix-ins | Gently fold in after freezing |
LowFat Ice Cream Ingredients: Nutritional Information and Serving Ideas
LowFat Ice Cream Ingredients: Nutritional Information and Serving Ideas
The Numbers Game: What's Inside?
so you've made your low-fat ice cream, and it's sitting there looking all creamy and delicious. But what about the nutritional stuff? Let's be real, even if it’s low-fat, it's still ice cream. A typical serving, about a half-cup, of our homemade low-fat vanilla ice cream will clock in around 180-200 calories. This is way less than the 300+ calories you might find in regular ice cream. The great thing about making it yourself is that you have control over the ingredients, which means you can adjust the sugar to your liking. For instance, if you use a sugar substitute, it will bring the calories and sugar content down even more.
Now, let's talk fat. The fat content in our low-fat version is usually around 1-3 grams per serving, compared to 10-20 grams in traditional ice cream. That's a big difference! Protein is another thing to keep an eye on. Our low-fat ice cream will have about 4-6 grams of protein per serving, which is not too shabby. Of course, these numbers can vary slightly depending on the exact ingredients you use. The key is to always check the nutrition labels on your ingredients and adjust the recipe to fit your specific goals. Remember, it's all about balance, not deprivation.
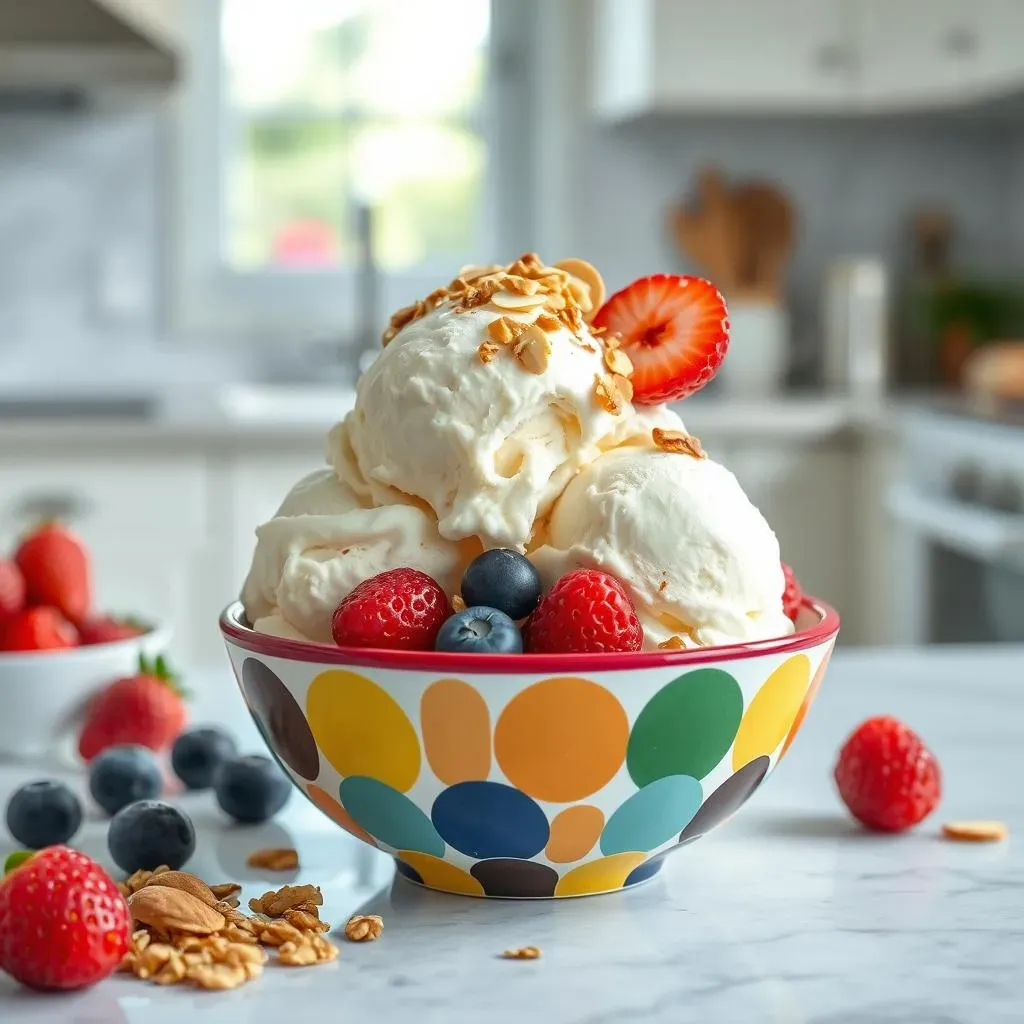
Serving Suggestions: More Than Just a Scoop
So, you've got a bowl of homemade low-fat ice cream, now what? Let's get creative! First off, a classic way to enjoy it is with a sprinkle of reduced-fat granola. The crunch from the granola adds a nice contrast to the creamy ice cream. You can also add fresh fruit like berries, sliced bananas, or even a drizzle of honey or maple syrup. If you're feeling fancy, you can make a low-fat chocolate sauce by mixing cocoa powder, a bit of milk, and a sweetener. It's a great way to satisfy that chocolate craving without going overboard.
Another idea is to use your low-fat ice cream to make a smoothie. Blend it with some frozen fruit, a splash of milk, and a bit of protein powder for a healthy and delicious treat. It's also fun to make ice cream sandwiches using low-fat cookies or graham crackers. The possibilities are endless, really. The goal is to enjoy your low-fat ice cream in a way that's satisfying and enjoyable. It shouldn't feel like you're missing out on anything. It’s about making smart choices that fit your lifestyle and taste preferences.
Serving Idea | Description | Why it's great |
|---|---|---|
Granola Topping | Sprinkle reduced-fat granola | Adds a nice crunch |
Fresh Fruit | Add berries, bananas, etc. | Natural sweetness and vitamins |
Low-Fat Chocolate Sauce | Cocoa powder, milk, sweetener | Satisfies chocolate cravings |
Smoothie | Blend with frozen fruit and protein | Healthy and delicious |
Ice Cream Sandwiches | Use low-fat cookies or graham crackers | Fun and portable |
Making it Your Own: Customizing Your Ice Cream
The best part about making your own low-fat ice cream is that you can customize it to your heart's content. Want to make it extra chocolatey? Add some cocoa powder or sugar-free chocolate chips. Craving something fruity? Blend in your favorite berries or peaches. You can also experiment with different extracts, like almond, mint, or even a bit of citrus. It's all about finding what you love and making it your own. Don't be afraid to try new things and see what flavors you can create.
Another fun idea is to add spices. A dash of cinnamon, nutmeg, or even a bit of ginger can add a warm and cozy flavor to your ice cream. You can also use coffee or tea to create unique and interesting flavor combinations. The key is to experiment and have fun with it. Making low-fat ice cream doesn't have to be boring. It can be a fun and creative way to enjoy a treat without the extra fat and calories. So, go ahead, get in the kitchen and start experimenting!
The Sweet Finish: Low-Fat Ice Cream Success
So, there you have it: a complete guide to understanding and making your own low-fat ice cream. From the science behind the low fat ice cream ingredients to the simple steps of the recipe, you now have the knowledge to create delicious, guilt-free frozen treats. You're not just limited to vanilla, either. Get creative with extracts, fruits, and even a sprinkle of your favorite low-sugar toppings. This journey proves that you don't have to compromise on taste to enjoy a healthier dessert. Now, go forth and make some ice cream—your freezer (and your taste buds) will thank you.