
Table of Contents
Hey there, ice cream aficionados! I'm Amy, and if you're anything like me, you believe life's too short to skip dessert, especially when it's a scoop of creamy, dreamy ice cream. But what if you could indulge without the guilt? That's where my love for healthy baking and a serious craving for chocolate collide. I'm excited to share my go-to recipe for the "Ultimate Healthy Chocolate Ice Cream" – yes, it's a real thing! This isn't your average store-bought stuff; we're talking rich, decadent flavor without all the extra fat. We'll be using an ice cream maker for this adventure, so if you have one, dust it off. This article will walk you through my personal story that sparked this recipe, the precise ingredients you'll need, and step-by-step instructions to make this magic happen. Plus, we'll cover all the tips and tricks to store it properly and even some fun variations to try. Get ready to discover the world of low fat ice cream maker recipes that will change your dessert game forever!
My Baseball Game Craving and the Quest for GuiltFree Ice Cream

My Baseball Game Craving and the Quest for GuiltFree Ice Cream
so picture this: it’s a beautiful summer evening, the kind where the sun's setting just right, and I'm at a baseball game. The crack of the bat, the roar of the crowd – it's all so perfect. But then, the craving hits. That deep, undeniable need for something cold, sweet, and chocolatey. Usually, that means a trip to the concession stand for some overpriced, super-sugary ice cream. Not this time. I was determined to find a way to satisfy my craving without feeling like I'd just eaten a brick of sugar. This wasn't just about cutting calories, it was about enjoying a treat that actually made me feel good. And, so began my quest for the perfect low fat ice cream, the kind that tastes like a cheat day but isn't. That’s how this whole crazy adventure with low-fat ice cream maker recipes started.
Crafting the Perfect Low Fat Chocolate Ice Cream: Ingredients and Notes
Crafting the Perfect Low Fat Chocolate Ice Cream: Ingredients and Notes
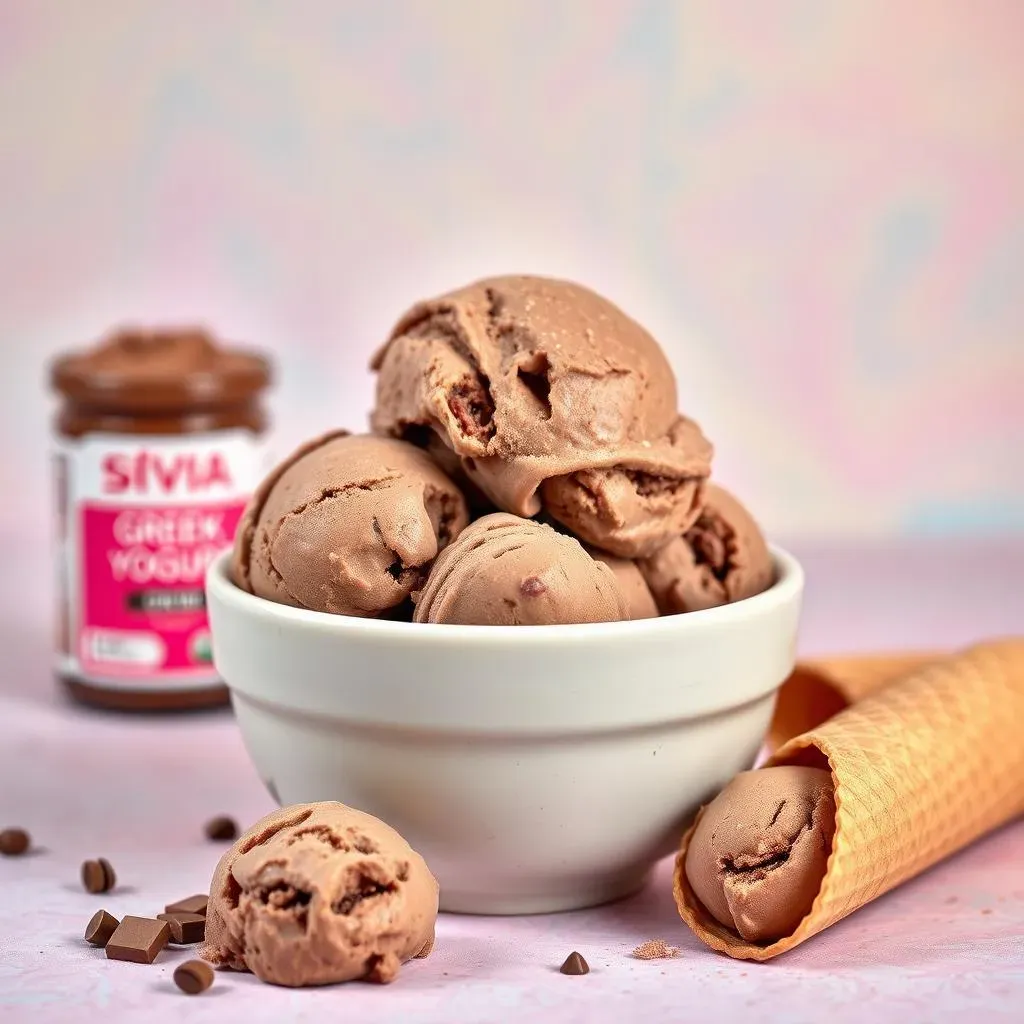
Alright, let's talk about the magic behind this low-fat chocolate ice cream. It's not just about throwing a bunch of stuff together; it’s about understanding how each ingredient plays its part. We're ditching the heavy cream and excessive sugar, but we're not sacrificing flavor or texture. The star of the show? Greek yogurt! It gives that creamy base we all crave, plus a nice protein boost. Then, we've got 2% milk, which adds the right amount of liquid to get the perfect consistency. For that rich, chocolatey punch, we're going with unsweetened cocoa powder. Don't worry, we're not going to leave it bitter, we'll use liquid stevia to sweeten things up without the added sugar. And lastly, the secret weapon: xanthan gum. This stuff is like a natural glue, it helps hold everything together so you don't end up with icy, grainy mess.
Now, before you start grabbing ingredients, let me give you some notes. I’ve learned a few things along the way. First, make sure your Greek yogurt is plain, not flavored. Flavored yogurt can add unexpected flavors (and sugars) that we don't want. Second, when it comes to cocoa powder, the better quality, the richer the chocolate flavor will be. I like to use Dutch-processed cocoa for its smoother taste. And finally, with liquid stevia, a little goes a long way, so start with a small amount and add more to your taste. You can also use other sweeteners, but you will need to adjust the quantities. These small details can make a big difference in the final product.
Ingredient | Amount | Notes |
|---|---|---|
Greek Yogurt | 2 cups | Plain, not flavored |
2% Milk | 1 cup | Adds liquid for consistency |
Unsweetened Cocoa Powder | 1/2 cup | Dutch-processed recommended |
Liquid Stevia | To taste | Start with a small amount |
Xanthan Gum | 1/2 teaspoon | Natural "glue" for texture |
StepbyStep Guide: Making Ice Cream with an Ice Cream Maker
StepbyStep Guide: Making Ice Cream with an Ice Cream Maker
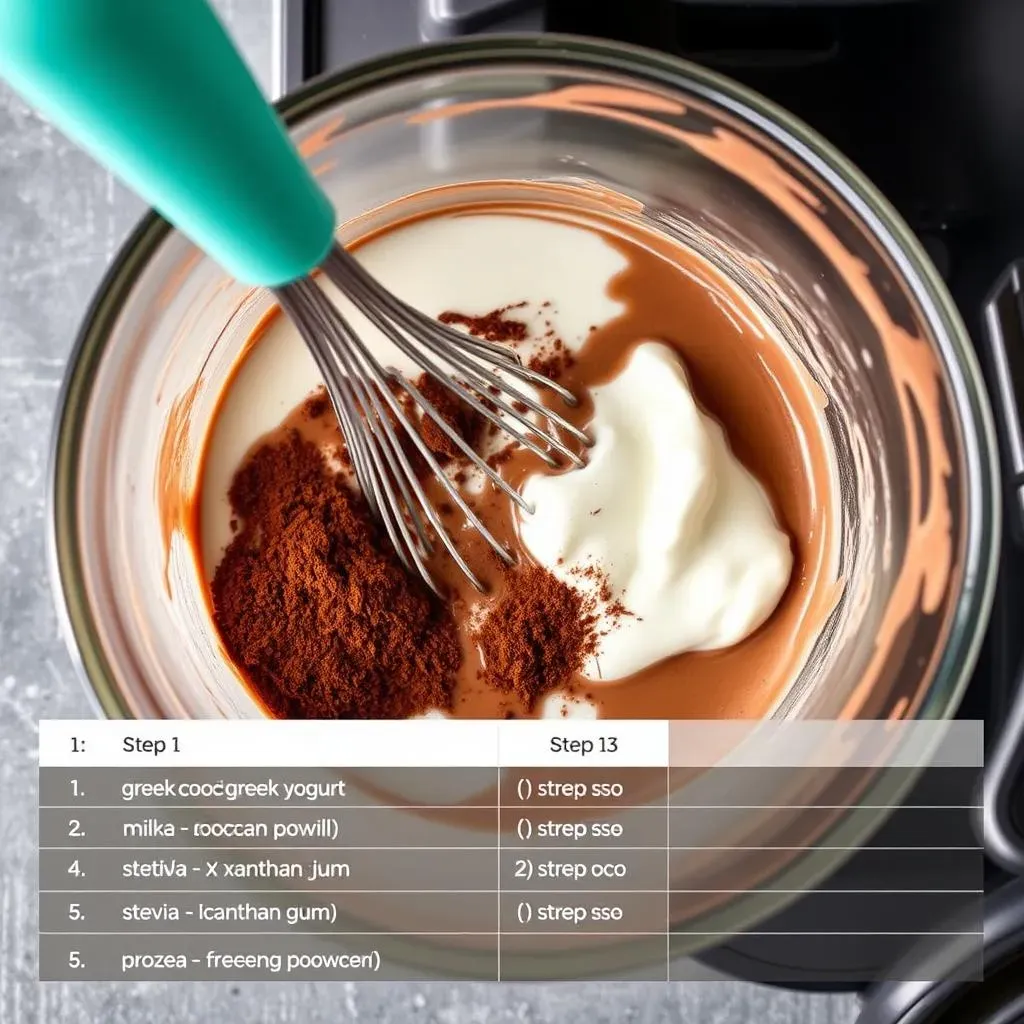
now for the fun part – actually making the ice cream! If you've never used an ice cream maker before, don't worry, it’s easier than you think. First things first, make sure your ice cream maker's bowl is properly frozen. Most require about 24 hours in the freezer, so plan ahead. Once it's ready, grab your ingredients. In a medium bowl, whisk together the Greek yogurt, 2% milk, and unsweetened cocoa powder until everything is smooth. Then, stir in the liquid stevia, start with a little and taste, adding more until it's just the right level of sweetness for you. Finally, whisk in the xanthan gum, this is our "glue" to keep the ice cream together. Now, pour your mixture into the frozen bowl of your ice cream maker. Turn it on and let it churn away, usually for about 20-25 minutes, or until it reaches a soft-serve consistency. You’ll see it thicken up right before your eyes. It’s like magic, but it’s science!
Once it’s done churning, you'll have a soft, creamy, chocolatey treat. Now, you can totally dig in right away if you can't wait. But, if you prefer a firmer texture, you can transfer it to a freezer-safe container and pop it into the freezer for a couple of hours. This will give it a more traditional ice cream consistency. I usually go for this option, it's worth the extra wait. Remember, homemade ice cream is best eaten the day it's made, but it can last in the freezer for about two months, if you can manage not to eat it all first. If you are using an ice cream maker, it is important to follow the instructions of your model. This will ensure that the ice cream is made properly and that the machine works correctly. You can use the same method for other low-fat ice cream maker recipes.
Step | Action |
|---|---|
1 | Freeze the ice cream maker bowl for 24 hours. |
2 | Whisk together yogurt, milk, cocoa, and stevia. |
3 | Add xanthan gum and whisk until smooth. |
4 | Pour mixture into frozen ice cream maker bowl. |
5 | Churn for 20-25 minutes. |
6 | Freeze for firmer consistency (optional). |
Storing and Serving Your Low Fat Ice Cream Creations
Storing and Serving Your Low Fat Ice Cream Creations
Freezing for Later: Tips and Tricks
So, you've made your glorious low-fat chocolate ice cream, and maybe, just maybe, you haven't eaten it all in one go. Now, let's talk about storing it properly. The key here is to prevent freezer burn and maintain that creamy texture. First, transfer your ice cream to an airtight container. I like to use those reusable plastic containers with a tight-fitting lid. Avoid leaving too much empty space in the container, as this can lead to ice crystals forming. You can also press a piece of parchment paper directly onto the surface of the ice cream before sealing the container. This adds an extra layer of protection against freezer burn. And remember, while this homemade ice cream is awesome, it will never be the same after a long time in the freezer. It will last up to 2 months, but it is best if you eat it within a week or two.
Another tip? Don't refreeze melted ice cream. Once it's thawed, the texture will change and it won't be as creamy. Instead, try to portion out what you think you'll eat and leave the rest in the freezer. If you want to get fancy, you can also use small individual serving containers. This way you can grab a portion whenever you want, without defrosting the whole batch. I've tried it all, and believe me, these small actions can make a big difference. It will keep your ice cream tasting great for longer. You can also use these same tips for other low fat ice cream maker recipes.
Serving Suggestions and Fun Variations
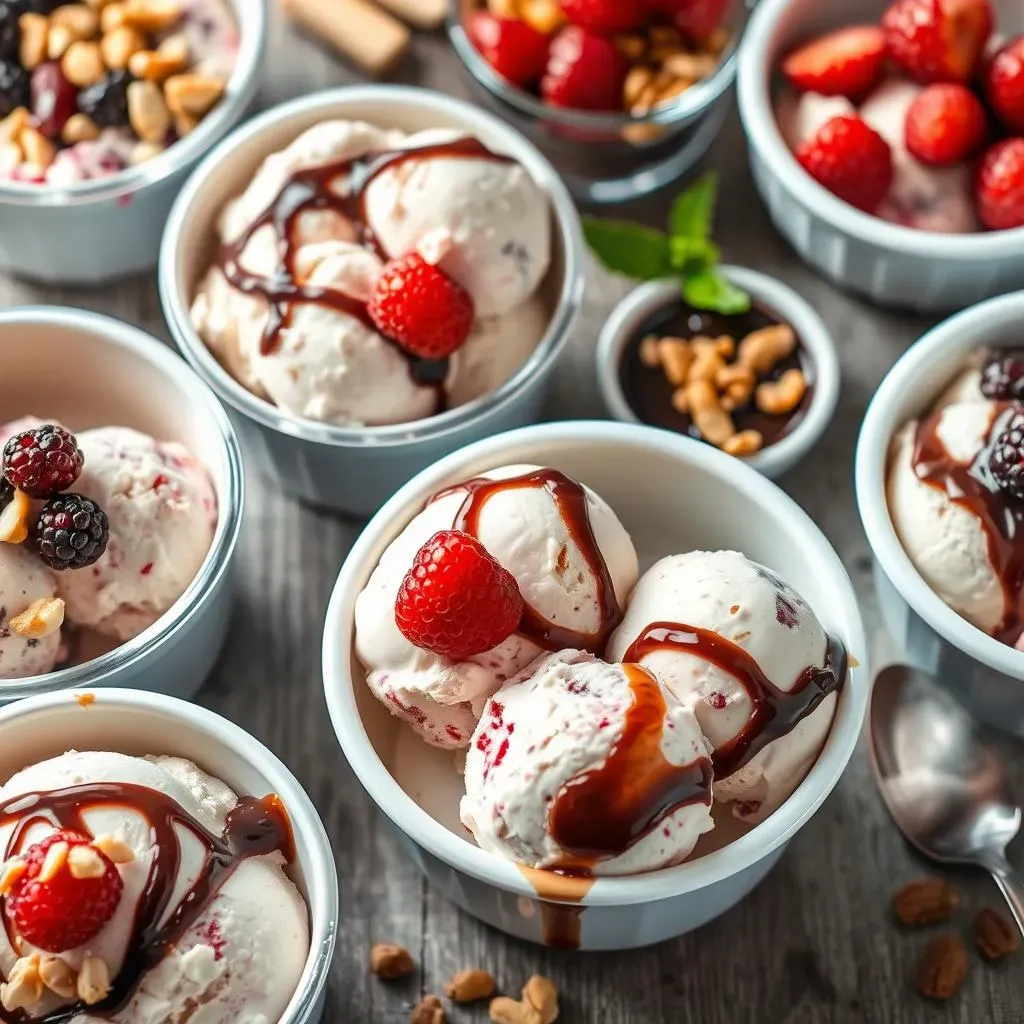
Alright, your low-fat ice cream is ready, now let's think about how to make it even more awesome. First, let it sit at room temperature for a couple of minutes before serving. This will soften it slightly, making it easier to scoop. When it comes to serving, the sky's the limit. You can keep it simple with just a scoop in a bowl, or you can get creative. I love topping mine with fresh berries for a pop of color and flavor. A sprinkle of chopped nuts adds a nice crunch. And if you're feeling extra decadent, a drizzle of sugar-free chocolate sauce takes it to the next level. You can also add a sprinkle of sea salt for a sweet and salty treat.
But why stop there? Let's talk about variations! Once you have the basic chocolate base down, you can experiment with different flavors. You can try adding a teaspoon of peppermint extract for a minty twist. Or, mix in some sugar-free peanut butter for a chocolate peanut butter dream. You can also add some chopped sugar-free chocolate chips for extra chocolate chunks. The possibilities are endless! This is where you can really make this recipe your own. Don't be afraid to get creative and have fun with it. And if you find a great variation, don't forget to share it with me in the comments!
Serving Ideas | Variation Ideas |
|---|---|
Fresh Berries | Peppermint Extract |
Chopped Nuts | Sugar-Free Peanut Butter |
Sugar-Free Chocolate Sauce | Sugar-Free Chocolate Chips |
The Sweet Finale: Enjoying Your Homemade Low Fat Ice Cream
So there you have it, a delicious journey into the world of homemade, low-fat ice cream. From a baseball game craving to a freezer full of guilt-free goodness, it’s been quite the ride. This recipe isn't just about cutting calories; it's about proving you can have your cake, or in this case, your ice cream, and eat it too. The best part? You get to control every ingredient, making it perfect for your taste and dietary needs. Don't be shy about experimenting with flavors, and remember, the best ice cream is the one you make with love, and maybe a little bit of xanthan gum. Now, go grab a spoon and enjoy the fruits of your labor. And, as always, I love hearing from you, so don't forget to share your ice cream adventures in the comments!