
Table of Contents
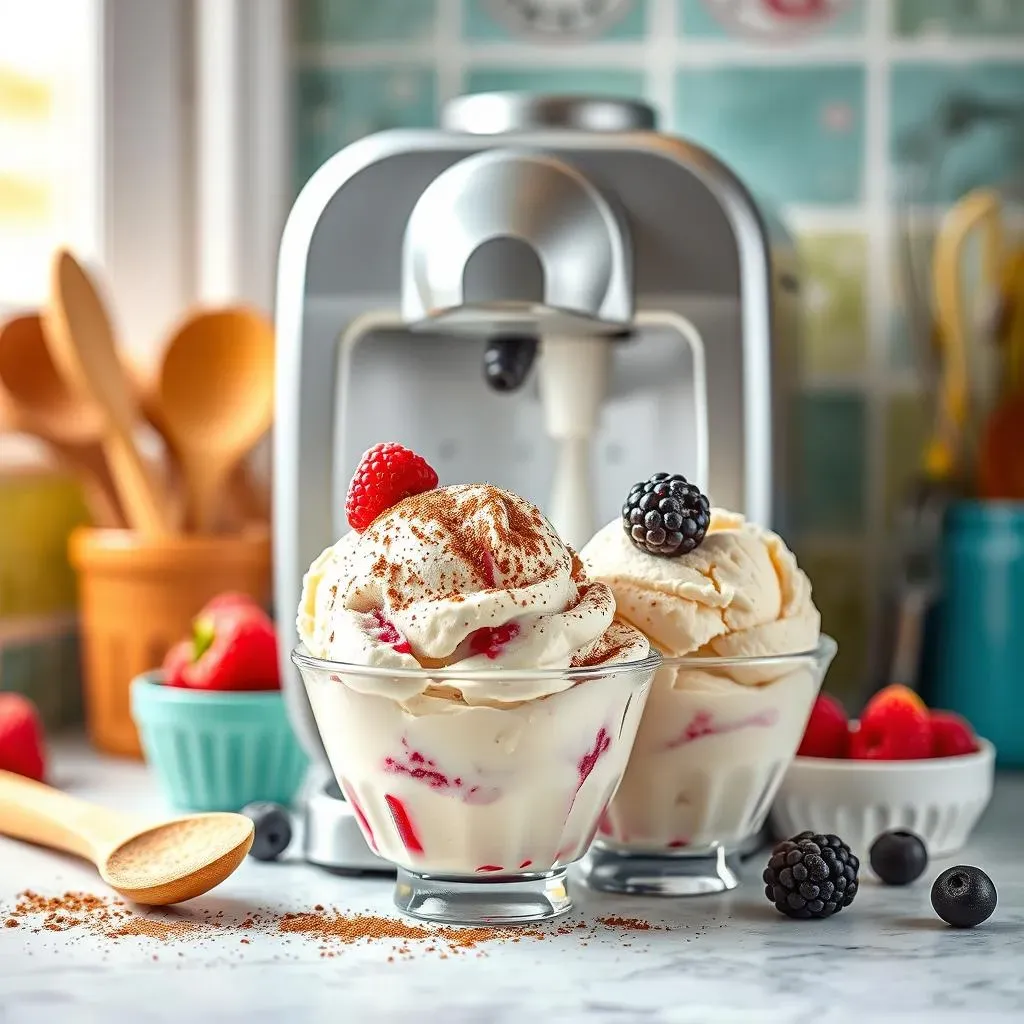
Ever dreamt of indulging in creamy, dreamy ice cream without the guilt? You're not alone! Many of us crave that sweet, cold treat, but worry about the extra calories. The good news is, you can have your ice cream and eat it too, thanks to the magic of homemade low-fat ice cream. This article is your ultimate guide to creating delicious, healthy versions of your favorite frozen dessert right in your own kitchen, using your trusty ice cream machine. We'll explore why choosing low-fat options is a smart move, then dive into the science behind making it work. We'll uncover the key ingredients that will make your ice cream sing, and provide a clear step-by-step process for using your machine. We'll also tackle common problems and offer solutions, before moving on to fun flavor variations, and how best to serve and store your masterpiece. Get ready to transform your ice cream game with our low fat ice cream recipe for ice cream machine, and say hello to guilt-free indulgence!
Why Choose LowFat Ice Cream?

Why Choose LowFat Ice Cream?
The Healthier Indulgence
Let’s be real, who doesn’t love ice cream? It’s the perfect treat on a hot day or a comforting dessert after a long one. But sometimes, that creamy goodness comes with a side of guilt. That's where low-fat ice cream steps in, it is like having your cake and eating it too, but, you know, with ice cream. By choosing a low-fat version, you can enjoy your favorite flavors without the heavy dose of saturated fats and extra calories that come with traditional recipes. It’s a simple swap that can make a big difference, especially if you're watching your calorie intake or trying to maintain a healthy lifestyle. It's not about deprivation; it's about making smarter choices that allow you to enjoy life's little pleasures.
Plus, homemade low-fat ice cream often lets you control the ingredients. You get to decide exactly what goes into your treat, avoiding the long list of artificial additives and preservatives that can be found in many store-bought brands. This means you can create a dessert that not only satisfies your sweet tooth but also aligns with your health goals. It's all about finding that sweet spot where delicious and nutritious meet, and low-fat ice cream can be a great way to get there. It's a win-win, right?
The Taste and Texture
Now, some might worry that low-fat equals low-flavor, but that's absolutely not the case! With the right recipe and technique, you can create low-fat ice cream that is just as creamy and satisfying as its full-fat counterpart. The key is understanding the role of each ingredient and how to balance them to achieve the perfect consistency. We’re not aiming for icy, bland desserts here. We want that smooth, melt-in-your-mouth texture that makes ice cream so irresistible. It's about being clever with your ingredients and processes, not about sacrificing taste.
Think of it like this: you're not removing the fun, just tweaking the recipe a bit. You're still getting that cold, refreshing treat, but with a lighter feel and less guilt. The best part is that you can customize it to your liking, experimenting with different flavors, textures, and add-ins. Low-fat ice cream isn't a compromise; it's an opportunity to get creative and discover new favorites. It's about enjoying the journey of making something delicious and better for you.
Benefit | Description |
|---|---|
Reduced Calories | Lower in calories compared to traditional ice cream, aiding weight management. |
Lower Fat Content | Significantly less saturated fat, promoting heart health. |
Control over Ingredients | Avoid artificial additives and preservatives, making it healthier. |
Customizable | Allows for creative flavor combinations and ingredient choices. |
Guilt-Free Indulgence | Enjoy delicious ice cream without the worry of excessive calorie intake. |
The Science Behind LowFat Ice Cream and Your Machine
The Science Behind LowFat Ice Cream and Your Machine
The Role of Fat in Traditional Ice Cream
let's get a bit nerdy for a moment. Traditional ice cream is all about fat—specifically, the fat from heavy cream. This fat is what gives ice cream its rich, smooth texture. Fat molecules prevent large ice crystals from forming, which is why full-fat ice cream is so creamy and not grainy. When you churn the ice cream base in your machine, you are incorporating air and breaking down those fat globules further, creating that perfect, velvety consistency we all love. The higher the fat content, the more luxurious and less icy the final product usually is. Think of it as the foundation of a very delicious building.
However, when we aim for a low-fat version, we are essentially changing the rules of the game. We're taking out the key player that provides that texture. So, we need to get a bit clever and find ways to mimic the effects of fat without using as much of it. It’s a bit like trying to build that same building, but with a different material. It’s totally achievable, just requires a slightly different approach. It’s all about understanding what fat does and finding ways to achieve the same result, but without the fat.
The Challenge of Low-Fat Ice Cream
The main challenge with low-fat ice cream is preventing the formation of large ice crystals. Without the fat to keep things smooth, water in the ice cream base tends to freeze into bigger, icier chunks. This can lead to a grainy, less pleasant texture. That's why low-fat ice cream can sometimes feel icy and not as creamy as traditional versions. It's like trying to make a smooth smoothie with too much ice, you get those little crunchy bits instead of a velvety drink. We want to avoid that in our ice cream.
Another hurdle is achieving that rich, full-bodied flavor that fat provides. Fat is a flavor carrier, meaning it enhances the taste of other ingredients. Without it, the flavors can sometimes taste flat or muted. So, we need to find ways to boost the flavor and create a satisfying taste experience, even with less fat. It’s about being a smart chef and understanding how to make all the flavors work together, without relying solely on fat.
Science Concept | Impact on Ice Cream |
|---|---|
Fat Content | Provides richness, smoothness, and prevents large ice crystals |
Ice Crystal Formation | Large crystals lead to grainy texture, small crystals result in creamy texture |
Flavor Carrier | Fat enhances and intensifies the flavor of other ingredients |
Air Incorporation | Churning introduces air, creating a light and fluffy texture |
How Your Ice Cream Machine Helps
This is where your ice cream machine comes to the rescue! The churning action of the machine is crucial. It not only incorporates air into the mixture, which makes the ice cream lighter and fluffier, but it also breaks down those ice crystals as they form. This helps to keep them small and gives you a smoother end product. It’s like having a mini-ice-cream-making-scientist right in your kitchen. It’s constantly working to make sure your ice cream is perfect.
The speed at which the ice cream base freezes also plays a role. The quicker it freezes, the smaller the ice crystals will be. Ice cream machines are designed to rapidly cool and churn the mixture, which is a big advantage when making low-fat ice cream. It ensures that we can achieve a creamy texture even with less fat. So, your machine isn't just a tool, it is your secret weapon in creating delicious low-fat ice cream. It’s like having a personal assistant that knows exactly how to make your ice cream dreams a reality.
Essential Ingredients for LowFat Ice Cream Success
Essential Ingredients for LowFat Ice Cream Success
so we've talked about why low-fat ice cream is awesome and the science behind it. Now, let's get to the nitty-gritty: the ingredients! This is where the magic truly happens. You can't just throw any old stuff into your ice cream machine and expect a creamy masterpiece. We need to be strategic about what we’re using. It's like having a toolbox for building that perfect ice cream, and each tool (or ingredient) has a specific job. Think of it as assembling a team of superheroes, each with its own special power to combat ice crystals and deliver on flavor. This is how we'll get that perfect low-fat ice cream texture and taste we're after.
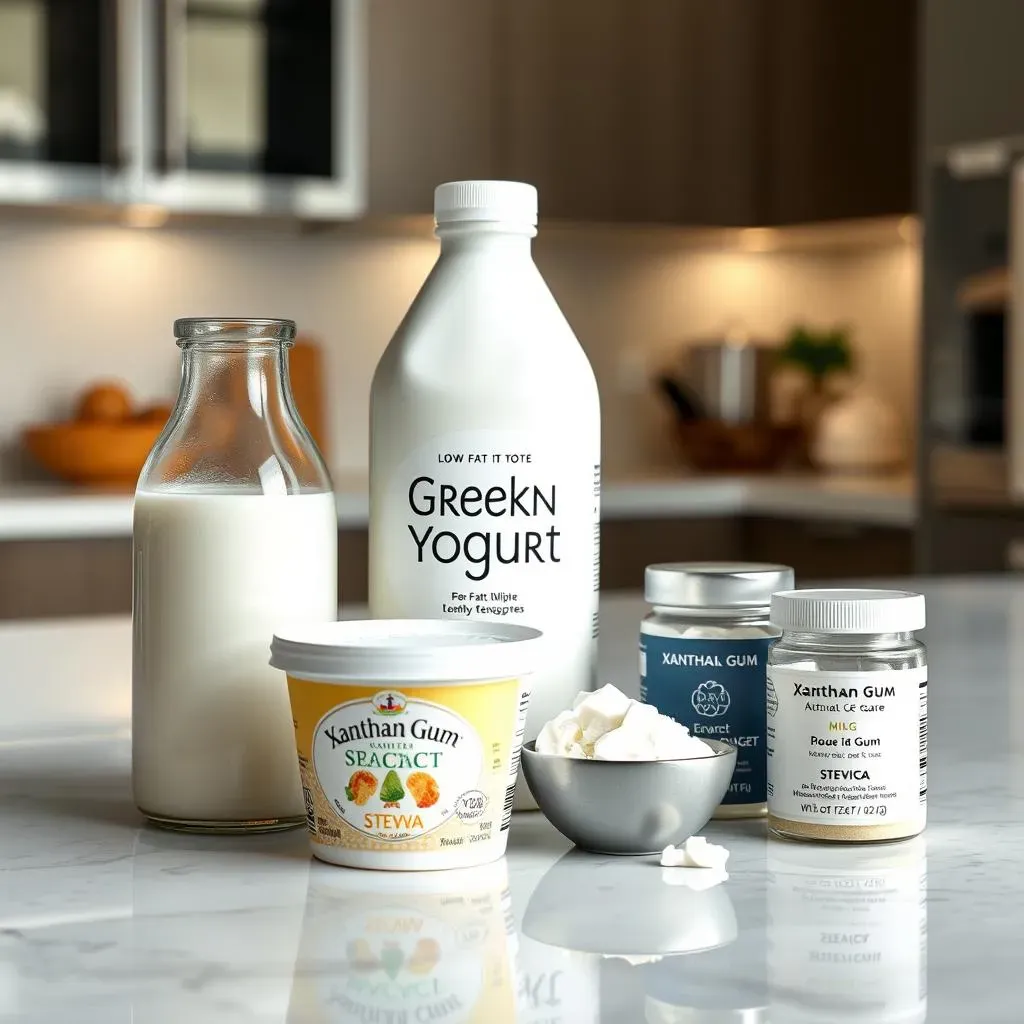
First off, we need a good base. This is where we’re going to move away from the traditional heavy cream. Instead, we're going for ingredients that are lower in fat but still provide that creamy texture. Think milk, but not just any milk. We're talking about 2% milk or even skim milk. These are lighter options, but they're not going to be enough on their own. That's why we'll be adding some other key players to the mix. We're also going to explore some non-dairy options for our friends who are lactose-free. We're not leaving anyone behind in our quest for the perfect low-fat ice cream. So, let’s dive into the specifics of what we need!
Ingredient | Role | Why It's Important |
|---|---|---|
2% Milk or Skim Milk | Primary liquid base | Lower in fat, provides the necessary liquid for the ice cream |
Greek Yogurt | Adds creaminess and protein | Enhances texture and provides a boost of protein to the ice cream |
Sweetener (Stevia, Erythritol) | Adds sweetness | Low-calorie options that don't affect blood sugar levels |
Flavor Extracts (Vanilla, Chocolate) | Enhances flavor | Provides the desired flavor profile without adding extra fat or calories |
Xanthan Gum | Stabilizer and thickener | Helps prevent ice crystals and improves texture |
Next up, we need something to give our ice cream that creamy, luxurious feel. This is where Greek yogurt comes into play. It's a fantastic addition because it's low in fat but high in protein, which helps create a smoother texture. It's like the secret weapon in our arsenal. Greek yogurt also adds a slight tang, which can complement the sweetness of the ice cream. It's a win-win, adding both texture and flavor without adding a lot of fat. It's a bit like adding a velvet touch to our ice cream base.
Now, let's talk about sweetness. We need to add some sweetness, but we don’t want to rely on traditional sugar, which is high in calories and can cause blood sugar spikes. Instead, we’re going to use low-calorie sweeteners like stevia or erythritol. These are natural sweeteners that provide the sweetness we crave without the extra baggage. They're like the superheroes of the sweetener world, saving us from extra calories and sugar rushes. It's all about making smart choices that let us enjoy our ice cream without the guilt. So, with the base, the creaminess and the sweetness covered, we are almost there, let's keep going.
StepbyStep: Making LowFat Ice Cream in Your Machine
StepbyStep: Making LowFat Ice Cream in Your Machine
Preparing Your Ice Cream Base
Alright, let's get down to business! The first step to making incredible low-fat ice cream is preparing your base. It’s like laying the foundation of a house, you want to make sure it's solid. In a medium-sized bowl, whisk together your 2% or skim milk, Greek yogurt, and your chosen sweetener – whether that’s stevia, erythritol, or a combination. Make sure everything is well combined. You want a smooth, even mixture. This is where you're blending all the elements to create the perfect canvas for your ice cream masterpiece. It’s like mixing your paints before you start on a canvas, you want everything to blend perfectly.
Next, add your flavor extracts. This is where you can get creative. Vanilla is always a classic, but chocolate, almond, or even a touch of peppermint can take your ice cream to the next level. Then, add a pinch of xanthan gum. This is our secret ingredient that helps to prevent those pesky ice crystals from forming. Whisk everything together thoroughly. You want to make sure there are no clumps. If you have a hand blender, you can use it to make the mixture extra smooth. Now, let the mixture chill in the fridge for at least 30 minutes. This will help the flavors meld together and will ensure that your base is nice and cold before it goes into your machine. It’s like letting a good marinade work its magic before cooking.
Churning and Freezing
Now that your base is chilled, it's time for the fun part – churning! Get your ice cream maker ready. Make sure that the freezer bowl is completely frozen, this is very important. Pour your chilled base into the ice cream maker. Follow the instructions that came with your specific machine. Usually, this involves turning the machine on and letting it churn for about 20-30 minutes. You'll see the mixture slowly transforming from a liquid into a soft, creamy ice cream. It's like watching a caterpillar turn into a butterfly, so cool!. The churning process is incorporating air and breaking down those ice crystals, making your low-fat ice cream as smooth as it can be. This is where the magic really happens.
Once your ice cream reaches a soft-serve consistency, it's ready. You can enjoy it as it is, or you can transfer it to a freezer-safe container and freeze it for a few more hours to achieve a firmer texture. If you're adding any mix-ins, like chocolate chips or fruit, do it during the last few minutes of churning. Be careful when adding the mix-ins, do not add it all at once, add them slowly. This will ensure that they are evenly distributed throughout the ice cream. This is the moment where your ice cream becomes truly your own creation. Now, you've just made low-fat ice cream with your machine. It's time to enjoy your work!
Step | Action | Why It's Important |
|---|---|---|
1 | Whisk together milk, yogurt, sweetener, and extracts | Creates the base and incorporates flavors |
2 | Add xanthan gum | Prevents ice crystals and improves texture |
3 | Chill the mixture for 30 minutes | Allows flavors to meld and ensures a cold base |
4 | Churn in ice cream maker for 20-30 minutes | Introduces air and breaks down ice crystals |
5 | Freeze for a few hours for a firmer texture | Hardens the ice cream for easier serving |
Tips for Perfect LowFat Ice Cream Every Time
Tips for Perfect LowFat Ice Cream Every Time
Chill Out
so you've got the basics down, but let's talk about some ninja-level tips to really nail that low-fat ice cream. First and foremost, make sure everything is super cold. I mean, seriously cold. Your ice cream base should be chilled in the fridge for at least 30 minutes, but longer is better. Think of it like chilling your drinks before a party; nobody wants warm soda! The colder the base, the less time it takes to freeze in the machine, which means smaller ice crystals and a smoother texture. It's like giving your ice cream a head start in the race for creaminess. Also, make sure your ice cream machine's bowl is fully frozen. This step is crucial, so don't skip it. It's like making sure the oven is preheated before baking a cake.
Another key tip is to avoid over-churning. Once your ice cream reaches that soft-serve consistency, stop the machine. Over-churning can cause the ice cream to become too dense, or even worse, start to melt. It's like mixing a cake batter too much; you'll end up with a tough, not-so-delicious result. Plus, if you're planning on adding mix-ins, do it gently in the last few minutes of churning. Don’t just dump a whole bag of chocolate chips in, or you might end up with a lumpy mess. It's about being gentle and letting the mix-ins get evenly distributed. It’s like adding sprinkles to a cupcake, you want them to be spread out, not clumped together.
The Xanthan Gum Secret
Now, let's talk about xanthan gum. This is your secret weapon for achieving that smooth, creamy texture in low-fat ice cream. It acts as a stabilizer and thickener, preventing those pesky ice crystals from forming. But, and this is important, don't go overboard! Too much xanthan gum can result in a gummy or slimy texture, and nobody wants that. It’s like adding too much glue to a project, it gets all sticky and weird. A pinch is all you need. Start with a small amount, like 1/4 teaspoon for a batch of ice cream, and adjust from there if necessary. It’s all about finding that perfect balance.
Also, when you are mixing all ingredients, make sure that the xanthan gum is incorporated well, otherwise, it might clump together. If you have a hand blender, this is a good time to use it. It helps to create a smooth base. Finally, don't be afraid to experiment! Ice cream is a canvas, and you can play with different flavors, add-ins, and sweeteners to create your perfect low-fat treat. It’s all about having fun in the kitchen, and discovering your favorite ice cream flavor. It’s like being a mad scientist, but with delicious results.
Tip | Why It Works |
|---|---|
Chill everything thoroughly | Ensures smaller ice crystals and a smoother texture |
Don't over-churn | Prevents a dense or melted result |
Use xanthan gum sparingly | Provides texture without becoming gummy |
Incorporate mix-ins gently | Ensures even distribution |
Experiment with flavors | Discover your perfect low-fat ice cream |
Troubleshooting Your LowFat Ice Cream Machine Adventures
Troubleshooting Your LowFat Ice Cream Machine Adventures
My Ice Cream is Icy!
so you’ve followed the recipe, you’ve chilled everything, and you’ve churned your heart out, but your ice cream is still icy? Don’t panic, it happens! The most common culprit is that the base wasn't cold enough before churning. It's like trying to start a fire with damp wood, it just won't work. Make sure your base is thoroughly chilled for at least 30 minutes, or even longer, before it goes into the machine. Another reason for icy ice cream is that the ice cream maker bowl wasn't fully frozen. If the bowl isn't cold enough, the ice cream won't freeze quickly enough, which leads to those pesky ice crystals. So, double-check that your freezer bowl is completely frozen solid before you begin. It’s like making sure your car has enough gas before a long trip, you need to be prepared.
Another thing to check is the amount of sweetener you’re using. If you’re using a sugar substitute like stevia or erythritol, make sure you’re using the right amount. Too little sweetener can affect the freezing point of the mixture and lead to an icy texture. It's a delicate balance, and getting it right is key to smooth ice cream. It’s like following a recipe, too little or too much of one ingredient can throw the whole thing off. Also, be mindful of the xanthan gum, if you use too little, it will not be enough to prevent the ice crystal, but if you use to much, it will get gummy. Lastly, if you live in a very warm environment, you might also need to make sure that your ice cream machine is in a cold place, as the heat might affect the freezing process. It’s all about creating the perfect conditions for your ice cream to shine. So, don't give up! Let's see what's causing that icy problem.
Problem | Possible Cause | Solution |
|---|---|---|
Icy Texture | Base not cold enough | Chill base for at least 30 minutes or longer |
Icy Texture | Ice cream maker bowl not fully frozen | Ensure bowl is completely frozen before use |
Icy Texture | Too little sweetener | Adjust sweetener to the correct amount |
Icy Texture | Not enough xanthan gum | Add a little bit more, but be mindful of not overdoing it. |
Icy Texture | Too warm environment | Make sure your ice cream machine is in a cold place. |
My Ice Cream is Too Soft!
so maybe your ice cream isn’t icy, but it’s too soft, like a melted puddle? This is another common issue, and it usually means that your mixture didn't churn long enough, or that you used too much liquid. It’s like making a smoothie that’s too watery, you need more of the solid ingredients to thicken it up. If your ice cream is still liquid after 20-30 minutes of churning, it probably needs more time. Make sure you are following the instructions of your ice cream maker, as each machine might have a different time. Keep churning until it reaches a soft-serve consistency, but don't overdo it! Over-churning can also cause the ice cream to become too soft, or worse, start to melt. It’s like trying to get a cake perfectly baked; you have to watch it closely and take it out at just the right moment.
Also, check your recipe. If you've added too much milk or liquid, this can affect the texture and make it too soft. When making low fat ice cream, it's very important to get the ratio of liquid and solid just right. It's like a science experiment, you need to be precise with your measurements. If your recipe is correct, and you still have this problem, make sure that the room where you are making the ice cream is not too hot, and that the ice cream maker is working properly. Finally, remember that low-fat ice cream will never be as firm as traditional full-fat ice cream. It is naturally softer, so don’t expect it to get super hard. It's like comparing apples and oranges; they're both fruits, but they have very different textures and consistencies. It’s all about managing expectations and understanding the nature of low-fat ice cream.
My Ice Cream is Gummy or Slimy!
So, you've managed to avoid the icy texture, and your ice cream isn't a melted mess, but now it's gummy or slimy? This is usually a sign that you've added too much xanthan gum. Remember, a little goes a long way! Xanthan gum is a powerful thickener, and using too much of it can give your ice cream a rather unpleasant texture. It’s like adding too much cornstarch to a sauce; it gets all thick and gloopy. If you notice a gummy texture, reduce the amount of xanthan gum you’re using in your next batch. It’s all about finding that sweet spot where you get the benefits of the gum without the negative side effects.
Also, make sure that you’re mixing the xanthan gum in well. If you just dump it in and don’t mix it properly, it can clump together and result in a gummy texture. Using a hand blender can help to achieve a smooth base. It’s like making sure your paint is well mixed before you start painting, you want it to be smooth and even. Finally, if you are using a sweetener that is not well mixed, it can also affect the ice cream texture. So, make sure that your sweetener is well mixed too. The key is to be patient, and to take notes of what you are doing, so that you can adjust the recipe as you go. It’s all part of the fun of experimenting in the kitchen. So, next time, be mindful of the xanthan gum and sweetener and you'll be on your way to smooth, creamy low-fat ice cream!
Flavor Variations for Your LowFat Ice Cream
Flavor Variations for Your LowFat Ice Cream
Classic Combinations
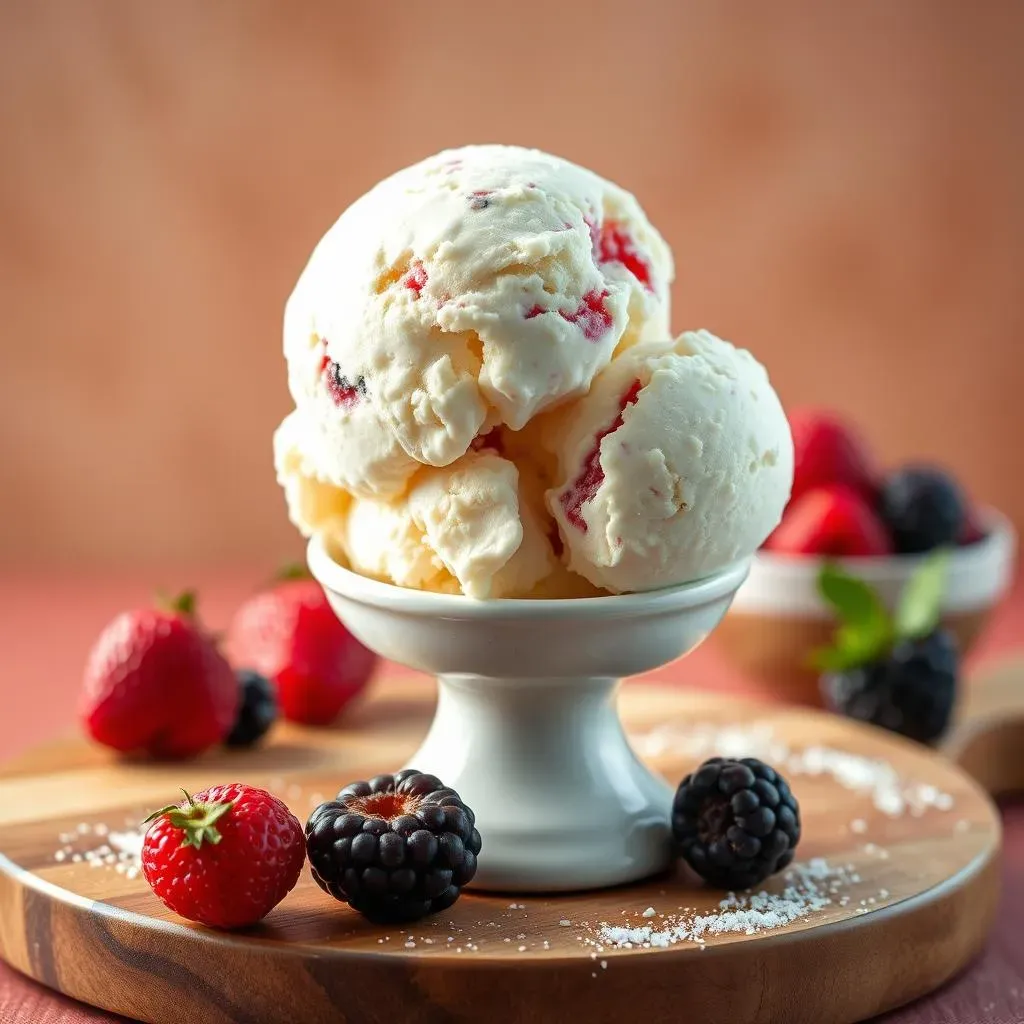
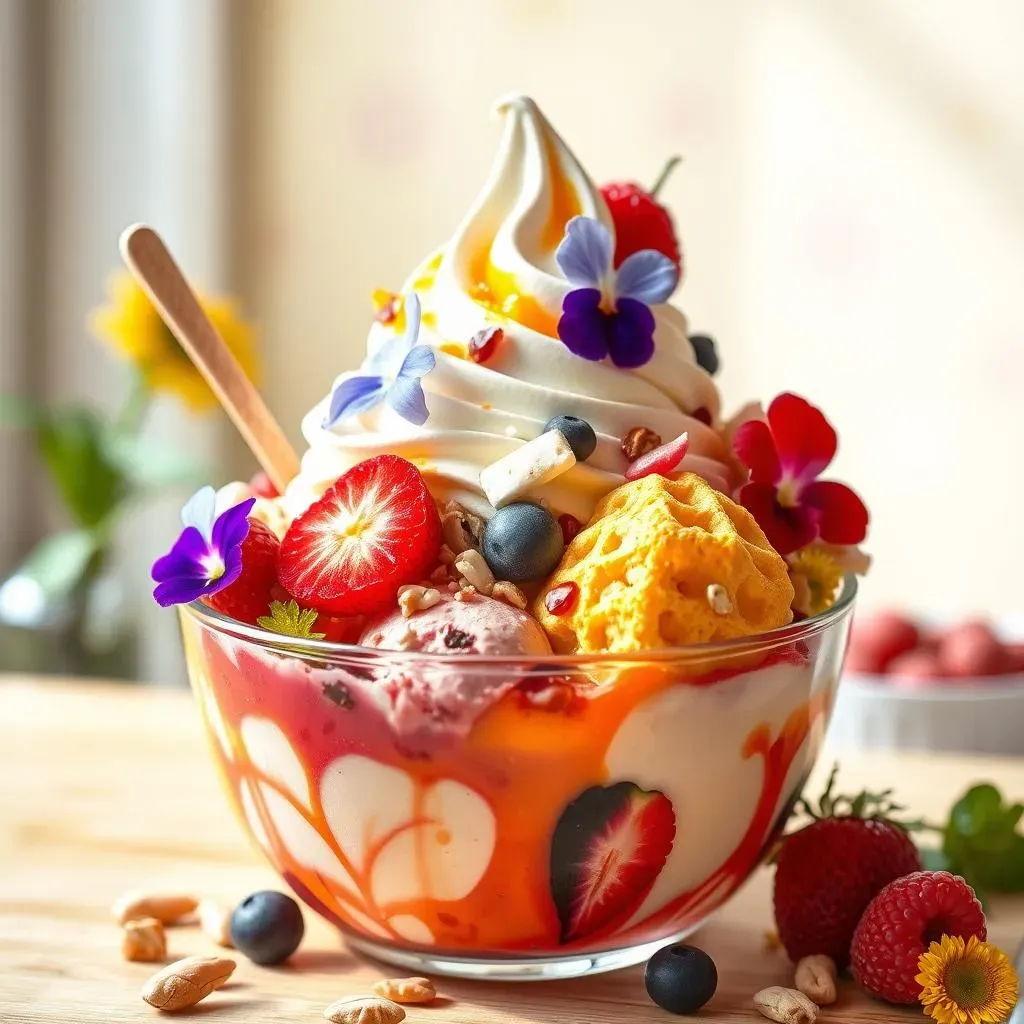
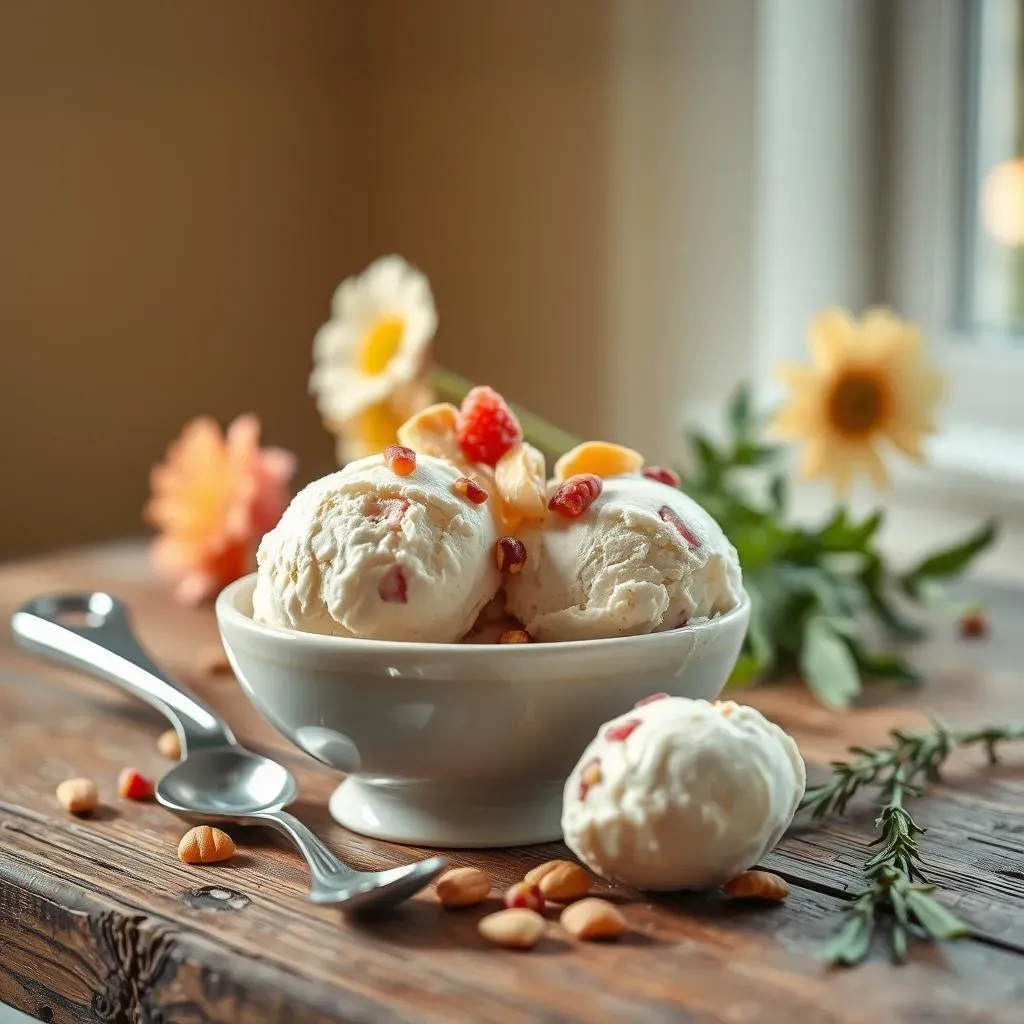
so you've mastered the basic low-fat ice cream recipe, now let’s get to the fun part: flavors! When it comes to ice cream, sometimes the classics are the best. Think about a rich, decadent chocolate low-fat ice cream with a hint of vanilla. You can achieve this by adding a tablespoon or two of unsweetened cocoa powder to your base, along with a dash of vanilla extract. It's like a warm hug on a cold day. Or how about a refreshing strawberry low-fat ice cream? Simply puree some fresh or frozen strawberries and swirl them into the base before churning. It’s like a burst of summer in every spoonful. These are the flavors that will never go out of style, it’s like your favorite pair of jeans, they always fit just right.
Another great classic is mint chocolate chip. Add a few drops of peppermint extract and some sugar-free chocolate chips during the last few minutes of churning. It's a refreshing and satisfying combo that always hits the spot. Remember, you can always adjust the amount of flavoring to suit your taste. It’s your ice cream, you are the boss. Don’t be afraid to experiment and see what you like best. It’s like being a DJ, you have all the tools, now it is time to create something great. And if you're feeling extra fancy, try a simple vanilla base with a swirl of caramel sauce – just make sure it's a low-sugar version. The possibilities are endless, and it's all about creating something that you truly enjoy.
Adventurous Twists
Ready to step outside the box? Let’s get a little adventurous! How about a low-fat coffee ice cream? Add a tablespoon of instant coffee or a shot of espresso to your base for a caffeine kick. It’s like your morning coffee, but in ice cream form. Or if you’re feeling a bit exotic, try a coconut low-fat ice cream, using coconut extract and some unsweetened shredded coconut. It is like being in a tropical paradise. And for those who like a little spice, a pinch of cinnamon or nutmeg can add a warm, cozy touch. It’s like adding a little magic to your ice cream.
Don’t be afraid to experiment with different fruit combinations. Mango and lime, raspberry and lemon, or even a combination of berries can create vibrant and refreshing flavors. The key is to use high-quality ingredients and to not be afraid to try new things. It's like being an artist, you can mix and match colors to create your own masterpiece. You can also experiment with different extracts, like almond, pistachio, or even rose water. And you can go nuts with the mix-ins: chopped nuts, seeds, or even a sprinkle of sea salt can add texture and complexity. It’s all about creating a flavor profile that excites your taste buds. It’s your ice cream adventure, so have fun with it!
Flavor Combination | Description |
|---|---|
Chocolate Vanilla | Rich chocolate with a hint of vanilla |
Strawberry Swirl | Fresh strawberry puree blended into the base |
Mint Chocolate Chip | Refreshing mint with sugar-free chocolate chips |
Coffee Kick | Bold coffee flavor with a hint of caffeine |
Tropical Coconut | Exotic coconut flavor with shredded coconut |
Tips for Flavor Success
Before we wrap up, let’s talk about a few tips to ensure your flavor experiments are a success. First, always start with a clean base. This means making sure that you’re following the basic low-fat ice cream recipe and that you are not adding too much flavoring. It’s like having a blank canvas, you want to make sure it’s ready before you start painting. And remember that less is often more. Don’t overdo it with the extracts or other flavorings. You can always add more, but you can’t take it away. It’s like adding salt to a dish, start with a little, and add more to taste. Also, when adding mix-ins, make sure that they are chopped into small pieces. This will ensure that they are evenly distributed throughout the ice cream.
Finally, don’t be afraid to get feedback! Share your creations with friends and family and ask for their opinions. It’s like a test run, you want to make sure that your ice cream is a hit. This is a great way to discover new flavor combinations that you might not have thought of on your own. And remember, the most important thing is to have fun! Ice cream making is a creative process, so relax, experiment, and enjoy the journey. It's like being a chef, you want to create something that everyone loves. So, go out there and make some delicious low-fat ice cream!
Serving and Storing Your Homemade LowFat Ice Cream
Serving and Storing Your Homemade LowFat Ice Cream
Serving Your Creation
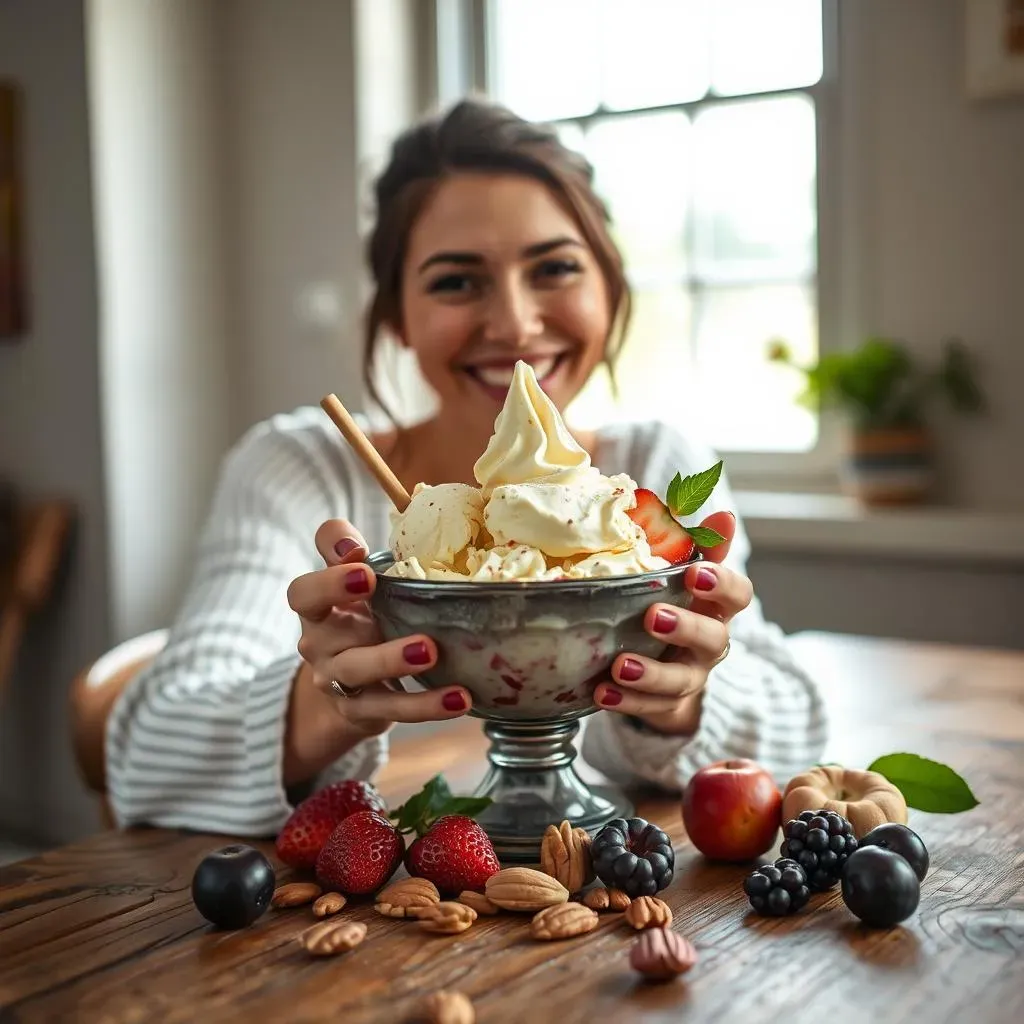
so you've made this amazing low-fat ice cream, and now it's time to enjoy it! When serving, remember that homemade low-fat ice cream tends to be a bit softer than store-bought versions, so you'll want to scoop it out gently. It’s like handling a delicate flower, you don't want to crush it. If it's too soft to scoop, let it sit in the freezer for a little while longer to firm up. It's like waiting for the perfect moment to take a photo; you need to be patient and wait for the right conditions. Use an ice cream scoop that has been dipped in warm water for easier scooping. It’s like having the right tool for the job; it makes everything smoother and easier. And remember, presentation matters! Serve your ice cream in pretty bowls or cones, and top it with some fresh fruit, a sprinkle of nuts, or a drizzle of sugar-free chocolate syrup. It’s like plating a gourmet meal; you want it to look as good as it tastes.
Don't be afraid to get creative with your serving ideas! You can make ice cream sandwiches with low-sugar cookies, create a parfait with layers of ice cream, fruit, and granola, or even make a low-fat milkshake by blending your ice cream with a little bit of milk. It's like being a master chef, you can create all sorts of culinary masterpieces with your ice cream. And if you're having a party, set up an ice cream sundae bar with all sorts of toppings for your guests to customize their own creations. It’s like having your own ice cream parlor at home! The key is to have fun and to enjoy the fruits (or should I say ice cream?) of your labor. So, grab a spoon and dig in!
Storing for Later
Now, what if you've made a big batch of low-fat ice cream and you want to save some for later? Proper storage is key to maintaining its texture and flavor. You’ll want to transfer your ice cream to a freezer-safe container with an airtight lid. This will help prevent freezer burn and keep your ice cream tasting fresh. It's like putting leftovers in the fridge; you want to make sure they're properly sealed to avoid any unwanted flavors or textures. Press a piece of plastic wrap directly onto the surface of the ice cream before putting the lid on. This will help to further prevent ice crystals from forming. It's like giving your ice cream a cozy blanket to keep it safe and sound.
Generally, homemade low-fat ice cream is best consumed within a week or two of making it. While it can last longer in the freezer, the texture might start to deteriorate over time. It’s like a good book; you want to read it while it’s still fresh and exciting. And if you notice any ice crystals forming on the surface of your ice cream, it’s a sign that it might be getting a bit old. Don’t worry though, it’s still safe to eat! You can try to reduce the ice crystals by using an ice cream scoop to break them up. Just remember that homemade ice cream doesn't have the same stabilizers and preservatives as store-bought versions, so it might not last as long. It’s like a delicate flower; it needs a little extra care to stay beautiful. So, store it properly and enjoy it soon!
Serving and Storing Tip | Why It's Important |
|---|---|
Use a warm ice cream scoop | Makes scooping easier and prevents ice cream from sticking |
Serve in pretty bowls or cones | Enhances the enjoyment and presentation |
Store in an airtight container | Prevents freezer burn and maintains freshness |
Press plastic wrap on the surface | Further prevents ice crystals from forming |
Consume within two weeks | Ensures best texture and flavor |
Your Low-Fat Ice Cream Adventure Awaits
Making low-fat ice cream at home with your ice cream machine isn't just about cutting calories; it’s about taking control of what you eat and having fun in the process. From understanding the science to experimenting with flavors, you've now got the knowledge to create delicious frozen treats that fit your lifestyle. Don't be afraid to play around with different ingredients and techniques, and most importantly, enjoy the fruits (or should we say, ice cream?) of your labor. So go ahead, grab your machine and get churning—your next low-fat ice cream masterpiece is waiting to be made!