Table of Contents
Ever wished you could enjoy a big bowl of ice cream without the guilt? I know I have! That's why I got obsessed with making a low fat ice cream recipe without machine, and guess what? It's totally doable and ridiculously tasty. Forget those fancy ice cream makers taking up space in your kitchen. We're going old school, but with a healthy twist. This isn't some watery, sad excuse for ice cream. We're talking creamy, dreamy goodness that’ll make you forget it’s low fat. We'll start by creating a simple base, then we'll explore a bunch of flavor options to spice things up. I’ll show you how to whip up this magic with ingredients you probably already have. So, if you are ready to dive into the world of homemade, guilt-free frozen treats, keep reading! This low fat ice cream recipe without machine is about to become your new best friend. Let's get scooping!
The Magic of NoChurn Low Fat Ice Cream
The Magic of NoChurn Low Fat Ice Cream
so you're probably thinking, "No churn? Low fat? Is that even possible?" I get it, I was skeptical too. But trust me, this isn't some culinary myth. The magic here is all about how we play with the ingredients and the freezing process. We're skipping the churning step, which is usually what makes ice cream smooth, but we're not sacrificing texture. Instead, we're going to use the power of freezing and blending to create something that's surprisingly creamy and satisfying without all the heavy cream. It’s like a science experiment, but the result is a delicious dessert, what can go wrong?
The key is to freeze the base until it's solid, then blend it until it becomes that perfect ice cream consistency. It's similar to making a smoothie, but instead of liquid, you are working with frozen ingredients. I was shocked the first time I tried, it felt like I was cheating the system. This means no special equipment, no waiting around for the machine to do its thing. Just your freezer, a blender, and a little patience. Plus, because we are using low fat ingredients, we are cutting down the calories without losing the flavor. It's a win-win situation, my friend.
Traditional Ice Cream | No-Churn Low Fat Ice Cream |
|---|---|
Requires an ice cream maker | Just a freezer and blender |
Uses heavy cream | Uses low-fat alternatives |
Can be high in fat and calories | Significantly lower in fat and calories |
Churning process is time-consuming | Quick and easy to prepare |
Crafting Your Creamy Low Fat Ice Cream Base
Crafting Your Creamy Low Fat Ice Cream Base
The Foundation: Choosing Your Low Fat Liquids
Alright, so we've established that we’re ditching the heavy cream, but what do we use instead? This is where the magic really begins. We need something that'll freeze well and give us a creamy texture, and there are a few great options. My go-to is a mix of unsweetened almond milk and a touch of soy creamer. The almond milk keeps things light, while the soy creamer adds a bit of richness and helps with the creamy factor. You can also use other plant-based milks like cashew or oat milk, but I've found that almond milk gives the best balance of flavor and texture. Remember, we're aiming for low fat, so avoid full-fat coconut milk, it is not our friend today.
The key here is to choose unsweetened varieties. We're going to add our own sweetness later so we can control the sugar content. This way, you get to decide how sweet your ice cream will be. I remember when I first tried this, I grabbed the sweetened almond milk by mistake, and the ice cream was way too sweet and overpowering, so learn from my mistakes, always unsweetened. Also, the soy creamer is like the secret weapon, it makes everything silky.
Sweetening the Deal (Without the Guilt)
now that we have our low fat liquids sorted, it’s time to talk about sweetness. We want that classic ice cream taste, but without all the refined sugar. I've experimented with a few sweeteners, and I've landed on a combination of stevia and a touch of maple syrup. The stevia provides the bulk of the sweetness, and the maple syrup adds a touch of depth and that little something extra. You can also use other sweeteners like erythritol or monk fruit, whatever your tastebuds prefer. Just remember, start small and add more to your liking. It's easier to add more than to take it out.
I would recommend to avoid using honey, I have tried before and it makes the ice cream taste like honey, it is not very good, so avoid it at all cost. The goal is to enhance the flavor, not change it completely. This is where you get to play around a little and find your perfect balance. Don't be afraid to experiment with different sweeteners and see what works for you. Remember, this is your low fat ice cream journey, make it your own.
Sweetener | Pros | Cons |
|---|---|---|
Stevia | Low calorie, natural | Can have a slightly bitter aftertaste for some |
Maple Syrup | Natural, adds flavor | Higher in calories than other options |
Erythritol | Low calorie, good for baking | Can cause digestive issues for some |
Monk Fruit | Low calorie, natural | Can be more expensive |
The Secret to Creaminess: A Pinch of Magic
We’re almost there, the base is coming together. The last touch we need is a pinch of sea salt. Yes, you heard me right, salt. It might seem strange to add salt to ice cream, but it's like the secret ingredient that makes all the other flavors pop. It balances the sweetness and enhances all the other flavors. Think of it as the unsung hero of our low fat ice cream. It’s like a chef adding a dash of salt to a cake batter, it just makes everything better.
Now, to make the base, we will mix the almond milk, soy creamer, sweetener, and that magic pinch of sea salt. Whisk it all together until everything is well combined. Then, pour the mixture into a freezer-safe container. I like to use a loaf pan, but anything will do. Now, here is the hardest part, we need to let it freeze solid, this can take a few hours, so be patient. Once it is frozen, we will be ready to move on to the next part, where we will blend it into a creamy treat.
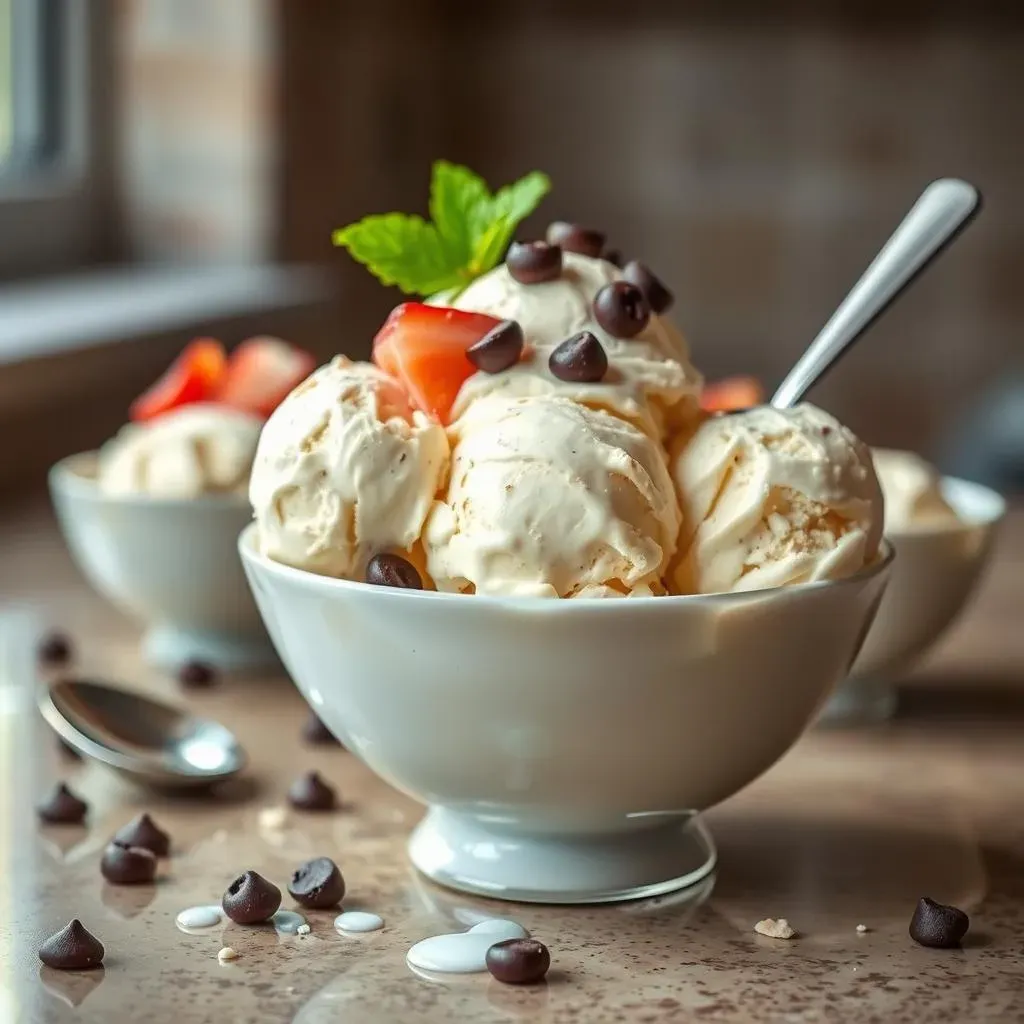
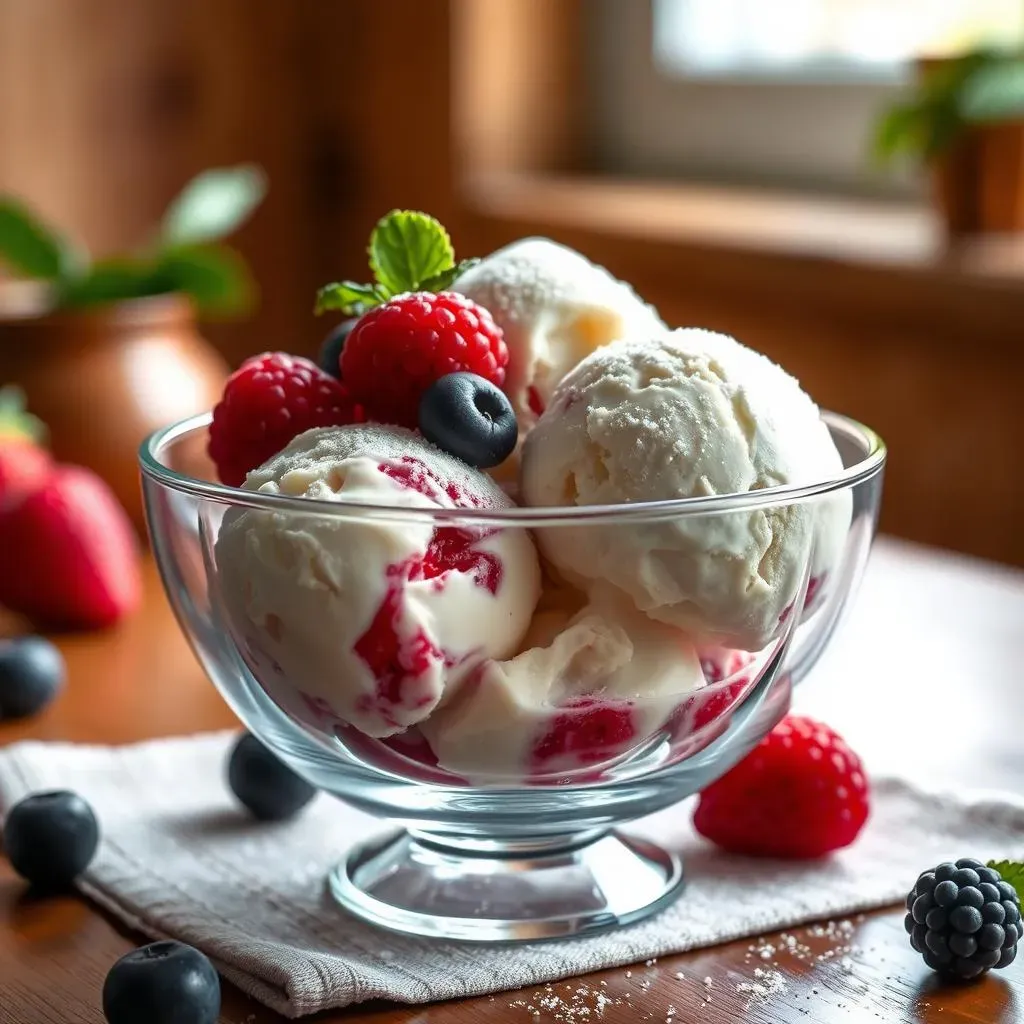
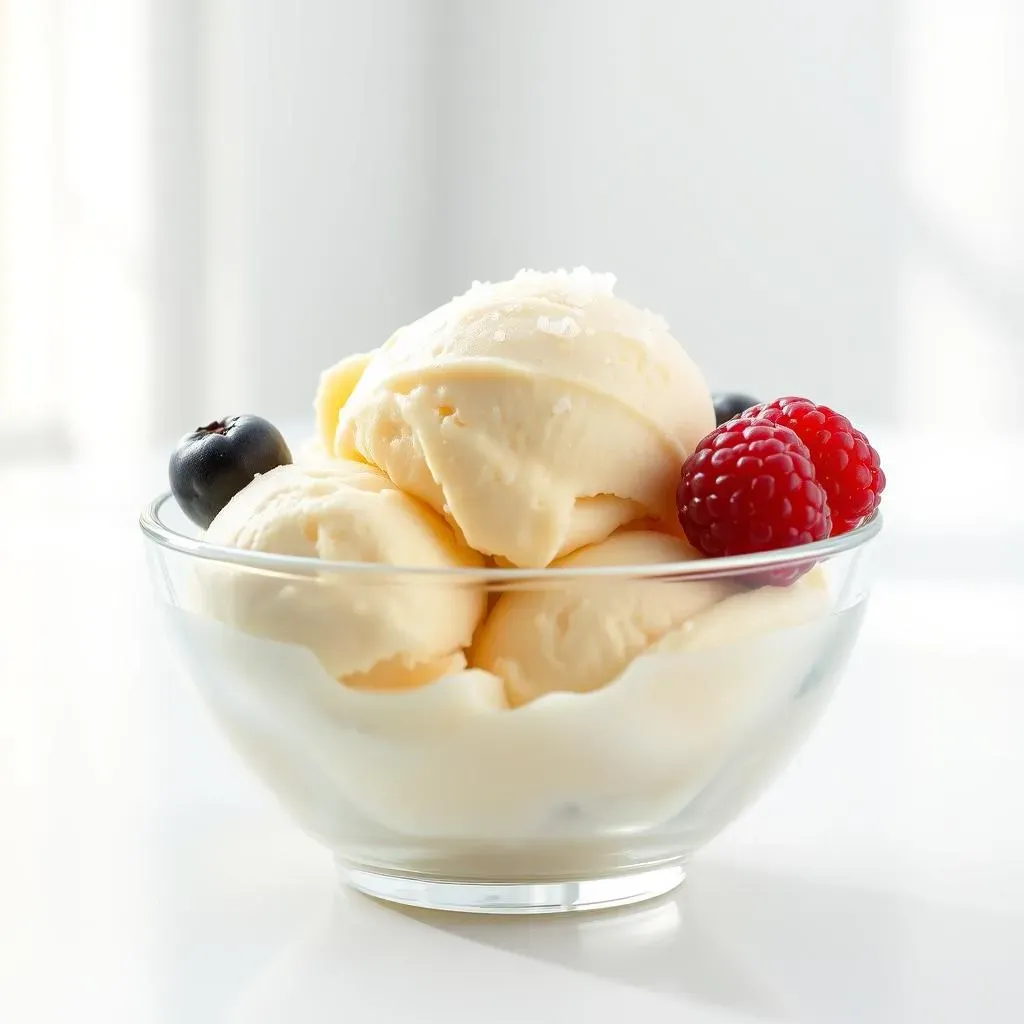
Flavoring Your Low Fat Ice Cream Adventure
Flavoring Your Low Fat Ice Cream Adventure
so you've got your frozen base, now it's time for the fun part: Flavoring! This is where you can really let your creativity shine. Think of your ice cream base as a blank canvas, ready for you to splash on your favorite flavors. I like to start with some basic extracts, like vanilla or almond, they add a nice background flavor. But if you’re feeling adventurous, you can add a dash of mint extract, a spoonful of cocoa powder, or even some instant coffee for a mocha twist. The possibilities are endless. I remember one time I added a bit of lavender extract, it was surprisingly delicious, but not for everyone, of course!
Don't just stop at extracts, though. Get wild with it! Fresh or frozen fruits are amazing. Think about adding some frozen berries like raspberries or blueberries, they add a burst of flavor and color. Or maybe you like chunks of chocolate? Small pieces of dark chocolate or even some sugar-free chocolate chips would be great. If you are a fan of nuts, you can chop up some almonds or walnuts. They add a nice crunch. Remember to add these mix-ins after you have blended the frozen base, this way you will avoid making everything mushy. The goal is to create something that you will love to eat and enjoy every bite.
Flavor Category | Examples |
|---|---|
Extracts | Vanilla, almond, mint, coconut |
Powders | Cocoa, instant coffee, matcha |
Fruits | Berries, bananas, peaches |
Chocolates | Dark chocolate chips, cocoa nibs |
Nuts | Almonds, walnuts, pecans |
Once you have added your flavors, you need to blend the frozen base until it becomes smooth and creamy. If you added mix-ins like chocolate chips or nuts, you can pulse the blender a few times to mix everything together, but don't over blend it, or you will end up with a smoothie. Taste your ice cream, and adjust any flavors as needed. If you like it sweeter, add more sweetener, if you want more chocolate, add more chocolate, it’s up to you. Once you’re happy with your creation, you can either enjoy it right away, or you can place it in the freezer for an hour to let it firm up a little more. And that’s it! You have successfully created your own low fat ice cream without a machine, it's that easy!
Your Guilt-Free Ice Cream Adventure Awaits
So, there you have it! Making delicious, low fat ice cream without a machine isn't just a dream; it's totally within your reach. You've got the base recipe down, and a whole world of flavors to explore. This isn't about deprivation; it's about enjoying a treat that fits your lifestyle. Now, go forth, experiment, and create your own perfect frozen masterpiece. Don't be shy about sharing your creations! Remember, a little creativity and a freezer are all you need to make everyday feel like a sundae. Happy scooping!