
Table of Contents
Who says you can't have your cookies and eat them too, especially during the holidays? I've always loved the buttery goodness of sugar cookies, but sometimes I want to indulge without all the guilt. That's why I'm excited to share this amazing low fat sugar cookie recipe with you. It's a total game-changer! We're talking about cookies that are just as delicious as the classic version, but with significantly less fat. This recipe uses almost half the butter, yet they still taste fantastic. We will guide you through each step, from mixing the dough to cutting out festive shapes, and even how to decorate them. We’ll tackle storage tips, and a bit about the nutrition facts, so you can enjoy the cookies and know exactly what you're eating. Get ready to bake some seriously delightful and healthier treats. So, if you're looking for a way to enjoy holiday cookies without the extra baggage, you've come to the right place. Let's get baking!
Baking the Best Low Fat Sugar Cookies
Baking the Best Low Fat Sugar Cookies
The Magic of Less Butter
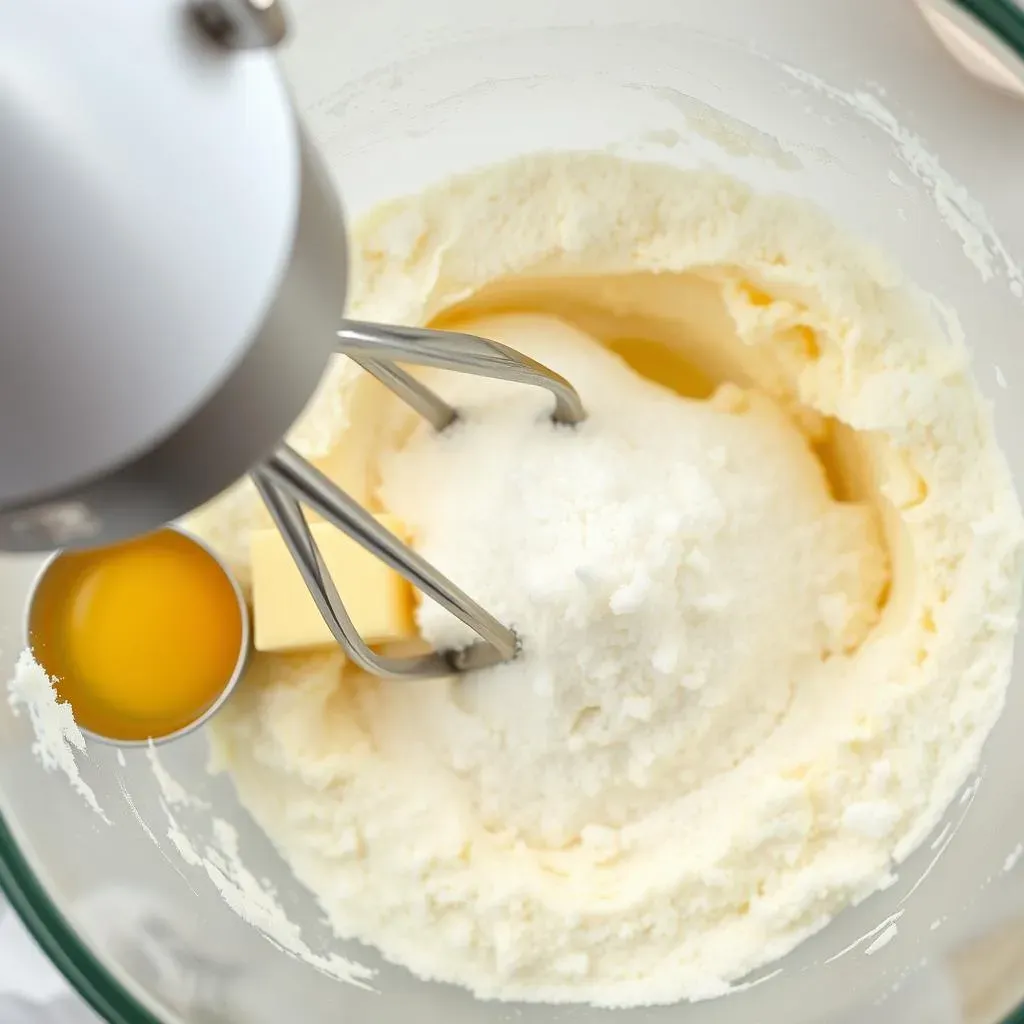
Okay, so you want amazing sugar cookies without all the fat? It's totally doable, and it all starts with the butter. Most recipes call for a whole stick, sometimes two, but we're going way less. We are only using 5 tablespoons of unsalted butter which is a game changer. This may seem like a small change, but it makes a big difference in the fat content, without sacrificing the taste. The trick is to make sure the butter is softened, not melted. We want it to be creamy, so it mixes well with the sugar. This ensures that your cookies will have the perfect texture.
So, we've got our softened butter, now comes the sugar! We're using 3/4 cup of granulated sugar, which provides the sweetness and helps with the cookie structure. You'll want to beat these two together until they are light and fluffy. This is where you can use a hand mixer or a stand mixer, either will work. This step is important because it incorporates air into the mixture, which makes the cookies lighter. Don't skip this step, it's crucial for the best results. Next comes the egg. Just one large egg is all we need. Beat it in with the butter and sugar mixture until everything is well combined.
Ingredient | Quantity | Purpose |
|---|---|---|
Unsalted Butter | 5 tablespoons | Provides flavor and texture |
Granulated Sugar | 3/4 cup | Adds sweetness and structure |
Large Egg | 1 | Binds the ingredients |
Tips for Perfect Low Fat Sugar Cookie Dough and Shapes
Tips for Perfect Low Fat Sugar Cookie Dough and Shapes
Chilling is Key
Okay, so you've mixed up your dough, and it looks good, right? Wrong! The next, and possibly most important step, is chilling. You absolutely must chill your dough. I know, I know, it's hard to wait, but trust me on this. The dough needs to chill for at least 2 hours. This is not just for fun; it's science! Chilling the dough firms up the butter, making it easier to roll out. It prevents the cookies from spreading too much while baking. If you skip this step, you'll end up with flat, sad-looking cookies, and nobody wants that. So, wrap that dough up and pop it in the fridge.
I like to use plastic wrap to cover my dough, pressing it directly onto the surface to prevent a skin from forming. Some people use parchment paper, but I prefer the wrap for a tighter seal. Once it's chilled, the dough will be much easier to work with. Think of it like trying to sculpt with playdough that's been left out in the sun versus playdough that's been kept in the fridge. Big difference, right?
If you are in a rush, you can try to chill in the freezer for 30 mins, but I've found the fridge is the best option.
Rolling and Cutting Like a Pro
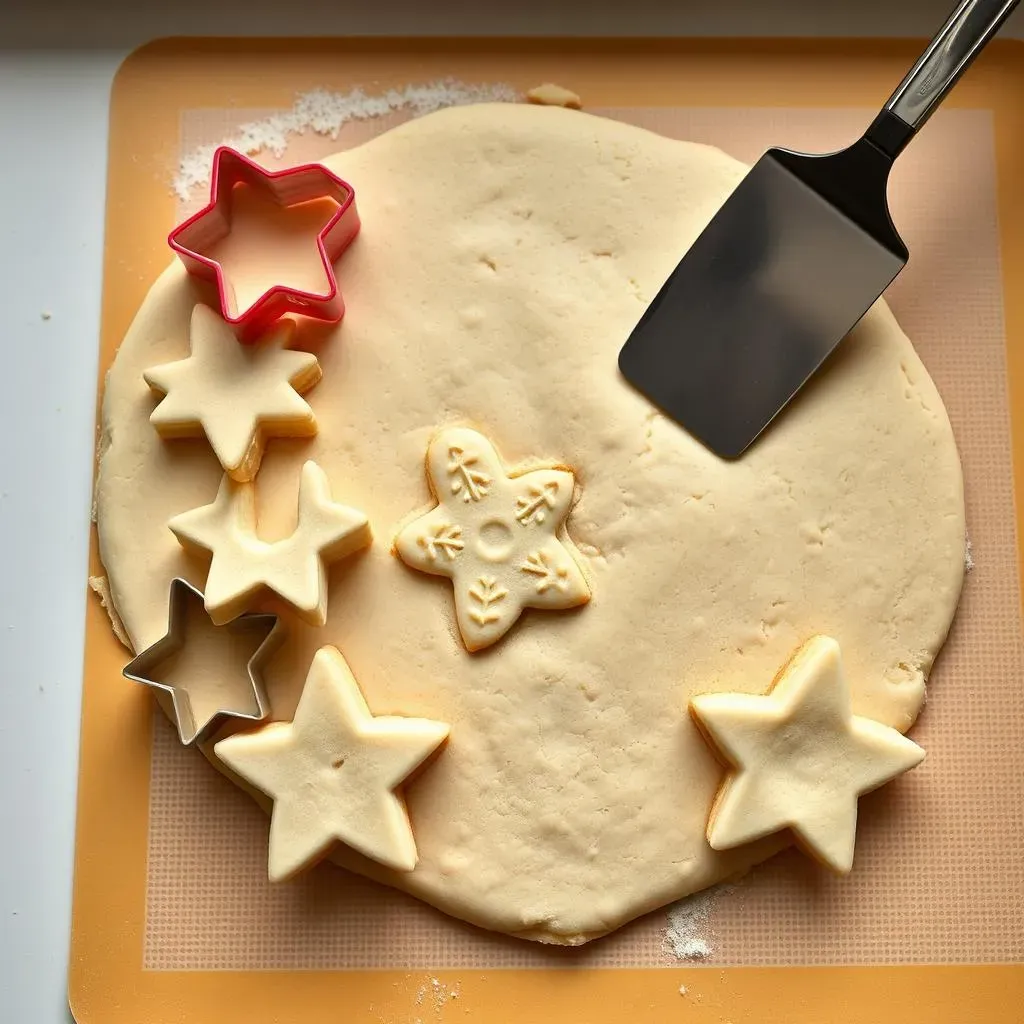
Alright, your dough is chilled, and you’re ready to roll! Lightly flour your counter or a silicone mat. I prefer a silicone mat because it doesn't stick, and it's easy to clean. Take your dough out of the fridge, and divide it in half. This makes it easier to handle. Roll out one half at a time, keeping the other half chilled. You want the dough to be about 1/4 inch thick. Don't roll it too thin, or your cookies will be too fragile.
Now for the fun part: the cookie cutters! Get creative and use your favorite holiday shapes. I have a whole collection, from snowflakes to gingerbread men. Once you've cut out your shapes, carefully transfer them to a baking sheet lined with parchment paper. Use a thin spatula to help lift them without breaking. And here's a pro tip: if the dough starts to get too warm while you're working, pop it back in the fridge for a few minutes.
Tip | Details |
|---|---|
Chilling Time | Minimum 2 hours in the fridge |
Rolling Thickness | About 1/4 inch |
Transferring | Use a thin spatula carefully |
Baking to Perfection
Okay, so now that you've got your cookies all cut out and on the baking sheet, it's time to bake. Preheat your oven to 375°F (190°C). Baking time will vary, usually between 8 to 10 minutes. Keep a close eye on them. You want the edges to be lightly golden and the centers to be set, not brown. Every oven is different, so the first batch is always a test run. Once they are done, take them out and let them cool on the baking sheet for a few minutes before transferring them to a wire rack to cool completely.
Letting them cool on the baking sheet for a few minutes helps them set, and prevents them from breaking when you move them. Once they’re completely cool, they're ready for decorating. And trust me, the smell of these baking is heavenly! If you want to make sure that the cookies are baked correctly. Just use your finger and gently press the center. It should be slightly firm and not doughy.
"Baking is both science and art, so don’t be afraid to experiment with different flavors and techniques to make each batch your own." - A wise baker I met in a small town.
Decorating, Storing, and Nutrition of Low Fat Sugar Cookies

Decorating, Storing, and Nutrition of Low Fat Sugar Cookies
Festive Decorating Ideas
Alright, your cookies are baked and cooled. Now, the fun part, decorating! You can keep it simple with a dusting of confectioners' sugar, but why not get a little fancy? I love making a simple glaze by mixing confectioners' sugar with a bit of lemon juice. Add a drop or two of food coloring for a festive touch. You can drizzle it over the cookies or use a piping bag for more intricate designs.
Don't forget the sprinkles! There are so many options available during the holidays. Rainbow sprinkles, metallic sprinkles, or even themed sprinkles, like snowflakes or Christmas trees. They add a pop of color and fun. Another idea is to use melted chocolate, white or dark, to create patterns or add a chocolate drizzle. If you're feeling ambitious, you can even try using royal icing, which is a bit more advanced but gives a beautiful, professional finish.
Storage Secrets
Okay, so you’ve made all these cookies, and now you need to keep them fresh. Storing them properly is key. Once the glaze is completely dry, you'll want to store these cookies in an airtight container. A tin or a plastic container with a tight-fitting lid works best. Layer them between sheets of parchment paper to prevent them from sticking together. This will help keep them fresh for up to 10 days.
If you're planning to make these ahead of time, you can freeze them too. Make sure they are completely cooled, then layer them in a freezer-safe container with parchment paper between each layer. They can be frozen for up to three months. When you're ready to eat them, just take them out and let them thaw at room temperature. They’ll taste just as good as the day you baked them.
"The best way to store cookies is the way that you'll make sure no one eats them all before the party!" - My grandma always said this.
Storage Method | Duration | Notes |
|---|---|---|
Airtight Container | Up to 10 days | Layer with parchment paper |
Freezer | Up to 3 months | Thaw at room temperature |
Nutritional Nitty-Gritty
Now, let's talk about the nutrition. Each of these low-fat sugar cookies comes in at about 129 calories. They have 4 grams of fat and 21 grams of carbohydrates. It's worth remembering, that these numbers are approximate, and can change a bit depending on the exact ingredients you use. While they're still cookies and should be enjoyed in moderation, the reduced fat content makes them a bit lighter than your average sugar cookie.
It's always good to know what you're eating, especially during the holidays when there are so many treats around. This way you can make conscious choices about what you are eating. Remember that a balanced diet is about enjoying treats in moderation. So, go ahead and enjoy these tasty cookies, knowing that you've made a slightly healthier choice.