Table of Contents
Ever get that cookie craving but want to keep things light? I do! That's why I'm so stoked to share my version of Grandpa's famous thumbprint cookies, tweaked to be delightfully low fat. These aren't your average diet cookies, though. We're talking about soft, chewy goodness packed with flavor but without all that extra fat. I'll walk you through why these low fat thumbprint cookies are a game-changer, from the secrets behind the dough to the best ways to bake them. Get ready to roll up your sleeves and create some seriously tasty treats that won't weigh you down. We'll cover all the important steps, like making the dough, choosing the perfect filling, and baking to perfection and I've even got some tips to ensure your cookies come out amazing every single time. So, if you're ready to enjoy delicious, guilt-free cookies, let's get started!
Why Low Fat Thumbprint Cookies Are Awesome
Why Low Fat Thumbprint Cookies Are Awesome
Okay, so why should you even bother with low fat thumbprint cookies? Well, for starters, it’s all about having your cookie and eating it too! I mean, who doesn't love a good cookie? But sometimes, you just want something a little lighter, right? These cookies are perfect because you get that satisfying sweetness and that chewy texture without feeling like you've completely derailed your day. They’re also sneaky good for those of us watching what we eat, or trying to make slightly better choices, while still enjoying a treat. Plus, you can get super creative with fillings and flavors – it’s like a mini edible art project! They're just more fun, more versatile and they let you enjoy a sweet treat with out the guilt.
Making the Dough: Low Fat Secrets
Making the Dough: Low Fat Secrets
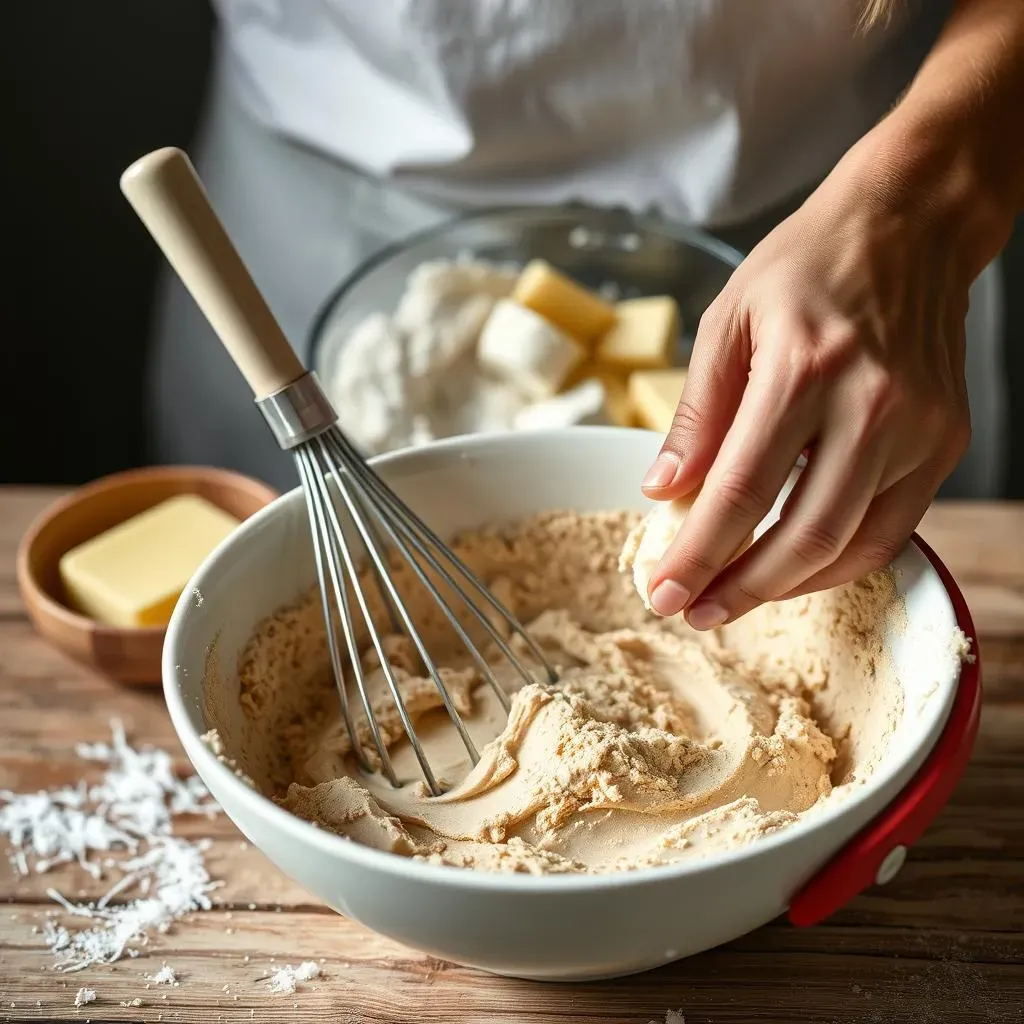
Alright, let's talk dough! The secret to keeping these thumbprint cookies low fat is all in the ingredients and how we handle them. Forget loads of butter; we're going for a lighter approach. Instead of relying heavily on butter, we use a combo of a little bit of butter for flavor and some applesauce to keep things moist. The applesauce is the unsung hero here, adding moisture and a touch of sweetness without the fat. Also, we’re using whole wheat flour because it’s nutritious and gives the cookies a nice texture. Don't worry, it won't taste like cardboard, I promise! Then, we’ve got coconut sugar for a hint of caramel-y sweetness, and a touch of vanilla to make the whole thing smell like a bakery. Mix it all together, and you'll have a dough that’s ready to roll (literally!).
Ingredient | Why It's Awesome |
|---|---|
Small amount of Butter | Adds flavor and structure |
Applesauce | Keeps cookies moist and cuts down on fat |
Whole Wheat Flour | Adds fiber and a nice texture |
Coconut Sugar | Adds sweetness and a hint of caramel flavor |
Vanilla Extract | Adds flavor and a nice aroma |
Filling and Baking Your Low Fat Thumbprint Cookies
Filling and Baking Your Low Fat Thumbprint Cookies
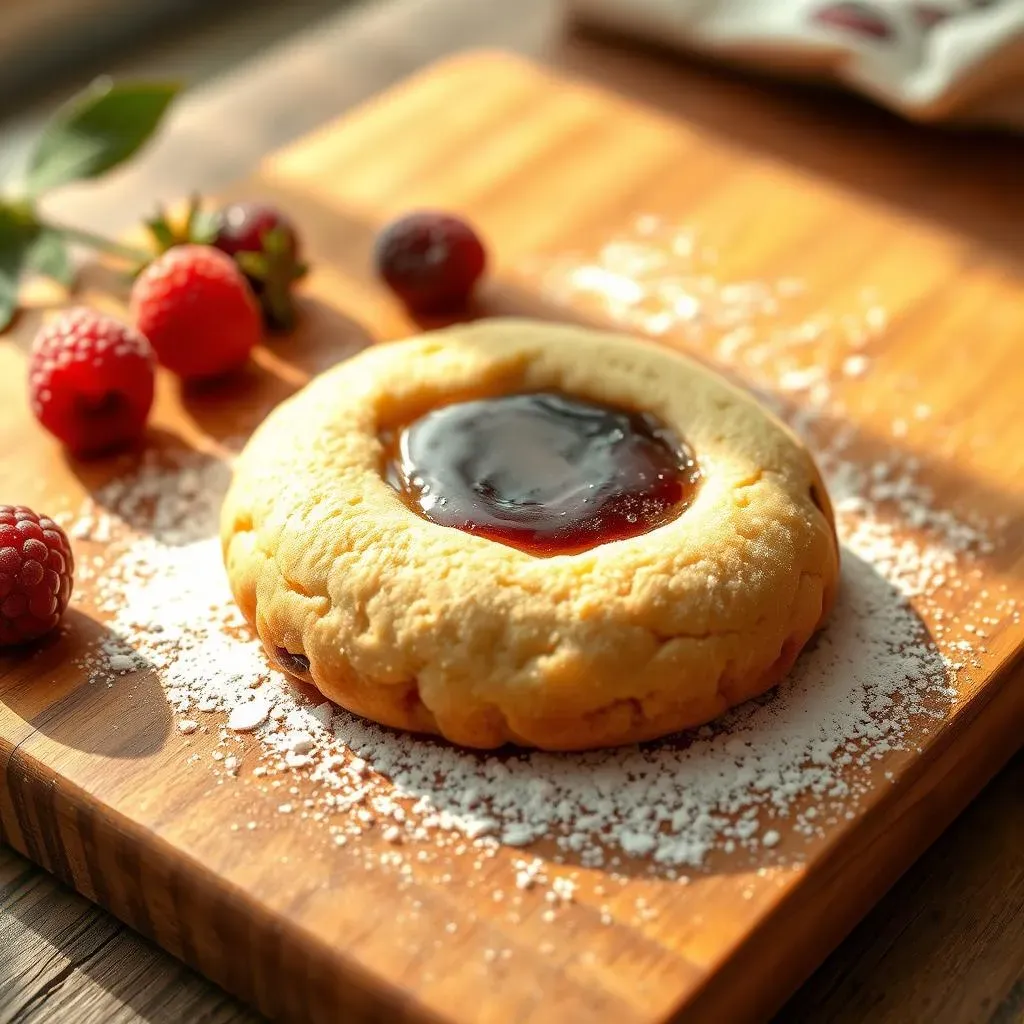
Making the Thumbprint & Choosing Your Filling
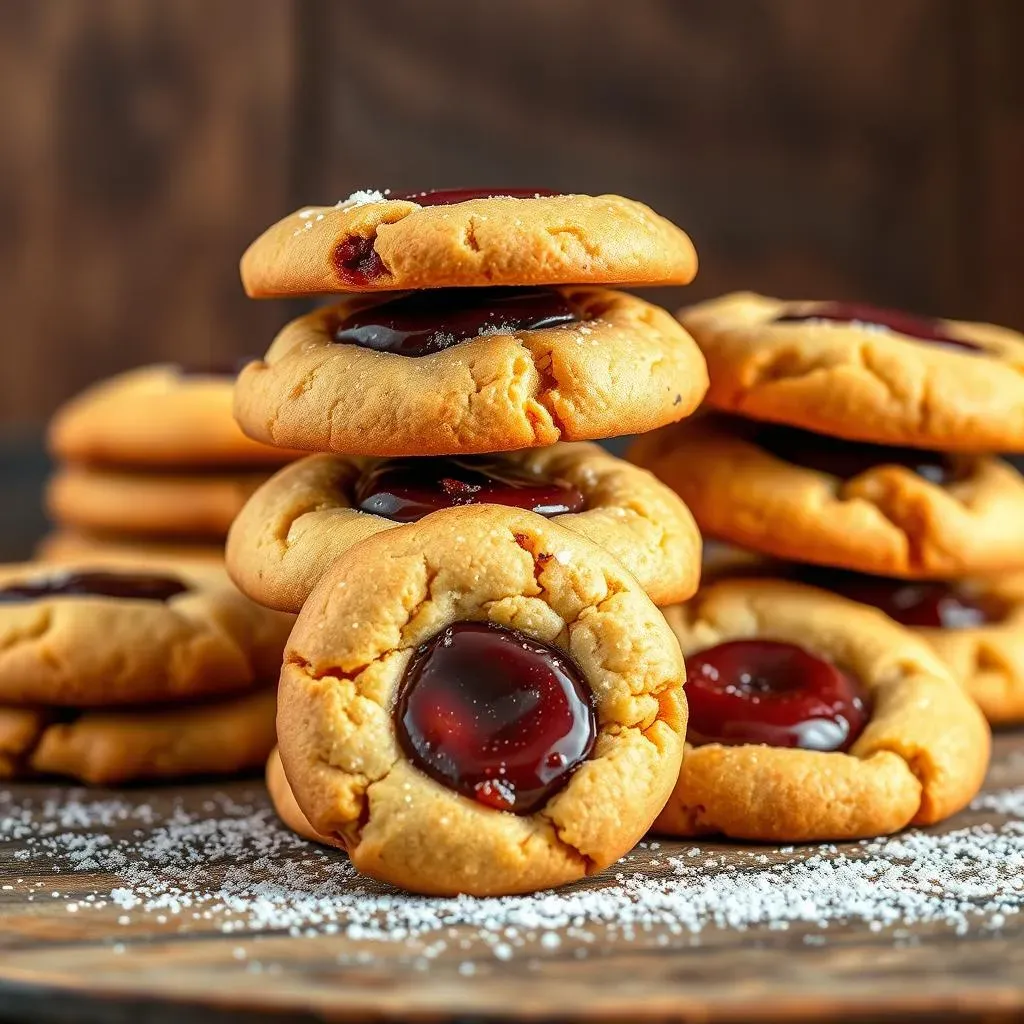
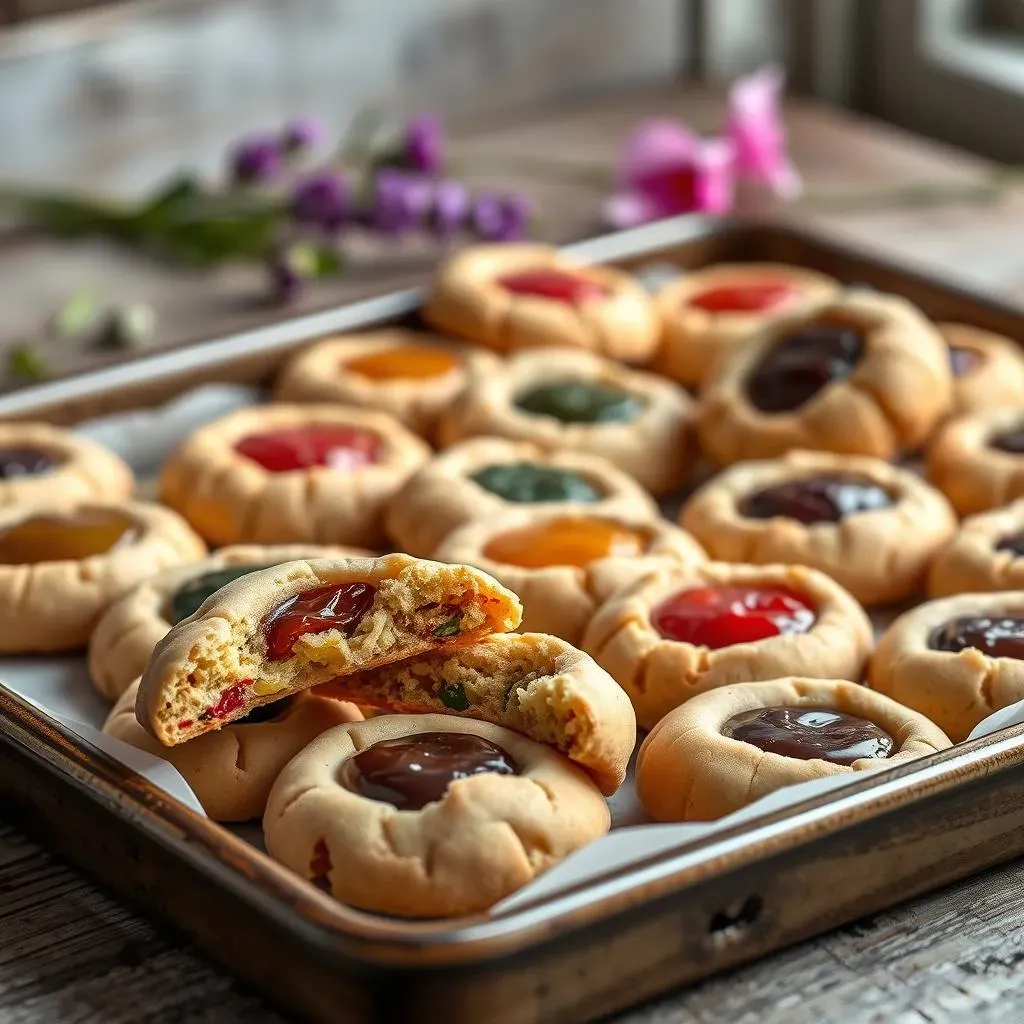
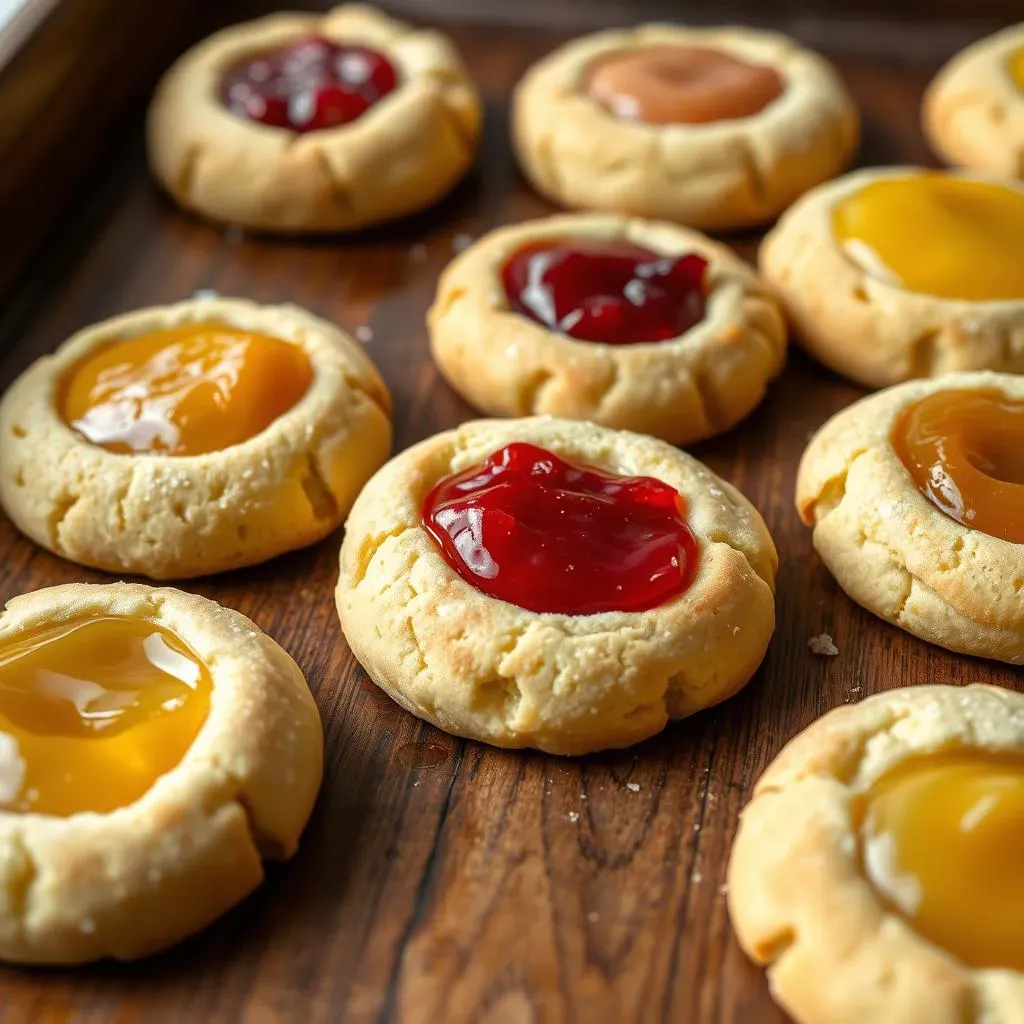
Okay, so you've got your dough, now for the fun part! Before baking, we need to make that signature thumbprint. You can use your thumb, of course, or the back of a small spoon, whatever works for you. Just press gently into the center of each ball of dough to create a little well for the filling. Now, let's talk fillings. This is where you can really let your creativity shine! My go-to is a low-sugar jam, like raspberry or strawberry. But you could also use a little bit of sugar-free Nutella, a dollop of lemon curd, or even a tiny bit of peanut butter. The key is to not overfill them, a little goes a long way to avoid overflow during baking.
Baking to Perfection
Once your cookies are filled, it's time to bake them until they're golden brown. Preheat your oven to 350°F (175°C). Place your filled cookies on a baking sheet lined with parchment paper and bake for about 10-12 minutes. Keep an eye on them, the edges should be golden, and the centers should be set but still soft. Once baked, let the cookies cool on the baking sheet for a few minutes before transferring them to a wire rack to cool completely. This lets them firm up a bit and stops them from breaking. And that's it! You've baked yourself some delicious and guilt-free low fat thumbprint cookies.
"The secret to great baking is to not be afraid to experiment and have fun." - My Grandma
Tips for Perfect Low Fat Thumbprint Cookies
Tips for Perfect Low Fat Thumbprint Cookies
Okay, so you've got the basic recipe down, but let's talk about taking these low fat thumbprint cookies to the next level! First things first, don't overmix your dough. Overmixing can develop the gluten too much, making the cookies tough instead of tender. Mix until just combined, that's the golden rule. Also, chilling the dough for about 30 minutes in the fridge can make a big difference; it helps the cookies hold their shape better while baking. Another thing to remember is to make sure all your ingredients are at room temperature. This helps them blend together more easily and creates a smoother dough. And finally, don't be afraid to experiment with different fillings. The world is your oyster when it comes to jam, nuts, or even a bit of chocolate.
- Don't Overmix: Mix until just combined to keep cookies tender.
- Chill the Dough: 30 minutes in the fridge helps them hold their shape.
- Room Temperature Ingredients: Helps everything blend smoothly.
- Experiment with Fillings: Get creative with jam, nuts, or chocolate!
Baking time is crucial. Every oven is different, so keep a close eye on your cookies. You'll know they're done when the edges are golden brown and the centers are set. Don't overbake them, or they'll be dry. And speaking of baking sheets, use parchment paper or a silicone baking mat to prevent sticking. Also, let the cookies cool on the baking sheet for a few minutes before transferring them to a wire rack. This allows them to firm up a bit and prevents them from breaking. Finally, store your cookies in an airtight container at room temperature to keep them fresh for as long as possible. If you follow these tips, your low fat thumbprint cookies will be a hit every time, I promise!
Tip | Why It Matters |
|---|---|
Watch Baking Time | Prevents overbaking and dryness |
Use Parchment Paper | Stops cookies from sticking |
Cool on Baking Sheet | Allows cookies to firm up |
Store in Airtight Container | Keeps cookies fresh longer |
Wrapping Up Your Low Fat Thumbprint Cookie Journey
So there you have it, my friends, a batch of low fat thumbprint cookies ready to be devoured. We've explored why these cookies are a great option, how to make the dough without all the extra fat, and how to fill and bake them perfectly every time. Remember, baking is all about having fun and experimenting, so don't be afraid to try different fillings or even add a little sprinkle of something special on top. I hope these cookies bring a little joy to your day and prove that you don't have to sacrifice flavor to eat a bit healthier. Happy baking!