Table of Contents
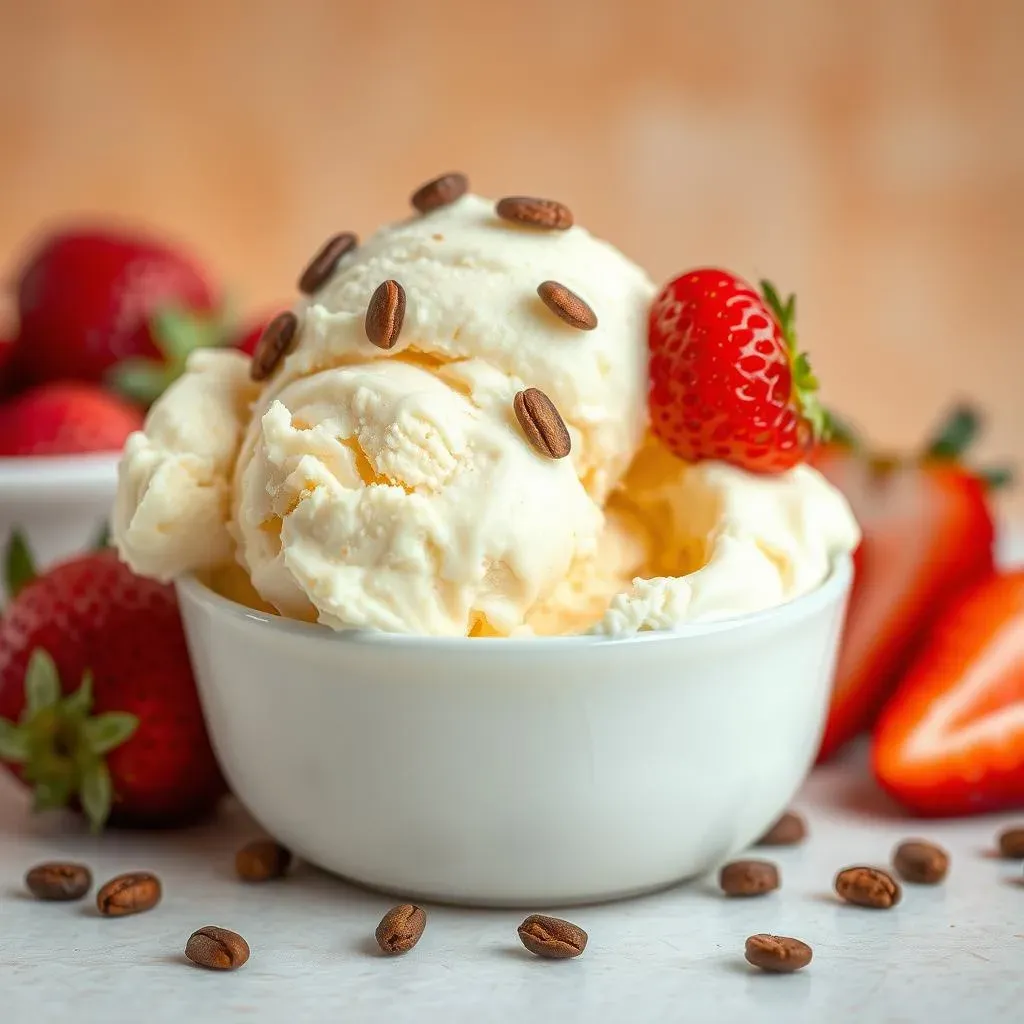
Ever since I was a kid, the sound of the ice cream maker churning was pure magic. It meant summer days, sticky fingers, and that first glorious taste of homemade goodness. But, let's be real, traditional ice cream isn't exactly a health food. So, what if I told you that you could have that same creamy, dreamy experience without the guilt? We’re talking about low fat vanilla ice cream, a treat that doesn't compromise on flavor. In this article, I'll share how I rediscovered the joy of making ice cream, this time with a healthier twist. We'll explore why opting for low fat is a smart move, then I'll walk you through my go-to recipe, step-by-step. We will also dive into the best ingredients, substitutions, and pro tips to make the creamiest, most satisfying low fat vanilla ice cream you’ve ever tasted. Get ready to ditch the store-bought stuff and create your own frozen masterpiece.
Why Choose Low Fat Vanilla Ice Cream?
Why Choose Low Fat Vanilla Ice Cream?
The Guilt-Free Indulgence
Let’s face it, sometimes you just need a scoop of ice cream. It's comfort food, a celebration treat, or a way to cool down on a hot day. But, the heavy cream and sugar in traditional ice cream can quickly derail your healthy habits. Low fat vanilla ice cream offers a fantastic alternative. You get to enjoy the creamy texture and sweet taste you crave without the excess fat and calories. It's about finding balance, not deprivation. This way, you can enjoy your treat without feeling like you've completely blown your diet.
I mean, who wants to spend their time on a treadmill just to burn off a single bowl of ice cream? With the low fat version, you get to enjoy your dessert and not worry about it. It's like having your cake and eating it too, only this time, the cake is ice cream, and it's low fat. It's a win-win situation, if you ask me.
Health Benefits Beyond the Scale
Beyond the obvious calorie savings, choosing low fat vanilla ice cream can offer some unexpected health perks. By cutting down on saturated fat, you're doing your heart a favor. Also, if you're making it at home, you have full control over the ingredients. You can choose natural sweeteners and skip all the artificial additives and preservatives found in many store-bought brands. That's a huge plus in my book. You're not just reducing fat; you're also making a conscious decision about what you're putting into your body.
Plus, the reduced sugar content can help you keep your blood sugar levels more stable, which is super important for overall health. It's like you're giving your body a little hug, instead of a punch, with every spoonful. It's a smarter way to satisfy your sweet tooth and it doesn't have to be boring or tasteless either. It's all about making better choices that don't feel like a sacrifice.
Benefit | Traditional Ice Cream | Low Fat Vanilla Ice Cream |
|---|---|---|
Fat Content | High | Low |
Calorie Count | High | Lower |
Heart Health | Less Favorable | More Favorable |
Ingredient Control | Limited | Full Control (Homemade) |
Crafting Your Own Low Fat Vanilla Ice Cream: A StepbyStep Guide
Crafting Your Own Low Fat Vanilla Ice Cream: A StepbyStep Guide
Getting Started: The Base Ingredients
Alright, so you're ready to make some magic happen in your kitchen? Let's start with the base of our low fat vanilla ice cream. Forget the heavy cream; we're going for a lighter approach. The stars of the show here are Greek yogurt and 2% milk. Yes, you heard that right! Greek yogurt adds a creamy tang and a protein boost, while 2% milk keeps things light but still gives us that smooth texture. It's like a power couple of healthy ingredients, working together to create the perfect base.
Make sure you grab plain Greek yogurt, not the flavored stuff, unless you want a weird mix of fruit and vanilla. And when it comes to milk, 2% is the sweet spot; it's not too heavy, not too watery. Remember, we're aiming for a creamy texture, not an icy mess. This combo is your secret weapon for a delicious and guilt-free treat. Trust me, it's a game-changer.
Sweetening the Deal and Smoothing Things Out
Now, let's talk sweetness and texture. Instead of using refined sugar, we'll use liquid stevia. It's a natural sweetener that doesn't add extra calories, which is what we are looking for. Start with a small amount, and then add more to your liking. Remember, you can always add more, but you can't take it away. Next up, xanthan gum, this ingredient is the unsung hero of our recipe. It acts as a stabilizer and keeps our ice cream smooth and creamy, preventing it from getting icy and grainy. It’s like the glue that holds everything together, ensuring each spoonful is as perfect as the last.
Don't skip the xanthan gum, it's crucial for that luxurious mouthfeel. A little goes a long way, so measure carefully. It might sound a bit scientific, but trust me, it's the key to achieving that perfect ice cream texture you're craving. It's like adding a secret ingredient that makes all the difference. This is where the magic truly happens.
Ingredient | Purpose | Amount |
|---|---|---|
Greek Yogurt (Plain) | Creamy Base | 2 cups |
2% Milk | Light Texture | 1 cup |
Liquid Stevia | Sweetness | To taste (start with 1 tsp) |
Xanthan Gum | Stabilizer/Smoothness | 1/2 tsp |
The Churning Process and No-Churn Option
Time for the fun part: making ice cream! If you have an ice cream maker, now is the time to dust it off. Follow the manufacturer's instructions, and let it churn away. It's like watching your ingredients transform into a frozen dessert right before your eyes. This method gives the best results, resulting in a smooth and perfectly textured low fat vanilla ice cream. But, if you don't have an ice cream maker, no worries, I've got your back. You can use the no-churn method: simply mix everything together, pour it into a freezer-safe container, and freeze it for a few hours, stirring it every 30 minutes or so to break up the ice crystals. This method requires a little more effort, but it's still a great alternative.
Whether you're using a machine or doing it by hand, the key is patience. You're not just making ice cream; you're creating an experience. And with that, you'll have your very own homemade low fat vanilla ice cream in no time. It's a labor of love, and the reward is a spoonful of pure, guilt-free joy. Either way, you're on your way to frozen dessert heaven.
Low Fat Vanilla Ice Cream: Ingredient Spotlight and Substitutions
Low Fat Vanilla Ice Cream: Ingredient Spotlight and Substitutions
The Creamy Base: Greek Yogurt and Milk
Let's start with the foundation of our low fat vanilla ice cream: Greek yogurt and milk. I always go for plain, non-fat Greek yogurt because it brings that tangy flavor and a serious protein boost. It's like the superhero of the recipe, making the ice cream creamy without all the extra fat. Now, as for milk, I stick with 2% because it’s the perfect balance between light and creamy. It keeps the texture smooth without making it watery. But, if you're feeling adventurous, you can swap it out for almond milk or even coconut milk for a different flavor profile. Just keep in mind that these alternatives might alter the final texture and taste a bit. It's all about experimenting and finding what you like best. Trust me, once you nail this base, everything else just falls into place. It's like building a house; you need a solid foundation for everything else to work.
I once tried using 1% milk to cut down fat even more, and let me tell you, it was a mistake. The ice cream turned out icy and sad. So, stick to 2% or a non-dairy alternative that has some body to it. It’s these small details that can make or break your homemade ice cream. It may seem trivial, but they all have a purpose in this recipe.
Sweeteners and Stabilizers: A Closer Look
Next up, let's talk about sweeteners and stabilizers. Liquid stevia is my go-to sweetener because it's natural and doesn't add extra calories. But, if you're not a fan of stevia, you can use other alternatives like erythritol or monk fruit sweetener. They're all low-calorie options that can help you achieve the desired level of sweetness without the guilt. Just remember to add them gradually, tasting as you go to make sure you get it just right. Now, for the stabilizer, xanthan gum is the secret ingredient. It might sound a bit sciency, but it’s essential for preventing ice crystals and keeping that creamy texture. It's like the magic dust that transforms your mixture into smooth, scoopable ice cream.
I know some people might be tempted to skip the xanthan gum, but trust me, don't. It's the key to achieving that perfect consistency. I once tried to make it without, and it resulted in a grainy, icy mess. It was a lesson learned the hard way. This ingredient is what makes the difference between a homemade ice cream and a professional-like version.
Ingredient | Purpose | Substitution |
|---|---|---|
Liquid Stevia | Sweetener | Erythritol, Monk Fruit Sweetener |
Xanthan Gum | Stabilizer | Guar Gum (use slightly more) |
Flavor Enhancements and Variations
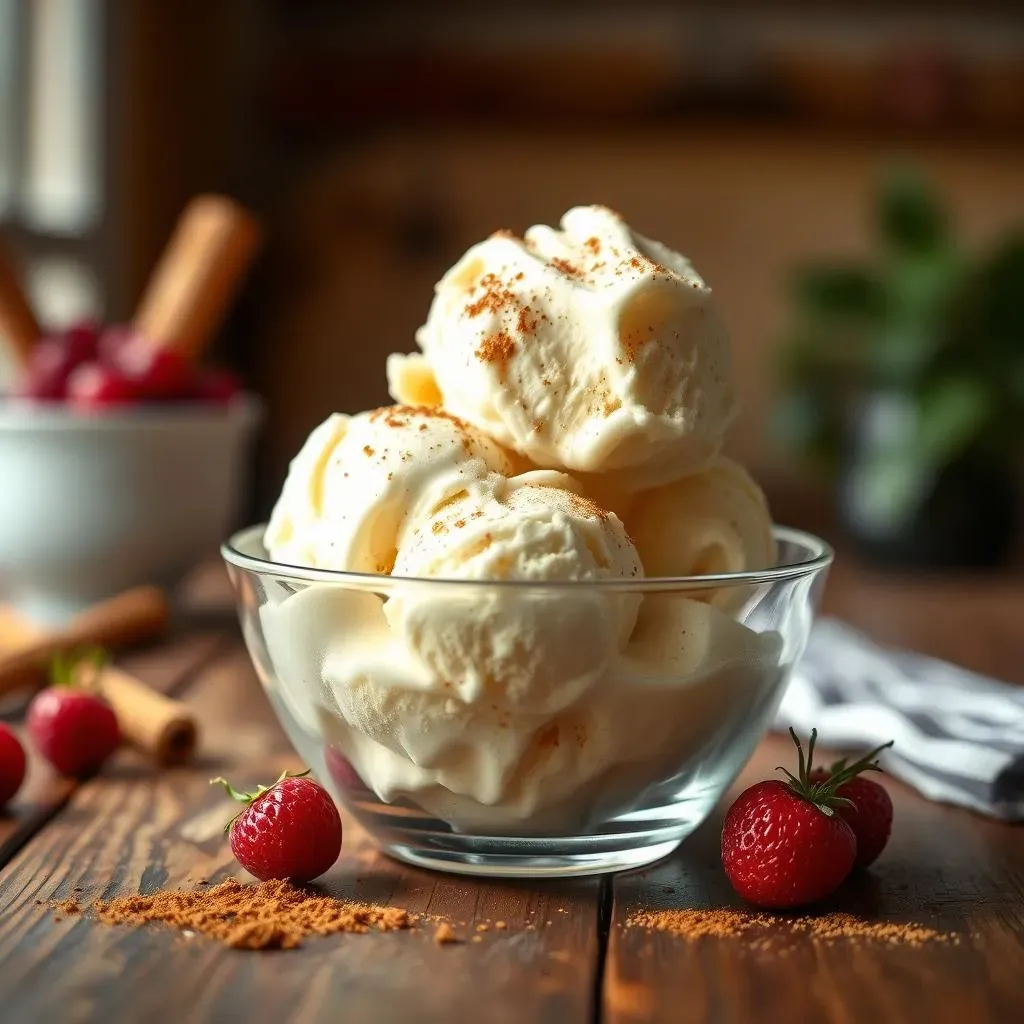
Alright, now that we've covered the basics, let's talk about flavor enhancements. Vanilla extract is a must, but don't be afraid to experiment with other extracts like almond, peppermint, or even a touch of lemon. You can also add spices like cinnamon or nutmeg for a warm, comforting twist. And if you're feeling extra fancy, try adding a swirl of sugar-free chocolate syrup or some chopped nuts. The possibilities are endless! It's like giving your ice cream a personal touch, making it uniquely yours. The great thing about homemade ice cream is that you can customize it to your taste. You're not stuck with the boring flavors from the store.
I once added a touch of cardamom and a pinch of sea salt to my vanilla ice cream, and it was a game changer. It added complexity and depth that made it taste like something from a fancy ice cream shop. So, don't be afraid to get creative and have fun with it. It's like being an ice cream artist, and your kitchen is your studio. It’s all about adding your own touch and making it special.
“The best way to find out if you can trust somebody is to trust them.” - Ernest Hemingway.
Tips and Tricks for the Perfect Low Fat Vanilla Ice Cream

Tips and Tricks for the Perfect Low Fat Vanilla Ice Cream
Achieving the Right Texture
let's talk texture, because nobody wants icy, grainy ice cream. The key to a smooth and creamy low fat vanilla ice cream is all about the process. First off, make sure your ingredients are super cold before you start. This helps the mixture freeze more evenly. And when you're churning, don't overdo it. Over-churning can actually make your ice cream dense and less fluffy. It's like trying to whip cream for too long; it goes from luscious to buttery. So, keep an eye on it and stop when it reaches that soft-serve consistency. Remember, it will continue to firm up in the freezer. It's all about finding that sweet spot where it's creamy, not icy. I learned this the hard way, after a few batches of sad, icy desserts. Now, I'm all about timing and temperature.
If you're using the no-churn method, the stirring every 30 minutes part is non-negotiable. It's a bit of a pain, but it's crucial to break up those ice crystals and achieve a smoother result. Think of it as giving your ice cream a little massage every half hour. It's like a workout for your arm and a treat for your taste buds. It's a small effort that makes a big difference in the final product. Trust me, your patience will be rewarded with a spoonful of creamy, dreamy goodness.
Ingredient Temperature and Timing
Another key element is ingredient temperature. Make sure your Greek yogurt and milk are straight from the fridge, the colder, the better. It helps the mixture freeze properly and prevents large ice crystals from forming. Think of it like setting the stage for a perfect freezing experience. Also, if you have an ice cream maker, chill the bowl as instructed by the manufacturer, usually overnight. This step is crucial for achieving that perfect texture. It's like giving your ice cream maker a head start. And when you're mixing the ingredients, make sure everything is well combined before you start churning. It's like a pre-game warm-up for your ice cream, ensuring everything is ready for the main event.
Also, timing is everything. Don't be tempted to rush the process. Whether you're using a machine or doing it by hand, allow enough time for the ice cream to freeze properly. It's like waiting for a good wine to age, you can't rush perfection. It will be worth the wait. I once tried to speed up the process by putting the ice cream in the freezer and forgetting about it, and it ended up rock-solid. It was a lesson learned. Now, I set a timer and check on it regularly. It's all about patience and precision. It's like conducting an orchestra; you need to be precise for the music to sound good.
Tip | Why It Matters |
|---|---|
Chill Ingredients | Prevents large ice crystals |
Chill Ice Cream Maker Bowl | Ensures proper freezing |
Don't Over-Churn | Avoids dense texture |
Stir Regularly (No-Churn) | Breaks up ice crystals |
Storage and Serving Suggestions
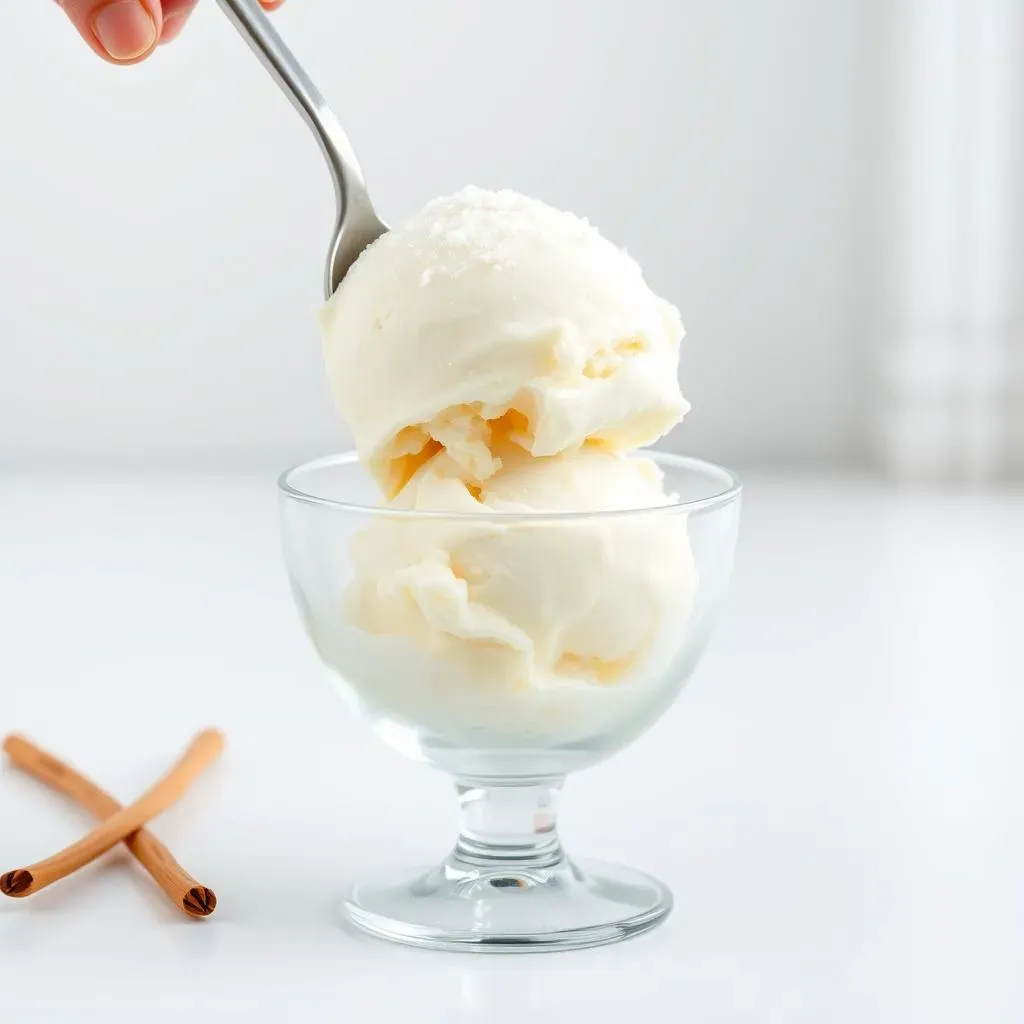
So, you've made your masterpiece and now it's time to store it. For the best results, keep your low fat vanilla ice cream in an airtight container in the coldest part of your freezer. This will help prevent freezer burn and maintain its creamy texture. And when you're ready to serve, let it thaw for a few minutes before scooping. This makes it easier to scoop and also softens it up a bit. It's like giving your ice cream a little warm-up before the big show. You can also run your ice cream scoop under warm water for a few seconds before scooping, this is the pro move for a perfect scoop every time. It's all about those small details that make a big difference.
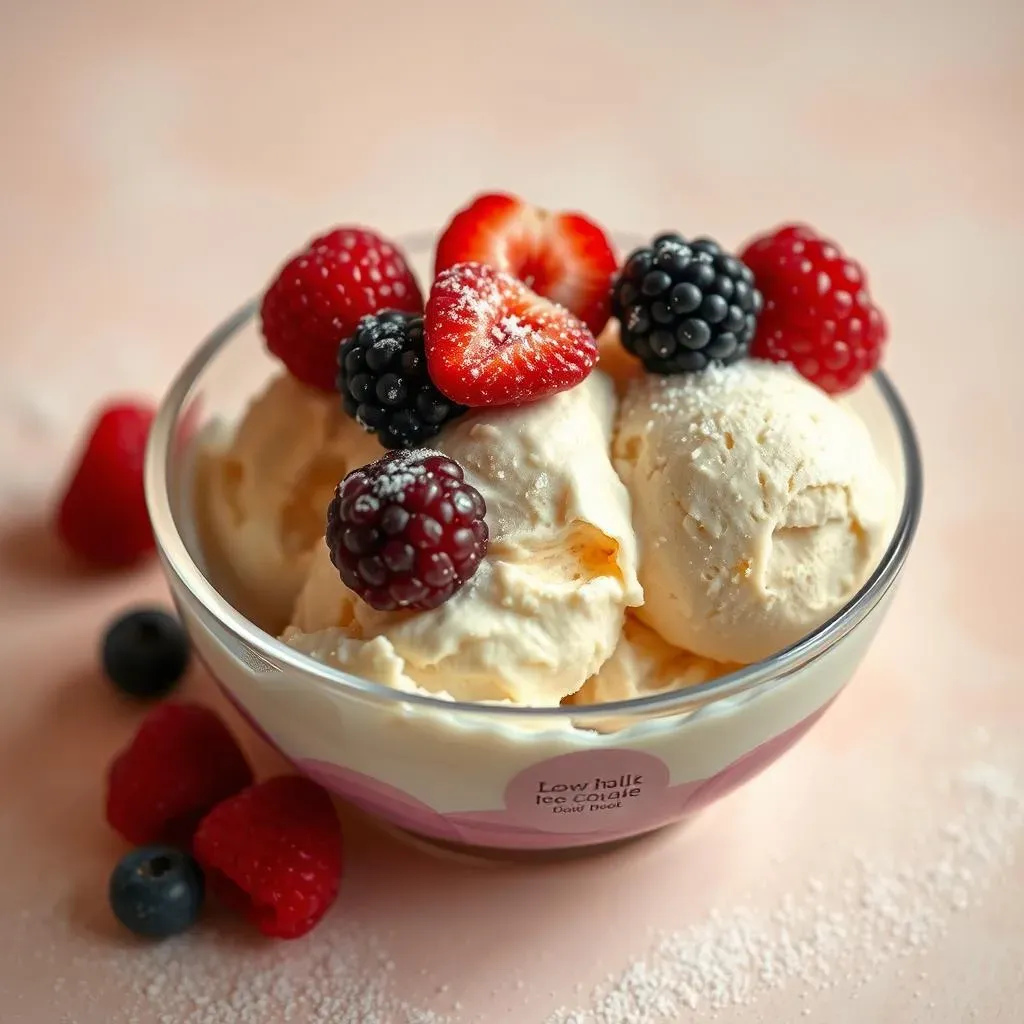
And when it comes to serving, don't be afraid to get creative. Top it with fresh berries, a drizzle of sugar-free chocolate syrup, a sprinkle of nuts, or a dollop of whipped cream. It's like adding the finishing touches to a work of art. You can also use it as a base for milkshakes or smoothies. It's like giving your ice cream a new identity. And lastly, don't forget to share your creation with friends and family. It's always more fun to enjoy it with others. It's like a party in a bowl, and everyone is invited. It's all about enjoying the moment and savoring every spoonful.
“The secret of getting ahead is getting started.” - Mark Twain.
The Sweet Finale: Enjoying Your Low Fat Vanilla Ice Cream
So, there you have it – a complete guide to crafting your own low fat vanilla ice cream. From understanding the benefits of a lighter option to mastering the art of homemade goodness, you're now equipped to create a dessert that's both delicious and better for you. Remember, the best part about making it yourself is that you can customize it to your liking, whether that’s adding a swirl of berries or a sprinkle of chocolate chips. Don’t be afraid to experiment and make it your own. Share your creations, and let’s all enjoy the simple pleasure of a guilt-free, homemade treat. Happy scooping!