Table of Contents
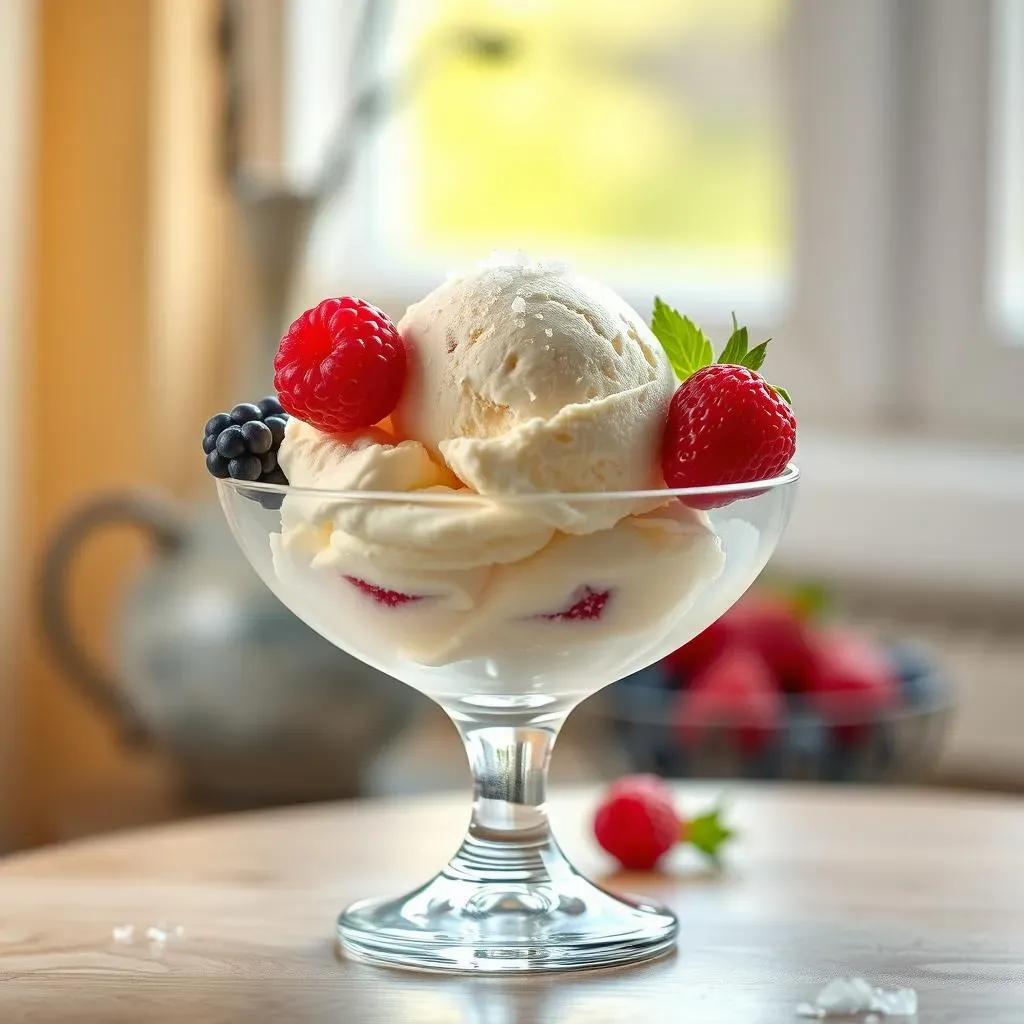
Remember those summer days, the ones where the ice cream truck's jingle was the happiest sound? I do. I grew up on homemade ice cream, the kind that was so rich it made your eyes roll back. But as I got older, I realized that kind of indulgence wasn't always the best idea. So, I set out on a quest: to create a low fat vanilla ice cream recipe that didn't skimp on flavor or creamy texture. It was a tough challenge, but I think I've cracked the code. This isn't just some watery, icy disappointment. We're talking real, scoopable, satisfying ice cream. In this article, I'll take you through my journey, explaining the ingredients and techniques that make this low fat vanilla ice cream recipe work. We will explore the science behind a creamy texture, step-by-step instructions to make this at home, and some tips and tricks to help you customize your perfect frozen treat. Get ready to ditch the guilt and grab a spoon!
My Journey to a GuiltFree Vanilla Ice Cream
My Journey to a GuiltFree Vanilla Ice Cream
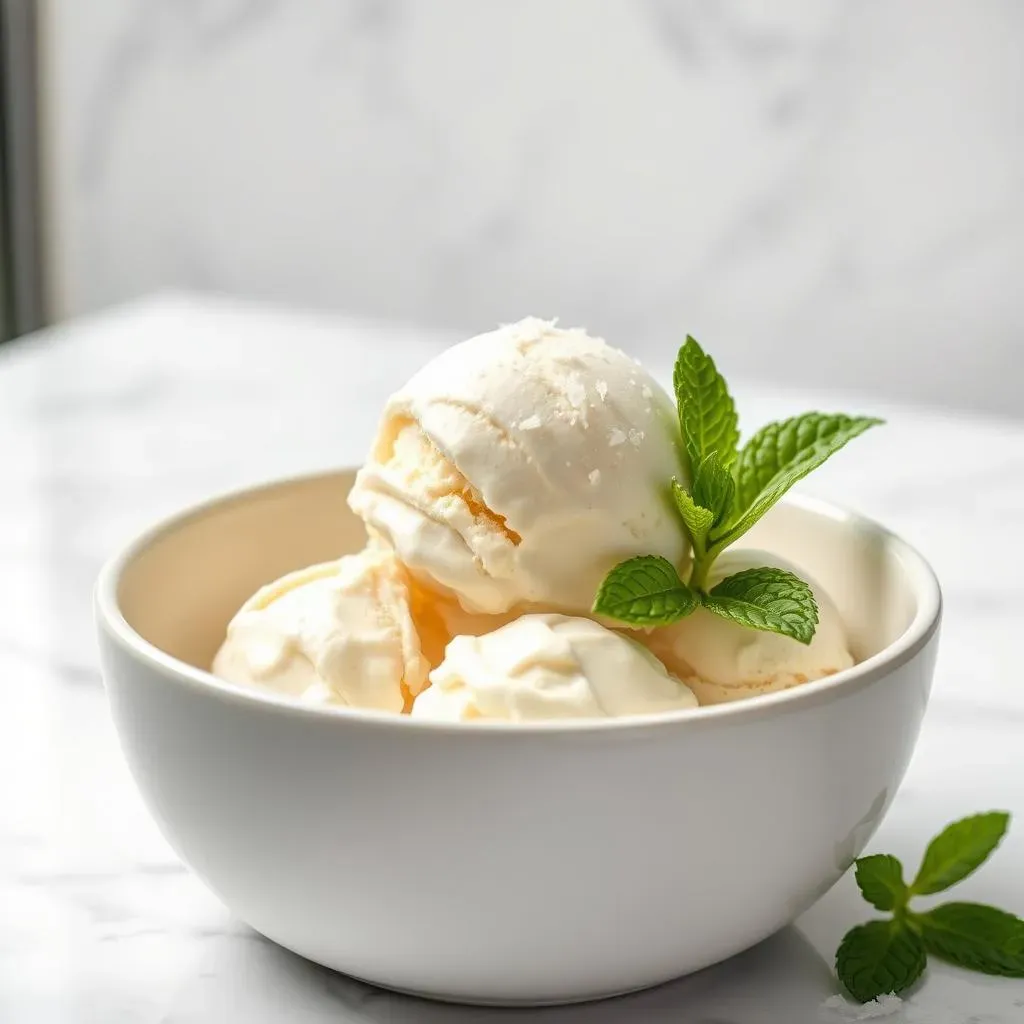
so my love affair with ice cream started young, like, popsicle-stained-face young. My grandma had this old hand-crank ice cream maker, and summers meant endless batches of the richest, creamiest vanilla imaginable. Seriously, it was like eating frozen clouds of pure joy. But, as life does, things changed. I started paying more attention to what I was eating, and all that deliciousness started feeling a little… heavy. The store-bought "low-fat" options were a joke, either tasting like flavored ice or packed with weird chemicals. I thought, "There has to be a better way!" That’s when my journey began, a quest to recreate that childhood magic, but with a grown-up twist, something that wouldn't leave me feeling sluggish and guilty. I wanted a low fat vanilla ice cream recipe that was actually good, not just a sad substitute.
The Science Behind a Creamy Low Fat Vanilla Ice Cream Recipe
The Science Behind a Creamy Low Fat Vanilla Ice Cream Recipe
The Magic of Ingredients
Alright, let's talk science, but not the boring kind. Forget complicated formulas, we're breaking down why some ice cream is smooth and dreamy, while others turn into icy rocks. It all comes down to the ingredients and how they interact. In my low fat vanilla ice cream recipe, we're ditching the heavy cream and leaning on Greek yogurt and 2% milk. You might think that sounds like a recipe for disaster, but trust me, it's not. The key is the protein in the yogurt, it helps create a creamy texture, even without all the fat. Think of it as our secret weapon.
We're also using liquid stevia instead of refined sugar. Sugar does more than just sweeten; it also affects the texture of ice cream. Too much, and it can get too soft. Too little, and it can be rock hard. Stevia helps us get the sweetness without the textural issues. And then, there's xanthan gum, a bit of a magical ingredient. It's a food additive that acts like a "glue" helping to hold everything together and create a smooth, consistent texture. It's what keeps our ice cream from turning into a grainy mess.
The Importance of the Right Tools
Now, let's talk tools. You can't just throw these ingredients together and expect a miracle. An ice cream maker is essential for achieving the right consistency. It churns the mixture, incorporating air and preventing large ice crystals from forming. This is what gives us that smooth, scoopable texture we're after. Think of it like this: if you were making a smoothie, you wouldn't just stir the ingredients, you'd blend them, right? The ice cream maker is our blender for frozen desserts. It's a worthy investment if you're serious about making your own delicious treats.
Ingredient | Role in Ice Cream |
|---|---|
Greek Yogurt | Provides protein for creaminess |
2% Milk | Adds moisture and helps with texture |
Liquid Stevia | Sweetens without affecting texture |
Xanthan Gum | Acts as a "glue" for smooth consistency |
Balancing Act: Fat, Sugar, and Texture
Making great ice cream is all about balance. It's a delicate dance between fat, sugar, and water, and how they freeze. Too much water, and you get ice crystals. Too much fat, and it can feel heavy. The goal here is to find that sweet spot where you get the creamy mouthfeel without all the extra fat and calories. My recipe strikes that balance. It's low in fat and sugar, but it doesn't sacrifice taste or texture. It's a testament to the fact that you don't need tons of bad stuff to create something truly delicious. It’s science, but it’s also kind of like magic.
We are making a low fat vanilla ice cream recipe that is also egg-free and gluten-free. This means it's more accessible for folks with dietary restrictions. It also means that we're relying on the other ingredients to do the heavy lifting when it comes to texture and flavor. It might sound like we're working with limitations, but actually, it's a chance to get more creative and create something truly special. It's about making smarter choices and still getting to enjoy the simple pleasure of a bowl of ice cream.
StepbyStep Guide: Making Your Own Low Fat Vanilla Ice Cream
StepbyStep Guide: Making Your Own Low Fat Vanilla Ice Cream
Get Your Ingredients Ready
Alright, let's get to the fun part – making the ice cream! First things first, gather your ingredients. You'll need 2 cups of plain Greek yogurt, 1 cup of 2% milk, 1/2 cup of liquid stevia (or more to taste), 1 teaspoon of vanilla extract, and 1/2 teaspoon of xanthan gum. It's important to have everything measured out before you start. It makes the process smoother and less chaotic. I learned that the hard way when I first started experimenting and ended up with stevia all over the counter. Trust me, being organized is key, it will save you some time and mess.
Now, grab a medium-sized bowl and whisk together the Greek yogurt, 2% milk, and liquid stevia. Make sure everything is well combined. You want a smooth, consistent mixture. Then, add the vanilla extract and xanthan gum. Whisk it again until the xanthan gum is fully incorporated. It might look a little clumpy at first, but keep whisking, it will smooth out. This is where that "glue" starts to work its magic, creating the base of our creamy dessert. If you have an immersion blender, you can also use that to make sure everything is super smooth.
Churning and Freezing
Once your mixture is smooth, it’s time to pour it into your ice cream maker. Follow the manufacturer's instructions for your specific model. Usually, you’ll need to let it churn for about 20-30 minutes. This process is crucial because it incorporates air and prevents the formation of large ice crystals, giving the ice cream a smooth, creamy texture. Think of it like whipping cream, but for ice cream. The churning process is what makes it all come together. You'll see it slowly thicken and transform from a liquid to a soft-serve consistency. I remember the first time I saw this happen, it was like witnessing a mini-miracle in my kitchen.
After churning, the ice cream will be soft and ready to enjoy, but it will be a bit too soft. If you want a firmer texture, transfer it to an airtight container and place it in the freezer for at least 2 hours. This allows it to fully set. If you can wait that long, that is! The best part is that you can taste test it at every stage, just to make sure it's perfect. It's a tough job, but someone has to do it. Just remember to label your container with the date, especially if you're like me and have a freezer full of experiments.
Step | Action |
|---|---|
1 | Measure all ingredients |
2 | Whisk together yogurt, milk, and stevia |
3 | Add vanilla and xanthan gum, whisk again |
4 | Pour into ice cream maker |
5 | Churn for 20-30 minutes |
6 | Freeze for 2+ hours for a firmer texture |
Tips, Tricks, and Tweaks for the Perfect Low Fat Vanilla Ice Cream

Tips, Tricks, and Tweaks for the Perfect Low Fat Vanilla Ice Cream
Flavor Boosters and Mix-Ins
so you've nailed the basic low fat vanilla ice cream recipe, congrats! But, let's be honest, sometimes plain vanilla just doesn't cut it. This is where you get to unleash your inner ice cream artist. Want a little extra kick? Try adding a teaspoon of almond extract or a pinch of cinnamon. For chocolate lovers, a tablespoon of unsweetened cocoa powder will do the trick. And if you're feeling adventurous, a little bit of finely grated citrus zest can add a bright, zesty note. I once tried adding a pinch of cardamom, and it was surprisingly delicious. The key is to start small and taste as you go.
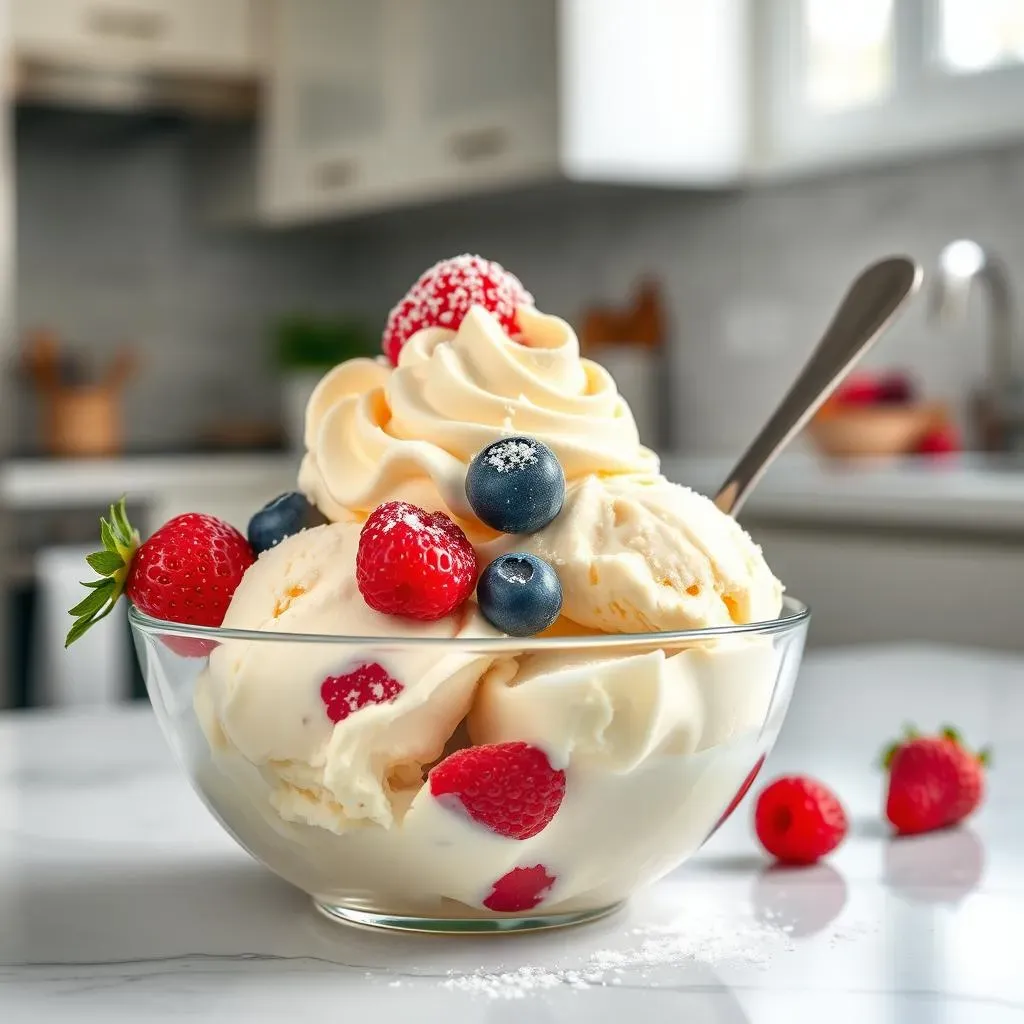
Mix-ins are where things get really fun. Fold in some chopped nuts, like almonds or pecans, after the churning process for a little crunch. Or, add some berries, like blueberries or raspberries. Mini chocolate chips are always a good idea, too. Just make sure whatever you're adding is finely chopped so that it blends evenly. And, if you're feeling extra fancy, try swirling in some sugar-free caramel or chocolate sauce. Don't be afraid to get creative and experiment. It's your ice cream, after all, so make it something you'll love.
Flavor Addition | Amount |
|---|---|
Almond Extract | 1 tsp |
Cinnamon | Pinch |
Unsweetened Cocoa Powder | 1 tbsp |
Citrus Zest | 1 tsp |
Troubleshooting and Texture Tweaks
Sometimes, even with the best intentions, things can go a little sideways. If your ice cream is too icy, it might be because you didn't churn it long enough or the freezer is too cold. Try adding a bit more xanthan gum next time, or try to churn it a little longer. If it's too soft, it could be that you didn't freeze it for long enough. Be patient and give it some time in the freezer. Another trick I've learned is to use a shallow container when freezing. This helps it freeze more evenly. The deeper the container, the longer it takes to freeze and it can make the ice cream icy.
And here's a little secret: if you don't have an ice cream maker, you can still make this recipe! While the texture won't be exactly the same, you can use a blender. After you've mixed all the ingredients, pour it into a freezer-safe container and freeze for about 2 hours, then blend until smooth. You might need to do this a couple of times to get the right consistency. Or, you can try the no-churn method, which involves freezing the mixture and then whisking it every 30 minutes or so. It takes a little more effort, but it works in a pinch. Remember, making ice cream is a journey, not a destination. Don't worry if it's not perfect the first time, you'll get there.
- Too icy? Churn longer or add more xanthan gum.
- Too soft? Freeze longer in a shallow container.
- No ice cream maker? Use a blender or try the no-churn method.
The Sweet Ending: Your Guilt-Free Ice Cream Journey
So, there you have it – a low fat vanilla ice cream recipe that actually tastes like a treat. No more watery, icy disappointments. This recipe shows that you can enjoy a creamy, delicious dessert without all the extra fat and sugar. Whether you stick to the basics or get creative with your mix-ins, the key is to have fun and enjoy the process. Don't be afraid to experiment and make this recipe your own. After all, the best kind of ice cream is the kind you make yourself. Now go, grab your spoons, and get scooping. Your freezer is waiting!