Table of Contents
Ever dreamt of a creamy, dreamy ice cream that doesn't weigh you down? I have, and trust me, the struggle was real. I love ice cream, but the usual options are either loaded with fat or taste like…well, not like ice cream. That's why I went on a quest to create the perfect low fat vegan ice cream recipe. Forget the coconut milk and heavy creams, this recipe is all about the magic of oats. Yep, those humble oats you probably eat for breakfast can transform into the smoothest, most satisfying frozen dessert you've ever tasted. This isn't just another bland vegan substitute; it's a game-changer that will have you questioning why you ever settled for less. We're talking about a dessert that's not only delicious but also kind to your body and the planet. Get ready to discover how easy it is to whip up a batch of this creamy goodness, and prepare to have your mind blown by the flavor and texture. We will go through the secret of using oats for creaminess, step by step on how to make this magic happen, how to make it your own with different flavors, and how to serve and store this delicious creation.
The Magic of Oats: Creating Creaminess Without the Fat
The Magic of Oats: Creating Creaminess Without the Fat
Oats: The Unlikely Ice Cream Hero
so you're probably thinking, "Oats? In ice cream?" I get it. It sounds a little weird, right? But hear me out. Oats are like the secret weapon in this low fat vegan ice cream recipe. They’re not just for breakfast anymore. When blended, oats release this amazing creamy texture that you'd usually get from heavy cream or coconut milk. It's like they magically transform from a humble grain into a luscious, smooth base. I was skeptical too, until I tried it. Now, I'm totally hooked. It's like discovering a cheat code for delicious, guilt-free desserts. Who knew oats had such hidden talents?
The best part? You don't need any fancy equipment or hard-to-find ingredients to unlock this creaminess. Just regular rolled oats, the kind you probably already have in your pantry. Forget the coconut milk that's often the go-to for vegan ice cream; it can be heavy and overpowering. Oats give you a light, neutral base that lets the other flavors really shine. It’s like providing a blank canvas for your ice cream masterpiece. This means you can easily adjust the sweetness, the vanilla, or any other flavor you want without having that coconutty aftertaste. Trust me, once you try it, you'll be an oat convert too.
Ingredient | Why It Works |
|---|---|
Rolled Oats | Creates a creamy base when blended |
Non-Dairy Milk | Adds moisture and helps with blending |
Cashews | Boosts creaminess and richness |
Beyond the Basics: Understanding Oat Creaminess
So, what's the science behind this oat magic? It's all about the starches. When oats are blended with liquid, they release starches that act as a natural thickener and emulsifier. This means that the mixture becomes smooth and creamy, just like traditional ice cream bases. It’s not just about blending it; it’s about blending it right, so those starches get released. I remember the first time I tried it; I blended the oats for a good minute, and the transformation was incredible. It went from a watery mess to this thick, velvety liquid. That’s when I knew I was onto something special.
And it's not just the texture; oats also bring a subtle, almost nutty flavor that complements other ingredients perfectly. It's like a gentle hug for your taste buds. Unlike the sometimes overpowering flavor of coconut, oats just play a supporting role, allowing your chosen flavors to take center stage. Think of it as a blank page that’s just waiting for you to write your own ice cream story. So, if you're tired of the same old vegan ice cream options, give oats a try. You might just be surprised by how much they can do.
Crafting Your Low Fat Vegan Ice Cream: A StepbyStep Guide
Crafting Your Low Fat Vegan Ice Cream: A StepbyStep Guide
Gather Your Ingredients: The Simple Lineup
so you're ready to make some magic happen? Great! Let's start with what you’ll need for this low fat vegan ice cream recipe. This isn't some complicated science experiment; it's a simple process with ingredients you can easily find. First, you'll want about 1 cup of unsweetened non-dairy milk. I like almond or soy, but any kind works. Then, grab half a cup of raw cashews. These guys add extra creaminess and richness. Don't forget half a cup of rolled oats, the star of our show. For sweetness, you will need 1/4 cup of pure maple syrup. And finally, a teaspoon of vanilla extract. That's it! No crazy ingredients, no weird chemicals, just simple, whole foods.
Before we jump into the actual making part, let's chat about the cashews for a sec. To get the best creamy texture, you'll need to soak them in hot water for at least 30 minutes. This softens them up and makes them easier to blend. I usually do this while I'm gathering the other ingredients. It's a small step that makes a big difference in the final product. Once they're soaked, drain them well. Also, make sure your oats are the regular rolled oats, not the instant ones. The instant ones don't have the same starch content, so they won't give you the same creamy result. Now that you've got everything prepped, let's get blending!
Ingredient | Quantity | Purpose |
|---|---|---|
Unsweetened Non-Dairy Milk | 1 cup | Liquid base for blending |
Raw Cashews (soaked) | 1/2 cup | Adds creaminess and richness |
Rolled Oats | 1/2 cup | Creates the creamy texture |
Pure Maple Syrup | 1/4 cup | Sweetens the ice cream |
Vanilla Extract | 1 tsp | Adds flavor |
The Blending Process: Smoothness is Key
Alright, here comes the fun part. Grab your blender, and let's get to work. Throw in the soaked cashews, the rolled oats, the non-dairy milk, maple syrup, and vanilla extract. Now, blend this mixture on high speed for at least 2-3 minutes. You want it to be super smooth, like a milkshake. If it looks a little thick, add a splash more of milk. It is better to start with less milk and add more as needed. I like to stop and scrape down the sides a couple of times to make sure everything is getting blended evenly.
Once the mixture is silky smooth, you have a choice to make: ice cream maker or no-churn method? If you have an ice cream maker, pour the mixture into the machine and churn according to its instructions. Usually, it takes about 20-30 minutes. If you don't have one, no sweat! Just pour the mixture into a freezer-safe container and pop it in the freezer. I usually prefer to use my ice cream maker, since it gives me a softer, more scoopable result right away, but I also do the no-churn way when I'm in a hurry. The no-churn method will need a bit more time to set, so be patient.
Flavor Customization: Unleash Your Inner Ice Cream Artist
Flavor Customization: Unleash Your Inner Ice Cream Artist
Your Ice Cream, Your Rules: Getting Creative
so you've got your basic low fat vegan ice cream recipe down, now what? This is where the fun really begins! Think of the plain vanilla base as your canvas, and now you are the artist. Seriously, the flavor possibilities are endless. I mean, who wants to eat the same flavor every time, right? This is where you get to let your imagination run wild and create something truly unique. I've experimented with everything from classic chocolate to more adventurous combinations like lavender and honey. The beauty of this recipe is that it's so versatile, it can handle pretty much anything you throw at it. It’s like having a superpower, but for dessert.
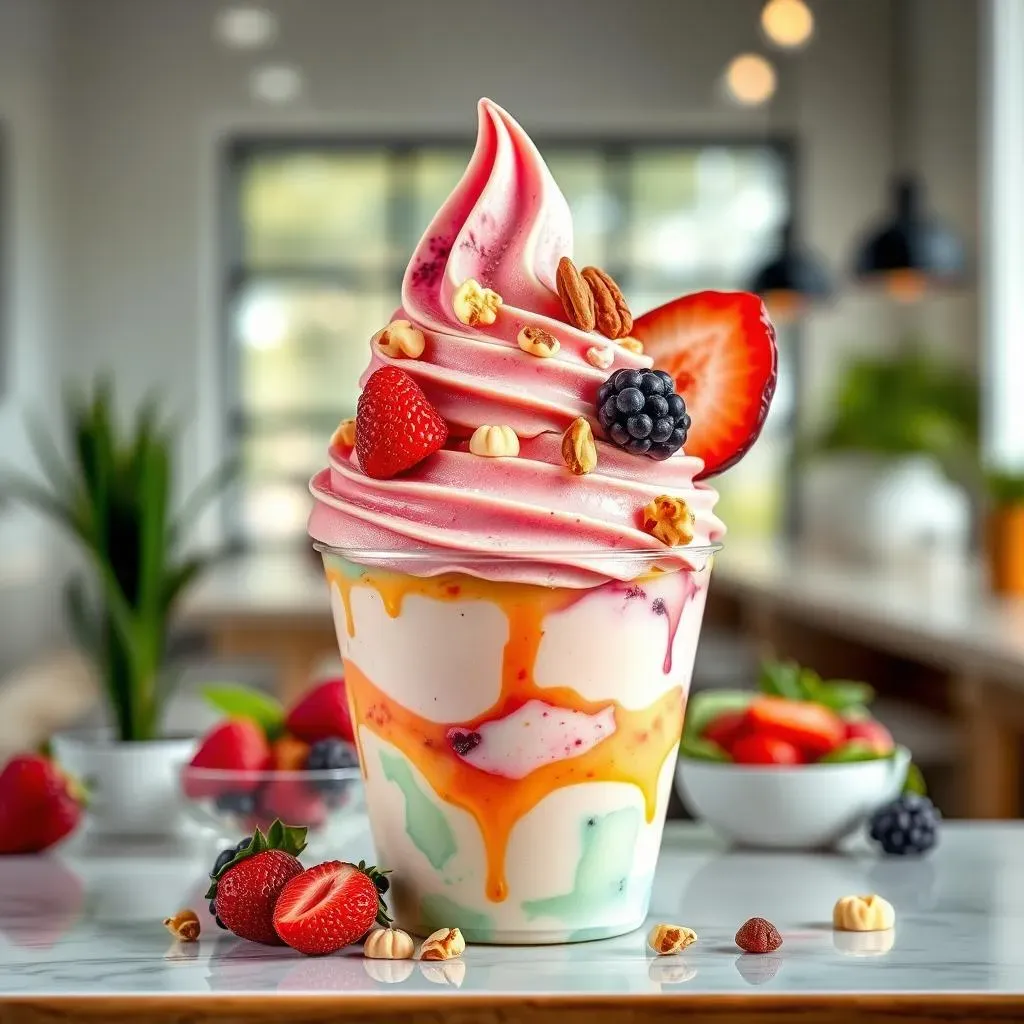
Let's start with the basics. If you're a chocolate lover, stir in some cocoa powder or melted vegan chocolate. For a fruity twist, add in some pureed berries or a dash of lemon zest. Or, if you are feeling a little nutty, some chopped nuts or nut butter will do the trick. The key is to add your mix-ins after the ice cream base has been blended, but before churning or freezing. If you are using an ice cream maker, add your mix-ins during the last few minutes of churning. If you are using the no-churn method, stir them in before putting the mixture in the freezer. Also, don't be afraid to experiment with different extracts, spices, and even edible flowers. I once added a pinch of sea salt to my chocolate ice cream, and it was a game changer!
Flavor Idea | Mix-Ins |
|---|---|
Chocolate | Cocoa powder, vegan chocolate chips |
Berry | Pureed berries, jam |
Nutty | Chopped nuts, nut butter |
Spiced | Cinnamon, nutmeg, cardamom |
Sweetening It Up: Sugar Substitutes
Now, let's talk about sweetness. The recipe calls for maple syrup, but you can definitely switch it up if you prefer. Agave nectar, date syrup, or even stevia are all great options. The trick is to adjust the amount based on your preference. If you're using a less sweet substitute, you might need to add a little more. I once tried using honey and it turned out great, but I know that's not vegan, so I would suggest that you stick to the maple syrup. It's all about finding the right balance. Remember, taste as you go, and don't be afraid to tweak things until you get it just right.
Also, you can even go the route of adding fruit to sweeten it up. Ripe bananas, mangoes, or even dates can add natural sweetness, plus they give your ice cream a different texture. I usually add the fruit during the blending process, so it gets incorporated into the base. This also adds extra creaminess, so it's a win-win situation. The sky is the limit when it comes to flavor combos. You can even use extracts like almond, peppermint, or coffee to give your ice cream an extra boost.
Serving, Storing, and Troubleshooting Your Low Fat Vegan Ice Cream
Serving, Storing, and Troubleshooting Your Low Fat Vegan Ice Cream
Scooping and Serving: The Perfect Presentation
so you've made this amazing low fat vegan ice cream recipe, now how do you serve it up? First things first, remember that this ice cream tends to be a bit softer than traditional ice cream, especially right after it's churned. If you are using an ice cream maker, it's usually ready to eat right away. However, if you went the no-churn route, it’ll need some time in the freezer to firm up. I usually recommend freezing it for at least 3-4 hours, or even overnight for the best texture. Once it’s frozen, you'll want to let it sit at room temperature for about 10-15 minutes before scooping. This makes it easier to scoop and gives it that perfect, soft texture.
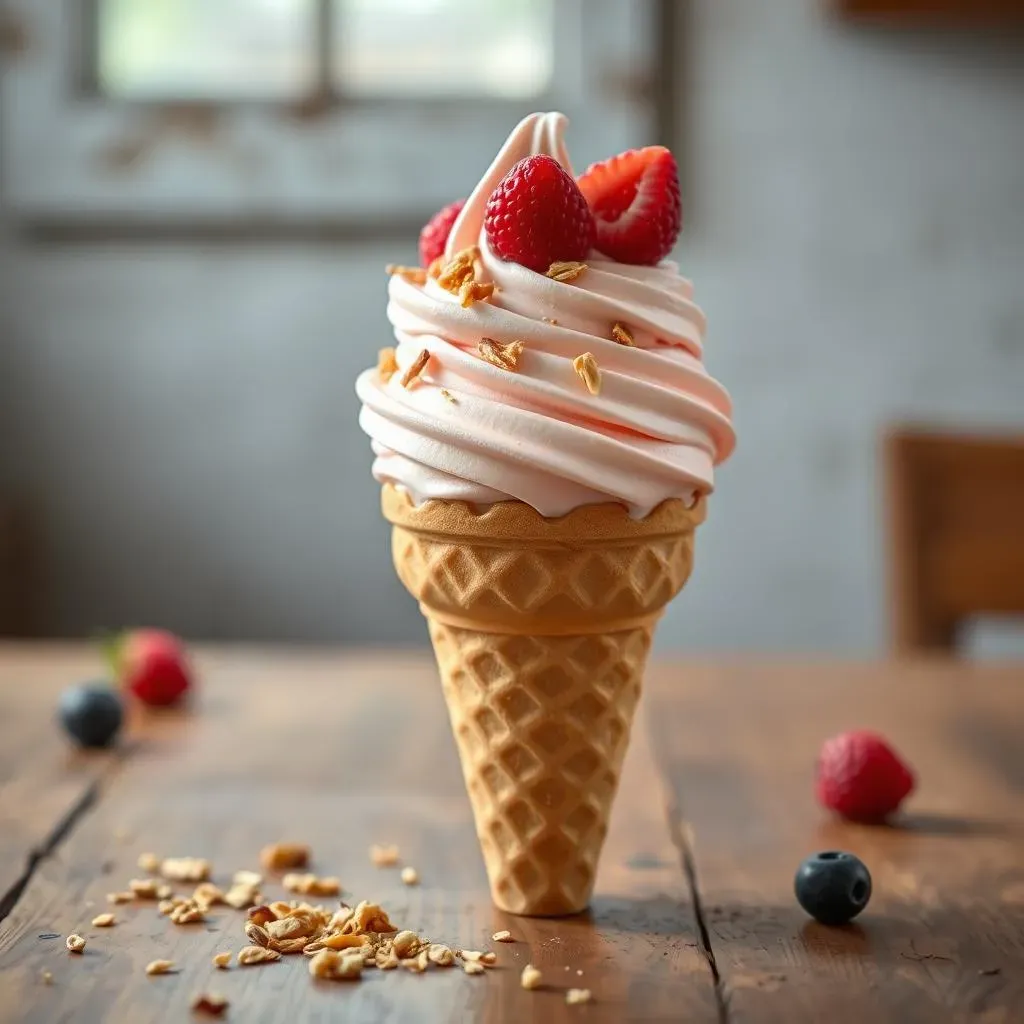
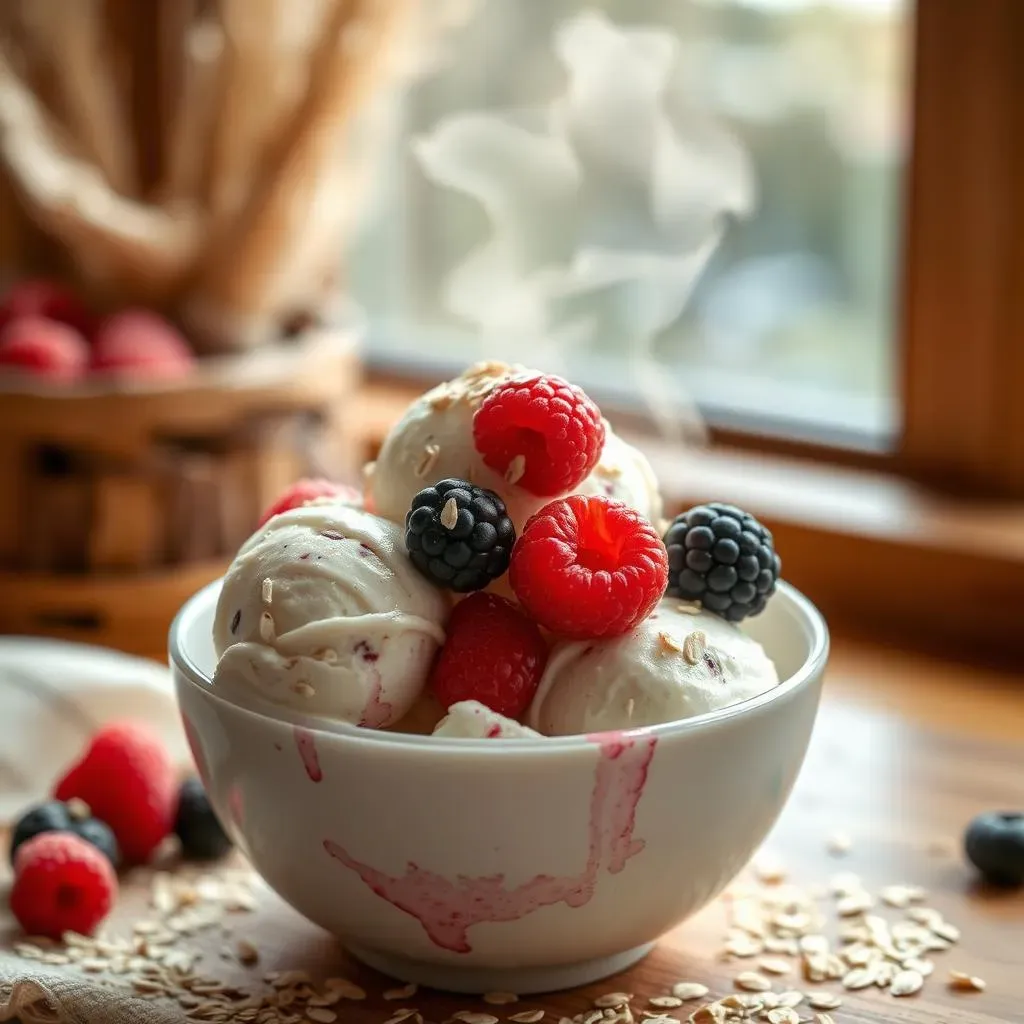
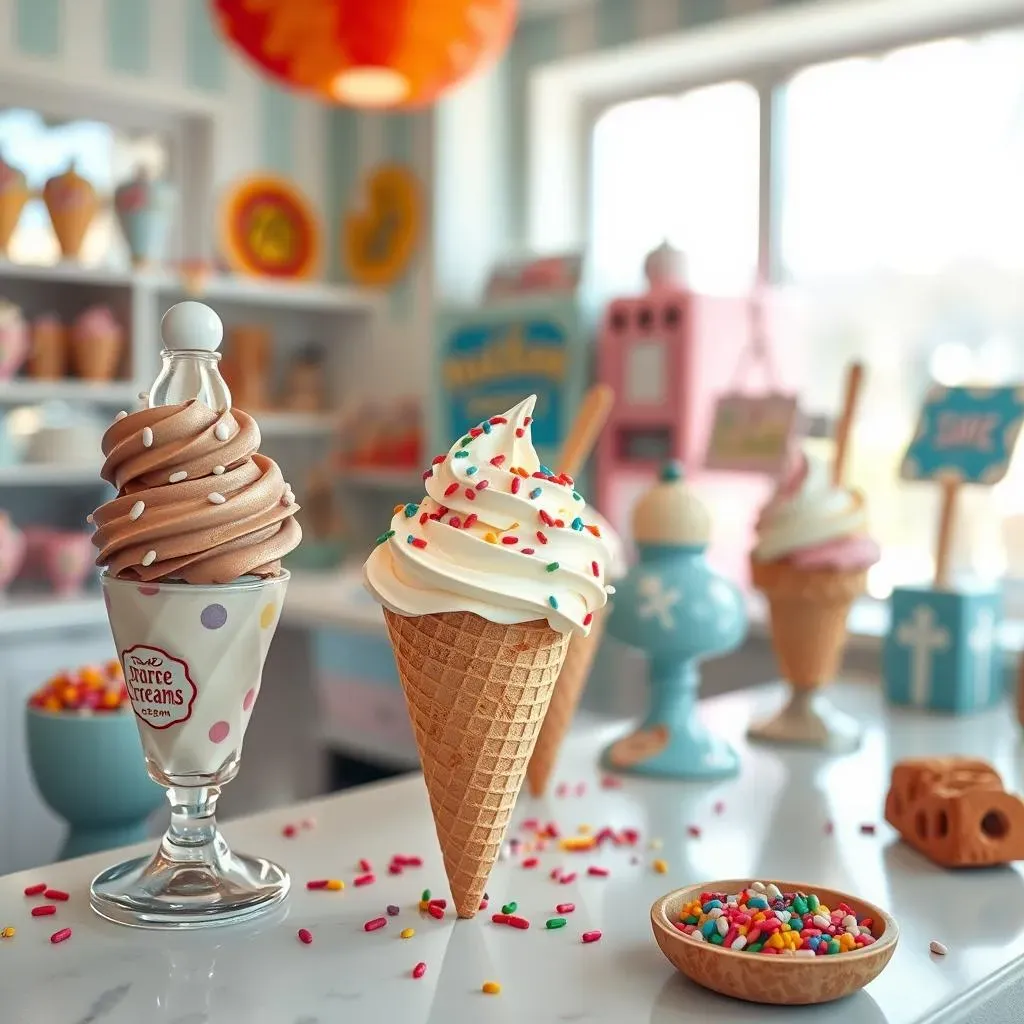
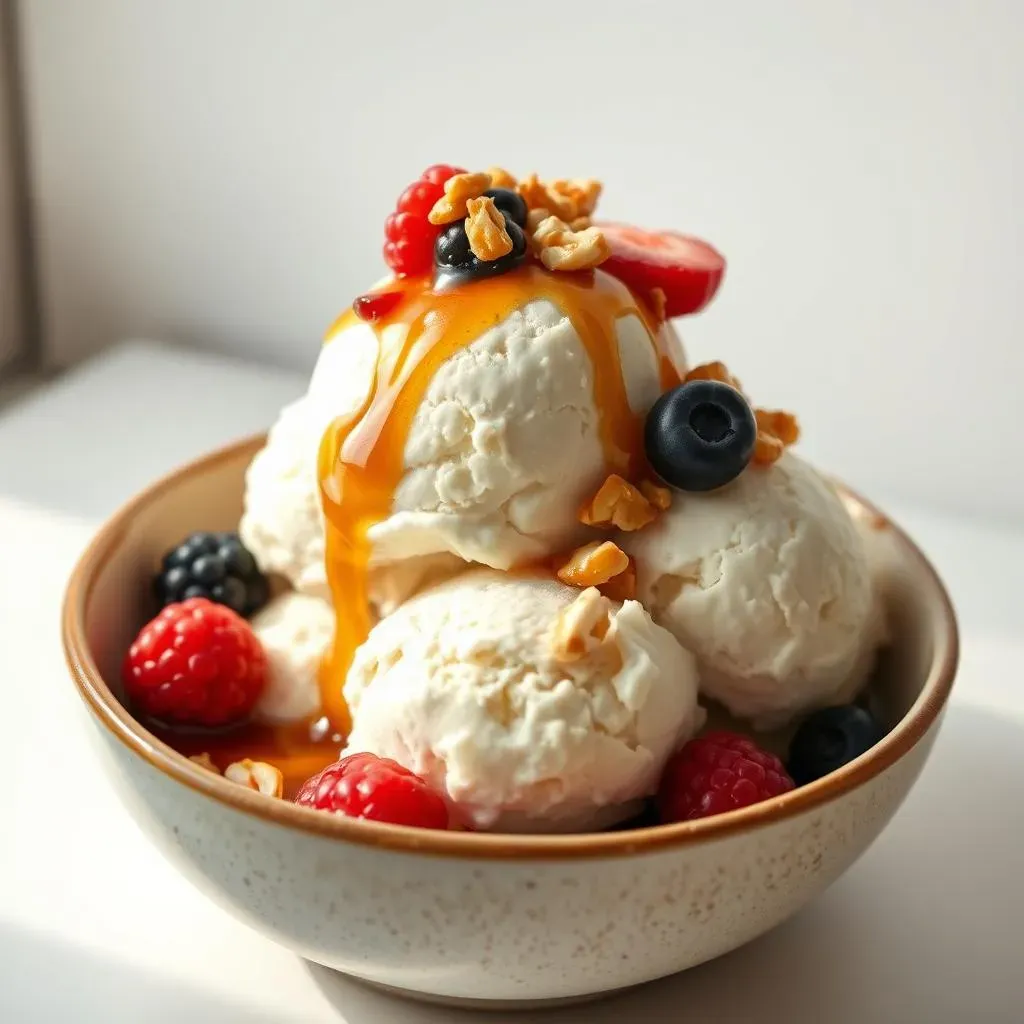
When it comes to serving, you can keep it simple with a classic bowl or get creative with waffle cones, or even make ice cream sandwiches. I like to add some extra toppings, like a drizzle of maple syrup, some fresh berries, or a sprinkle of chopped nuts. It's all about making it look as good as it tastes. And let's be honest, a little extra presentation never hurt anyone. You can also serve it with some vegan brownies for a full dessert experience. The best part about homemade ice cream is that you can customize it to your liking, so don't be afraid to get a little fancy.
Serving Tip | Description |
|---|---|
Soften Time | Let ice cream sit at room temp for 10-15 min before scooping |
Toppings | Add fresh fruit, nuts, or drizzles for extra flavor |
Presentation | Serve in bowls, cones, or as ice cream sandwiches |
Storage and Troubleshooting: Keeping it Fresh
Now, what about storing any leftovers? If you have any (which is unlikely, because it's so good), make sure to store it in an airtight container in the freezer. This will prevent freezer burn and keep your ice cream fresh for a few weeks. If you notice that it gets a little icy, just let it thaw slightly before scooping. Also, remember that the texture might change a bit after being frozen, so it might not be as soft as the first time you ate it. But it will still be delicious.
Sometimes, things might not go as planned. If your ice cream is too icy, it could be due to not enough fat content or not enough sugar. If it's too soft, it means it needs more time in the freezer. If the flavor isn't quite right, just adjust your ingredients next time. One time, I added too much maple syrup and it was way too sweet, so I learned to taste as I go. The key is to be patient and keep experimenting until you get it perfect. Don't be afraid to make mistakes; that’s how you learn. And remember, even if it's not perfect, it’s still going to be a delicious treat.
The Sweet Finale: Enjoying Your Low Fat Vegan Ice Cream
So there you have it, a low fat vegan ice cream recipe that’s as delicious as it is simple. No fancy equipment or weird ingredients, just good old oats and a little bit of kitchen magic. This recipe is more than just a dessert; it's a testament to the fact that you don't have to sacrifice flavor or texture when you're trying to eat healthier. Whether you're a seasoned vegan or just looking to cut back on dairy, this ice cream is a total game-changer. Now go forth, experiment with flavors, and share the creamy goodness with everyone you know. Just remember, the best ice cream is the one you make yourself, especially when it tastes this good and doesn't leave you feeling heavy. Enjoy every spoonful!