Table of Contents
Who says you can't have your cake and eat it too? If you're watching your waistline but still craving a sweet treat, look no further than a **low fat yogurt cake**. This isn't your typical dry, bland diet dessert. We're talking about a moist, flavorful cake that satisfies your sweet tooth without the guilt. Forget complicated recipes and hours in the kitchen; this recipe is surprisingly simple, using ingredients you probably already have. This article will guide you through creating the perfect **low fat yogurt cake**, from understanding why it's a healthier option to mastering the baking process. We'll explore flavor variations to tantalize your taste buds and provide tips for storing and serving your creation. Get ready to bake a cake that's both delicious and good for you! Let's dive in and discover the secrets to a truly satisfying and guilt-free dessert experience.
Why Choose a Low Fat Yogurt Cake?
Why Choose a Low Fat Yogurt Cake?
Lower in Calories, Big on Flavor
Let's face it, traditional cakes can be calorie bombs. All that butter, oil, and sugar adds up quickly! A low fat yogurt cake offers a fantastic alternative. By swapping out some of the fat with yogurt, you significantly reduce the calorie count without sacrificing taste. You're still getting a delicious, satisfying treat, but you can enjoy it with less guilt. Think of it as a smarter indulgence.
A Nutritional Boost
Beyond just fewer calories, yogurt brings some nutritional benefits to the table. Yogurt is a good source of protein and calcium, essential for strong bones and muscles. Using yogurt in your cake adds a subtle tang and helps create a moist, tender crumb. It’s a win-win situation: you get a tasty dessert and a little extra nutrition. Plus, it’s a great way to sneak in some extra calcium, especially for picky eaters.
Easy to Customize and Adapt
One of the best things about a low fat yogurt cake recipe is its versatility. It's a blank canvas for your culinary creativity! You can easily adapt the recipe to suit your dietary needs and preferences. Need a gluten-free option? Swap in gluten-free flour. Want to add some extra flavor? Throw in some berries, chocolate chips, or a sprinkle of cinnamon. The possibilities are endless! This adaptability makes it a perfect recipe for experimenting and creating your own signature yogurt cake.
Flavor Boosters:
- Fresh berries (strawberries, blueberries, raspberries)
- Chocolate chips (dark, milk, or white)
- Citrus zest (lemon, orange, lime)
- Spices (cinnamon, nutmeg, cardamom)
- Nuts (chopped walnuts, pecans, almonds)
The Ultimate Low Fat Yogurt Cake Recipe
The Ultimate Low Fat Yogurt Cake Recipe
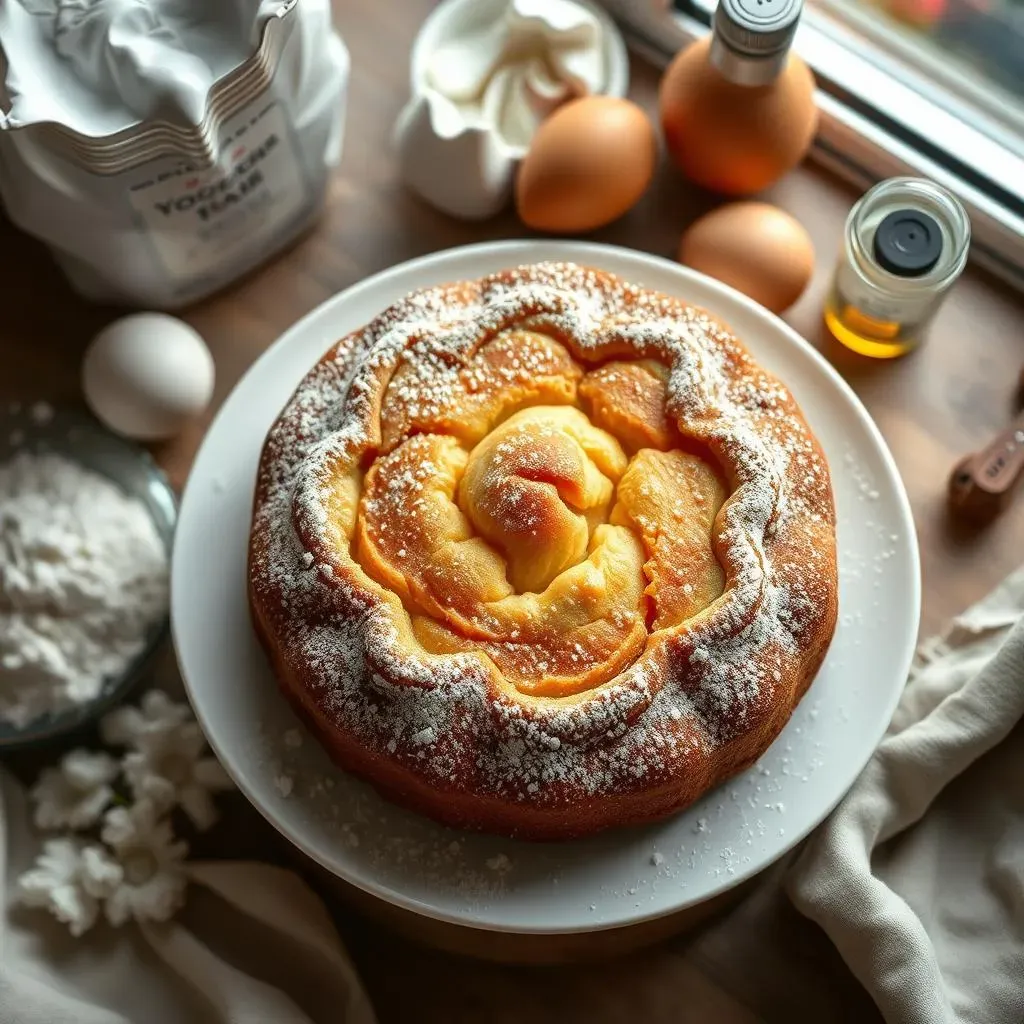
Gather Your Ingredients
Alright, let's get baking! Here's what you'll need for this ridiculously easy and delicious low fat yogurt cake recipe. Don't worry; it's all pretty standard stuff. You probably have most of it in your pantry already. The key here is the yogurt – it's the star of the show! Make sure it is plain and low fat.
- 1 1/2 cups all-purpose flour (or gluten-free blend)
- 3/4 cup granulated sugar (or your favorite sweetener)
- 1 teaspoon baking powder
- 1/2 teaspoon baking soda
- 1/4 teaspoon salt
- 1 cup plain low fat yogurt
- 2 large eggs
- 1/4 cup vegetable oil (or melted coconut oil)
- 1 teaspoon vanilla extract
- Optional: zest of 1 lemon or orange
Step-by-Step Baking Instructions
gather 'round, because this is where the magic happens! Preheat your oven to 350°F (175°C). Grease and flour a 9-inch round cake pan (or use a non-stick pan). In a large bowl, whisk together the flour, sugar, baking powder, baking soda, and salt. In a separate bowl, whisk together the yogurt, eggs, oil, and vanilla extract. Gradually add the wet ingredients to the dry ingredients, mixing until just combined. Be careful not to overmix! If you're using zest, fold it in now. Pour the batter into the prepared cake pan and bake for 30-35 minutes, or until a wooden skewer inserted into the center comes out clean. Let the cake cool in the pan for 10 minutes before inverting it onto a wire rack to cool completely.
Recipe Variations and Substitutions
Want to get a little fancy? This recipe is super adaptable! Swap out the vanilla extract for almond extract, or add a handful of chocolate chips to the batter. For a citrusy twist, add the zest of a lemon or orange. If you're feeling adventurous, try using different types of yogurt, like Greek yogurt (just be sure to adjust the liquid accordingly). You can also substitute the vegetable oil with melted coconut oil for a subtle coconut flavor. The possibilities are endless! Get creative and make it your own.
Ingredient | Substitution | Notes |
|---|---|---|
All-purpose flour | Gluten-free flour blend | Make sure it's a 1:1 replacement |
Granulated sugar | Honey or maple syrup | Use slightly less liquid |
Vegetable oil | Melted coconut oil | Adds a subtle coconut flavor |
Tips for Baking the Perfect Low Fat Yogurt Cake

Tips for Baking the Perfect Low Fat Yogurt Cake
Room Temperature is Key
Seriously, don't skip this step! Using room temperature ingredients makes a huge difference in the final texture of your cake. Room temperature eggs and yogurt emulsify better, creating a smoother batter and a more even crumb. Take your eggs and yogurt out of the fridge about 30 minutes before you start baking. It's a small step that yields big results. Trust me on this one.
Ever wonder why your cake is dense or gummy? It could be because your ingredients were too cold! Give them a chance to warm up and work their magic.
Don't Overmix the Batter
Overmixing is the enemy of a tender cake. When you overmix, you develop the gluten in the flour, which can result in a tough, chewy cake. Mix the wet and dry ingredients together until just combined. A few streaks of flour are okay; they'll disappear during baking. Resist the urge to keep stirring! Gently fold in any additions like chocolate chips or berries. Remember, less is more when it comes to mixing.
Bake it Right
Oven temperature is crucial for baking the perfect low fat yogurt cake. Make sure your oven is properly preheated before you put the cake in. Bake the cake until a wooden skewer inserted into the center comes out clean. Start checking for doneness around 30 minutes, but don't open the oven door too often, or you'll let out the heat! If the cake is browning too quickly, tent it with foil. Every oven is different, so adjust the baking time as needed.
- Preheat your oven properly.
- Check for doneness with a wooden skewer.
- Tent with foil if browning too quickly.
Flavor Variations for Your Low Fat Yogurt Cake
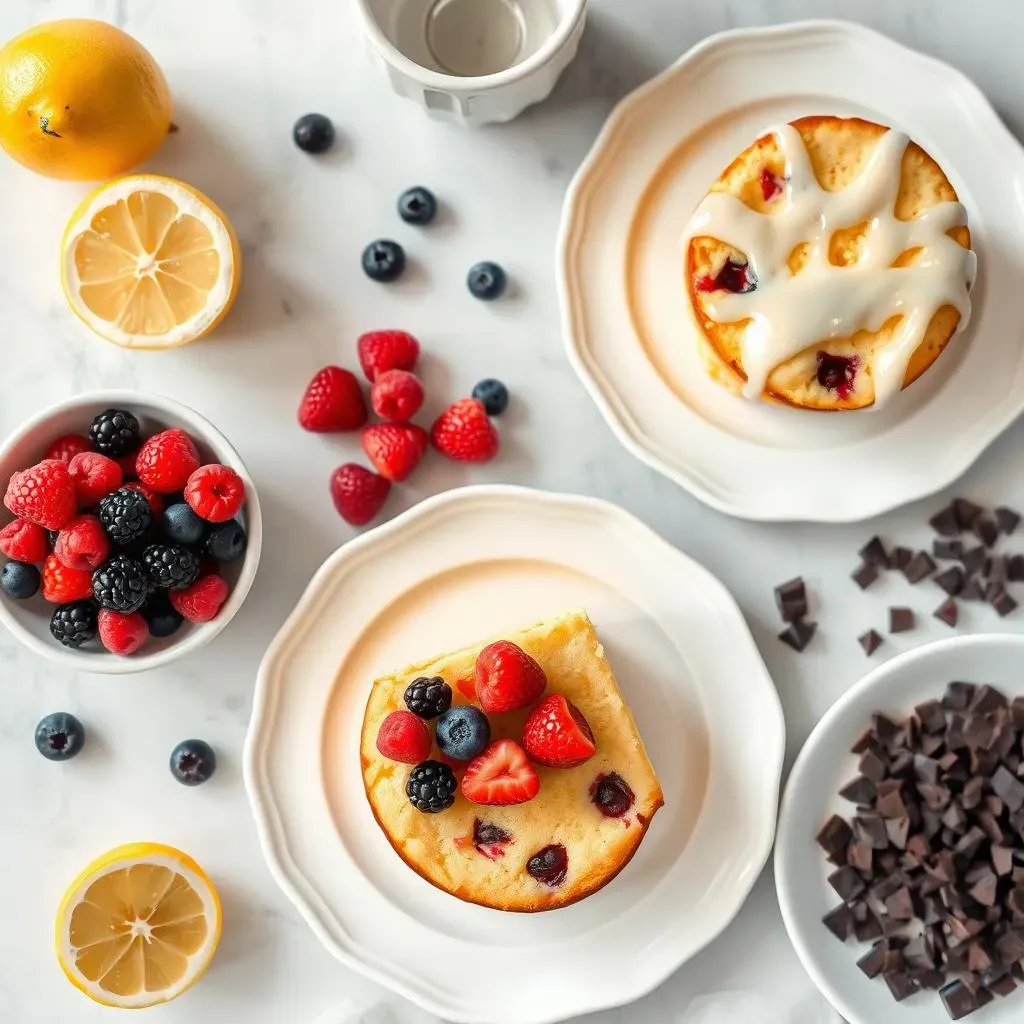
Flavor Variations for Your Low Fat Yogurt Cake
Citrus Burst: Lemon, Orange, or Lime
Want to brighten up your low fat yogurt cake? Citrus is your answer! Adding lemon, orange, or lime zest to the batter infuses it with a refreshing, zesty flavor. Lemon is a classic choice, offering a tangy sweetness that pairs perfectly with the yogurt. Orange zest adds a touch of warmth and sweetness, while lime zest brings a vibrant, tropical twist. For an extra burst of flavor, you can also add a tablespoon or two of citrus juice to the batter. Imagine a light, fluffy cake with a subtle hint of sunshine – pure bliss!
Pro tip: Use a microplane to zest your citrus fruits for the finest, most flavorful zest. Avoid the white pith, as it can be bitter.
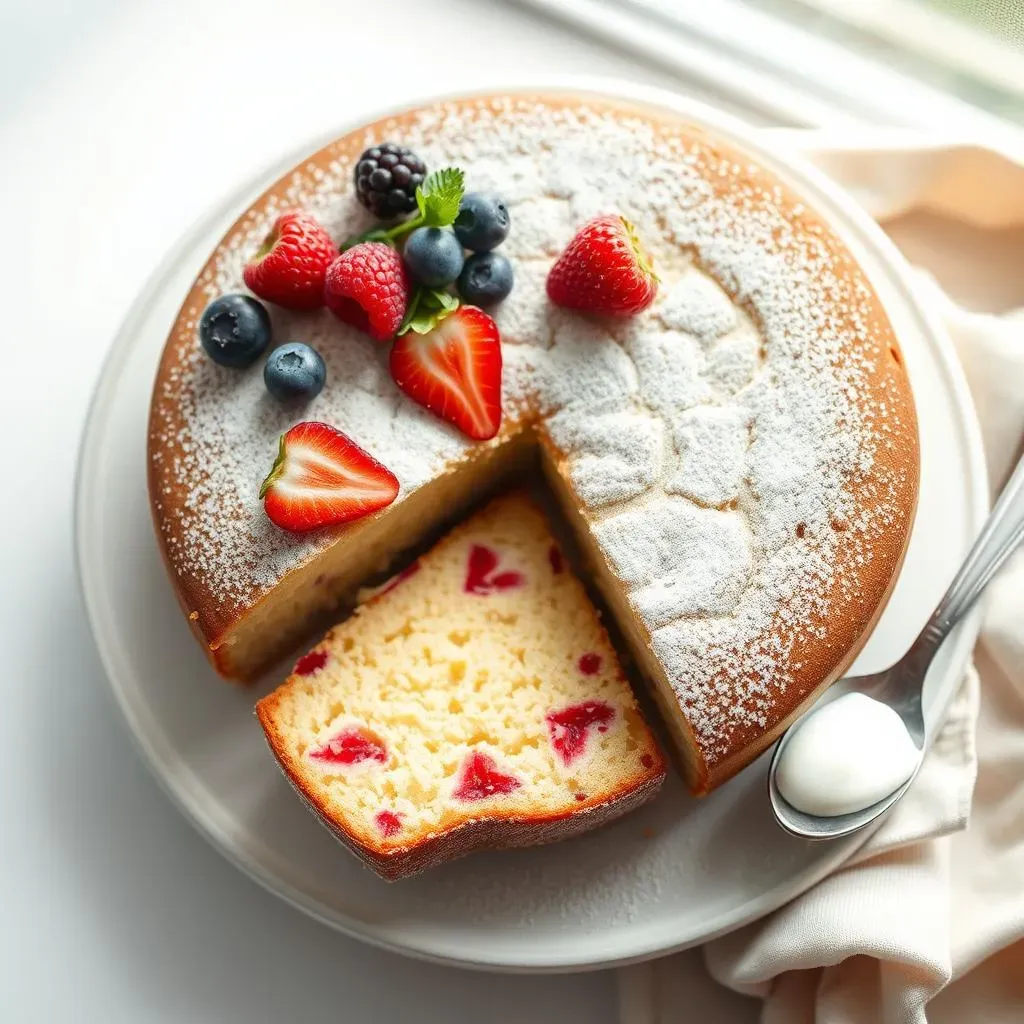
Berry Bliss: A Fruity Delight
Berries and cake are a match made in heaven! Adding fresh or frozen berries to your low fat yogurt cake is a fantastic way to boost the flavor and add a touch of sweetness. Strawberries, blueberries, raspberries, and blackberries all work beautifully. Gently fold the berries into the batter just before pouring it into the pan. For a stunning presentation, sprinkle some extra berries on top before baking. The berries will burst in the oven, creating pockets of juicy, fruity goodness throughout the cake.
Worried about the berries sinking to the bottom? Toss them lightly in flour before adding them to the batter. This will help them stay suspended throughout the cake.
Chocolate Indulgence: Dark, Milk, or White
For all the chocolate lovers out there, this one's for you! Adding chocolate chips or chunks to your low fat yogurt cake is a guaranteed crowd-pleaser. Dark chocolate adds a rich, intense flavor, while milk chocolate provides a classic, comforting sweetness. White chocolate chips offer a creamy, decadent touch. You can also experiment with different types of chocolate, like chopped-up chocolate bars or even cocoa powder. For a truly indulgent experience, drizzle melted chocolate over the cooled cake. Get ready for a chocolatey explosion of flavor!
Chocolate Type | Flavor Profile | Best Uses |
|---|---|---|
Dark Chocolate | Rich, intense, slightly bitter | Chocolate chips, chunks, ganache |
Milk Chocolate | Sweet, creamy, classic | Chocolate chips, drizzle |
White Chocolate | Sweet, creamy, vanilla notes | Chocolate chips, drizzle |
Storing and Serving Your Delicious Low Fat Yogurt Cake
Storing and Serving Your Delicious Low Fat Yogurt Cake
Keeping it Fresh: Proper Storage Techniques
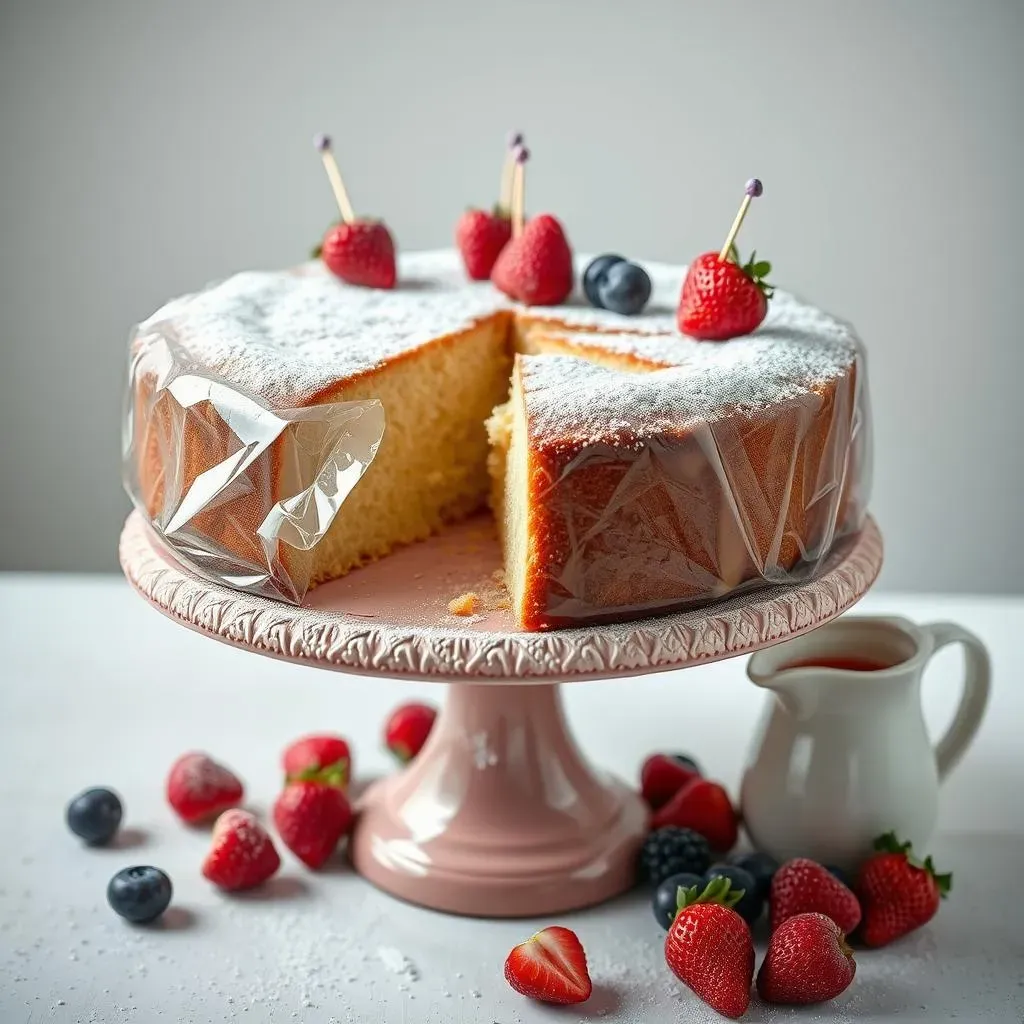
So, you've baked this amazing low fat yogurt cake, and now you're wondering how to keep it fresh. The good news is, it's pretty straightforward! For short-term storage (1-2 days), simply wrap the cake tightly in plastic wrap or store it in an airtight container at room temperature. This will prevent it from drying out. If you want to keep it longer, you can store it in the refrigerator for up to a week. Just be aware that refrigerating the cake might make it a little denser, but it will still taste delicious!
Pro tip: To prevent the cake from sticking to the plastic wrap, insert toothpicks into the top of the cake to create a little space. This will keep the wrap from touching the surface and messing up your beautiful creation.
Freezing for Later: Extend the Shelf Life
Want to enjoy your low fat yogurt cake weeks or even months from now? Freezing is the answer! Let the cake cool completely before wrapping it tightly in plastic wrap, then wrap it again in aluminum foil. This double layer of protection will prevent freezer burn. You can also freeze individual slices for a quick and easy dessert. When you're ready to eat it, thaw the cake in the refrigerator overnight or at room temperature for a few hours. It will taste almost as good as the day you baked it!
Don't forget to label the cake with the date you froze it, so you know how long it's been in the freezer.
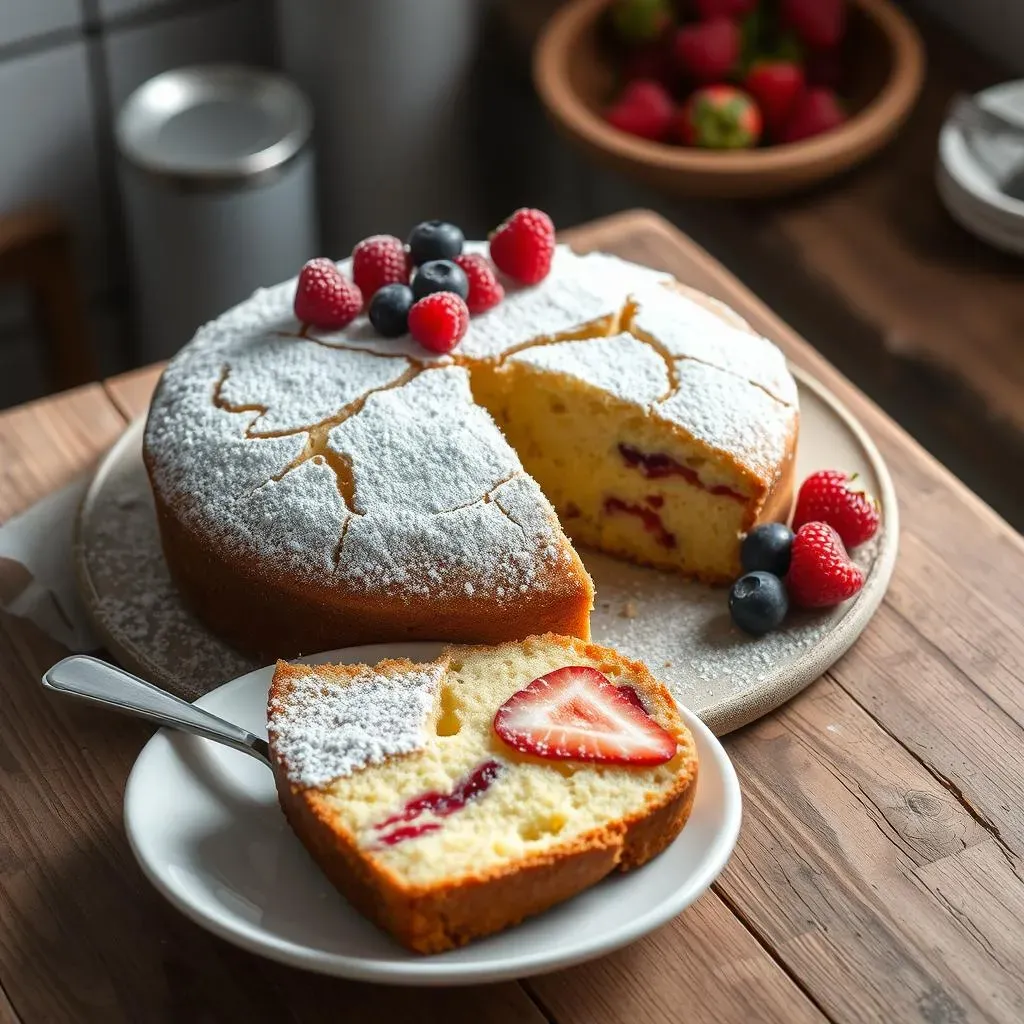
Serving Suggestions: Elevate Your Cake Experience
Alright, the cake is stored, thawed (if necessary), and ready to be devoured! But how can you take it to the next level? The possibilities are endless! A simple dusting of powdered sugar is always a classic choice. You can also top it with fresh berries, whipped cream, or a drizzle of chocolate sauce. For a more sophisticated presentation, try making a simple glaze with powdered sugar and a little bit of milk or lemon juice. Serve it with a scoop of vanilla ice cream or a dollop of Greek yogurt for a truly decadent experience. And don't forget a cup of coffee or tea to complete the perfect dessert moment!
Topping | Flavor Profile | Serving Suggestion |
|---|---|---|
Powdered Sugar | Sweet, delicate | Dust lightly over the cake |
Fresh Berries | Fruity, refreshing | Arrange on top or serve on the side |
Whipped Cream | Creamy, light | Dollop on top or serve on the side |
Chocolate Sauce | Rich, decadent | Drizzle over the cake |
The Sweet Finale: Enjoying Your Low Fat Yogurt Cake
So there you have it – a delicious and guilt-free **low fat yogurt cake** recipe that's easy to make and endlessly customizable. Whether you're looking for a healthier dessert option, a simple baking project, or just a way to satisfy your sweet tooth without derailing your diet, this cake is a winner. Experiment with different flavors, toppings, and serving suggestions to create your own signature version. Now go ahead, bake that cake, and savor every delightful bite!