Table of Contents
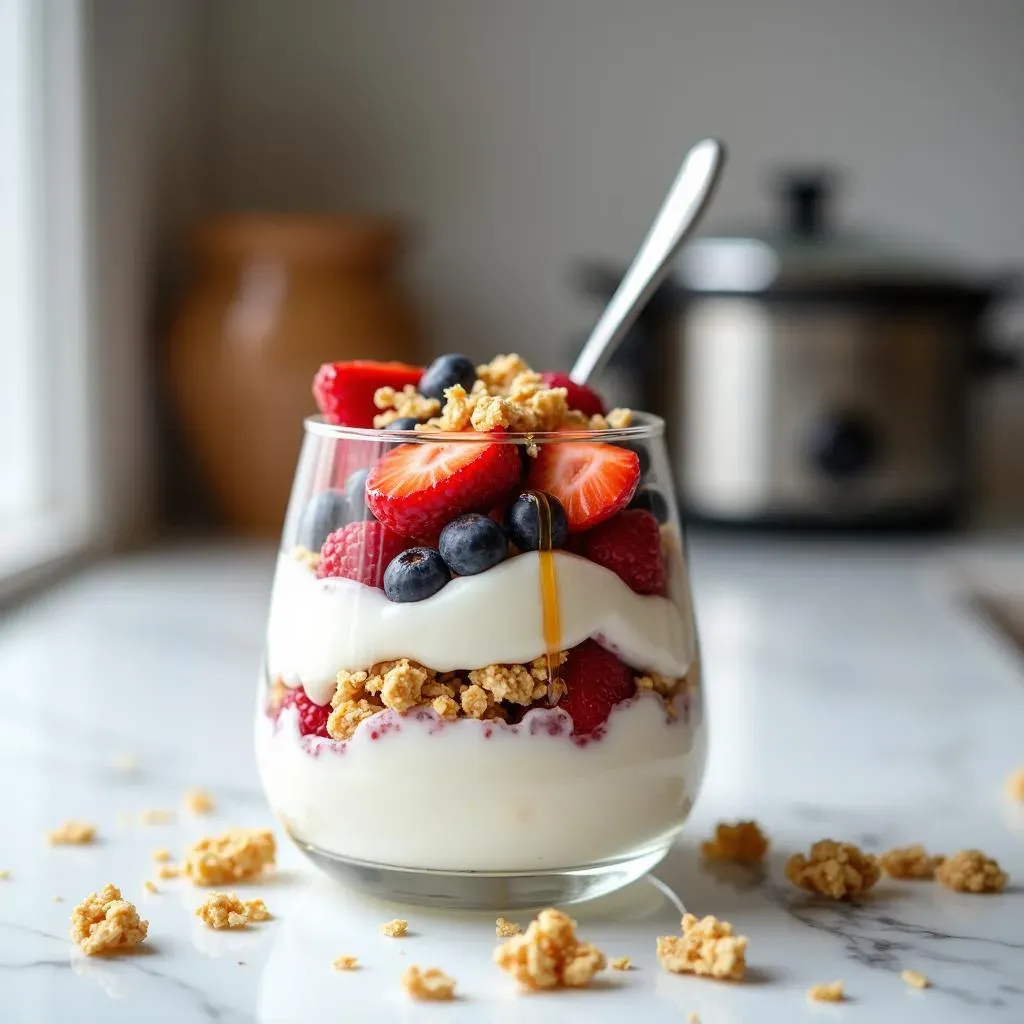
Craving a creamy, tangy treat that's good for your gut and your wallet? Look no further than your own kitchen! This low fat yogurt recipe is so simple, you'll wonder why you ever bought store-bought again. We're talking about a ridiculously easy method, using just a few ingredients, that results in a delicious, healthy snack or breakfast base. Forget the fancy equipment; we're keeping it real with a slow cooker.
Why Make Your Own Low Fat Yogurt? Benefits & Simplicity
Why Make Your Own Low Fat Yogurt? Benefits & Simplicity
let's get real. Why even bother making your own low fat yogurt when the grocery store shelves are overflowing with options? Well, for starters, it's way cheaper! Seriously, the cost savings are significant. You're basically paying for milk and a tiny bit of starter yogurt, compared to the inflated prices and sneaky added sugars in many commercial brands. Plus, think about the control you have. You decide exactly what goes into your yogurt – no artificial sweeteners, thickeners, or mystery ingredients. It's pure, simple, and tailored to your taste. And honestly, there's something deeply satisfying about creating something delicious and healthy from scratch. It's like a little science experiment that ends with a tasty reward!
- Cost Savings: Significantly cheaper than store-bought yogurt.
- Ingredient Control: Know exactly what's in your yogurt.
- No Additives: Avoid artificial sweeteners, thickeners, and preservatives.
- Customization: Tailor the flavor and thickness to your liking.
- Satisfaction: Enjoy the rewarding experience of making your own food.
Low Fat Yogurt Recipe: Ingredients & Equipment You'll Need
Low Fat Yogurt Recipe: Ingredients & Equipment You'll Need
The Bare Essentials: Milk & Starter
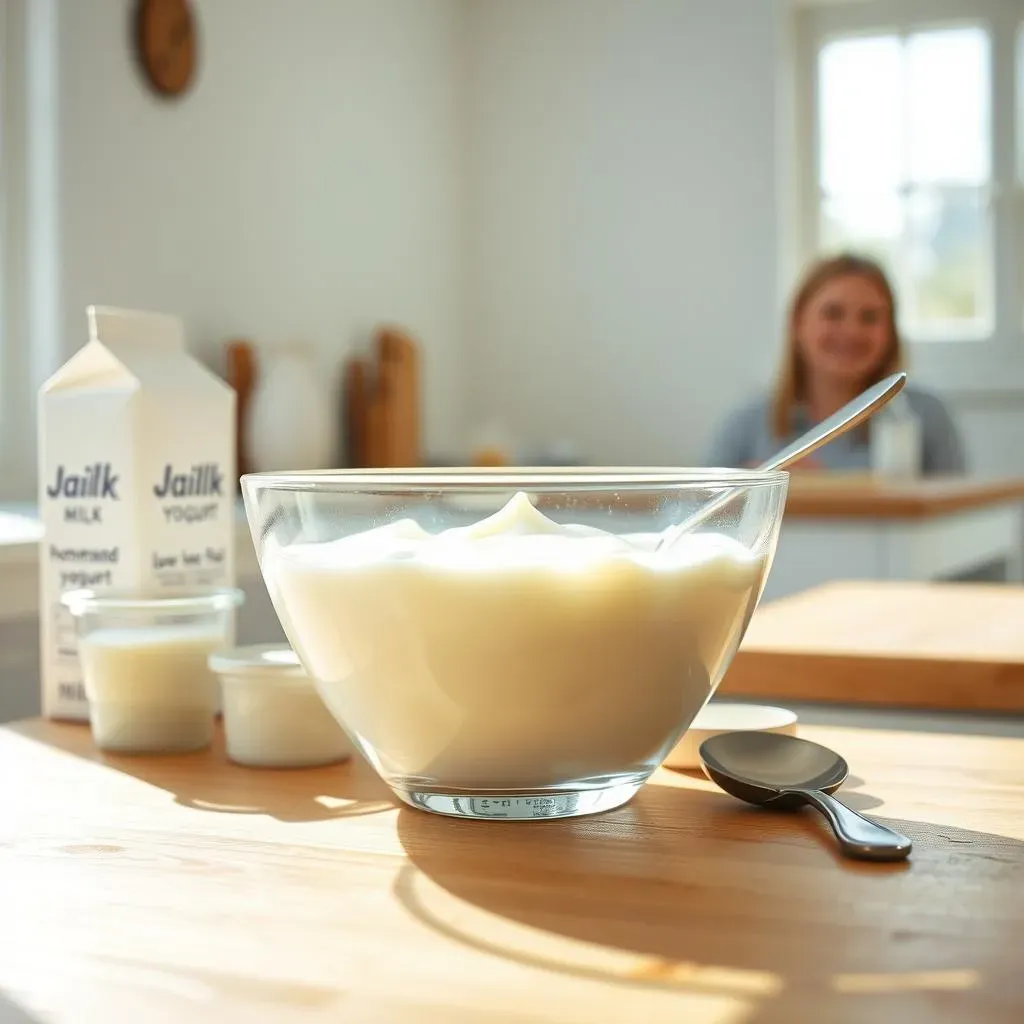
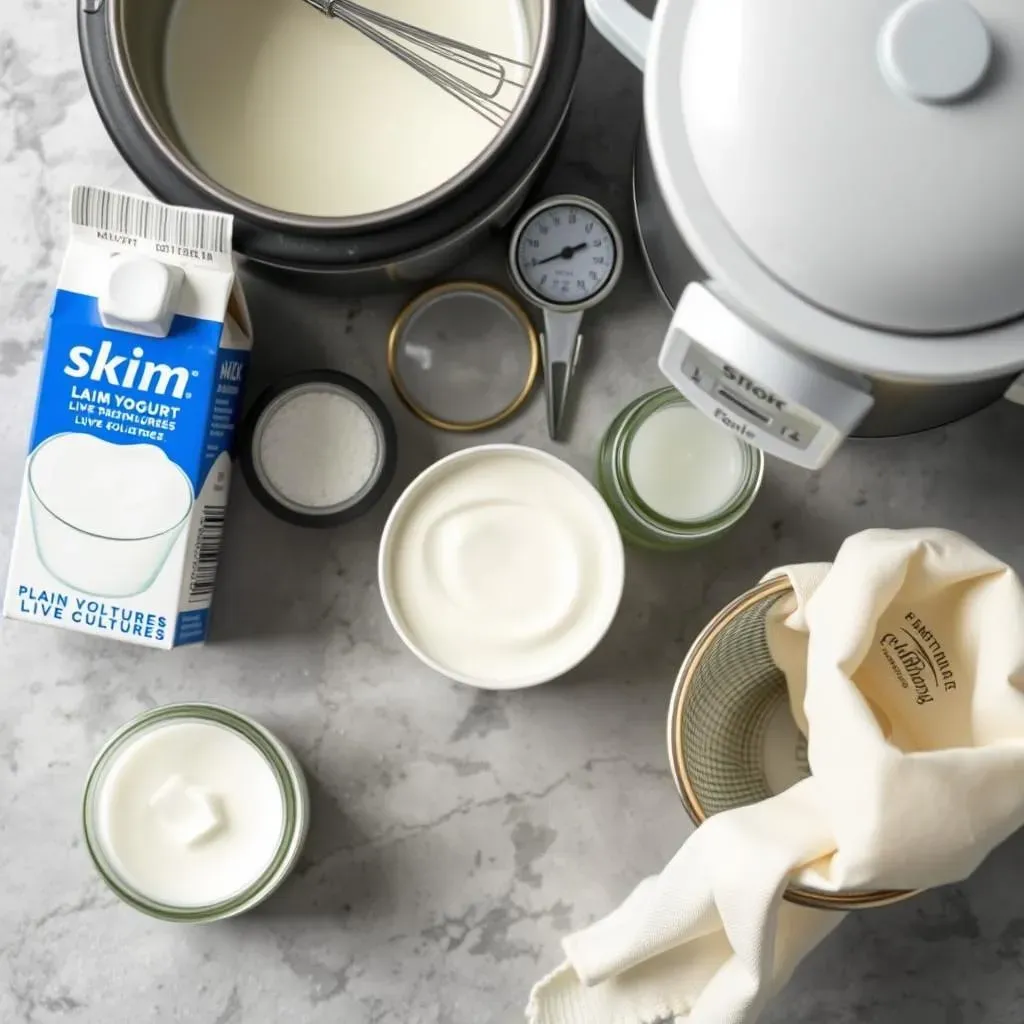
Alright, let's talk shopping! For this low fat yogurt recipe, you honestly don't need a ton of fancy stuff. The star of the show is, of course, milk. I usually go for skim milk to keep it truly low fat, but some folks swear by 1% or even 2% for a slightly creamier result. It's really up to you and your preference! Then you'll need a starter yogurt. This is just plain, unflavored yogurt with *live and active cultures*. Seriously, double-check that label! Those cultures are the magic ingredient that transforms milk into yogurt. You only need a little bit, so a small container will do the trick. Think of it as the seed that grows into a whole batch of deliciousness.
Now, about that starter yogurt... You can totally use store-bought for your first batch, but here's a pro tip: save a little bit of your homemade yogurt from each batch to use as a starter for the next! It's like creating your own yogurt lineage. Just make sure your homemade starter is only a week or two old for the best results. After that, the cultures might not be as active, and your yogurt might not set up properly.
Gear Up: Slow Cooker & Beyond
ingredient check! Now for the equipment. The most important thing is a slow cooker. This is where the magic happens, providing a consistent, low-temperature environment for the yogurt to incubate. You'll also need a reliable thermometer to make sure your milk reaches the right temperature – trust me, this is crucial! A whisk for stirring, a few clean jars for storing your finished yogurt, and something to strain the yogurt if you want that thick, Greek-style consistency. Cheesecloth or a fine-mesh sieve works perfectly. Oh, and don't forget a little patience! Yogurt-making isn't a race; it's a slow, gentle process.
Don't have a slow cooker? No sweat! While the recipe is tailored for a slow cooker, you can adapt it for an oven or even an Instant Pot (with a yogurt setting, of course). The key is maintaining a consistent temperature around 110-120°F for several hours. But honestly, the slow cooker is the easiest, most foolproof method. It's like having a personal yogurt incubator right on your countertop!
Item | Purpose |
|---|---|
Slow Cooker | Incubating the yogurt |
Thermometer | Monitoring milk temperature |
Whisk | Stirring ingredients |
Clean Jars | Storing finished yogurt |
Cheesecloth/Sieve | Straining for Greek yogurt |
StepbyStep: Mastering the Low Fat Yogurt Recipe at Home
StepbyStep: Mastering the Low Fat Yogurt Recipe at Home
Heating the Milk: The Temperature Tango
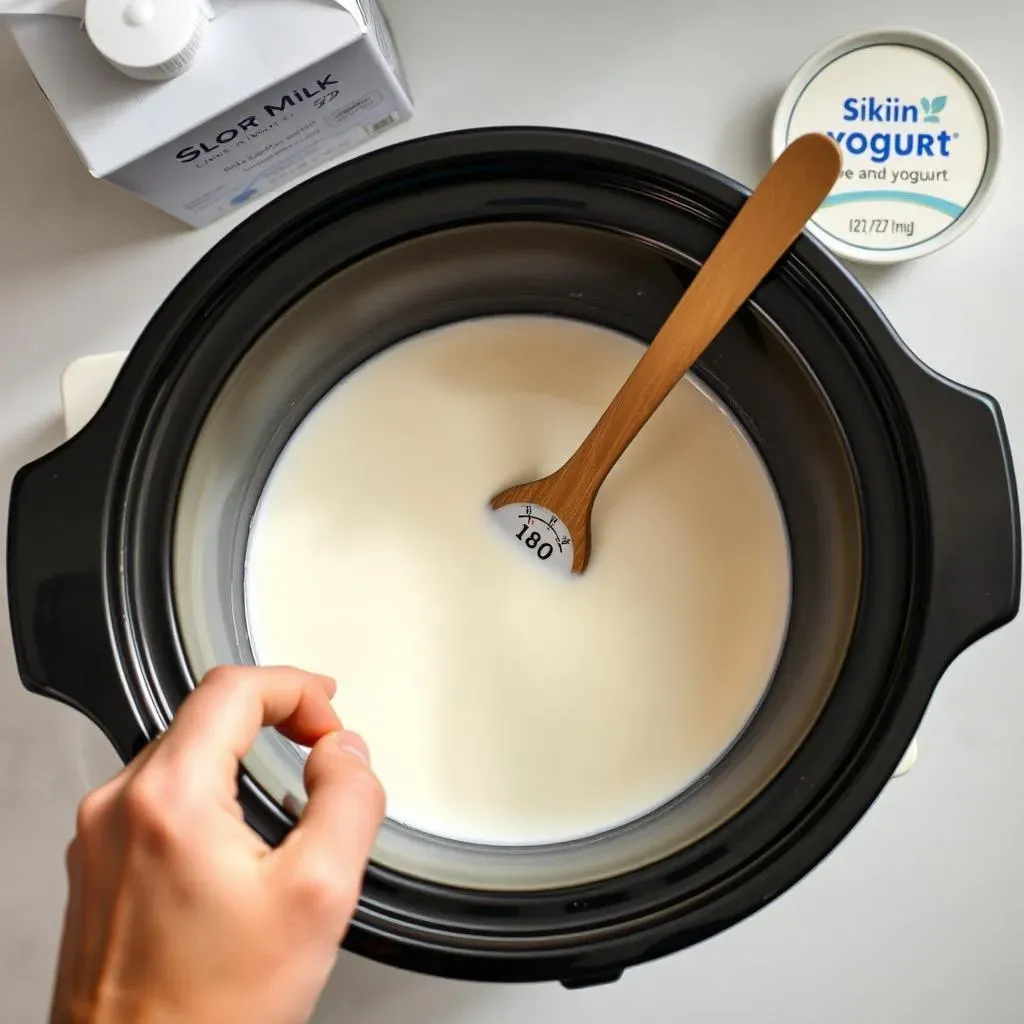
Alright, let's get this low fat yogurt recipe show on the road! First, pour your skim milk into the slow cooker. Now, this is where that thermometer comes in handy. We need to heat the milk to 180°F (82°C). This step is crucial because it denatures the milk proteins, which helps create a thicker, creamier yogurt. Trust me, don't skip it! Set your slow cooker to high and keep a close eye on the temperature. Stir the milk occasionally to prevent scorching, especially if your slow cooker tends to run hot. It usually takes about 2-3 hours to reach that magic 180°F mark, but it can vary depending on your slow cooker. So, patience, grasshopper!
Once the milk hits 180°F, turn off the slow cooker and let the milk cool down to 110-120°F (43-49°C). This is another crucial step. If the milk is too hot when you add the starter yogurt, you'll kill those precious live cultures, and your yogurt won't set. Too cold, and the cultures won't be active enough. I usually let it cool for about 2-3 hours, but again, use that thermometer! You want it warm, but not scalding. Think baby bottle temperature. You can speed up the cooling process by placing the slow cooker insert in a cold water bath, but be careful not to get any water in the milk!
Mixing and Incubation: The Long Wait (But Worth It!)
milk is cooled to the right temp? Great! Now it's time to add the starter yogurt. Gently whisk in about 2 tablespoons of plain yogurt with live and active cultures per quart of milk. Make sure it's thoroughly mixed in. Now, put the lid on the slow cooker and let it incubate for 6-12 hours. The longer it incubates, the tangier it will be. I usually go for about 8 hours, but experiment to find your perfect level of tang. Don't peek! Resist the urge to open the lid during incubation, as temperature fluctuations can mess with the yogurt-making process.
After the incubation period, your yogurt should be set and have a jello-like consistency. If it's still runny, let it incubate for a few more hours. Once it's set, refrigerate it for at least 2 hours to cool completely. This will also help it thicken up a bit more. And that's it! You've made yogurt! But if you want that thick, Greek-style yogurt, there's one more step...
Step | Temperature | Time |
|---|---|---|
Heating Milk | 180°F (82°C) | 2-3 hours |
Cooling Milk | 110-120°F (43-49°C) | 2-3 hours |
Incubation | (Slow Cooker on Warm) | 6-12 hours |
Refrigeration | (In Refrigerator) | 2+ hours |
Tips & Tricks for Perfect Low Fat Yogurt (and Troubleshooting!)

Tips & Tricks for Perfect Low Fat Yogurt (and Troubleshooting!)
#1: Temperature is King: Mastering the Milk Heat
Let's face it, yogurt-making can be a bit finicky. But fear not! The key to consistent success lies in temperature control. Seriously, invest in a good thermometer! Making sure your milk reaches 180°F (82°C) is essential for those proteins to denature properly, leading to a thicker, creamier yogurt. But equally important is letting it cool down to 110-120°F (43-49°C) before adding the starter. Too hot, and you'll kill the cultures. Too cold, and they won't activate. It's a delicate balance, but once you nail it, you'll be churning out perfect yogurt every time.
Also, keep in mind that slow cookers can vary wildly in temperature. Some run hot, some run cold. Get to know your slow cooker! If you find that your yogurt is consistently runny, even after a long incubation, your slow cooker might not be holding a consistent temperature. Try wrapping it in a towel during incubation to help retain heat. Or, if it's running too hot, try propping the lid open slightly.
#2: Troubleshooting Common Yogurt Problems
So, you've followed the recipe, but your yogurt isn't quite right? Don't panic! Let's troubleshoot. If your yogurt is runny, even after a long incubation, the problem could be a few things. First, make sure your starter yogurt is fresh and has *live and active cultures*. Expired yogurt or yogurt that's been sitting in the fridge for too long might not have enough active cultures to do the job. Second, check your milk temperature. If it wasn't hot enough or cooled down too much, the cultures might not have activated properly. Try again with a fresh batch, paying close attention to the temperature.
What if your yogurt is grainy? This can happen if the milk gets too hot during the initial heating process. Try stirring more frequently to prevent scorching. Or, if your yogurt is too tangy for your liking, shorten the incubation time. Remember, the longer it incubates, the tangier it will be. And finally, if you're using homemade yogurt as a starter, make sure it's only a week or two old for the best results. After that, the cultures might not be as active.
- Runny Yogurt: Check starter freshness, milk temperature, and incubation time.
- Grainy Yogurt: Stir milk frequently during heating to prevent scorching.
- Too Tangy: Shorten the incubation time.
- Inconsistent Results: Ensure consistent temperature during incubation (wrap slow cooker in a towel if needed).
Enjoying Your Homemade Low Fat Yogurt Journey
So, there you have it! A simple, cost-effective way to create your own delicious low fat yogurt at home. From understanding the basic ingredients to mastering the art of straining for that perfect Greek-style texture, you're now equipped to ditch the store-bought options and enjoy a healthier, more personalized treat. Remember to experiment with flavors, adjust fermentation times to your liking, and most importantly, have fun with it! Making your own yogurt is not just about saving money; it's about taking control of what you eat and enjoying the process along the way. Happy yogurt-making!