Table of Contents
Tired of watery, expensive store-bought yogurt that promises "low fat" but tastes like sadness? Or maybe you just want to know exactly what goes into your breakfast bowl. Crafting your own yogurt isn't some mystical art reserved for dairy wizards. Actually, diving intolow fat yogurt recipesat home is surprisingly straightforward and gives you complete control over texture, tang, and ingredients. Forget questionable additives and sugar bombs disguised as health food.
Making LowFat Yogurt Recipes at Home
Making LowFat Yogurt Recipes at Home
Why Bother Making LowFat Yogurt at Home?
so you could just grab a tub from the store. Easy, right? But honestly,Making LowFat Yogurt Recipes at Homeis a game-changer. First off, you control *everything*. No weird thickeners you can't pronounce, no insane amounts of added sugar hiding in plain sight, just milk and culture. It's significantly cheaper in the long run, especially if you go through a lot of yogurt. Plus, there's a quiet satisfaction in scooping yogurt you made yourself. It just tastes... fresher, somehow. Like you actually accomplished something before 9 AM.
Getting Started: It's Not Rocket Science
Look, I get it. The idea of culturing milk might sound intimidating, like you need a science degree and sterile lab conditions. Spoiler alert: you don't. If you can heat milk and keep track of time, you can make yogurt. The basic process forMaking LowFat Yogurt Recipes at Homeboils down to heating milk, cooling it down, stirring in a starter, and letting time and temperature do their thing. It's less about complex techniques and more about patience and following a few simple steps. Think of it less as cooking and more like... supervised milk chilling.
- Control ingredients: Know exactly what's inside.
- Save money: Homemade is cheaper than store-bought tubs.
- Customize thickness and tang: Adjust fermentation time.
- Reduce waste: Less plastic packaging.
- Fresh taste: Seriously, it just tastes better.
Essential Ingredients for Thick LowFat Yogurt
Essential Ingredients for Thick LowFat Yogurt
Alright, so you're ready to make some yogurt. What exactly do you need? For truly thick, satisfying low-fat yogurt, theEssential Ingredients for Thick LowFat Yogurtaren't just milk and culture. You need skim or low-fat milk, obviously. But here’s the secret sauce for thickness without the fat: instant skim milk powder. Adding a bit of this bumps up the protein content significantly. More protein means a firmer set. Think of it as giving your milk a little extra structural support. You also need a starter culture. This can be a small amount of plain yogurt with live active cultures (check the label!) or freeze-dried yogurt culture you buy online. Don't use flavored yogurt or stuff loaded with stabilizers; you want the pure bacteria action.
StepbyStep Guide to Your First Batch
StepbyStep Guide to Your First Batch
Heating and Cooling Your Milk
Alright, let's get down to the actual doing. The first step in thisStepbyStep Guide to Your First Batchis heating your milk. Pour your skim or low-fat milk into a pot. If you're using the optional instant skim milk powder for extra thickness, whisk it in now until it's completely dissolved. You need to heat this milk to 170°F (77°C). Why that specific temperature? It kills off any competing bacteria that might mess with your yogurt culture and also helps denature the proteins, which contributes to a thicker final product. Stir it occasionally so it doesn't scorch on the bottom. Once it hits 170°F, take it off the heat.
Adding the Culture and Incubation Prep
Now, you need to cool the milk down. This is crucial. If you add your yogurt culture to hot milk, you'll kill the beneficial bacteria, and you'll just end up with warm milk, not yogurt. You want the milk to cool to somewhere between 110-120°F (43-49°C). This is the sweet spot where the yogurt bacteria thrive. You can speed this up by placing the pot in an ice bath, stirring occasionally. Once it's in the right temperature range, scoop out about a cup of the warm milk into a separate bowl. Whisk your yogurt starter (either the live-culture yogurt or the freeze-dried powder) into this smaller amount of milk until it's smooth. Then, pour this mixture back into the main pot of milk and whisk gently to combine everything evenly.
- Heat milk to 170°F (77°C) to pasteurize and denature proteins.
- Cool milk to 110-120°F (43-49°C) – the ideal temperature for cultures.
- Mix starter with a small amount of warm milk first for smooth distribution.
- Gently whisk the starter mixture back into the main pot.
Letting Time Do the Work: Fermentation
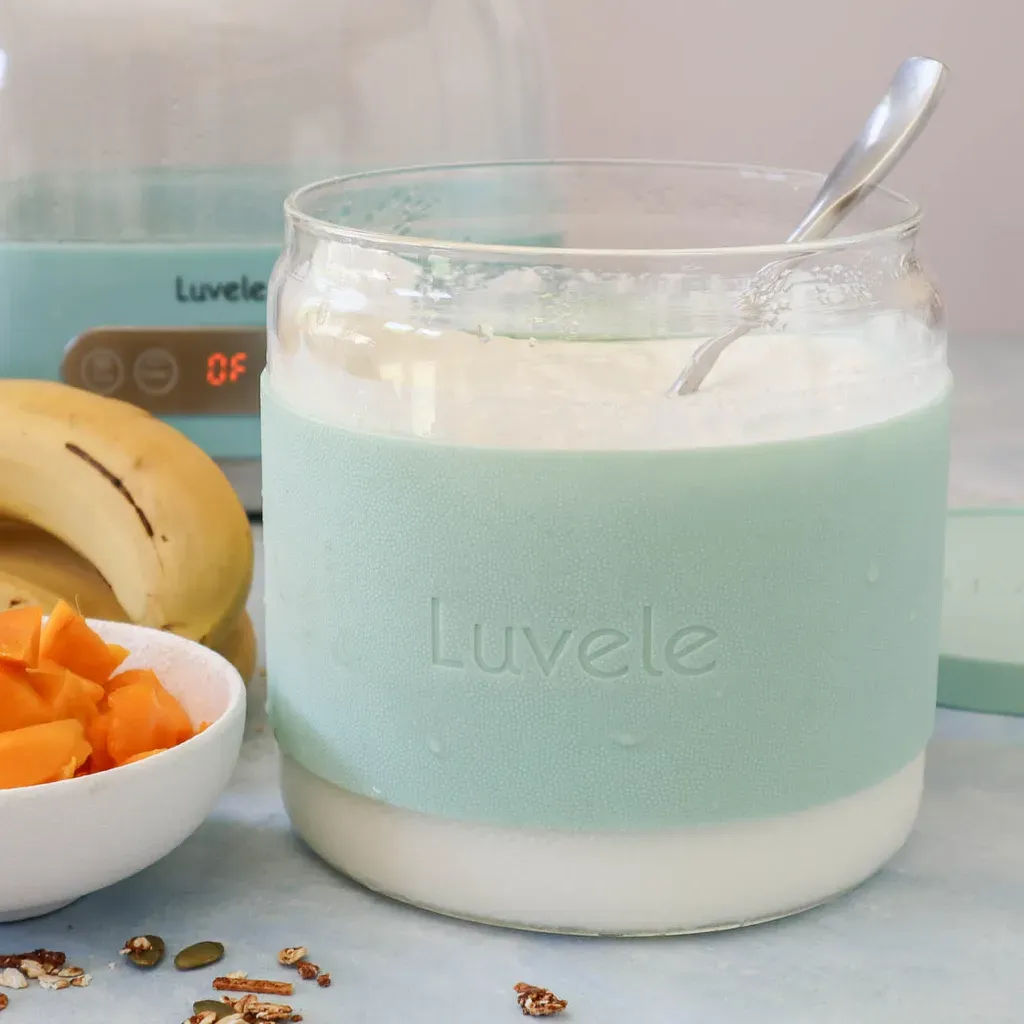
the hard part is over. Now you need to let the magic happen. Pour your inoculated milk into clean jars or containers. Cover them. These need to ferment in a warm place, ideally maintaining that 110-120°F temperature range, for 8 to 10 hours. This is where the bacteria eat the lactose and turn the milk into yogurt. You can use a yogurt maker, an oven with just the light on (check the temp first!), a cooler with hot water bottles, or even a slow cooker on a "warm" setting if it's not too hot. The longer it ferments, the tangier and thicker your yogurt will be. After 8-10 hours, it should look set, like wobbly jelly. Pop the containers in the fridge for at least 4-6 hours to chill and firm up properly before digging in.
Beyond the Spoon: Using Your LowFat Yogurt Recipes
Beyond the Spoon: Using Your LowFat Yogurt Recipes
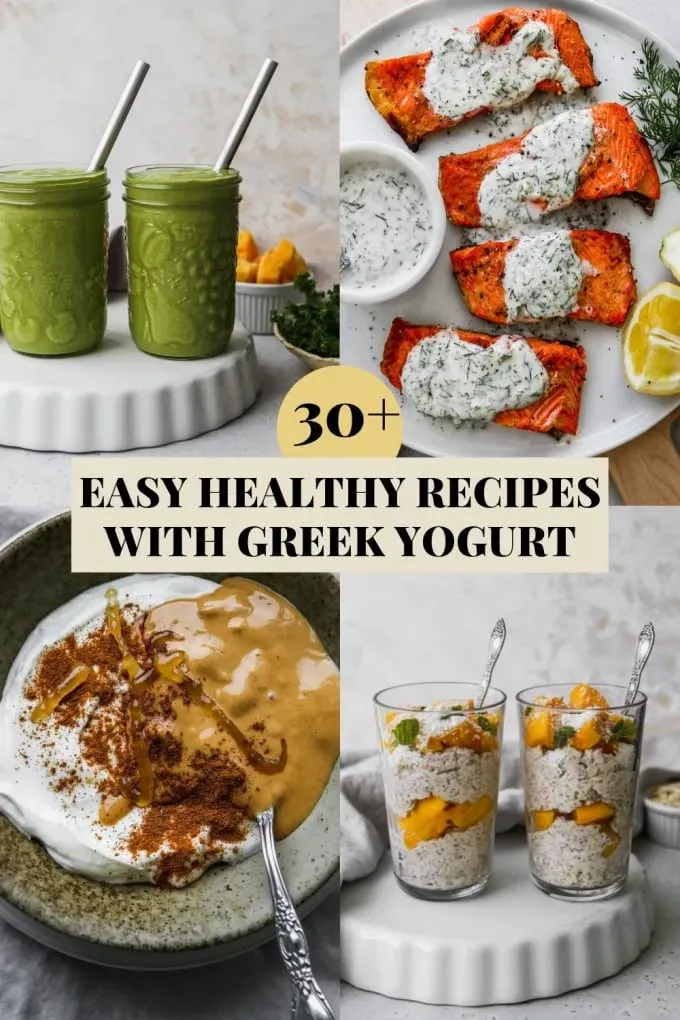
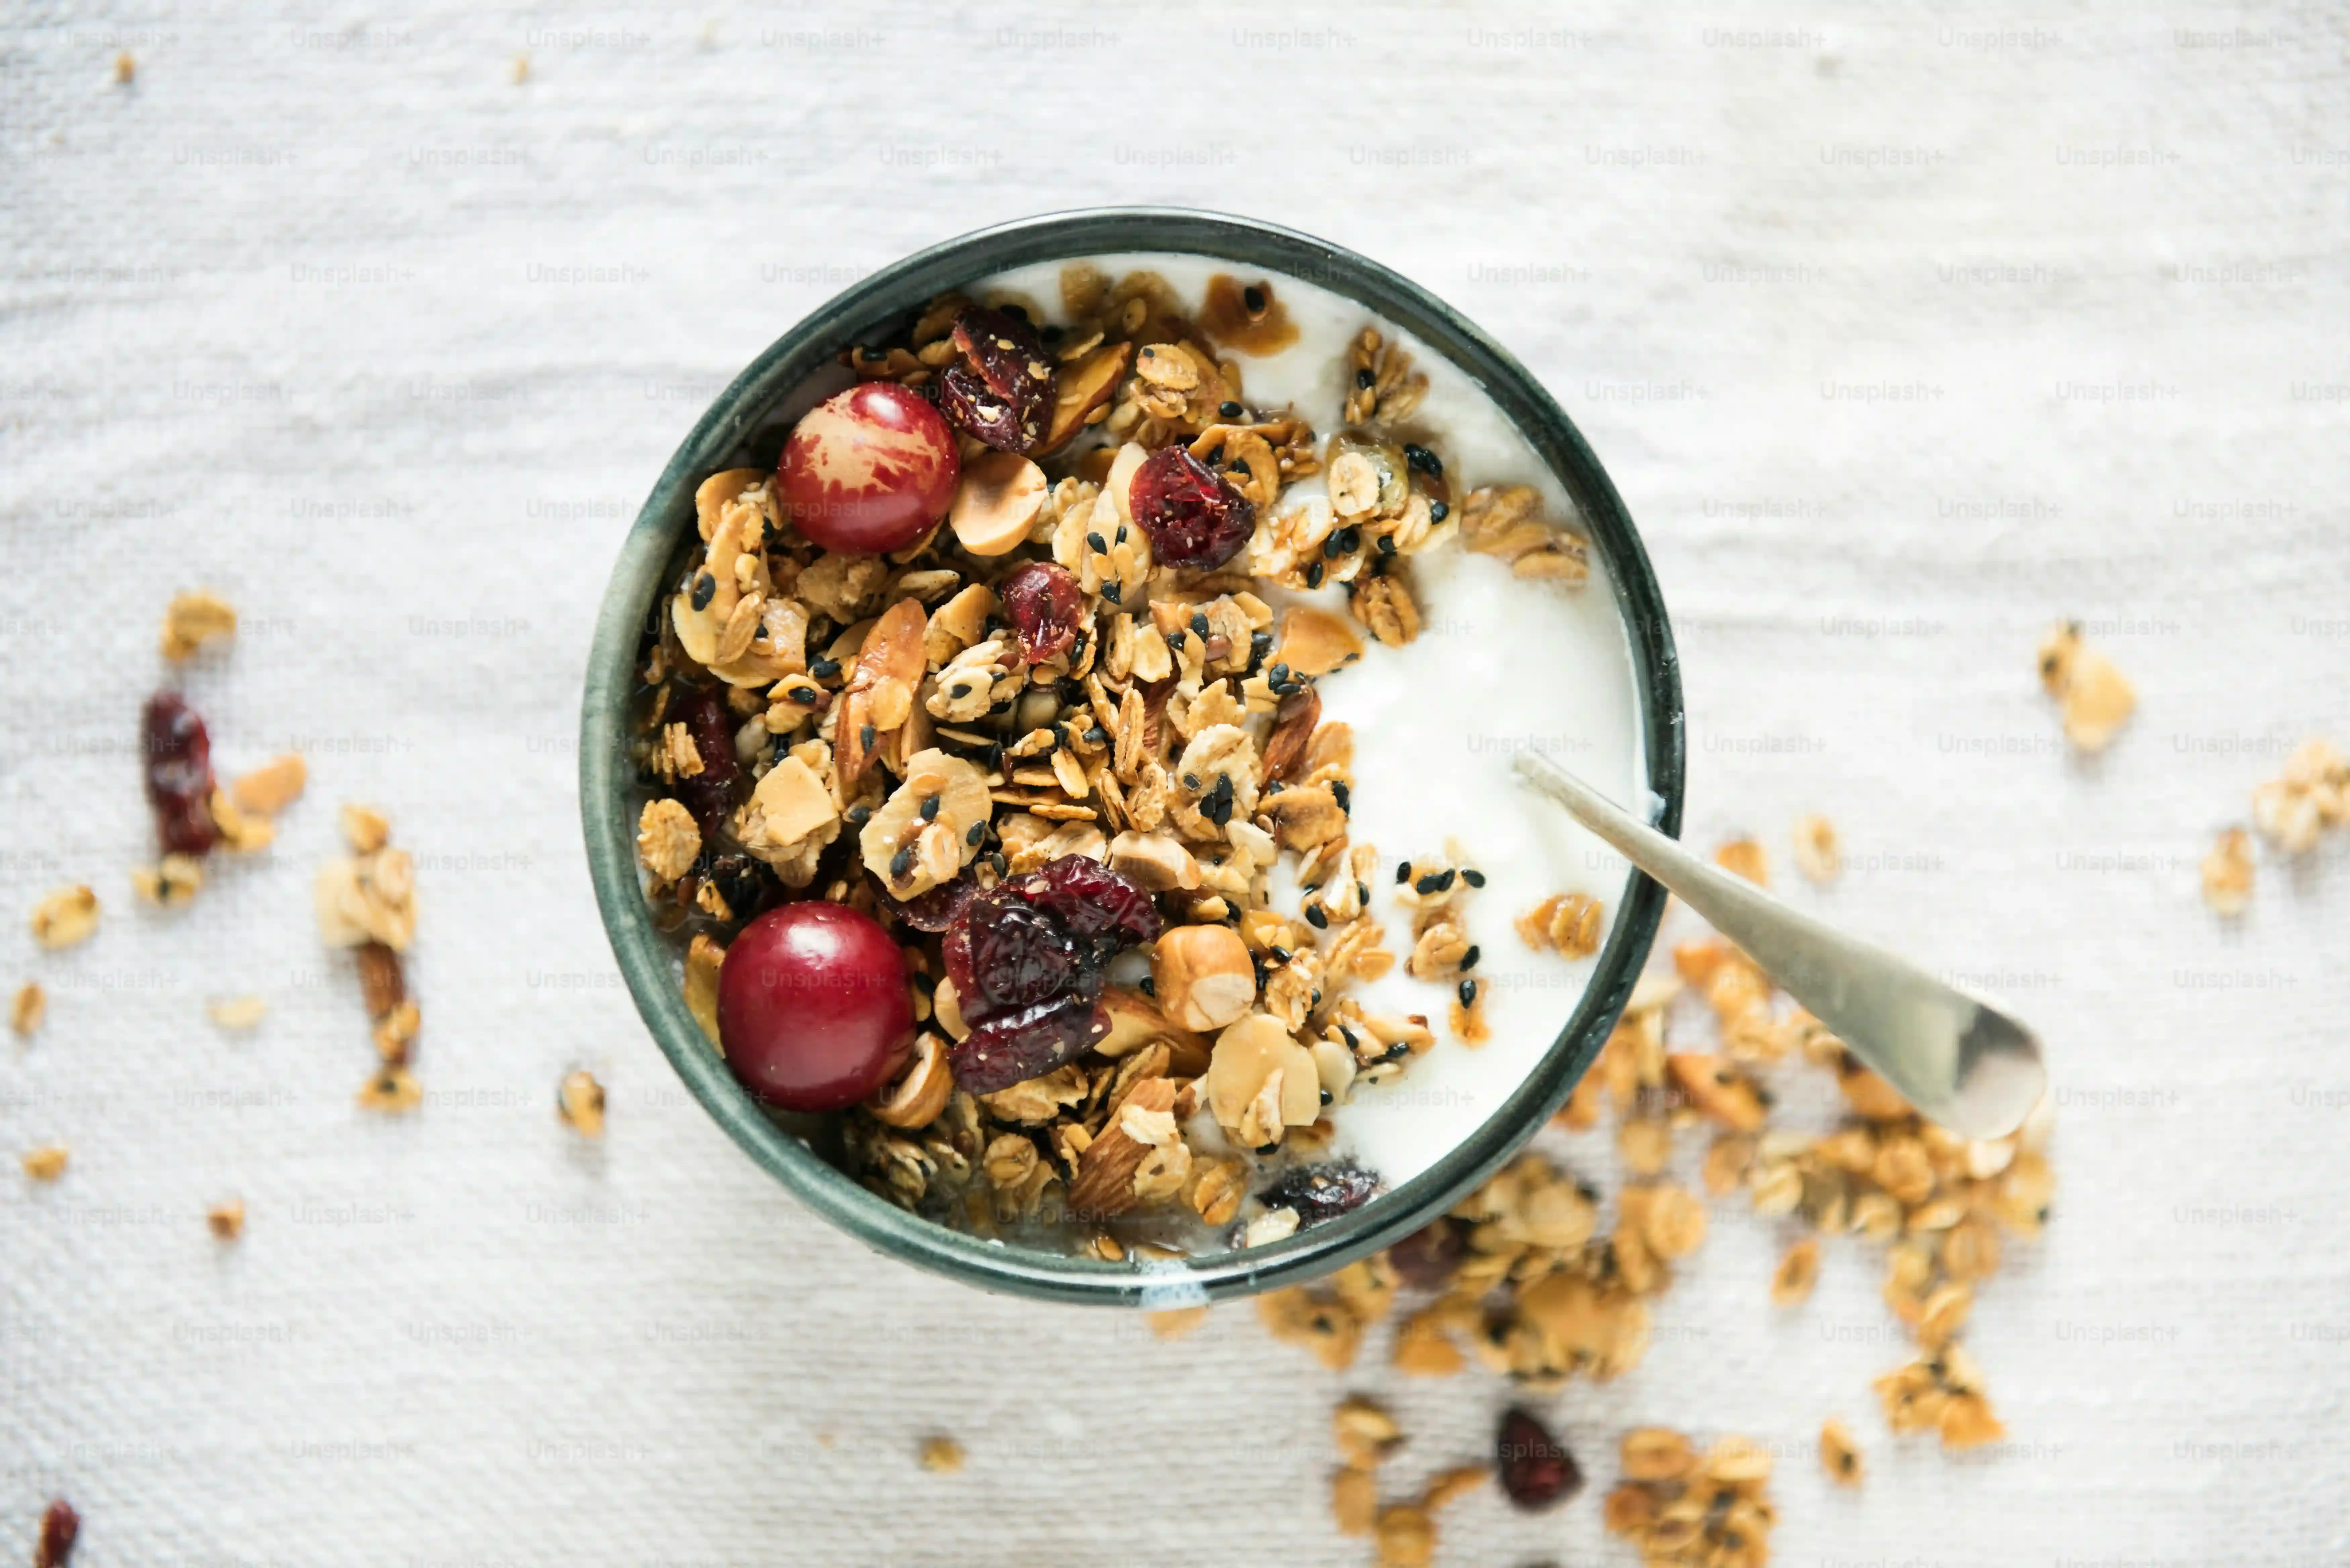
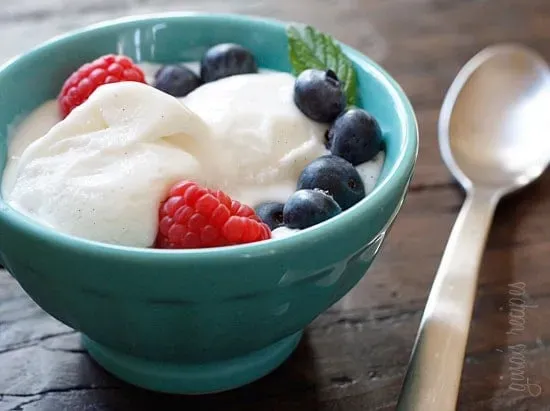
so you've successfully made your batch of perfect plain low-fat yogurt. Now what? While a big dollop with some fruit and granola is a classic for a reason, thinkingBeyond the Spoon: Using Your LowFat Yogurt Recipesopens up a ton of possibilities. This stuff is incredibly versatile. Swap it for sour cream in dips or baked potatoes. Use it as the base for creamy salad dressings – way lighter than mayo. Marinate chicken or fish in it; the acidity tenderizes beautifully and keeps things moist. Blend it into smoothies for protein and creaminess without the fat. You can even substitute it for some of the fat in baking, like muffins or quick breads, for a tender crumb. Don't let it just sit in the fridge waiting for breakfast.
Your Homemade Yogurt Journey Ends... Or Does It?
So there you have it. You've heated milk, played chemist with cultures, and waited patiently while tiny bacteria did their thing. You now possess a batch of genuinely low-fat yogurt, likely thicker and more satisfying than anything you've pulled off a store shelf for twice the price. This isn't just about saving a few bucks or avoiding questionable thickeners; it's about knowing exactly what powers your morning parfait or smooths out that curry. The first batch might feel like a science experiment, but trust me, it gets easier. Now go forth and spoon with confidence.