Table of Contents
Ever wondered how to ditch those sugary, additive-filled yogurts from the store and whip up your own creamy, healthy version? You're in the right place! This guide is all about making low fat yogurt at home, and trust me, it's way easier than you think. We're talking simple ingredients, straightforward steps, and a whole lot of delicious possibilities. Forget the mystery ingredients and sky-high prices of store-bought yogurt; when you make it yourself, you're in control.
Why Bother Making Low Fat Yogurt at Home?
Why Bother Making Low Fat Yogurt at Home?
Healthier Choice, Happier Gut
Let's face it, the yogurt aisle can be a minefield of added sugars, artificial flavors, and questionable preservatives. When you make your own low fat yogurt at home, you're in complete control of what goes into your body. You can skip all the junk and focus on the good stuff: protein, probiotics, and calcium. Think of it as a delicious way to boost your gut health and overall well-being. Plus, studies have shown that consuming yogurt regularly can improve digestion, boost your immune system, and even help with weight management.
I remember when I first started making my own yogurt, I was shocked at how much sugar was in the store-bought stuff. It was like eating dessert for breakfast! Switching to homemade low fat yogurt was a game-changer. I felt better, had more energy, and my taste buds were just as happy.
Save Money and Reduce Waste
Those individual yogurt cups can really add up, and let's not forget about the plastic waste! Making low fat yogurt at home is a budget-friendly and eco-conscious alternative. With just a few simple ingredients and a little bit of time, you can create a large batch of yogurt that will last for days. Think about it: no more trips to the store, no more mountains of plastic containers, and more money in your pocket.
It’s amazing how much you can save over time. A gallon of milk costs a fraction of what you'd spend on individual yogurt cups, and you get so much more yogurt for your money. Plus, you're doing your part to reduce plastic waste, which is always a win-win.
Benefit | Homemade Low Fat Yogurt | Store-Bought Yogurt |
|---|---|---|
Ingredients | Control over ingredients | Often contains additives and sugar |
Cost | Lower cost per serving | Higher cost per serving |
Waste | Less plastic waste | More plastic waste |
Essential Equipment and Ingredients for Homemade Low Fat Yogurt
Essential Equipment and Ingredients for Homemade Low Fat Yogurt
The Bare Essentials: What You Absolutely Need
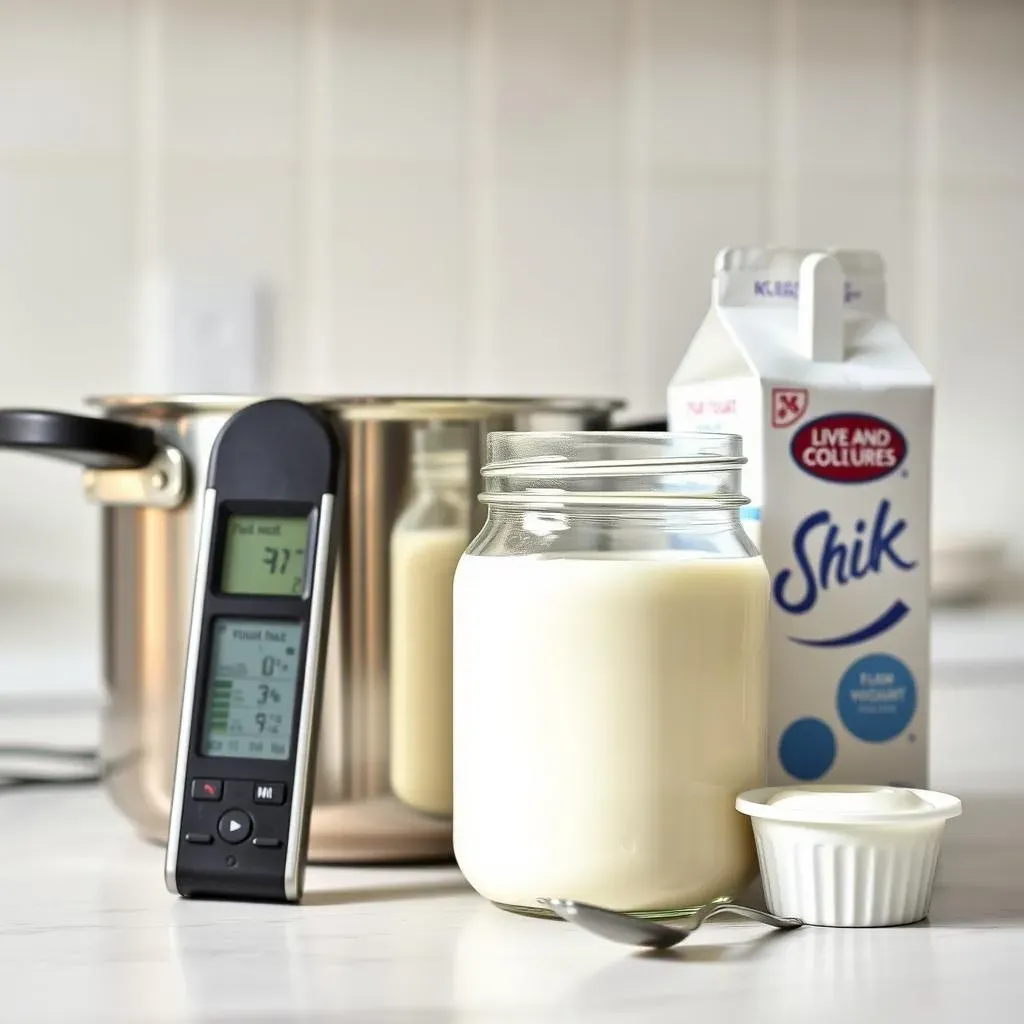
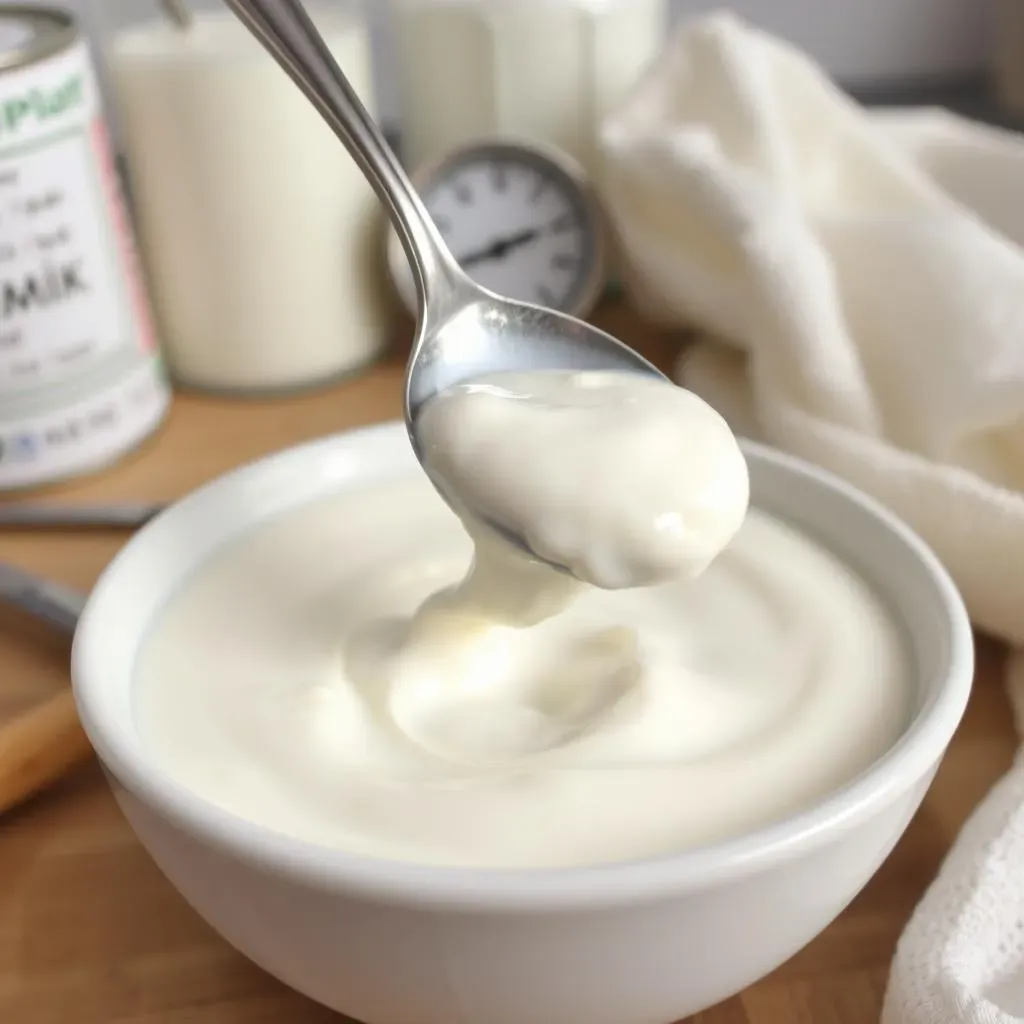
Alright, let's talk gear! The good news is, you probably already have most of what you need for making low fat yogurt at home. First up, you'll need a pot – stainless steel or enamel-coated is best to avoid any weird flavors leaching into your yogurt. A thermometer is crucial for hitting those temperature sweet spots. I recommend a digital thermometer for accuracy, but a candy thermometer will also work. You'll also need a jar or container to incubate your yogurt in. A large glass jar with a lid is perfect, or you can use individual yogurt containers if you prefer portioned servings. Lastly, you need a spoon or whisk for stirring – easy peasy!
While you *can* get fancy with yogurt makers and incubators, they're definitely not essential. I've been making yogurt for years using just a pot, a thermometer, and a warm spot in my kitchen. Don't let the lack of specialized equipment hold you back! It's all about getting creative and finding what works for you.
The Star Players: Key Ingredients for Low Fat Yogurt
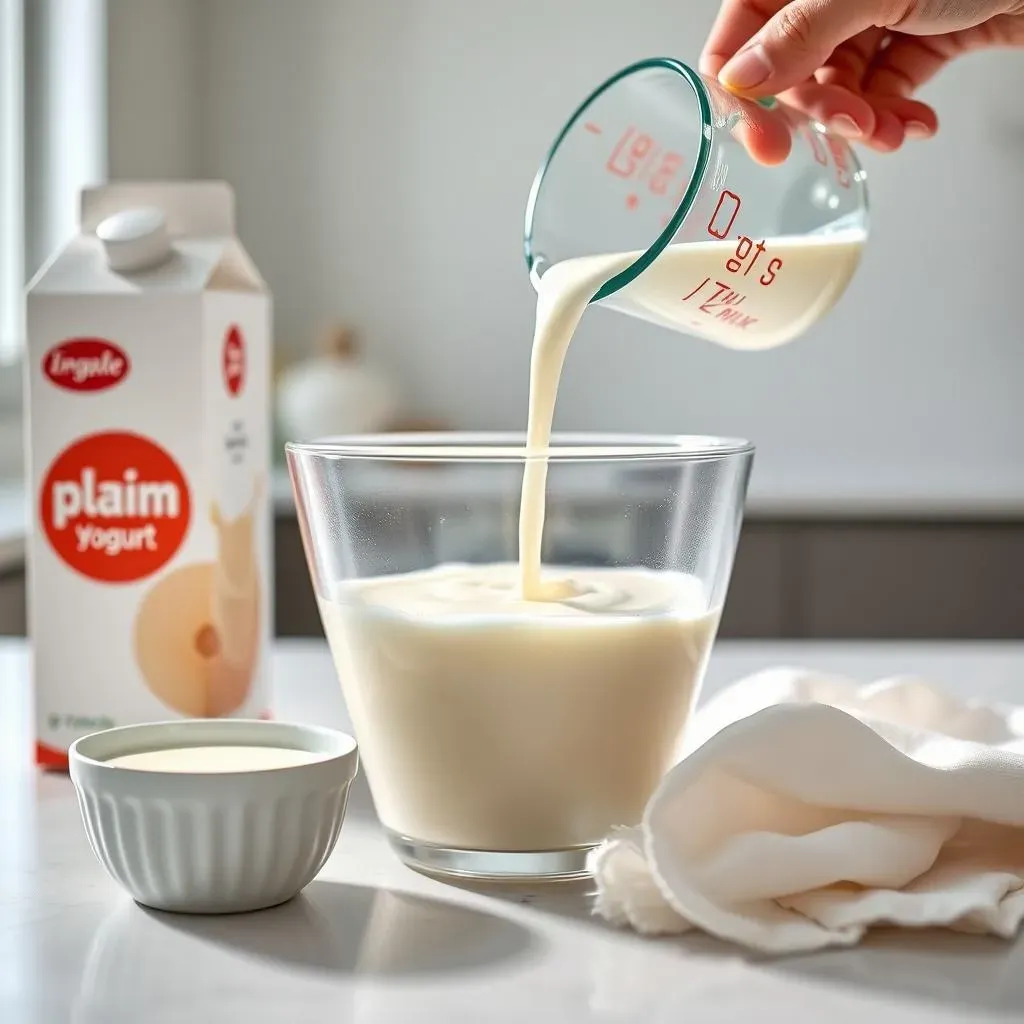
Now, for the ingredients! Obviously, you'll need milk. For low fat yogurt, skim milk or 1% milk are your best bets. The lower the fat content, the tangier the yogurt will be. Next, you'll need a yogurt starter. This is simply plain yogurt that contains live and active cultures. Make sure to check the label to ensure it contains strains like Streptococcus thermophilus and Lactobacillus bulgaricus. These are the good bacteria that will turn your milk into yogurt! A lot of people like to use a powdered milk to help thicken the yogurt.
That's it! Milk and a starter – that's all it takes to make low fat yogurt at home. You can experiment with adding a bit of powdered milk for a thicker consistency, but it's not strictly necessary. The quality of your ingredients will have a big impact on the final product, so choose the freshest milk and a reputable yogurt starter for the best results.
StepbyStep Guide: Making Low Fat Yogurt at Home
StepbyStep Guide: Making Low Fat Yogurt at Home
Step 1: Heat the Milk
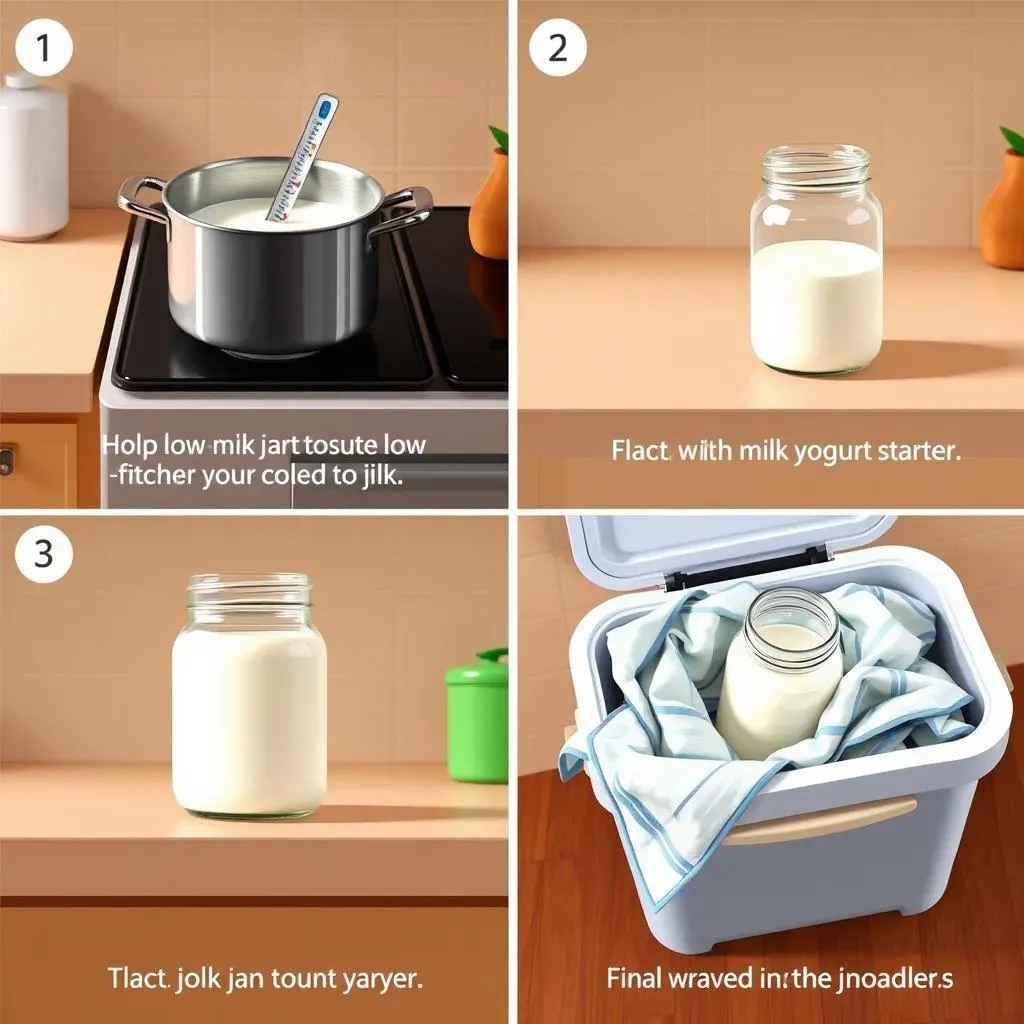
Alright, let's get started! Pour your skim or 1% milk into your pot. Heat it over medium heat, stirring frequently to prevent scorching. You want to bring the milk to 180°F (82°C). This is called scalding, and it's important for a few reasons. First, it kills off any unwanted bacteria that might be lurking in your milk. Second, it denatures the milk proteins, which helps create a thicker, creamier yogurt.
Keep a close eye on the thermometer! If you don't have a thermometer, heat the milk until it just starts to simmer around the edges, but don't let it boil. Once it reaches 180°F (82°C), remove it from the heat.
Step 2: Cool the Milk
Now comes the patience part. You need to cool the milk down to 110-115°F (43-46°C). This is the optimal temperature for the yogurt cultures to thrive. You can let it cool at room temperature, which will take a while, or you can speed things up by placing the pot in an ice bath. Just make sure not to let any water get into the milk!
Once the milk has cooled, it's time to add the yogurt starter. Gently stir in about 2 tablespoons of plain yogurt with live and active cultures per quart of milk. Make sure the starter is well-distributed throughout the milk.
Step 3: Incubate the Yogurt
Now for the magic! Pour the inoculated milk into your jar or container. Find a warm place to incubate the yogurt. There are several options:
- Oven: Turn your oven to the lowest setting for a few minutes, then turn it off. Place the yogurt in the oven with the door slightly ajar.
- Yogurt Maker: If you have a yogurt maker, simply follow the manufacturer's instructions.
- DIY Incubator: Wrap the jar in a towel and place it in a cooler or insulated container. You can add a jar of warm water to help maintain the temperature.
Let the yogurt incubate for 6-8 hours, or until it reaches your desired consistency. The longer it incubates, the tangier it will become. Once it's ready, refrigerate for at least 2 hours to stop the incubation process and firm up the yogurt.
Incubation Method | Temperature | Incubation Time |
|---|---|---|
Oven (Low Setting, Turned Off) | Around 100°F (38°C) | 6-8 hours |
Yogurt Maker | Follow Manufacturer's Instructions | Follow Manufacturer's Instructions |
DIY Incubator (Towel-Wrapped) | Maintain Warm Temperature | 6-8 hours |
Troubleshooting Your Homemade Low Fat Yogurt: Common Issues and Solutions
Troubleshooting Your Homemade Low Fat Yogurt: Common Issues and Solutions
Yogurt is Too Thin
So, you've waited patiently, and your yogurt is…soupy? Don't panic! This is a common issue when making low fat yogurt at home, especially with skim milk. The most likely culprit is not enough milk solids. Remember when I mentioned adding powdered milk? This is where it comes in handy! Next time, try adding 1/4 to 1/2 cup of nonfat dry milk powder to your milk before heating it. This will significantly increase the thickness.
Another reason for thin yogurt could be the temperature. If your incubation temperature was too low, the cultures might not have thrived. Make sure your incubation environment is consistently warm, around 100°F (38°C). Finally, consider your starter. If your starter yogurt is old or doesn't contain enough live cultures, it won't properly culture the milk.
Yogurt is Grainy or Clumpy
Grainy yogurt is usually a sign that the milk was overheated. Remember that 180°F (82°C) target? If you went way over, the milk proteins can become denatured in a way that results in a grainy texture. Next time, keep a closer eye on the thermometer and don't let the milk boil.
Also, stirring too vigorously can also cause graininess. Be gentle when stirring in the starter culture. Finally, some types of milk are more prone to graininess than others. If you're consistently having this problem, try switching to a different brand of milk.
Yogurt Tastes Sour or Bitter
A little tang is normal for yogurt, but if it's overwhelmingly sour or bitter, it means it was incubated for too long. The longer the yogurt cultures work, the more lactic acid they produce, which is what gives yogurt its characteristic tang. However, too much lactic acid can make it taste unpleasant. Reduce the incubation time next time. Start checking the yogurt after 6 hours and refrigerate it when it reaches your desired tanginess.
Also, a bitter taste can sometimes be caused by using a starter culture that's too old or has been contaminated. Make sure your starter yogurt is fresh and hasn't been sitting in the fridge for too long.
Problem | Possible Cause | Solution |
|---|---|---|
Too Thin | Not enough milk solids, low incubation temperature, weak starter | Add powdered milk, ensure proper incubation temperature, use fresh starter |
Grainy | Overheated milk, vigorous stirring | Avoid overheating, stir gently |
Sour/Bitter | Over-incubation, old starter | Reduce incubation time, use fresh starter |
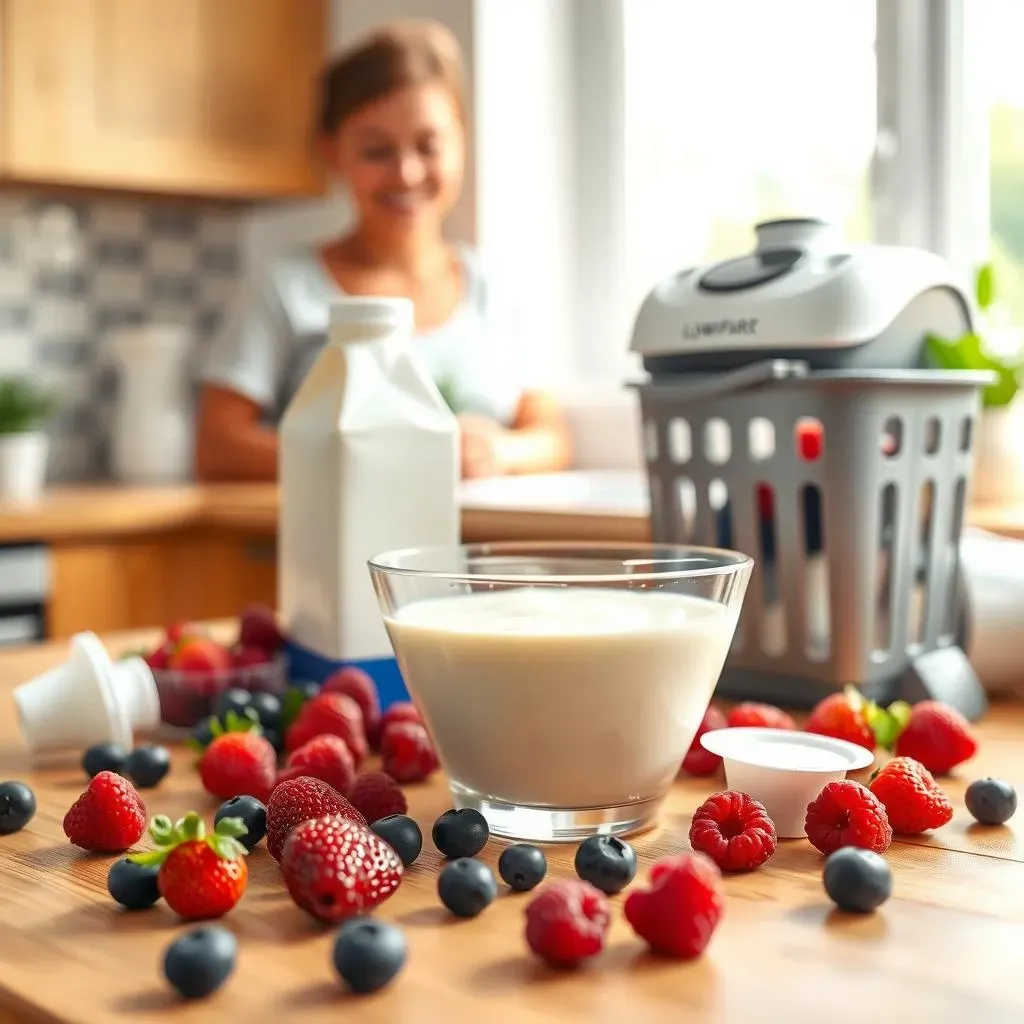
Creative Ways to Enjoy Your Homemade Low Fat Yogurt

Creative Ways to Enjoy Your Homemade Low Fat Yogurt
Breakfast Bliss: Yogurt Parfaits and Smoothies
let's talk breakfast! Homemade low fat yogurt is the perfect base for a nutritious and delicious morning meal. Yogurt parfaits are my go-to. Layer yogurt with granola, fresh berries, and a drizzle of honey or maple syrup for a satisfying and customizable breakfast. You can also add chia seeds, flax seeds, or nuts for an extra boost of nutrients.
If you're short on time, blend your yogurt into a smoothie! Combine it with your favorite fruits, vegetables, and protein powder for a quick and easy breakfast or post-workout snack. I love adding spinach, banana, and almond butter to my yogurt smoothies for a boost of vitamins, minerals, and healthy fats. You can even freeze your yogurt in ice cube trays to make your smoothies extra thick and creamy.
Savory Sensations: Dips, Dressings, and Marinades
Who says yogurt is just for sweet treats? Homemade low fat yogurt can also be used in a variety of savory dishes. Use it as a base for creamy dips, like tzatziki or ranch. Simply mix it with herbs, spices, and a little bit of lemon juice or vinegar for a flavorful and healthy dip that's perfect for vegetables, chips, or pita bread.
You can also use yogurt to make light and tangy salad dressings. Combine it with olive oil, vinegar, mustard, and your favorite herbs for a healthier alternative to store-bought dressings. Yogurt also makes a fantastic marinade for chicken, fish, or vegetables. The lactic acid in yogurt helps to tenderize the meat and add flavor.
Use | Example | Ingredients |
|---|---|---|
Breakfast Parfait | Berry Yogurt Parfait | Yogurt, granola, berries, honey |
Smoothie | Green Smoothie | Yogurt, spinach, banana, almond butter |
Dip | Tzatziki | Yogurt, cucumber, garlic, dill, lemon juice |
Salad Dressing | Yogurt Ranch | Yogurt, herbs, spices, vinegar |
Marinade | Yogurt Chicken Marinade | Yogurt, lemon juice, garlic, ginger |
The Sweet Success of Making Low Fat Yogurt at Home
So, there you have it! Making low fat yogurt at home isn't just a culinary adventure; it's a step towards healthier living and a more sustainable lifestyle. By taking control of your ingredients and process, you can create a delicious, nutritious treat that perfectly suits your taste and dietary needs. From breakfast bowls to creamy dips, the possibilities are endless. So, go ahead, experiment with flavors, tweak the recipe, and most importantly, enjoy the satisfaction of knowing exactly what goes into your yogurt. Happy yogurt-making!