Table of Contents
Okay, let’s be real. Who doesn't love a good pumpkin cookie, especially when fall rolls around? But what if I told you that you could enjoy that warm, spiced flavor without the guilt? That’s right, we're talking about pumpkin cookies low fat. I know, I know, sometimes "low fat" equals "low taste," but trust me on this one. These aren't your average diet cookies; they're soft, chewy, and packed with all the pumpkin goodness you crave. This article is going to walk you through the simple magic of creating these treats with just a few ingredients, no fancy equipment, and absolutely no complicated steps. We'll explore why this recipe is a game changer, the simple ingredients needed, and how to bake them to perfection. Get ready to enjoy a healthier take on your favorite fall treat!
Why These LowFat Pumpkin Cookies Are a Game Changer
Why These LowFat Pumpkin Cookies Are a Game Changer
Guilt-Free Indulgence
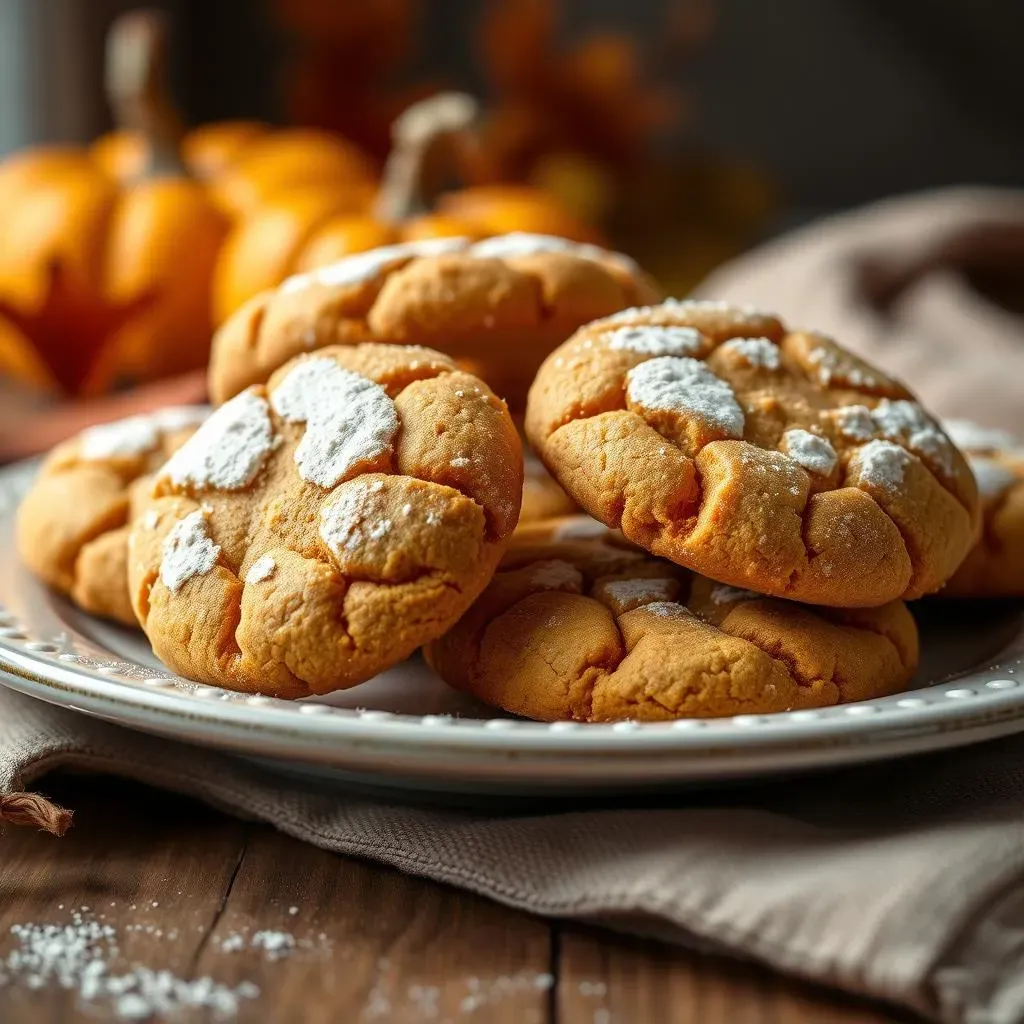
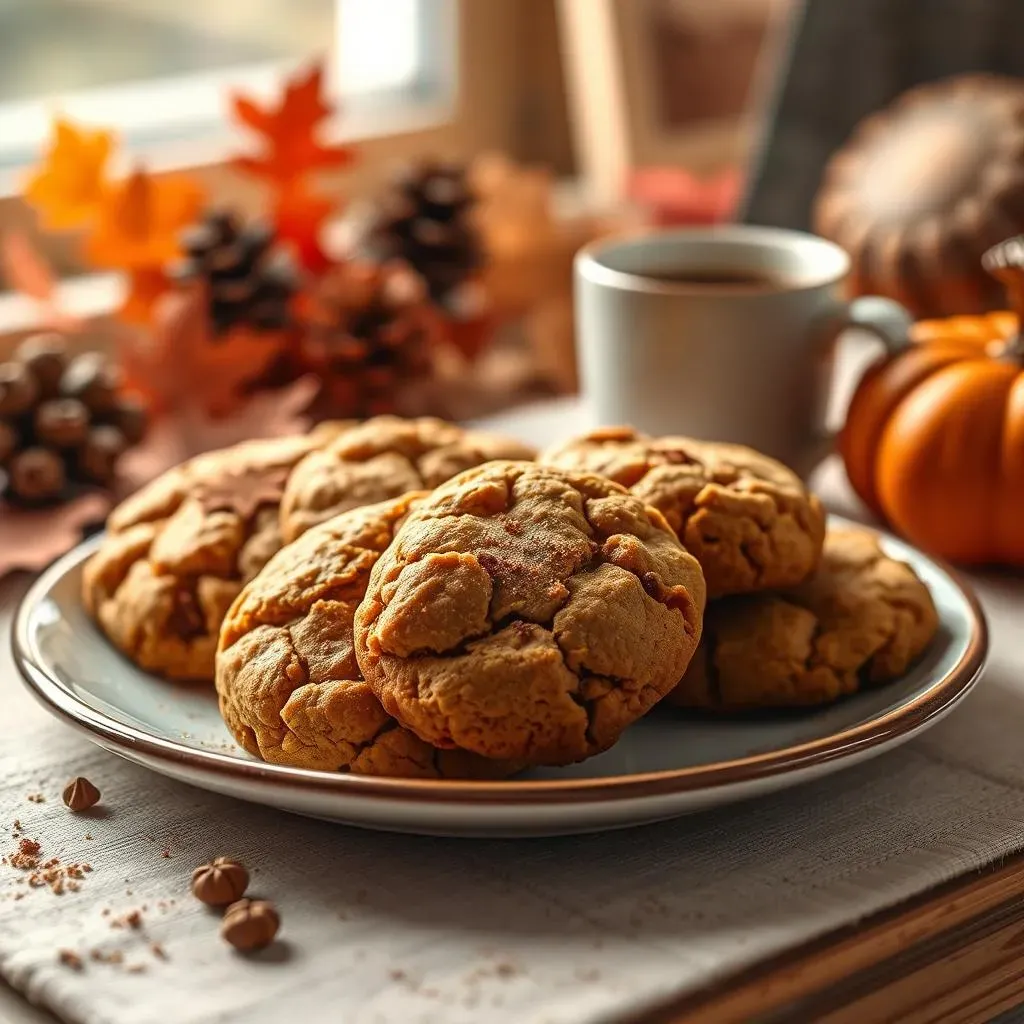
Let’s face it, most of the time, when you see "healthy" and "cookie" in the same sentence, you brace yourself for disappointment. But these low-fat pumpkin cookies? They are different. They actually taste like the real deal. We're talking about that soft, chewy texture and that warm, cozy pumpkin spice flavor, all without the heavy feeling afterward. It's like having your cake (or cookie) and eating it too. You can enjoy a treat without feeling like you’ve derailed your healthy eating goals. This is not some dry, flavorless diet food; it’s a genuinely satisfying cookie that just happens to be better for you.
Simple Ingredients, Big Flavor
The magic of this recipe is in its simplicity. We're not talking about a laundry list of obscure ingredients. It's just a handful of things you probably already have in your pantry. Think oats, pumpkin puree, and a touch of sweetness. That's it! No flour, no eggs, no oil. It's almost unbelievable how something so simple can taste so good. This means less time shopping and more time enjoying delicious, homemade cookies. No need to be a master baker or have a fully stocked kitchen. This recipe is designed to be accessible and easy for everyone, no matter their cooking skill level.
Ingredient | Why It's Awesome |
|---|---|
Oats | Adds fiber and chewy texture |
Pumpkin Puree | Provides flavor and moisture |
Maple Syrup | Adds sweetness and a touch of flavor |
Versatile and Customizable
Another reason these cookies are a game changer? They're super versatile. Feel like adding some chocolate chips? Go for it! Want a little extra spice? Throw in some cinnamon or nutmeg. You can easily adapt this recipe to your liking. Plus, they're naturally vegan and gluten-free, making them a great option for various dietary needs. This flexibility means you can make them your own, experiment with different flavor combinations, and never get bored. It's a recipe that grows with you and your preferences, ensuring you always have a delicious and satisfying treat on hand.
The Simple Secret to LowFat Pumpkin Cookies: Ingredients & Prep
The Simple Secret to LowFat Pumpkin Cookies: Ingredients & Prep
The Three Main Players
Alright, so you're probably wondering, "What's the actual magic behind these cookies?" Well, it all boils down to three key ingredients that work together like a dream team. First up, we've got rolled oats. These aren't just any oats; they're the heart and soul of the cookie, giving it that chewy texture we all love. Next, we have pumpkin puree. Not pumpkin pie filling, mind you, but pure pumpkin. This is where all that pumpkin flavor and moisture come from. And finally, we've got our sweetener: maple syrup. It adds just the right touch of sweetness, with a hint of caramel flavor that complements the pumpkin perfectly. That's it! No weird stuff, no hard-to-find items, just three simple ingredients that make a truly delicious low-fat cookie.
Now, let's talk about prepping these cookies. It's so easy, it's almost comical. You just dump all the ingredients into one bowl, mix them up until everything is well combined, and that's pretty much it for the dough. No need to get out your electric mixer, no need to chill the dough for hours. It's a one-bowl wonder that saves time and reduces the amount of dishes you'll have to wash later, which is always a win in my book. The simplicity of the prep work makes this recipe perfect for busy weeknights or when you just want a quick treat without all the fuss. You don't need to be a skilled baker to whip up these cookies, which is why I love them so much.
Mix-Ins and Flavor Boosters
While the base recipe is fantastic on its own, feel free to get a little creative with your mix-ins. This is where you can really customize the cookies to your liking. Some of my favorites include a handful of chocolate chips, because, let's be honest, chocolate makes everything better. A sprinkle of pumpkin pie spice can really amp up that fall flavor, or a dash of vanilla extract can add a touch of warmth. Don't be afraid to experiment with different additions. Maybe some chopped nuts for a little crunch or a pinch of sea salt to balance the sweetness. These cookies are your canvas, so go ahead and make them your own. Remember, baking is all about having fun and creating something you truly enjoy.
Optional Mix-In | Why It Works |
|---|---|
Chocolate Chips | Adds melty, chocolatey goodness |
Pumpkin Pie Spice | Enhances the fall flavor |
Vanilla Extract | Adds warmth and depth |
Chopped Nuts | Provides a satisfying crunch |
Sea Salt | Balances the sweetness |
Baking Your LowFat Pumpkin Cookies: Tips & Storage
Baking Your LowFat Pumpkin Cookies: Tips & Storage
The Baking Process
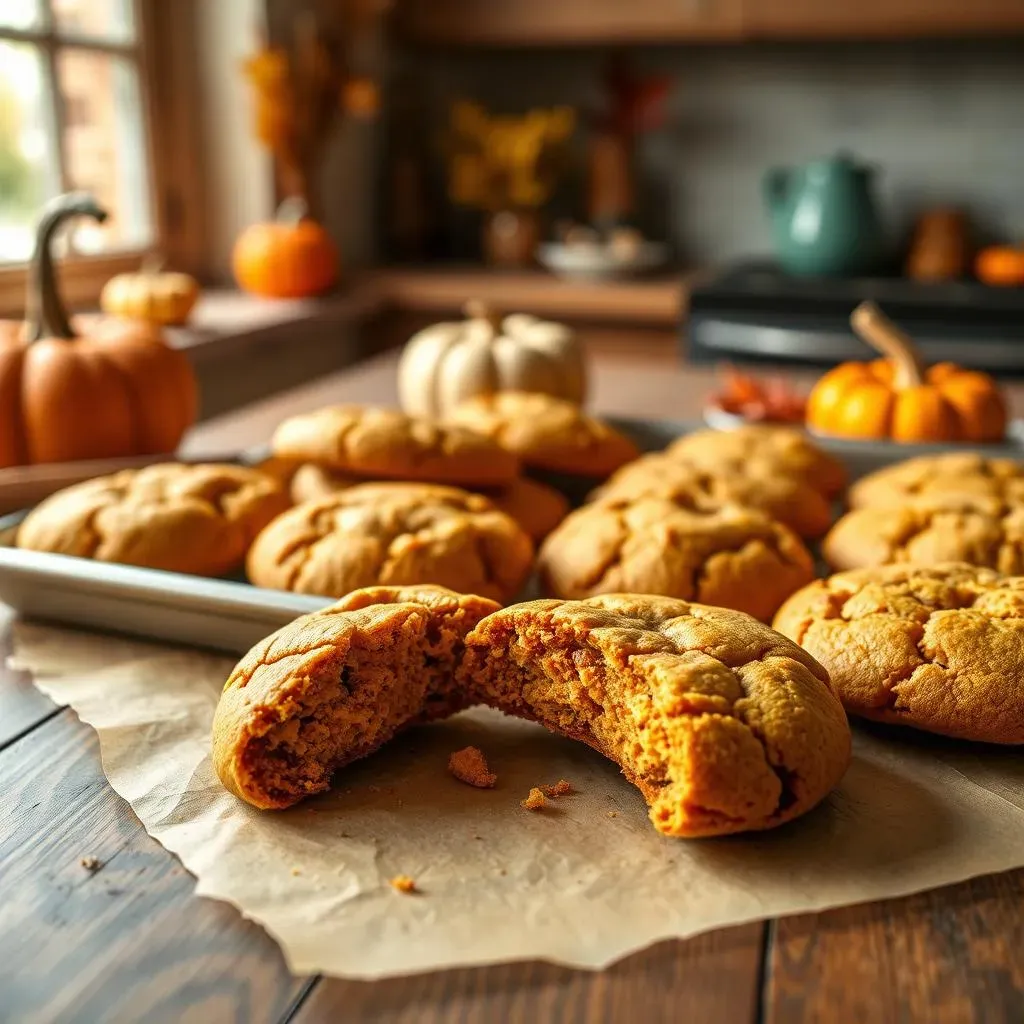
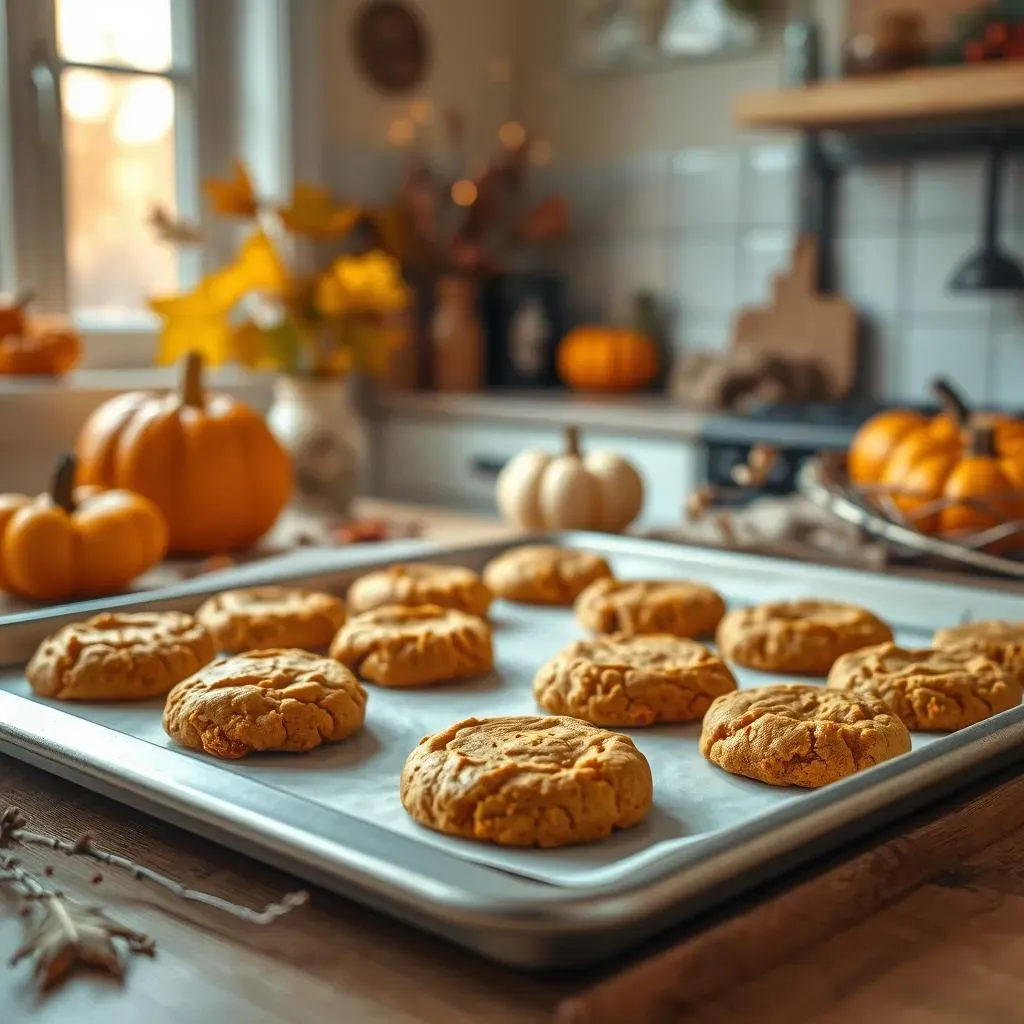
Alright, so the dough is ready, and you're probably itching to get these cookies in the oven. It's super easy, I promise. First, preheat your oven to 350°F (175°C). While it's heating, get a baking sheet ready – you can line it with parchment paper if you like, makes cleanup a breeze. Then, grab a spoon or a small cookie scoop and drop dollops of the dough onto the baking sheet. Don’t worry about making them perfectly round; they'll spread a bit as they bake. Pop them into the oven for about 10 minutes. The key here is to not overbake them. You want them to be slightly golden on the edges and still a little soft in the middle. If you overbake them, they will become dry and crumbly, and we don't want that! Once they're done, take them out and let them cool on the baking sheet for a few minutes before transferring them to a wire rack to cool completely.
Now, let’s talk about shaping. You can make them as big or as small as you like. I tend to go for medium-sized cookies, but if you want to make them mini, go ahead! The baking time might be slightly shorter, so keep an eye on them. The shape of your cookies is all about personal preference. Some people like a rustic, uneven cookie, while others prefer a more uniform look. It’s all good! I've found that using a small cookie scoop helps me get consistent sizes, but honestly, a spoon works just as well. The most important thing is to not overcrowd the baking sheet, as this will prevent the cookies from baking evenly. Give them a bit of space to spread out, and you’ll be golden.
Baking Step | Why It's Important |
|---|---|
Preheat oven to 350°F (175°C) | Ensures even baking |
Line baking sheet with parchment paper | Prevents sticking and makes cleanup easier |
Bake for 10 minutes | Cooks the cookies to a soft, chewy texture |
Cool on baking sheet | Allows cookies to set before transferring |
Storage Tips
Okay, so you've baked your cookies, they smell amazing, and you're ready to enjoy them. But what if you have some leftovers? No problem! These low-fat pumpkin cookies store really well. If you plan on eating them within a week, just pop them into an airtight container and keep them in the fridge. They'll stay nice and chewy. If you want to keep them longer, you can freeze them. Just make sure they are completely cool before placing them in a freezer-safe bag or container. You can freeze them for up to six months. When you're ready to eat them, just thaw them at room temperature, and they'll be just as delicious as the day you baked them. I like to warm mine up in the microwave for a few seconds, just to get that warm, fresh-baked feeling again.
One thing I’ve learned over time is that proper storage is key to maintaining the texture and flavor of these cookies. If you leave them out on the counter, they tend to dry out a bit. The fridge is your best friend for short-term storage, and the freezer is perfect for long-term. Make sure the container is airtight to prevent the cookies from absorbing any unwanted odors from the fridge or freezer. It's a simple step, but it makes a big difference. When you are ready to enjoy them, you can even add a dollop of Greek yogurt, or even a little bit of sugar-free whipped cream for an extra treat. It’s a great way to change things up and keep your cookie experience exciting.
"The secret ingredient is always love, but a little bit of planning and proper storage goes a long way too." - My Grandma