Table of Contents
Ever found yourself staring longingly at the ice cream aisle, wishing there was a treat that wouldn't derail your health goals? I know I have! That's why I embarked on a mission to create the perfect sugar free low fat ice cream recipe. Forget those store-bought options loaded with hidden sugars and fats; we're making our own creamy, dreamy dessert right here. This isn't just some bland, diet-friendly substitute. We're talking about a genuine, satisfying ice cream experience. In this article, I’ll share the story of how this recipe came to be, walk you through the simple steps to make it yourself, and give you all my best tips for enjoying it to the fullest. Get ready to whip up a batch of guilt-free goodness that'll have you reaching for seconds, not out of temptation, but pure satisfaction. This recipe is all about deliciousness without compromise; it's a game-changer for anyone watching their sugar and fat intake.
The Story Behind My Sugar Free Low Fat Ice Cream Recipe
The Story Behind My Sugar Free Low Fat Ice Cream Recipe
The Initial Craving
It all started with a simple craving, you know, the kind that hits you late at night? I wanted ice cream, but not just any ice cream. I was trying to be a bit more mindful about my sugar and fat intake. The store-bought options were either loaded with sugar or tasted like frozen sadness. I remember staring at the nutrition labels, feeling utterly defeated. Surely, I thought, there had to be a way to enjoy a delicious, creamy scoop without the guilt. It wasn't just about cutting calories; I wanted something that actually tasted good and didn't leave me feeling sluggish. This wasn't just a fleeting desire; it was a full-blown mission.
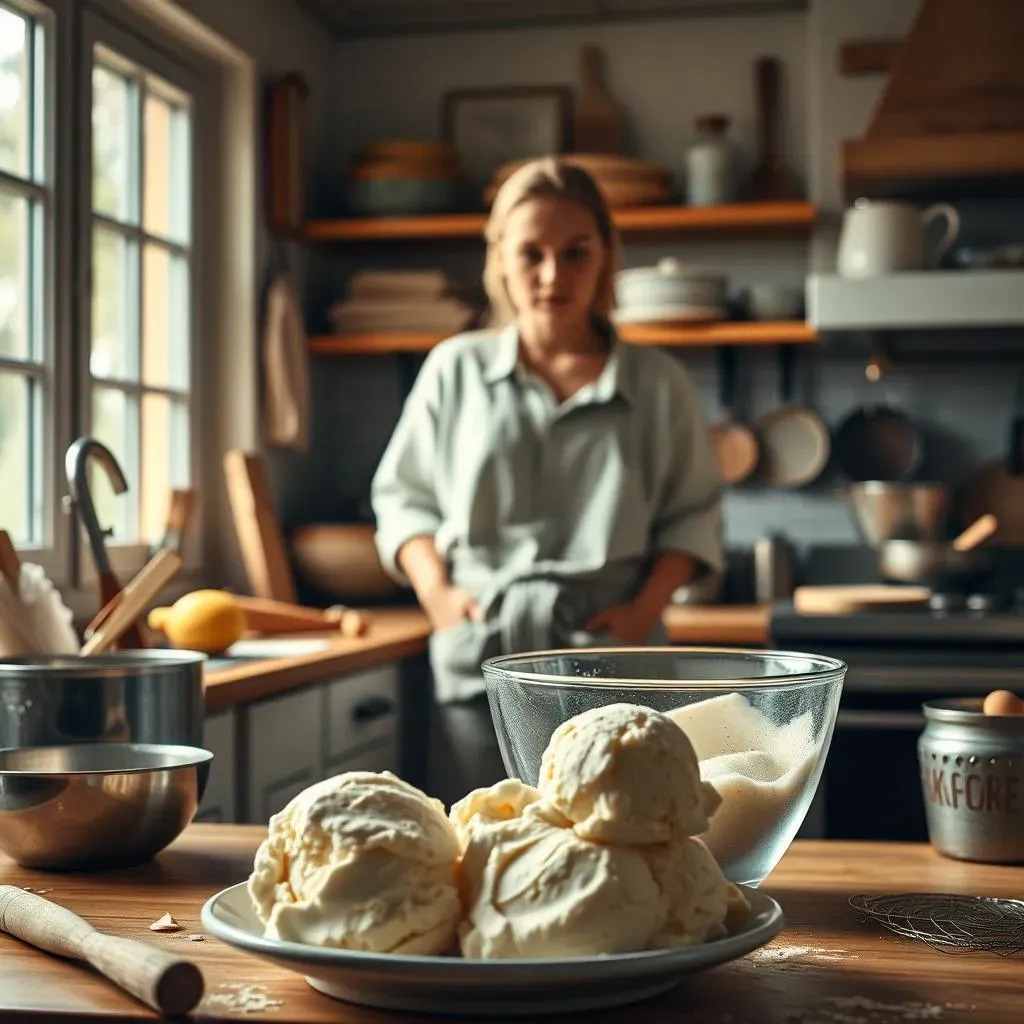
The Experimentation Phase
So, I did what any determined dessert lover would do: I hit the kitchen. My first attempts were, let’s just say, less than stellar. One batch was icy, another was too sweet, and yet another had the texture of frozen yogurt – which, let's be real, is not ice cream. I tried different sweeteners, different milk types, and even experimented with various thickeners. It was a messy, sometimes frustrating process, but I was learning something new with each try. It was like being a mad scientist, but instead of a lab coat, I had an apron covered in cocoa powder. I kept tweaking things, a little more of this, a little less of that, until, finally, I struck gold.
Ingredient | Initial Problem | Solution |
|---|---|---|
Sweeteners | Too much sugar or artificial taste | Liquid stevia |
Milk | Icy texture | 2% milk |
Thickeners | Unpleasant texture | Xanthan gum |
Crafting the Perfect Sugar Free Low Fat Ice Cream: Ingredients and Instructions
Crafting the Perfect Sugar Free Low Fat Ice Cream: Ingredients and Instructions
The Magic Ingredients
Alright, so you're ready to make some magic happen? Let's talk ingredients. This isn't just about throwing random stuff into a bowl. Each component plays a crucial role in the final result. First up, we've got 2 cups of 2% milk. Yes, 2% is the key! It gives the ice cream that creamy texture without being too heavy. Then we have 1.5 cups of plain Greek yogurt, not the flavored kind! Greek yogurt adds protein and helps with that luscious consistency. For the chocolate flavor, it's 1/2 cup of unsweetened cocoa powder, the regular kind, not Dutch-processed. And for sweetness, we're using 1/2 cup of liquid stevia. Lastly, a touch of xanthan gum, about 1 teaspoon. This is our secret weapon for a smooth and creamy texture.
Trust me, these aren't just suggestions, they're the exact ingredients I used to nail this recipe. I know it might seem like a lot, but each one has a purpose. Using different ingredients might throw off the texture or flavor, and nobody wants that.
Step-by-Step Guide
Now that we have our ingredients lined up, let's get to the fun part. First, you have to combine all of the ingredients in a blender. Whisk it until it becomes smooth, and make sure there are no lumps. Next step is to pour the mixture into your ice cream maker. If you don’t have one, don’t worry, I’ll cover that in the next section. Let it churn according to your ice cream maker's instructions. This usually takes about 20-30 minutes. Once it's done, you'll notice it's a soft-serve consistency. You can eat it now if you want, or you can transfer it to a freezer-safe container and freeze it for a couple of hours for a firmer ice cream.
The key here is patience. Don't rush the churning process and don't open the lid to check every five minutes. Trust the process and let the machine do its work. I know it's tempting to peek, but resist!
Step | Action | Notes |
|---|---|---|
1 | Combine ingredients | Blend until smooth |
2 | Churn in ice cream maker | Follow machine instructions |
3 | Freeze (optional) | For a firmer consistency |
No Ice Cream Maker? No Problem!
so you don't have an ice cream maker? No sweat! Not everyone has one of those fancy machines, and I totally get it. Here's a trick I learned: Pour the mixture into a freezer-safe container. Freeze for about 2 hours. Take it out and blend it again to break up ice crystals. Repeat this process every 2 hours for about 6-8 hours. It's more hands-on, but you'll still get a decent ice cream consistency. It might not be as smooth as using an ice cream maker, but it's a good alternative.
It's a bit of a workout for your blender, but it works. Remember, the key is to break up those ice crystals so you don't end up with a frozen block.
Tips for Enjoying Your Homemade Sugar Free Low Fat Ice Cream
Tips for Enjoying Your Homemade Sugar Free Low Fat Ice Cream
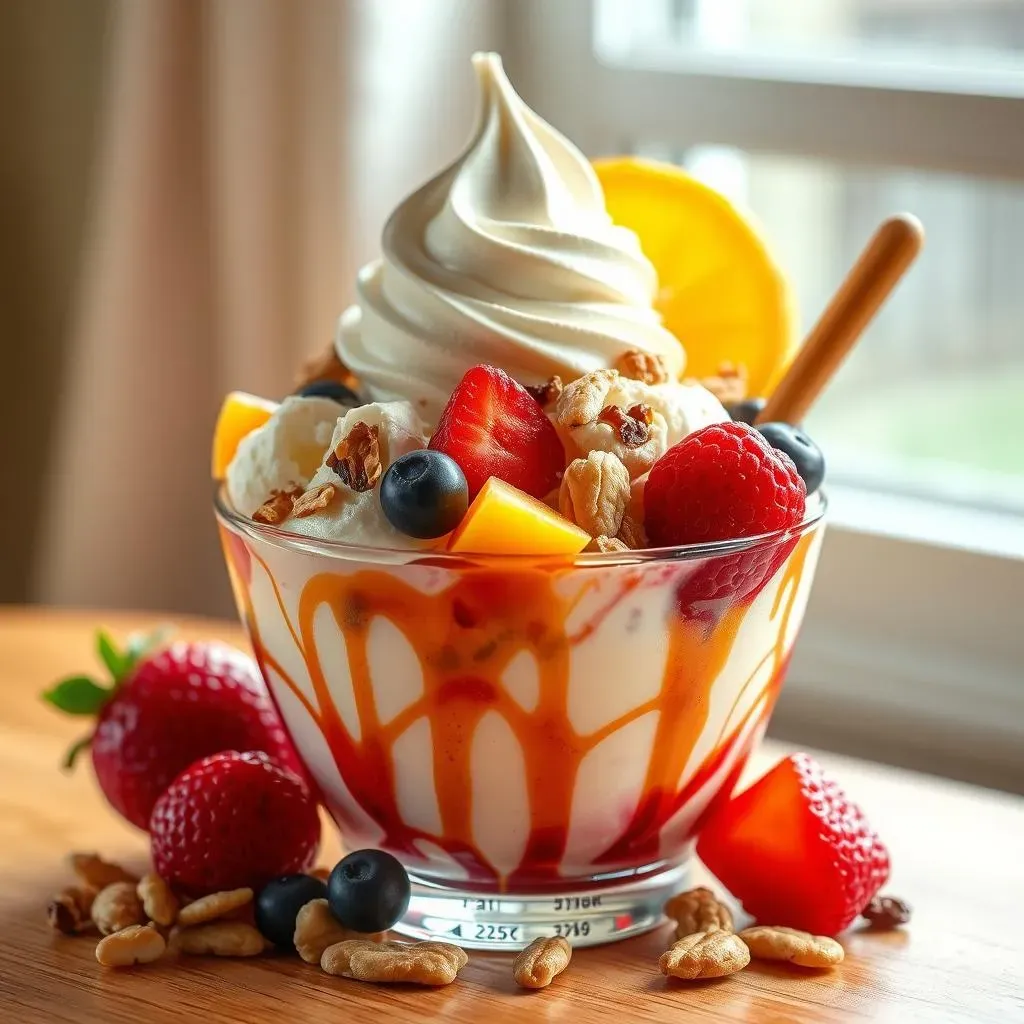
Serving Suggestions
so you've made your ice cream, it's looking all smooth and delicious. Now what? Well, first of all, don't just eat it straight from the container with a spoon, unless you're into that kind of thing, no judgement here. But seriously, there are ways to elevate your ice cream experience. For a start, let it thaw for a few minutes. That way, it's easier to scoop, and the texture gets even creamier. You can also try microwaving it for 10-30 seconds, but be careful not to melt it completely. I love adding some fresh berries on top or a sprinkle of sugar-free chocolate chips for that extra touch of fancy.
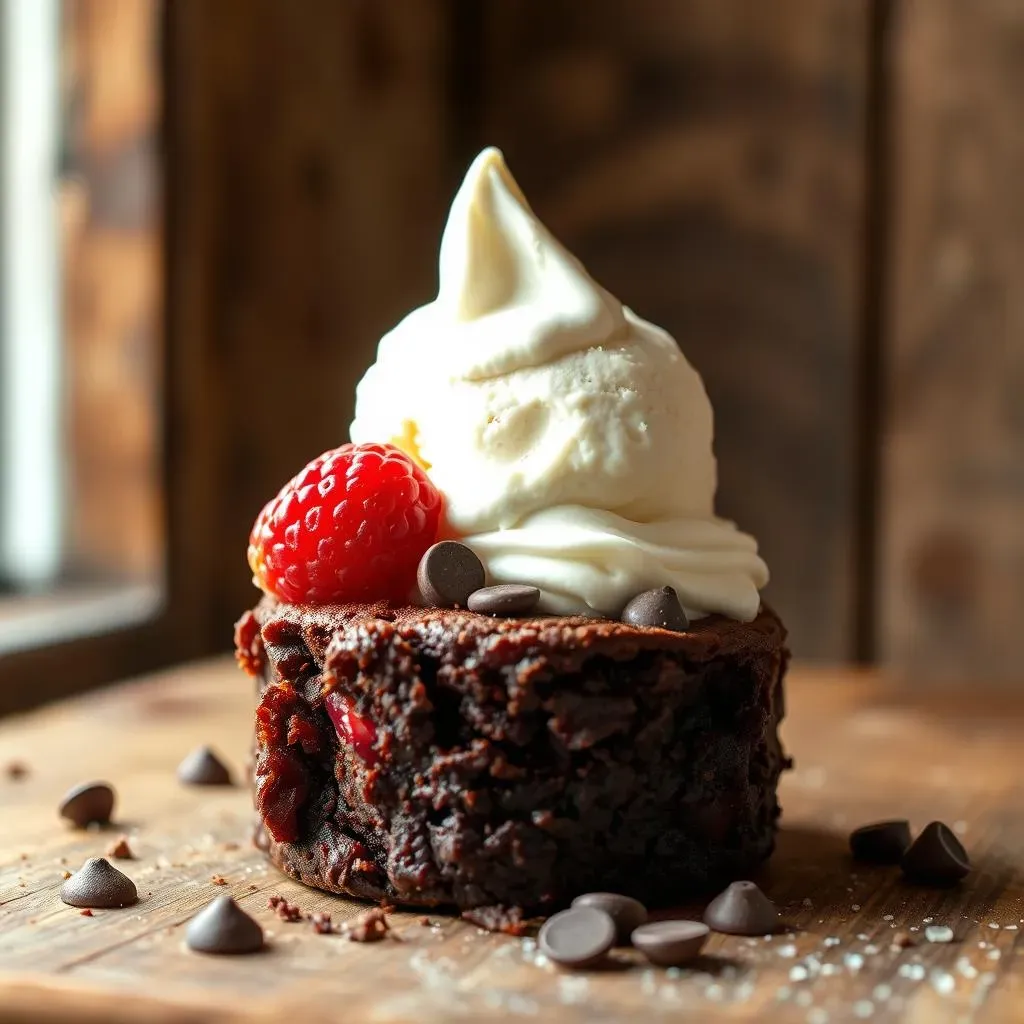
I've also discovered that this ice cream pairs well with some warm desserts. Imagine a scoop of this chocolatey goodness next to a warm, sugar-free brownie or a slice of low-carb apple pie. It's like a party in your mouth, and everyone's invited. So, don't be afraid to experiment with different toppings and pairings. You're the boss of your dessert destiny!
Storage and Texture Tips
Alright, so you've made a big batch, and you're not planning on eating it all in one sitting, which I understand, because, well, self-control. This ice cream is best consumed on the same day, but you can store it in the freezer for up to 2 months. Just keep it in an airtight container. Now, here's the thing about freezing homemade ice cream: it can get pretty solid. That's why thawing it a bit or microwaving it is important, but here's a tip: try to portion it out before freezing it, that way you can easily take out only what you need.
Also, remember that different brands of ingredients can affect the final texture. If you're using a different kind of milk or a different brand of sweetener, the ice cream might turn out a little different, so don't be surprised if the first time isn't perfect. It might take a few tries to find your perfect combo. But that's part of the fun, right?
Tip | Details |
|---|---|
Thawing | Let it thaw a bit before serving |
Microwaving | 10-30 seconds to soften |
Storage | Airtight container, up to 2 months |
Portioning | Freeze in individual portions |
Nutritional Notes and Substitutions
So, you might be wondering about the calories and all that jazz. A serving of this ice cream is about 85 calories, but that can change based on the ingredients you use. Also, if you're not a fan of xanthan gum, you can try using guar gum instead. It's another thickener that will give you a similar texture. Just remember, the results might vary slightly. You can use any milk you want but it might affect the consistency.
I encourage you to experiment with this recipe and make it your own. You might discover a new ingredient or a new method that works even better. And hey, if you do, please share it with me! I'm always looking for new ideas.
Share Your Creations
I'd love to see your ice cream creations! If you decide to make this recipe, please share your photos on social media using the hashtag #SugarFreeIceCreamAdventure. I can't wait to see all the delicious variations and creative toppings you come up with. Let's build a community of guilt-free dessert lovers!
Also, feel free to leave a comment below if you have any questions or tips. I'm always happy to chat about ice cream!
"The best way to find out if you can trust somebody is to trust them." - Ernest Hemingway
Your Guilt-Free Ice Cream Adventure Awaits
So there you have it, a simple yet satisfying sugar free low fat ice cream recipe that you can easily whip up at home. It's not just about cutting out sugar and fat; it's about finding ways to enjoy the things we love without sacrificing our health. This recipe is a testament that you can have your ice cream and eat it too, without the guilt. I encourage you to experiment with different flavors and toppings, making it your own. Don't forget to share your creations and let me know how it went. Happy scooping!