Table of Contents
let's be real, who doesn't love ice cream? But sometimes, that creamy goodness comes with a side of guilt. What if I told you that you could enjoy a delicious scoop of vanilla ice cream without all the extra fat? I'm not talking about those sad, icy substitutes either. This is about real, creamy, dreamy vanilla ice cream, but it’s low fat! In this article, I'm going to walk you through my journey of creating the perfect low fat vanilla ice cream. We'll explore the key ingredients that make this treat so good, like Greek yogurt and a touch of stevia, and I'll share my tips for getting that perfect texture. We'll also look at how you can customize this recipe to fit your taste buds, and how best to store your frozen creation. So, grab a spoon, and let’s make some magic happen with this vanilla ice cream low fat recipe!
My LowFat Vanilla Ice Cream Journey

My LowFat Vanilla Ice Cream Journey
The Quest for Guilt-Free Indulgence
My journey with low-fat vanilla ice cream wasn't some sudden epiphany. It was a slow burn, fueled by my love for the creamy stuff and a growing awareness that maybe, just maybe, I could have my ice cream and eat it too, without the extra baggage. I remember being a kid, practically inhaling bowls of ice cream on hot summer days. The problem? As I got older, those indulgences started to feel less like a treat and more like a cheat. So, I started experimenting, trying to find a way to capture that same joy without all the fat and sugar. It was a challenge, a lot of trial and error, and quite a few icy, disappointing messes in my freezer.
The Turning Point: Greek Yogurt and Beyond
The real breakthrough came when I started thinking outside the traditional ice cream box. I realized that Greek yogurt had this amazing creamy texture, and it was packed with protein. Could that be the secret? I started playing around with different ratios, adding a splash of milk, a touch of vanilla, and a bit of sweetener. It wasn't perfect at first, but each attempt got me closer to that smooth, satisfying consistency I was craving. I learned that the type of sweetener mattered, and so did the way I froze the mixture. It was like a science experiment, but one that tasted delicious, even the less successful attempts!
Ingredient | Why It's Important |
|---|---|
Greek Yogurt | Provides creamy texture and protein |
2% Milk | Adds moisture and helps with consistency |
Vanilla Extract | Essential for classic vanilla flavor |
Liquid Stevia | Sweetens without added sugar |
Xanthan Gum | Helps to create a smooth, non-icy texture |
From Messy Experiments to Perfect Scoops
So many times I thought I had it figured out, only to pull a rock-hard, icy block out of the freezer. I almost gave up a few times, thinking that maybe low-fat ice cream perfection was just a myth. But I'm stubborn, and thankfully, my love for ice cream is stronger than my fear of freezer burn. With each attempt, I tweaked a little, learned a little, and got a little closer to that perfect scoop. It's been a fun (and sometimes frustrating) ride, but I can honestly say that the low-fat vanilla ice cream I make now is just as satisfying as the real deal, just without the guilt. And that's a pretty sweet victory.
Crafting the Perfect LowFat Vanilla Ice Cream

Crafting the Perfect LowFat Vanilla Ice Cream
The Magic of the Ice Cream Maker
let's talk tools. While you can technically make this low-fat vanilla ice cream without an ice cream maker, I'm gonna be straight with you: it’s way easier and the results are much better if you have one. Think of it like this: an ice cream maker is like a personal trainer for your frozen dessert, it keeps things moving, prevents those dreaded ice crystals from forming, and gives you a smooth, scoopable result. If you've ever tried to make ice cream by just sticking it in the freezer and stirring every so often, you know the struggle. It ends up being more like a frozen block than actual ice cream. An ice cream maker is a game changer, trust me.
Now, I’m not saying you need a super fancy, top-of-the-line machine. Even a basic ice cream maker will work wonders. The key is that it churns the mixture while it freezes, incorporating air and breaking up ice crystals. This is what gives you that light and fluffy texture we all crave in a good scoop of ice cream. If you're serious about your low-fat vanilla ice cream, investing in an ice cream maker is a move you won't regret. It's like going from riding a bicycle to driving a sports car – both get you there, but one is a whole lot smoother and more fun!
No Ice Cream Maker? No Problem (Sort Of)
Alright, so maybe you don't have an ice cream maker, and you're thinking, "Well, that's it, I guess I'm stuck with icy disappointment." Not so fast! While it's not ideal, you can still make a decent batch of low-fat vanilla ice cream without one. The trick is to mimic the churning process as best you can. This means freezing the mixture in a shallow container and then taking it out every 30-60 minutes to give it a good stir or a whiz with an immersion blender.
This is important, this constant agitation helps break up the ice crystals as they form, preventing that rock-hard texture that we're trying to avoid. It's definitely more work, and the results might not be as perfectly smooth as with an ice cream maker, but it's a good option if you're in a pinch. Just be prepared to put in a little elbow grease and keep a close eye on your freezing progress. Think of it as a workout for your arm, and a tasty treat at the finish line. It’s not as easy, but if you’re determined, it can be done!
Method | Pros | Cons |
|---|---|---|
Ice Cream Maker | Smooth texture, easy process | Requires equipment |
Hand Stirring/Blending | No special equipment needed | More work, less smooth results |
The Importance of Patience (and Cold)
No matter which method you choose, patience is key. You can't rush the freezing process, and you definitely don't want to put warm mixture into the freezer. It needs to be nice and cold before you even start churning. I usually chill my mixture in the fridge for at least a couple of hours before processing. This ensures that the ice cream freezes evenly and quickly. If you skip this step, you might end up with a soupy mess that takes forever to freeze. Trust me, a little patience goes a long way when it comes to making great low-fat vanilla ice cream. Think of it like marinating a steak – the longer you let it sit, the better the flavor.
And, once the ice cream is churned, don't be tempted to eat it straight away. It needs some time in the freezer to firm up and reach that perfect scoopable consistency. I know it's hard to resist, but a little extra freezing time will make all the difference. This is where the real magic happens, where all your hard work pays off in a creamy, dreamy, low-fat vanilla ice cream. It's like watching a caterpillar turn into a butterfly – it takes time, but it's worth the wait.
Low Fat Vanilla Ice Cream: Customizing Your Scoop
Low Fat Vanilla Ice Cream: Customizing Your Scoop
Spice It Up: Flavor Variations
so you've mastered the basic low-fat vanilla ice cream, which is awesome, but let’s be honest sometimes you want a little something extra. That’s where the fun begins! Think of that vanilla base as a blank canvas, ready for your flavor masterpiece. One of my favorite things to do is add spices. A dash of cinnamon and nutmeg can give you a comforting chai-spiced vibe, perfect for a cozy night in. Or, if you're feeling adventurous, try a little cardamom or ginger for a more exotic twist. The key is to start small and taste as you go. You don’t want to overpower the vanilla, just enhance it. It's like adding a pinch of salt to a chocolate chip cookie – it brings out all the other flavors.
And, if spices aren't your thing, there are tons of other options. A swirl of sugar-free chocolate syrup can transform your low-fat vanilla into a decadent chocolate treat. Or, if you’re a fruit fanatic, try adding some mashed berries or a spoonful of sugar-free jam. You can even throw in some chopped nuts or a sprinkle of shredded coconut for added texture. The possibilities are endless, really. It’s all about experimenting and finding what you love. Think of it like being a kid in a candy store – you can pick and choose whatever you like to make your perfect low-fat vanilla ice cream creation.
Sweetness and Swaps: Getting it Just Right
Let's talk sweeteners. I use liquid stevia in my base recipe, because it doesn't add any extra sugar or calories. But, I know that not everyone loves stevia, and that's totally fine. There are other options you can try. Erythritol is another popular low-calorie sweetener that works well in ice cream. You can also use monk fruit sweetener, or even a bit of honey or maple syrup if you're okay with a few extra calories. Just be mindful that some sweeteners might change the texture or flavor of your ice cream slightly, so you might need to experiment to find what works best for you. It's like trying on different shoes – you need to find the right fit for your feet, or in this case, for your taste buds.
And, if you're feeling really creative, you can even play around with the other ingredients. If you want a richer flavor, try using a little bit of half-and-half instead of all milk. Or, if you're looking to add some extra fiber, you can blend in a little bit of avocado (trust me, you won't taste it, but it adds amazing creaminess). You can even try using different types of vanilla extract, like vanilla bean paste or vanilla powder, for a more intense flavor. It’s all about finding the right balance and making the recipe your own. It's like creating your own signature cocktail – you tweak and adjust until it's exactly the way you want it.
Flavor Addition | Why It Works |
|---|---|
Cinnamon & Nutmeg | Adds warmth and spice |
Sugar-Free Chocolate Syrup | Creates a chocolate flavor |
Mashed Berries | Adds fruitiness and natural sweetness |
Chopped Nuts | Adds texture and crunch |
Avocado | Adds creaminess and healthy fats |
Storing and Enjoying Your Low Fat Vanilla Ice Cream
Storing and Enjoying Your Low Fat Vanilla Ice Cream
The Freezer is Your Friend (But Not Forever)
so you've made this amazing low-fat vanilla ice cream, and you're probably wondering how to keep it from turning into a rock-solid brick in your freezer. The key here is proper storage. First off, make sure your ice cream is in an airtight container. This helps prevent freezer burn and keeps those pesky ice crystals at bay. I like to use those reusable plastic containers with a tight-fitting lid, but you can also use glass containers or even freezer-safe bags. Just make sure whatever you use is sealed well. And, don't forget to label the container with the date you made it. This way, you know how long it's been chilling in the freezer. I know it seems like a small detail, but it's super helpful when you're digging around in the freezer looking for a sweet treat.
Now, even with the best storage methods, your low-fat vanilla ice cream isn't going to stay perfect forever. It's best to enjoy it within a month or two for optimal texture and flavor. After that, it might start to get a little icy or lose some of its creaminess. But, let's be honest, who has ice cream sitting in their freezer for that long anyway? If you do happen to find a container that's been in there for a while, don't throw it out! You can usually revive it by letting it thaw slightly on the counter or in the microwave for a few seconds, just enough to soften it up. It might not be as smooth as when it was freshly made, but it'll still be delicious.
Storage Tip | Why It Matters |
|---|---|
Airtight Container | Prevents freezer burn and ice crystals |
Label with Date | Helps track freshness |
Enjoy Within 2 Months | For best texture and flavor |
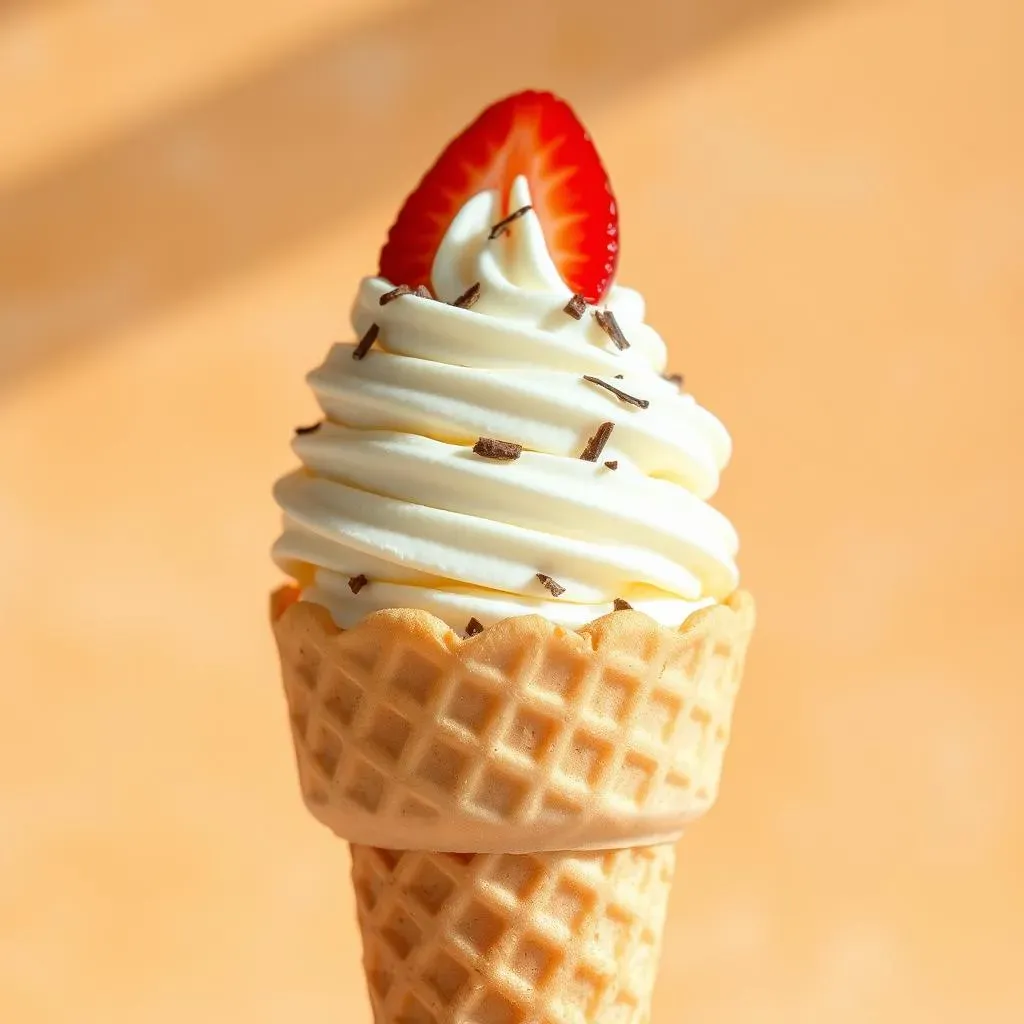
Serving Suggestions: It's All About the Presentation
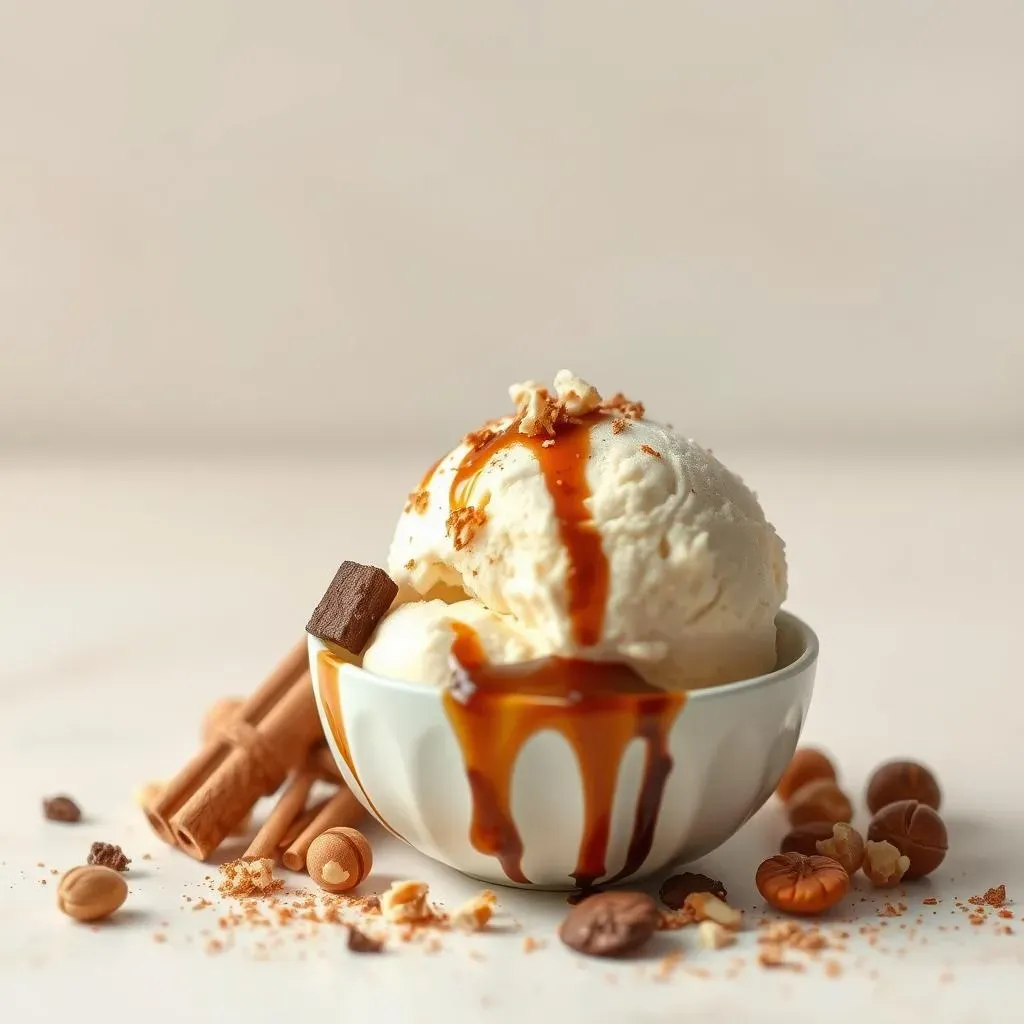
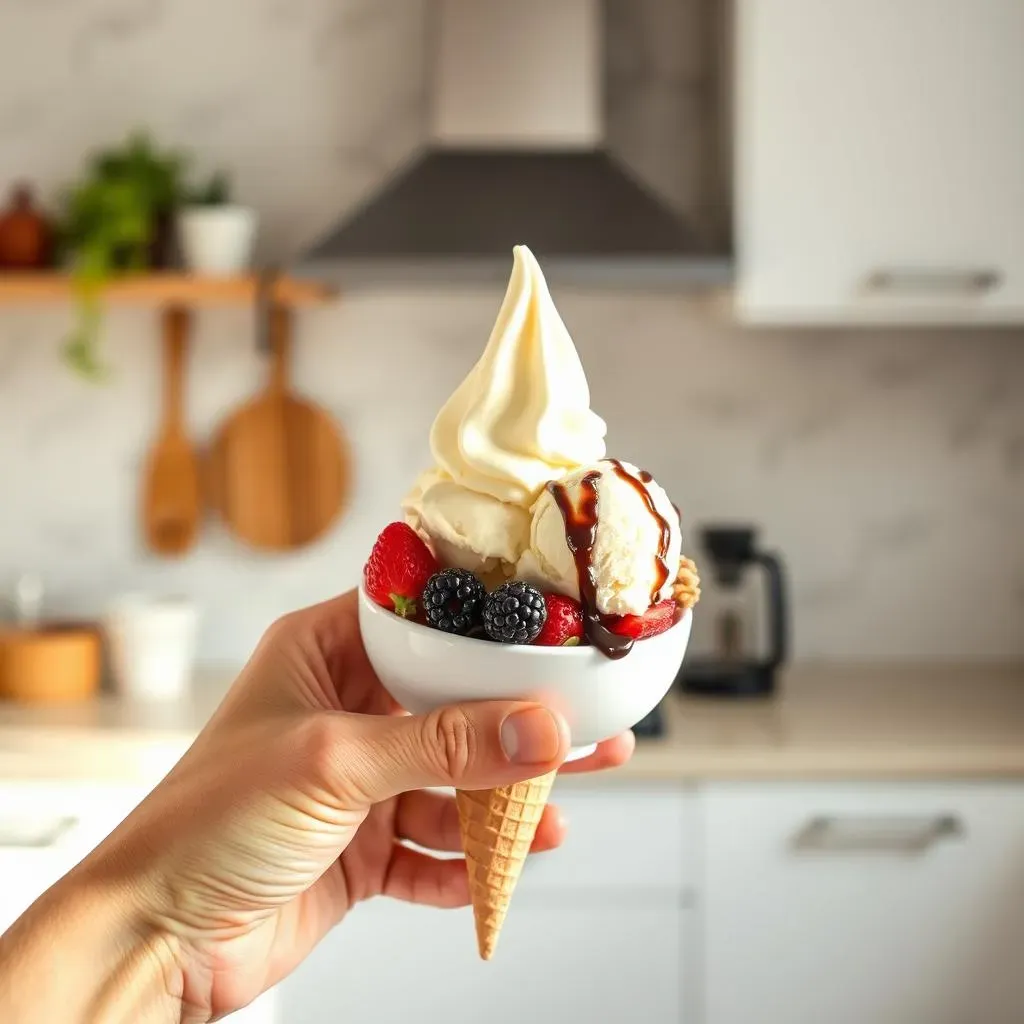
Alright, so you've got your perfectly stored low-fat vanilla ice cream, and now it's time to enjoy it. But, let’s be honest, presentation matters! A simple scoop in a bowl is fine, but why not take it up a notch? If you want to get fancy, try using an ice cream scoop to create those perfect round scoops. And, don’t forget to pre-chill your bowls! This helps keep the ice cream from melting too quickly. You can also add some fun toppings like fresh berries, a sprinkle of nuts, or a drizzle of sugar-free chocolate sauce. It’s all about making it look as good as it tastes. It’s like dressing up for a party – it just makes the experience a little bit more special.
And, if you're feeling extra creative, you can use your low-fat vanilla ice cream to make all sorts of other delicious treats. Try making a milkshake by blending it with some milk and your favorite flavors. Or, use it to top a warm brownie or a slice of pie. You can even use it to make a delicious ice cream sandwich. The possibilities are endless. It's like having a secret weapon in your kitchen, ready to transform any dessert into a masterpiece. So, don't be afraid to experiment and have some fun with your low-fat vanilla ice cream. After all, it’s about enjoying the process as much as the final product!
- Pre-chill bowls for optimal serving
- Use an ice cream scoop for perfect rounds
- Add fun toppings like berries or nuts
- Blend into milkshakes or use in other desserts
The Sweet Ending: Your Low Fat Vanilla Ice Cream Victory
So, there you have it! Making your own low-fat vanilla ice cream isn't some impossible feat. It’s a fun, easy way to enjoy a classic treat without the guilt. From my childhood experiments to this perfected recipe, I've learned that you don't need loads of fat to achieve that creamy, satisfying texture. With the right ingredients and a little bit of patience, you can create a dessert that’s both delicious and kind to your body. Now go ahead, whip up a batch, experiment with flavors, and enjoy every single spoonful of your homemade vanilla ice cream low fat creation. You deserve it!