Table of Contents
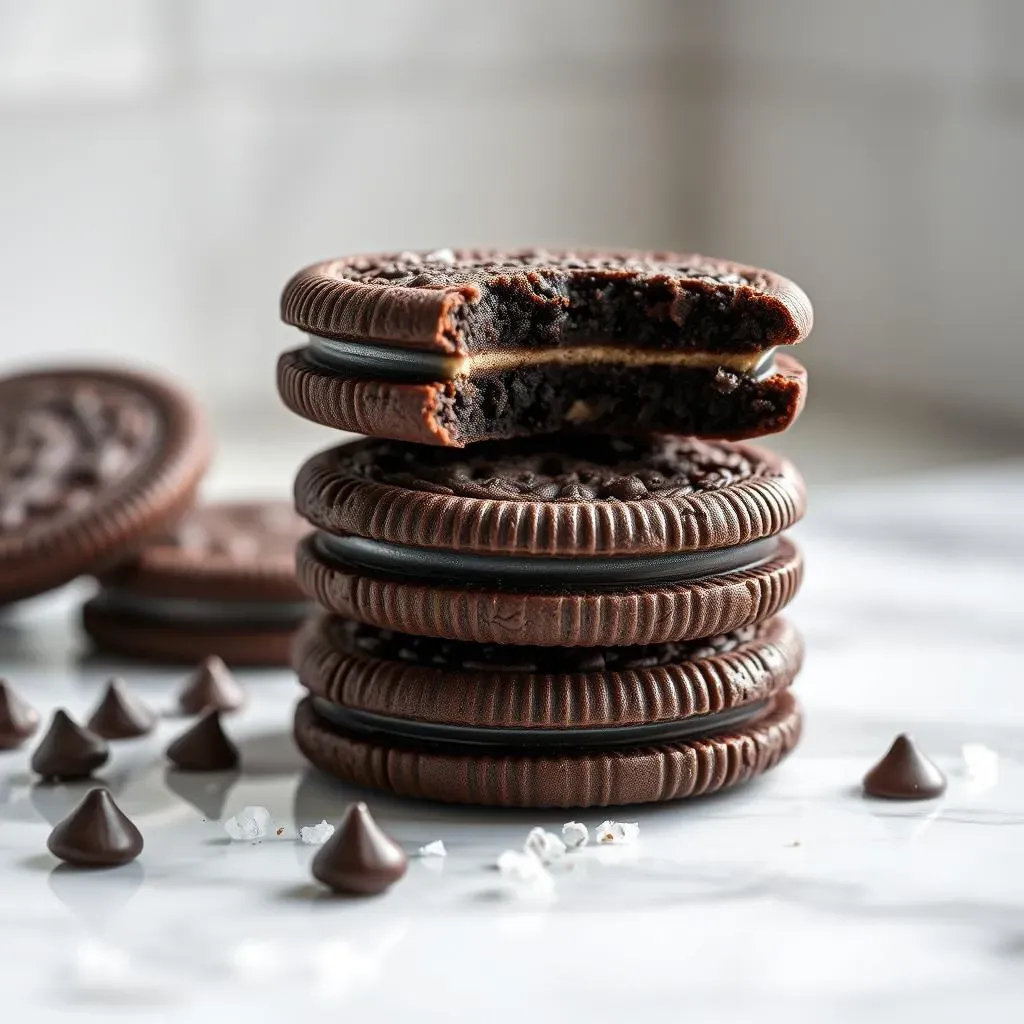
Let's be honest, Oreos are delicious. That creamy filling sandwiched between two dark chocolate wafers? Pure bliss. But, those little treats aren't exactly a health food, are they? If you're like me, you've probably found yourself staring longingly at a pack of Oreos, wishing there was a way to enjoy that same great taste without the guilt. Well, good news! We're diving into the world of low calorie oreo cookies. This isn't some sad imitation; we're talking about a recipe that actually delivers on flavor while being packed with protein and keeping those calories in check. We'll compare the real deal with our healthier version, uncover the secret ingredient that gives these cookies their signature Oreo taste, walk through the baking process step by step, and finally, learn how to assemble and store these little bites of heaven. So, if you're ready to satisfy that Oreo craving without derailing your healthy lifestyle, keep reading!
Regular Oreos vs. Low Calorie Oreo Cookies
Regular Oreos vs. Low Calorie Oreo Cookies
The Classic Oreo Breakdown
Okay, let's talk about the original, the one and only, Oreo. You know the drill: those iconic black cookies with that sweet, creamy filling. They're a staple in many pantries and a go-to comfort food. But, if we're being real, they're not exactly a nutritional powerhouse. A couple of these can easily add up calories and sugar, which isn't always the best when you are trying to eat healthy. One regular Oreo cookie is around 70 calories, and let's be honest, who eats just one?
It's that simple combination of sugar, fat, and processed ingredients that makes them so addictive, but also not the best choice if you are focusing on a balanced diet. So, while I love a good Oreo now and then, it's good to know what's actually inside so we can make better choices.
The Healthier High-Protein Twist
Now, let's flip the script and talk about our low calorie oreo cookies. These aren't your average store-bought treats. We're using ingredients like protein powder, oat flour, and sugar substitutes to create a cookie that satisfies that Oreo craving without all the guilt. We’re talking about a cookie that not only tastes great but also packs a punch of protein to keep you feeling full and satisfied.
Think of it as a superhero version of the classic Oreo. It has the same dark, rich color, that same sweet cream filling, but it has a secret identity as a healthy snack. It's not about depriving ourselves but about finding ways to enjoy the foods we love in a way that supports our health goals. And that, my friends, is a game-changer.
Nutrient | Regular Oreo (1 cookie) | Low Calorie Oreo (1 cookie) |
|---|---|---|
Calories | 70 | 55 |
Fat | 3g | 3g |
Carbs | 9g | 4g |
Protein | <1g | 4g |
The Secret Behind Healthy Protein Oreos
The Secret Behind Healthy Protein Oreos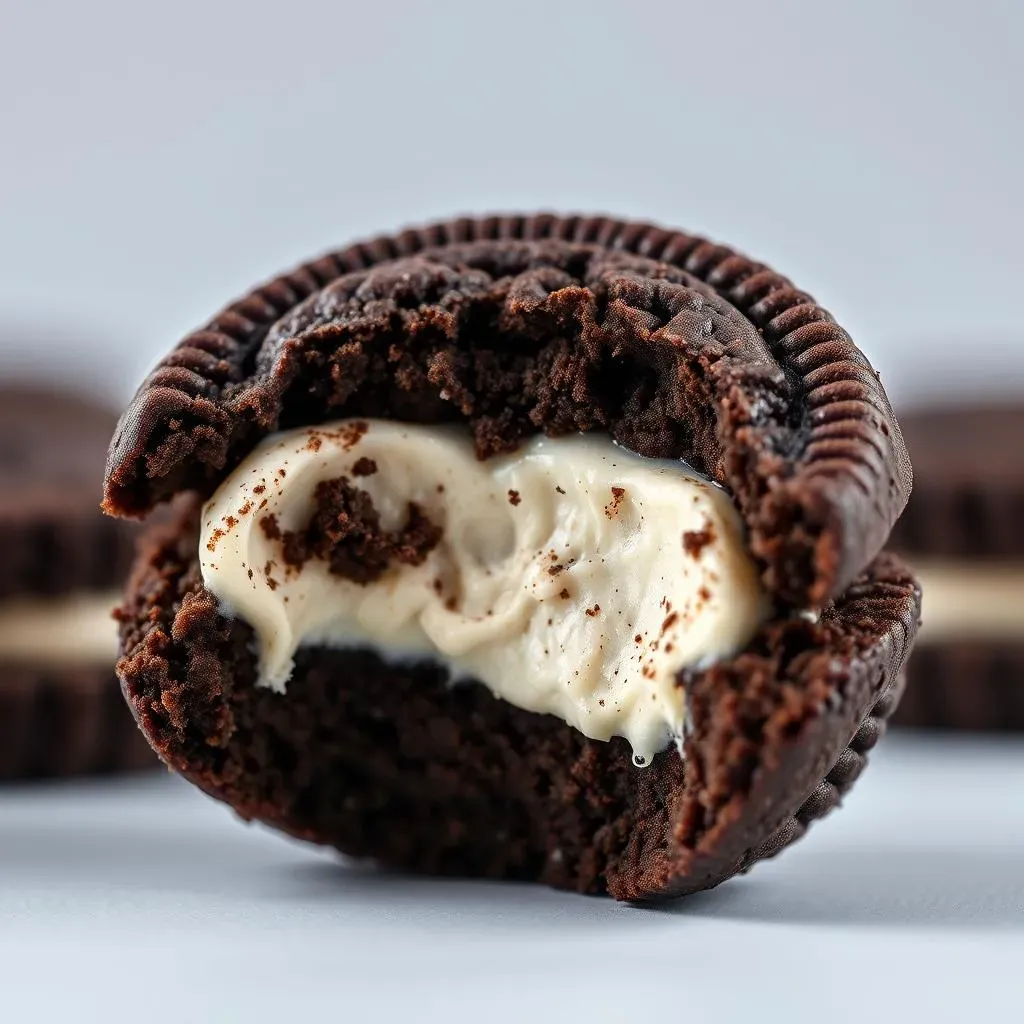
The Magic of Black Cocoa Powder
Alright, so what's the real secret to making these low calorie oreo cookies taste so much like the real deal? It's all about the black cocoa powder. You might be thinking, "Cocoa powder? That's it?" But trust me, this isn't your regular baking cocoa. Black cocoa powder is processed differently, giving it a much darker color and a more intense, almost smoky flavor. It’s what gives Oreos their signature deep, dark hue and that slightly bitter edge that balances out the sweetness.
Using regular cocoa powder just won’t cut it here. It will be missing that key element of flavor and color that makes an oreo an oreo. Black cocoa is the MVP in this recipe, creating a cookie that's not only healthier but also tastes like the real deal. It's the secret weapon we need to win this healthy snack battle.
Protein Powder Power
Now, let's talk about the protein punch. We're not just swapping out bad ingredients for better ones; we are also adding some nutritional value. The protein powder in these cookies does double duty. First, it helps to keep you feeling full, which is a massive win when you're trying to avoid snacking on less healthy options. Second, it contributes to the texture, giving these cookies a slightly denser, chewier bite than your average cookie.
I've tested this recipe with a whey/casein blend, which works great, but you can also use whey protein. Just keep in mind that plant-based proteins can have different protein contents and might not work as well. It's all about finding the right balance and using ingredients that work together to create something truly delicious and good for you.
How to Bake Your Own Low Calorie Oreo Cookies
How to Bake Your Own Low Calorie Oreo Cookies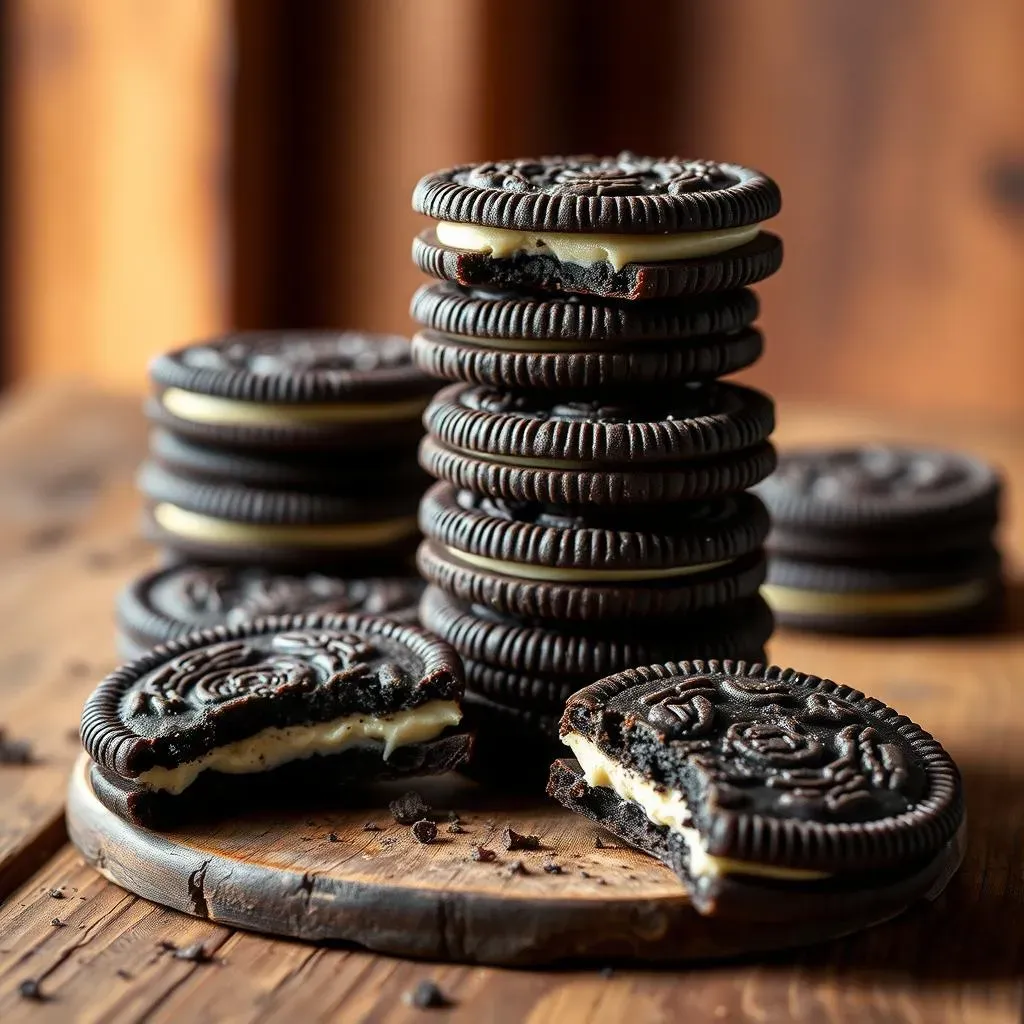
Mixing the Dough
Okay, let's get our hands dirty! Making these cookies is simpler than you might think. First, grab a big bowl and throw in your oat flour, protein powder, black cocoa powder, and sugar substitute. Give it a good mix to make sure everything is evenly distributed. Now, add in the wet ingredients like your melted butter or coconut oil, and vanilla extract. Mix it all together until it forms a dough. It should be slightly sticky, but not too wet. If it's too dry, add a tiny bit of water or almond milk, a teaspoon at a time, until you get the right consistency. It's like making a sandcastle – you want it to hold its shape but still be pliable.
Once your dough is ready, wrap it in plastic wrap and pop it in the fridge for about 30 minutes. This chilling step is crucial. It helps the dough firm up, making it much easier to roll out and cut into those cute little circles. Trust me, patience here pays off. Trying to roll out warm dough is a recipe for a sticky mess, and nobody wants that.
Rolling, Cutting, and Baking
Alright, dough's chilled, time to roll! Take your dough out of the fridge and place it on a lightly floured surface. You can use oat flour or regular flour for this. Roll out the dough to about 1/8 inch thickness. You don’t want it too thick or too thin. Now, grab your cookie cutter—a small circle works best for that classic Oreo look—and start cutting out the cookies. If you don't have a cookie cutter, you can use the rim of a small glass. Just make sure to press firmly to get clean cuts. Place the cut cookies on a baking sheet lined with parchment paper.
Now, into the oven they go! Bake your cookies at 350°F for about 10-12 minutes. Keep a close eye on them. They should be firm but not burnt. Once they are done, take them out and let them cool completely on the baking sheet. This is super important because they will continue to firm up as they cool. Resist the urge to move them too soon, or they might break. We want them to be perfectly ready for that cream filling.
Step | Action | Time |
|---|---|---|
1 | Mix dry ingredients | 5 minutes |
2 | Add wet ingredients and form dough | 5 minutes |
3 | Chill dough in fridge | 30 minutes |
4 | Roll out dough and cut cookies | 10 minutes |
5 | Bake cookies | 10-12 minutes |
6 | Cool cookies completely | 30 minutes |
Assembling and Storing Your Low Calorie Oreo Cookies
Assembling and Storing Your Low Calorie Oreo Cookies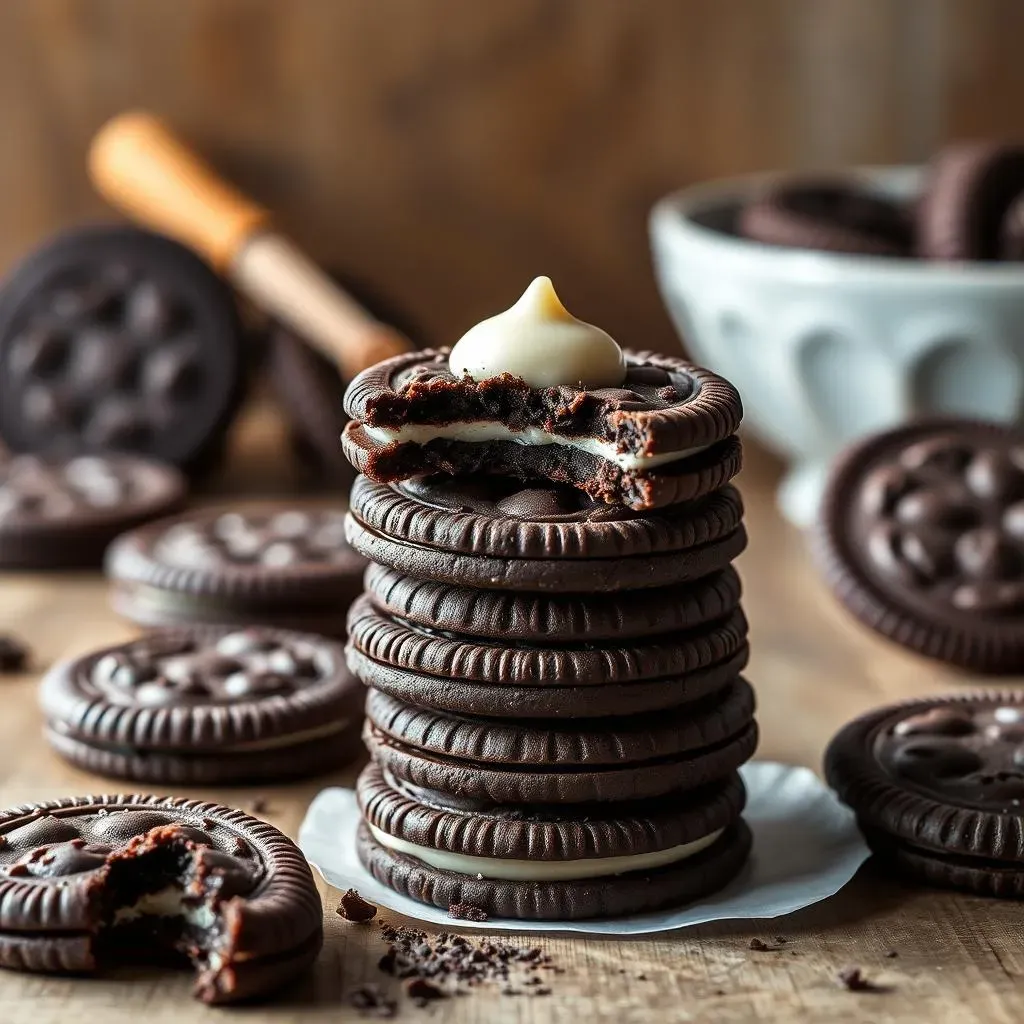
The Creamy Filling
Alright, your cookies are baked and cooled, now for the best part: the filling! We're not using the sugary stuff from the store, oh no. We are making a creamy, dreamy filling that’s just as satisfying but way better for you. In a bowl, mix together some protein powder (the same one you used for the cookies works great), a bit of softened butter, a dash of powdered sugar substitute, and a splash of vanilla extract. Mix it all together until it forms a smooth, creamy paste. If it's too thick, add a tiny bit of almond milk or water, one teaspoon at a time, until you get the right consistency. You want it to be spreadable but not too runny.
Now, grab one of your cooled cookies and spoon a dollop of the filling onto the flat side. Then, carefully place another cookie on top, flat side down, and gently press them together. You’ve just made your first low calorie oreo cookie! Repeat this process until all your cookies are assembled. It's like a tiny cookie sandwich party, and you're the host!
Storing Your Creations
Once your cookies are assembled, it's time to store them. These low calorie oreo cookies are best kept in the fridge. This not only keeps them fresh but also helps the filling firm up a bit more. I like to place them in an airtight container with a layer of parchment paper between each layer to prevent them from sticking. They'll keep for about a week in the fridge, but let's be real, they probably won't last that long!
If you are not planning to eat them right away, you can also freeze the assembled cookies. This is a great way to have a healthy treat on hand whenever the craving strikes. Just wrap them individually in plastic wrap and then place them in a freezer-safe container. When you're ready to eat one, let it thaw in the fridge for a bit. You can also eat them straight from the freezer, they are like tiny ice cream sandwiches!
- Fridge Storage: Up to 1 week in an airtight container.
- Freezer Storage: Up to 1 month, wrapped individually.
- Tip: Use parchment paper between layers to prevent sticking.